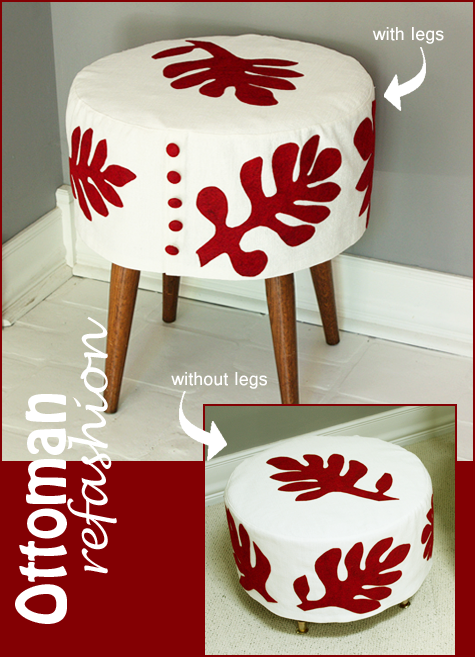
Here’s a great How-To from Apartment Therapy on a great ottoman makeover. While following the directions for this fantastic ottoman is a bit of work (and time), I’m imagining ways to simplify the process for an even quicker refashion as well!
Follow the link for instructions as well as another great ottoman makeover by Matters of Style blog!
{Ottoman Refashion}
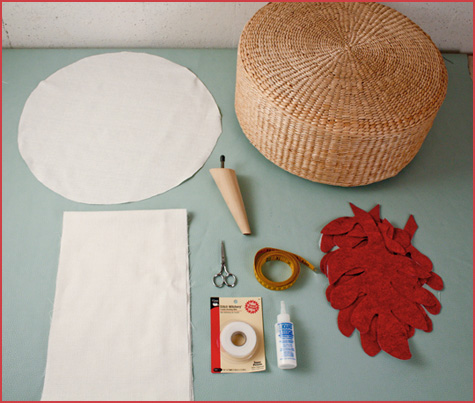
Tools and Resources:
* 1 1/2 yard of plain fabric
* 3/4 yard of contrasting felt
* craft/applique iron on paper
* fusible hem tape
* velcro
* desired pattern
* iron
* sharp scissors
* sewing machine
* measuring tape
* fabric glue
* button kit (not shown)
Step by Step:
1. Place your ottoman on top of a piece of paper or fabric and trace around it adding 1/2″ all around
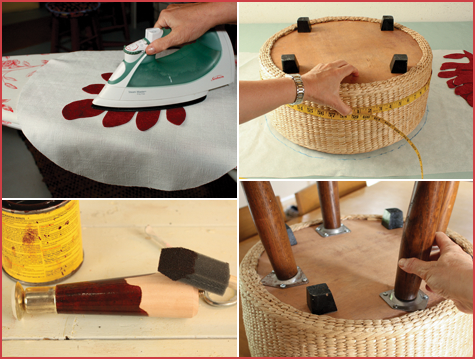
2. Measure the circumference of your ottoman and add 3 extra inches
3. Determine the desired depth of the slipcover and add 1″
4. Cut out the fabric top
5. Cut out the fabric that will be the side band of the slipcover
6. Fold 1/2″ of the long side of the fabric over and press with a hot iron, slip fusible hem tape inside of the fold and press until fabric is
fused, forming a hem
7. Fold over 1″ of the short end of the fabric band and then fold over another 1″, inserting fusible hem tape to fuse the folds in place
8. With a hot iron, press the craft/applique paper on top of the felt until it’s fused together
9. Trace and cut out the desired shapes from the felt
10. Peel off the paper backing and press the felt designs in an attractive pattern on the top and sides of the slipcover pieces
11. Pin and stitch the slipcover side to the top of the slipcover
12. Pin and stitch the velcro on the two short ends of the slipcover side where they overlap so the slipcover side will stay closed and you won’t see the velcro.
13. Make three covered buttons and handstitch them in place next to the fold of the side
14. Add a set of angled metal leg brackets on the bottom of the ottoman so you can change out different sets of legs
15. Stain a set of wood legs with your desired color, let them dry and smooth off with steel wool
16. Make many slipcovers using the same pattern but change some details to make it different
17. Get some extra sets of legs that will fit into the angled metal let plates and you can change the appearance of your favorite ottoman
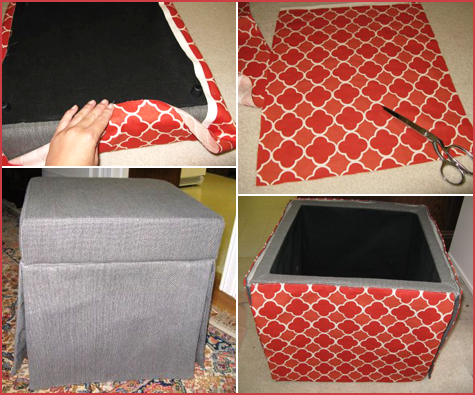
Check out the links for the full How-Tos for both Apartment Therapy & Matters of Style! If you’re STILL looking for that super easy slip cover for an ottoman or bench (and neither of these DIY postings are just right), check out this post from Sew Mama Sew for a wonderful tutorial for that quick fix!


