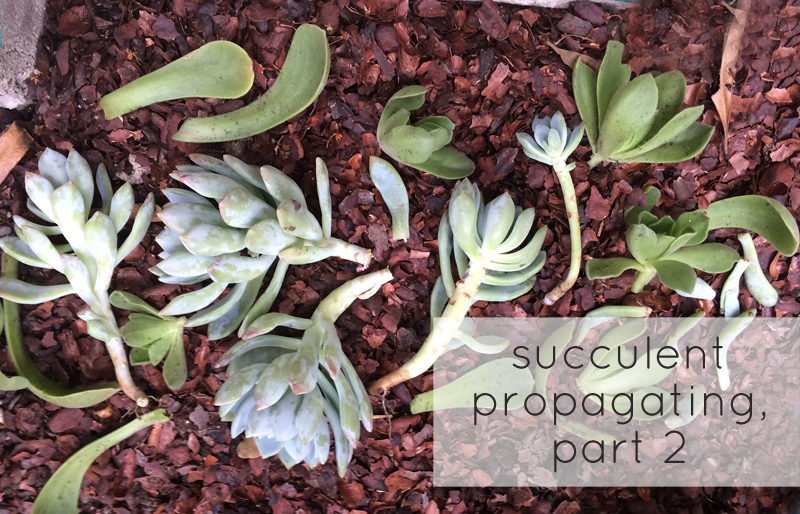
It’s been about a week and my succulent clippings have been out roasting (‘scabbing’) in the sun as suggested by my local nursery. We may be on to something over here! We may be growing little baby succulents by splitting succulents from larger plants, and I’m really excited about that idea (this is all so new to me). What I love about succulents is that the are great for terrariums, planters, set-it-and-forget-it houseplants, centerpieces, pots that don’t get enough light, yards that get too much light, you name it. They can be a little pricey to purchase, but if propagating is as easy as scabbing (for some varieties), this is so neat. You can catch up on part 1 of this little experiment back here just in case you’re just joining us.
This might be the cheapest, easiest solution to something so loved. Maybe. I’m only a week in…
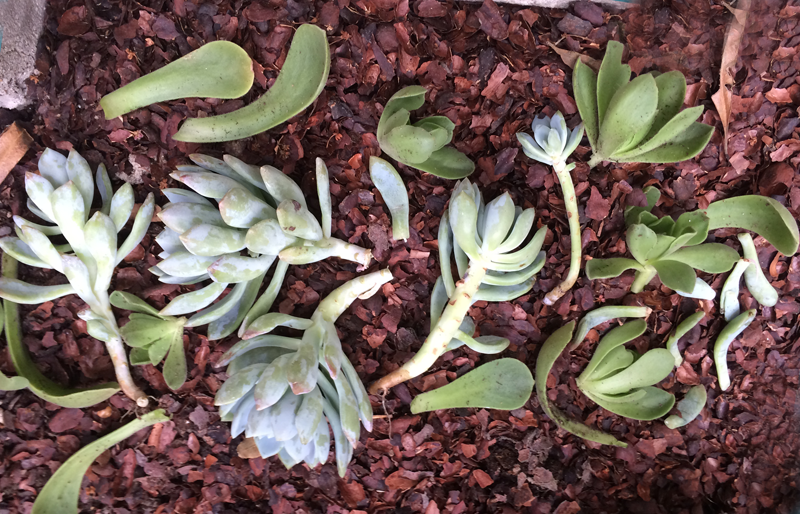
I transferred my clippings and leaves to our veggie garden (that’s a bed of cocoa hulls there) and, as instructed – resisting all temptation, didn’t touch them for one whole week. The goal here is to completely heal up the raw ends of each clipping through a process called scabbing, or basically by allowing the stem to blister in the sun.
And blister they did…
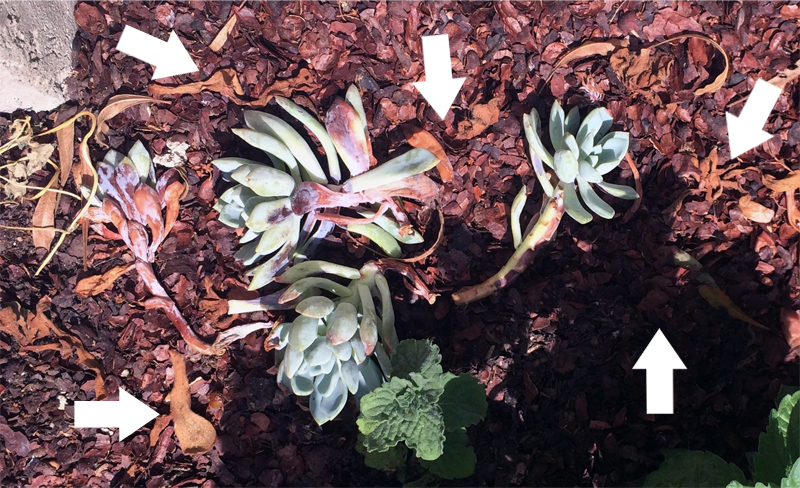
This process faired very well for my echeveria derenbergil blue (say that three times fast), while the aeonium urbicum sadly shriveled up and disappeared. There must be a more recognizable plant name for these two, but that’s what the little id stick says so I’m sticking with it.
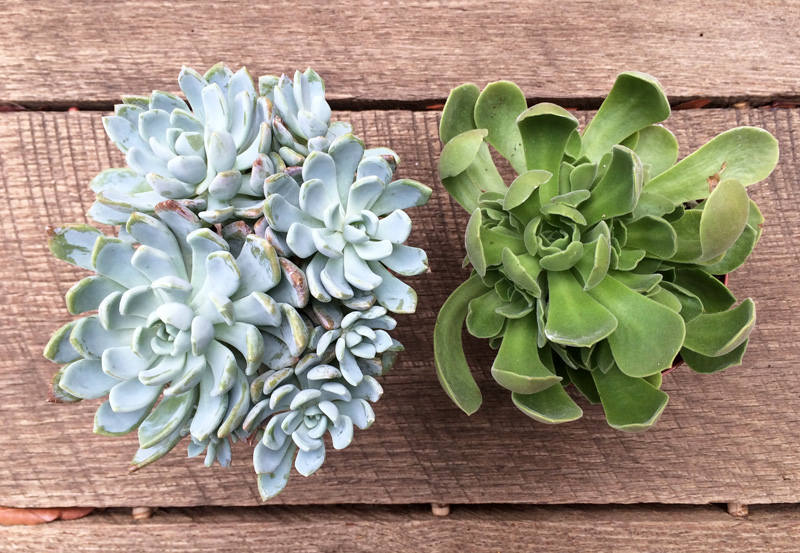
As a reminder, here’s what they looked like prior to being sacrificed for this little test, the sturdier echeveria is on the left, the thinner aeonium on the right:
I have heard great things about propagating straight from leaves (rather than full stems), I think next time I may try this but without placing in direct sun as suggested. Just to see if they might not turn brown on me.
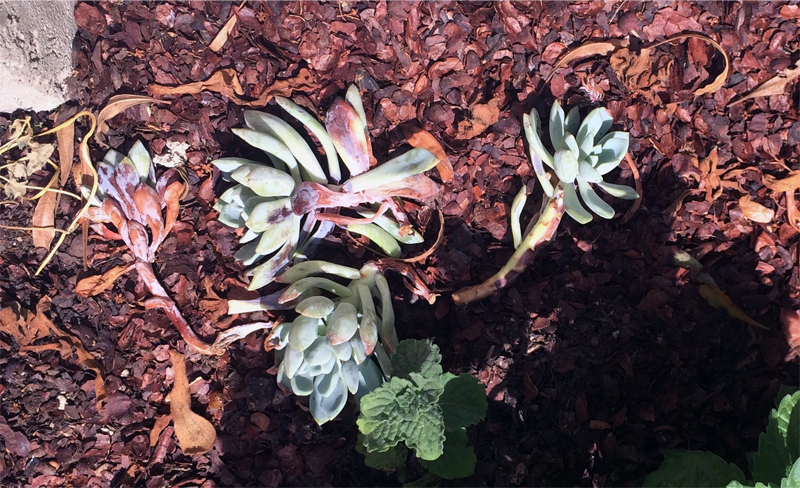
But on with the echeveria. Since this little guy did fairly well and as expected, I moved on to the next step which was to ‘firmly’ plant the scabbed clippings in soil. You might use succulent soil if you’re really spoiling them, I used the soil that was already in my geometric wooden planter (which was mostly soil that was emptied out from the original succulent plants that fill the sparse space – essentially, I suppose, really old succulent soil). Packing the soil around the baby clippings helps the succulent to feel secure and snug so that it can continue to grow upright and release roots right where it is.
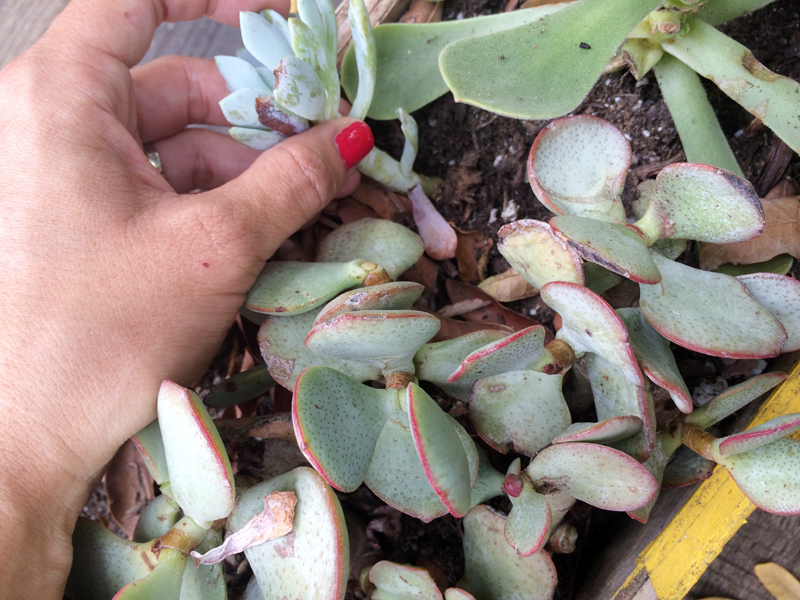
Gently water and allow it to take in its new surroundings.
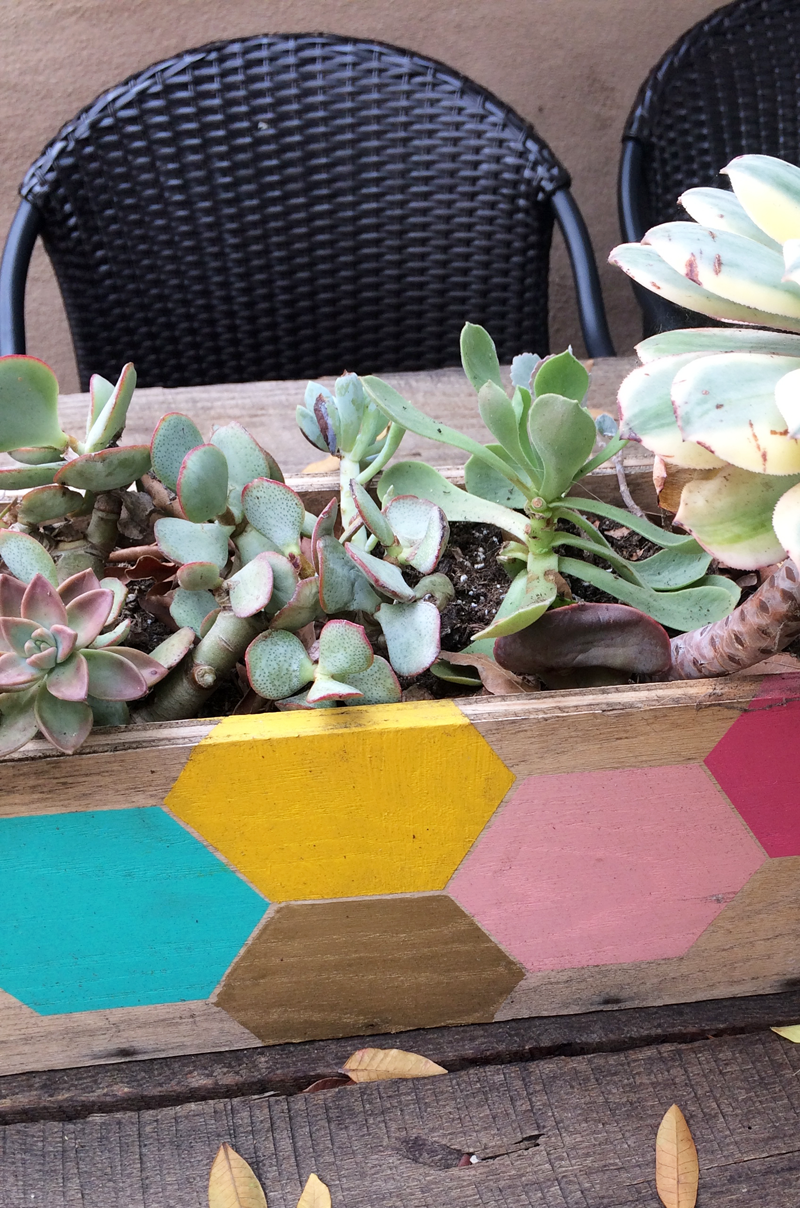
I added four to this new space (so sad to have lost the other four) and am now patiently waiting to see if they survive and thrive.
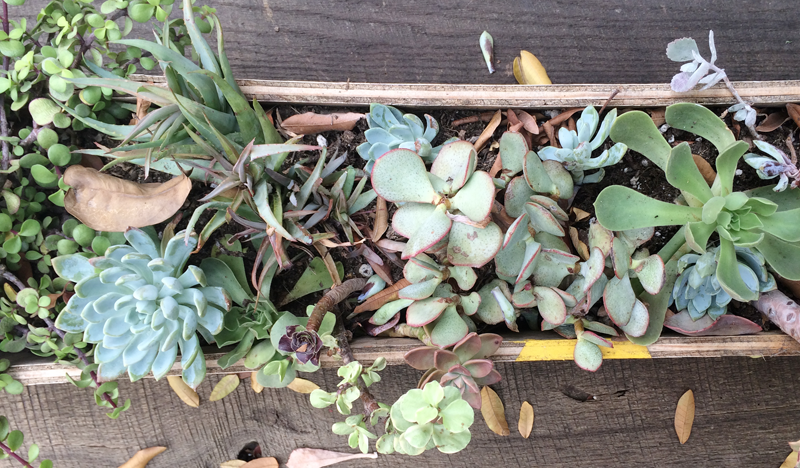
I will be back with an update!
Have you ever tried anything like this with any success? I don’t really have a green thumb, but every time I experiment with the garden, the yard, the flower pots… the more and more comfortable I am taking care of (and even growing) an active landscape for our home. I’m starting ridiculously small, but you have to start somewhere. I LOVE that feeling. That feeling of ‘wow! I really accomplished something new today’. (Now I just need more time…)

