Next to Christmas, Memorial Day weekend might be my favorite holiday. Most years my birthday falls on that Friday, Saturday, Sunday or Monday making it a full weekend of family activities. This weekend I turned 30 and Kevin surprised me with an amazing night out with all of our closest friends. I even had family that flew in to join in on the surprise! It was so great and so well thought out, and we had so much fun! (kudos, Kevin! seriously huge, heart-warming kudos to my better half.)
Yesterday we attended our neighborhood parade and spent most of the time cheering on local business floats and catching up with neighbors over adult beverages. It actually started to rain just as we were walking down to the route, but we didn’t let the wet weather rain on our parade ;), the sprinkle stopped just in time for festivities to begin.
Despite an amazing weekend, it almost pains me to type week 14 for our bathroom remodel in the title of this post since I had promised myself that this construction project would take ten weeks max (and maybe 12 if we were running behind or waiting on lead times for any products). But here we are in week 14 and we have at least three to go. All of the delays have been caused by our own indecisiveness – location/spacial planning decisions, tile decisions, fixture decisions, electrical decisions, plumbing decisions – you name it and we have flipped back and forth on the pros/cons about each and every item that came up for consideration. We also had a three week delay back when Kevin transitioned from full-time paternity to full-time back-to-work, that didn’t help.
It’s all okay though, so goes life and it’s so much better to wade our way through the decisions with confidence verses extreme compromising to stick to a calendar.
And today, today this bathroom is looking pretty good!
Week 1:
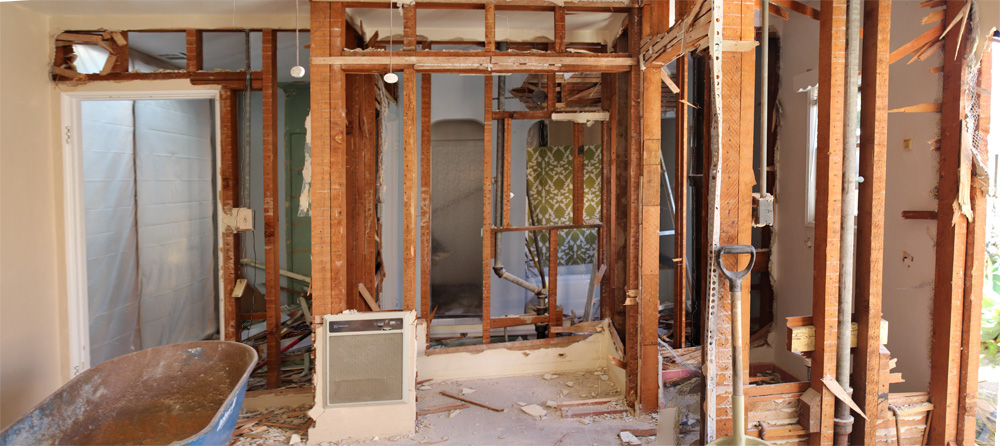
Week 2:
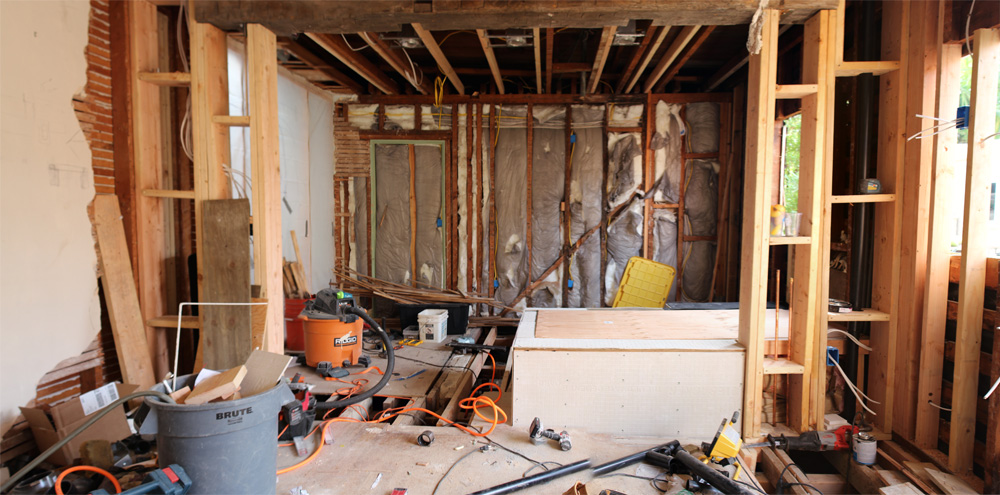
Week 7 (after the temporary break):
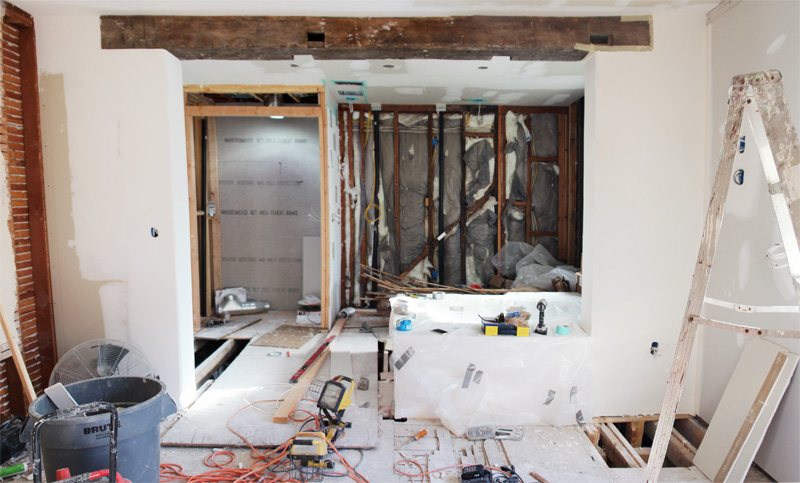
Week 8:
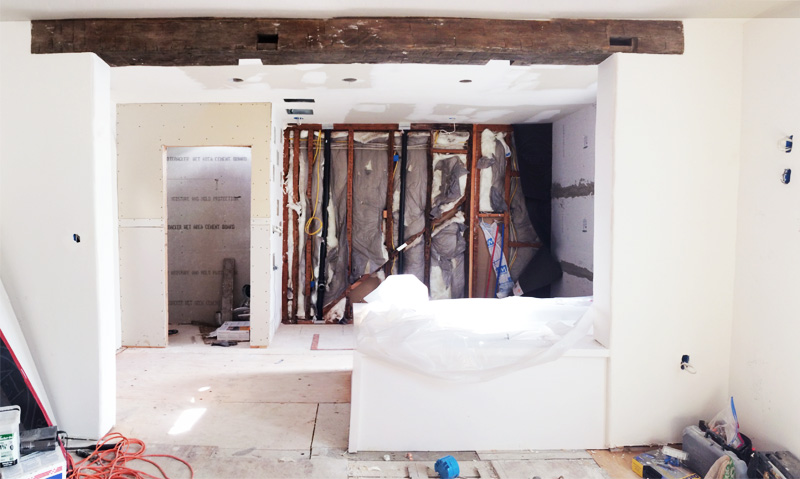
Week 14:
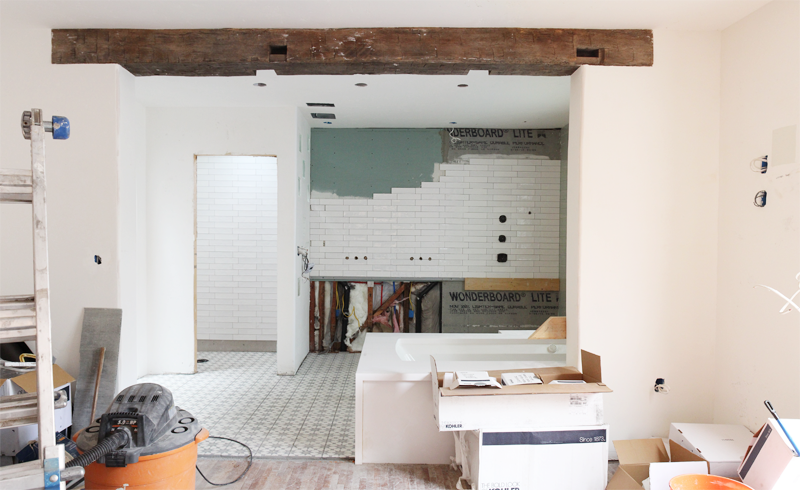
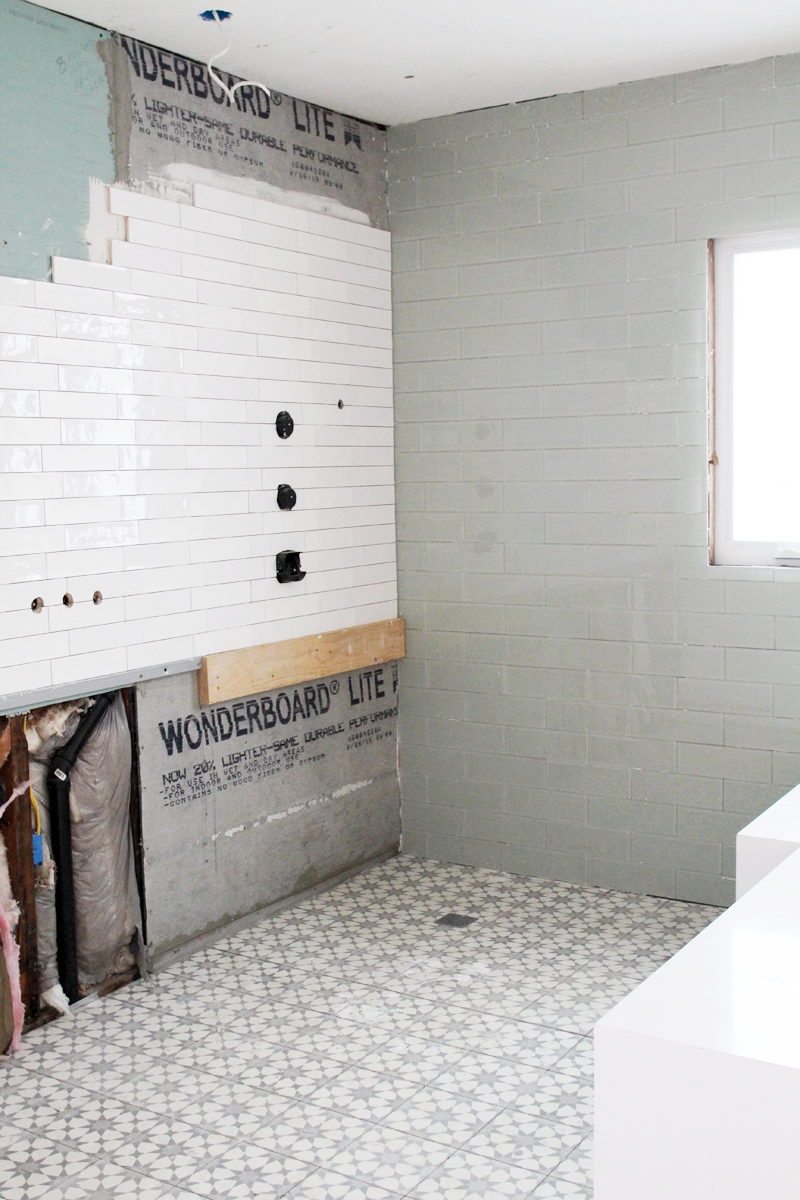
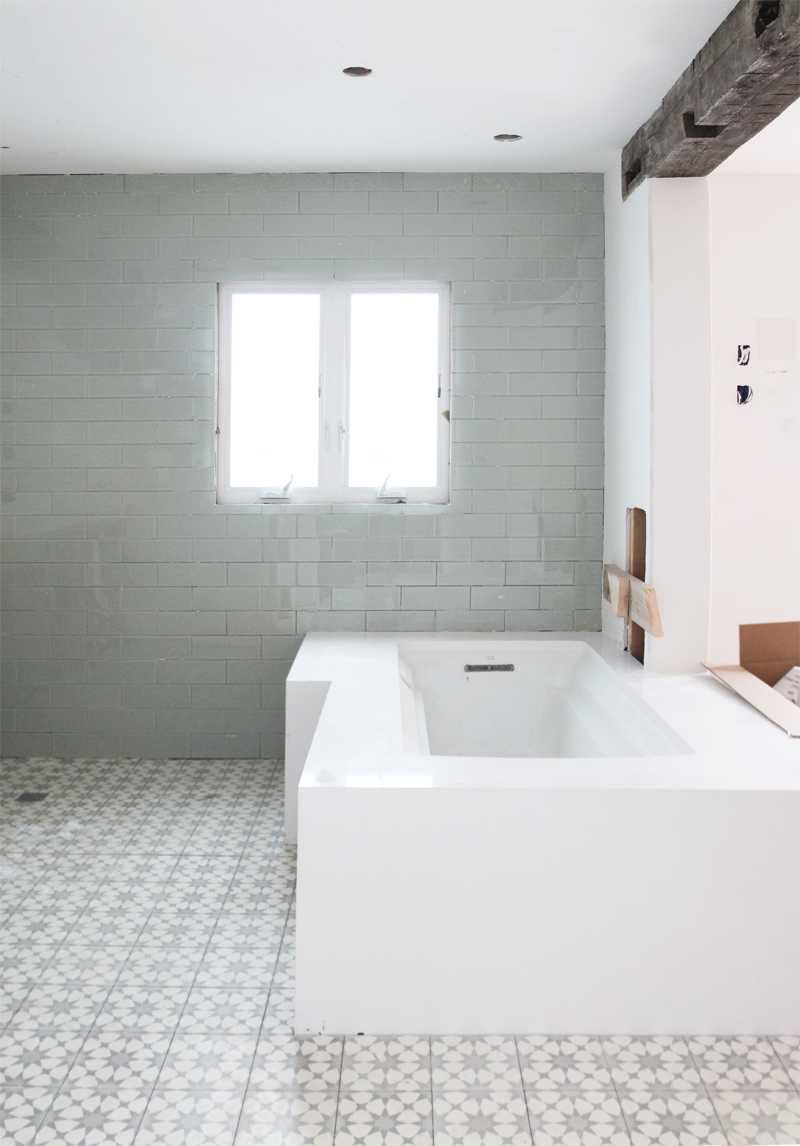
Weeks 13-14 brought with it additions I’m head over heels about. The subfloor now has radiant heating and tile, the plumbing for the shower and vanity faucets has been finished (BIG job!), Hardibacker and Wonderboard now cover all open walls (with exception of the last bit of vanity plumbing), the window (west) wall has been tiled and the vanity (south) wall was started.
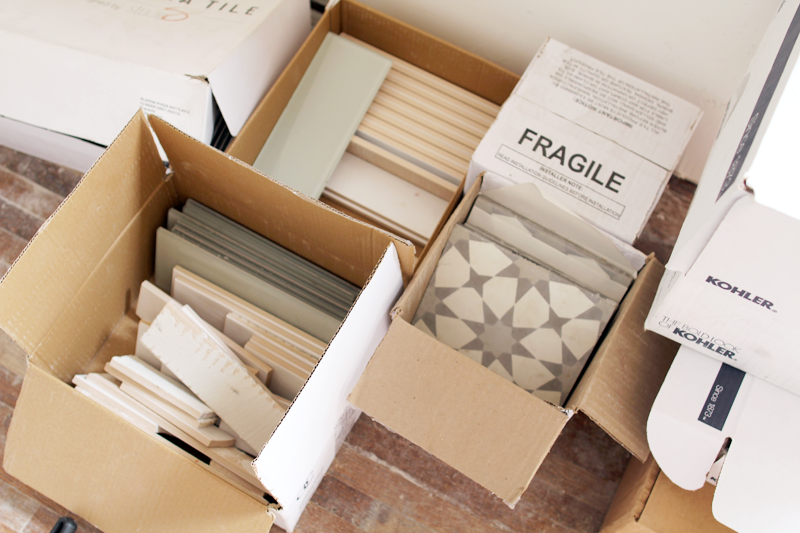
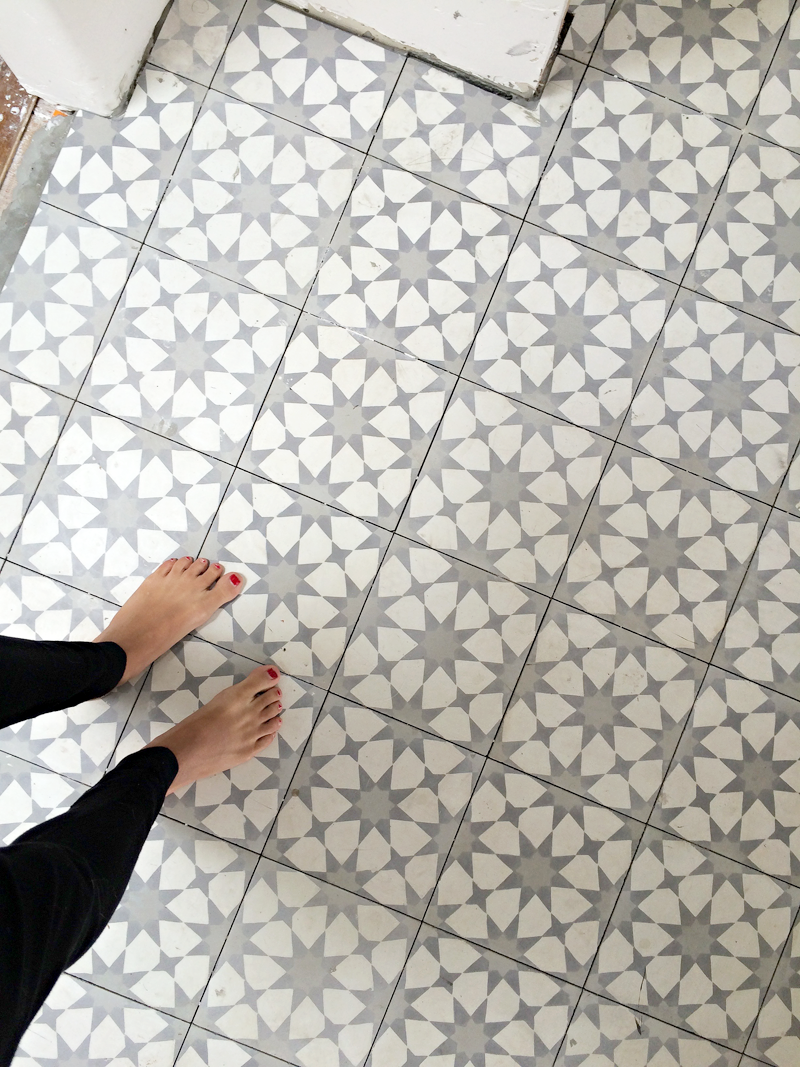
It’s thrilling to see tile choices become a reality. Watching the cement floor tiles go in was probably the highlight of my remodel month. The pattern was bold for our often play-it-safe choices, but the end result was right on target.
Same goes with the glass green wall. Even as it was being installed, Kevin wondered if we should have gone all white here. Once it was finished though, that vision that I’ve had working through my head came to fruition and it was better than I had imagined.
An area of concern (and one that brought MUCH agonizing over tile choices, causing even more delays) was how the glass tile would marry up with the ceramic white subway tile in the corner of the bathroom where the two would meet. The ceramic tile that I had fallen in love with was only 2.5 inches tall, a really odd size in the tile world. Finding a green glass subway that complimented that nicely took A LOT of digging, but when we settled on 4×9″ larger tiles and laid them out in completely different patterns (the glass in a brick – or 50/50 pattern – and the white subway in a 20-80 pattern), the two materials began to work seamlessly together and the corner of the bathroom was no longer a major concern..
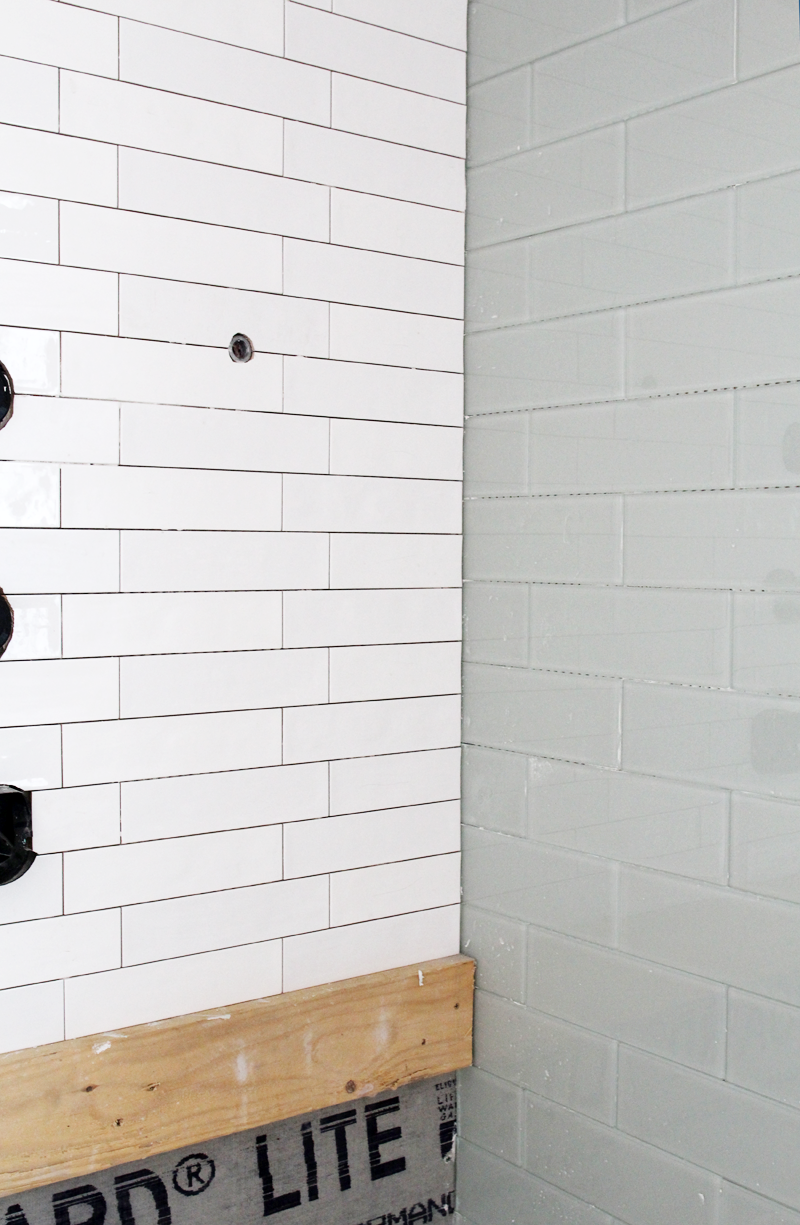
We initially planned on tiling the floor of the shower space (this corner here) in a solid grey 2×2″ tile, but once we saw how amazing the patterned floor looked, we decided that carrying the tile through into the shower pan would be first choice. We worked with our contractor (our close friend) to make sure that the grade (2% at a minimum to allow for proper drainage) could be achieved for that zero floor look.
This is pre polishing, pre sealing, pre grouting…

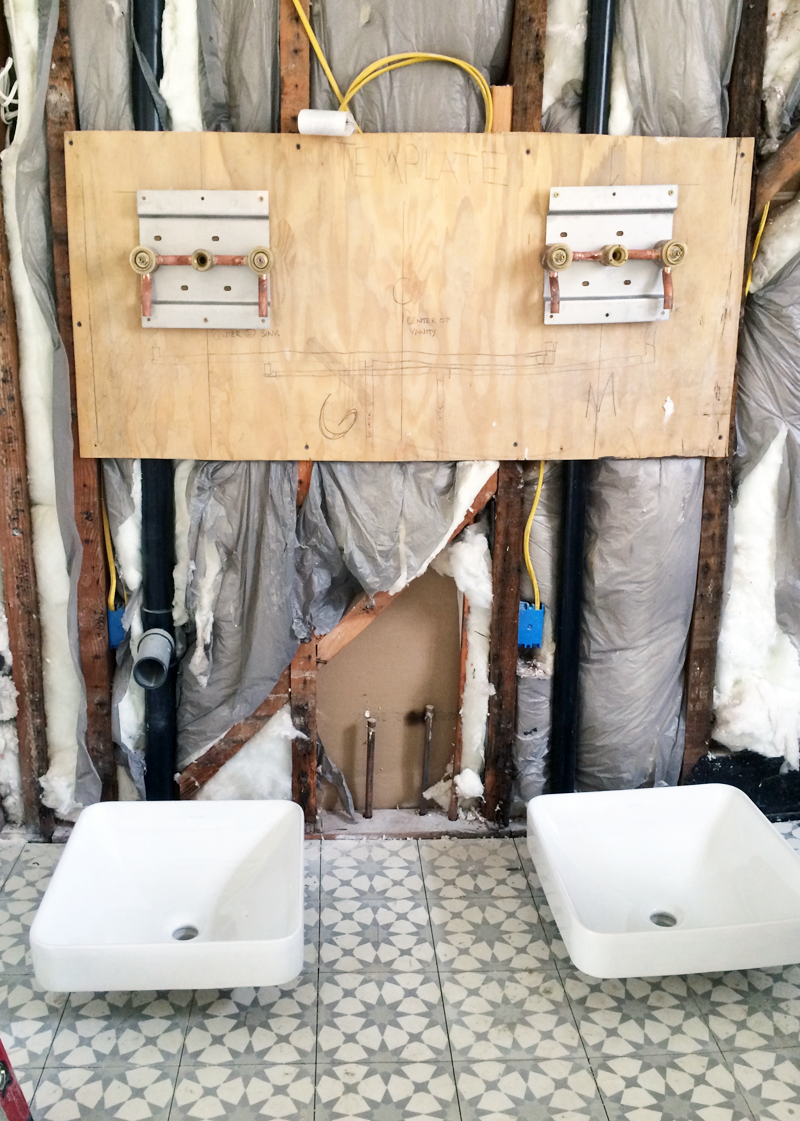
When it came to finishing up the vanity plumbing, I took my question on vanity heights to Instagram and came back with some great answers. Kevin and I compromised on the standard 34″ vanity height (which doesn’t include the three inch vessel sink lift) since he’s so tall and I’m so short :). A short vanity countertop for me, taller sinks that hit at 37″ for him. Our contractor left this template up in the bathroom so that we could actually visualize where the mirror and faucets would hit at the heights we had decided on. This step was incredibly helpful to confirm that we were making the right choice!
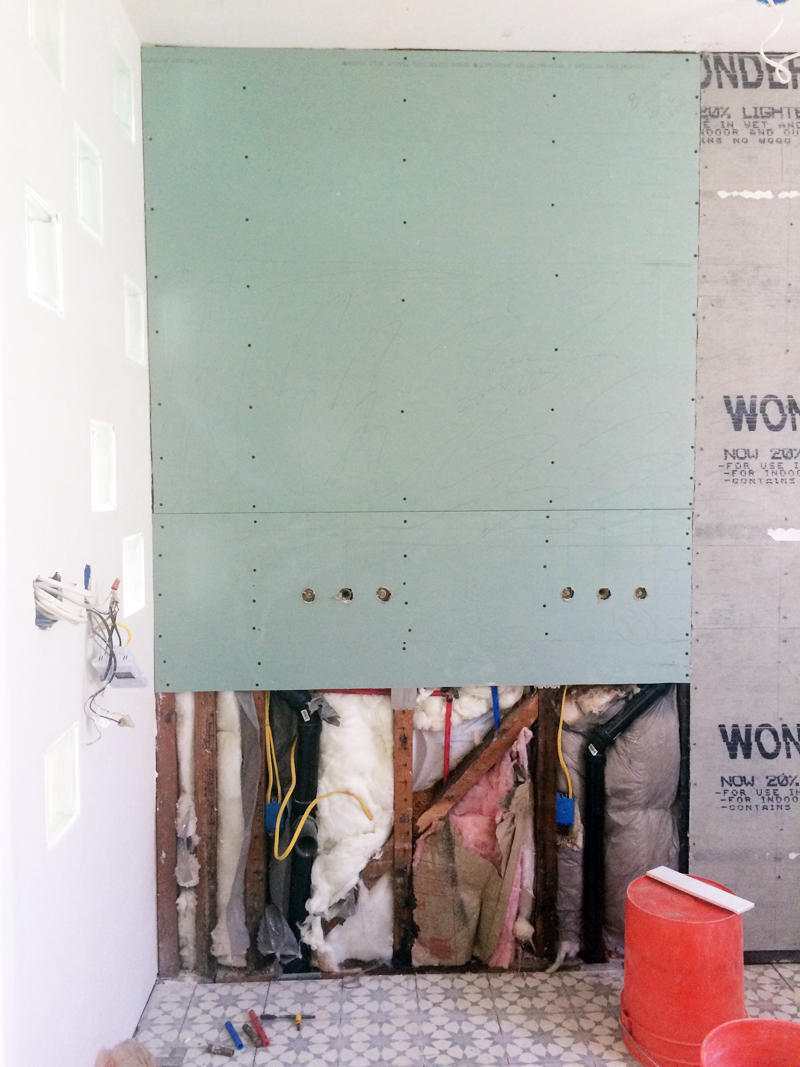
On to sealing and grouting the tile, next is plumbing the bathtub, installing the toilet and finishing the closet design. Kevin and our neighbor are building the vanity this next week as well, we’ve decided on walnut and it should be beautiful.
PS the renovation journey of this space found here.

