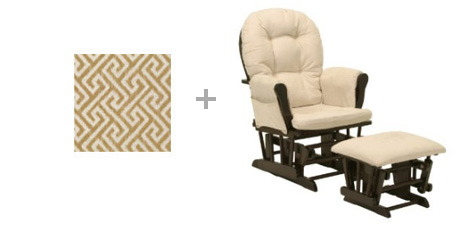
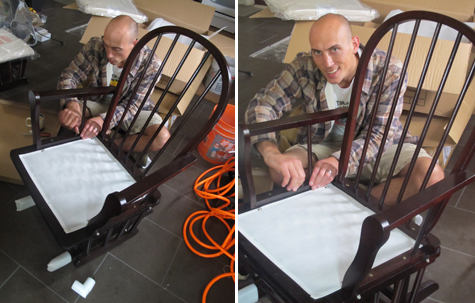
Remember back when I first started the nursery curtains only to discover a little snag in the plan when the fabric arrived? The back-up fabric for the curtains worked out beautifully, but I was left with five yards of a great fabric that I needed to find a project for.
Enter basket liners part 1. Our changing table (which received this makeover) holds four baskets from Amazon that fit it perfectly – but the white liners were lacking for looks.
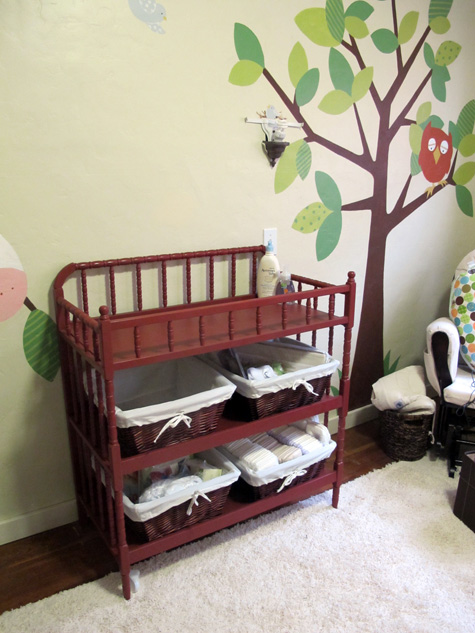
When my aunt (an excellent seamstress whose skills I envy) asked if she could sew something for Olivia’s nursery, I asked her opinion on the liners and a couple of other projects (soon to come).
Liv loved the idea!
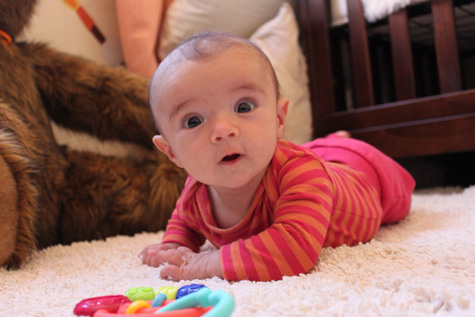
And the baskets look amazing, just what the space needed!
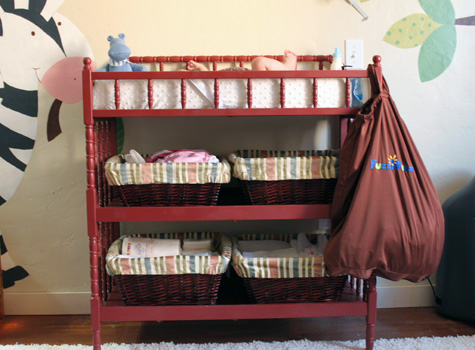
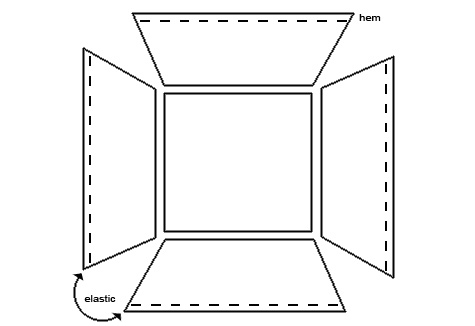
To sew liners for your own baskets, create a pattern by using a seam ripper to take apart the current liners. If your baskets are empty, use the measurements of the width, depth and height of each edge and the base of the basket to create a pattern out of paper (don’t forget to take into account the hem and overhang on the outside of the basket). Use the paper to cut your fabric pieces and sew each edge. A little elastic in the outside hems around the corners will help keep the basket liners in place!
Easy! A quick makeover that changes the entire look of the baskets.
That’s our hanging diaper pail from our cloth diapering adventure hanging on the right side of the table next to the hanging hamper that we love. Dirty cloth diapers go into the wet pail (which keeps all smells out) and dirty clothes are tossed right into a washable hamper.
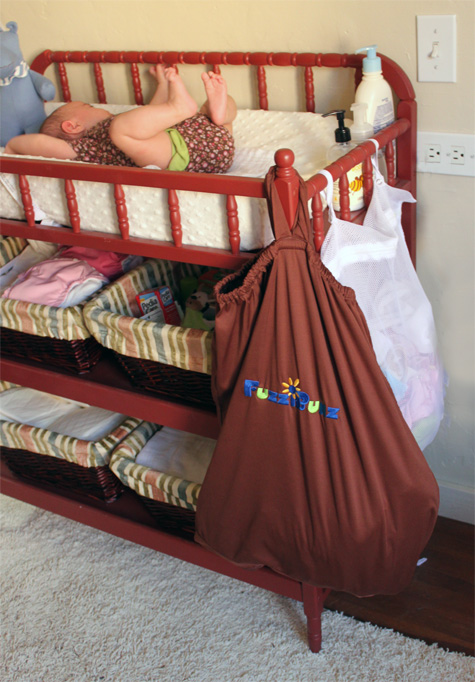
Liv digs it.
Thanks great auntie Laurie!
More Project Nursery posts: the great glider makeover, sewing the curtains part 1, part 2, part 3, nursery fabric board, curtain fabric selection, rocking horse find, new pendant light, vintage wall art addition, changing table makeover, nursery wall striping tutorial, painted animal project, the initial inspiration board and the before picture posts.

