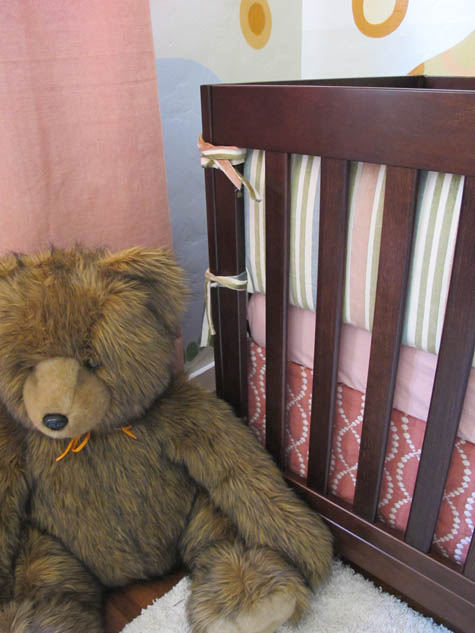
Here’s a quick and simple way to create a crib skirt.
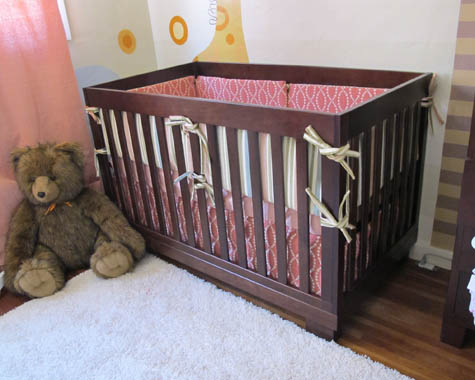
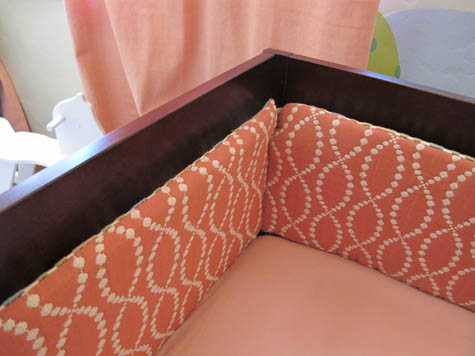
And a closer look at just the skirt:
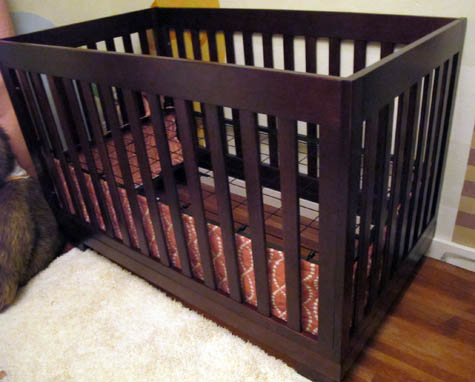
As you can see, it’s actually paneling rather than a sheet with a skirted edge. This makes it easy to create, install and update for raising and lowering the mattress as your child grows.
My initial inspiration was from Young House Love’s quick no-sew tutorial – so clever! I modified it to fit this project since my thicker, quilt-like fabric needed a real hem rather than a heat bonded version.
*******************************************************************************************
DIY Crib Skirt
a
Materials: fabric, matching thread, sewing machine, scissors, 1 strip sew-on velcro(or ‘aplix’, ‘hook & loop’), 1 strip sticky velcro (this velcro has a sticky side for stick-on application)
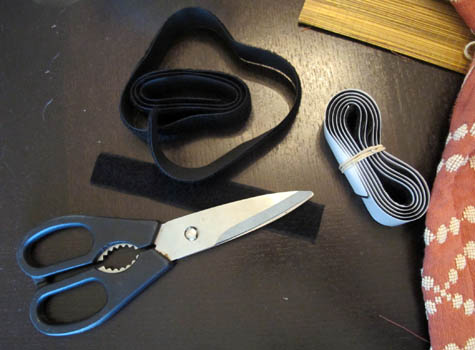
1. First up is measuring your crib and allowing for a one inch hem on either side. A standard crib is 30×54″, but all are a bit different so it’s best to measure yours firsthand (measure the height in the frame’s highest position). Don’t forget to just measure the actual mattress frame and not the wood frame.
Our crib is 28×52″ with a 13″ height to the floor, so I cut my longest panel of fabric to 54×15″ and the two side panels to 30×15″. No need for a back panel since the crib is pushed up against the wall.
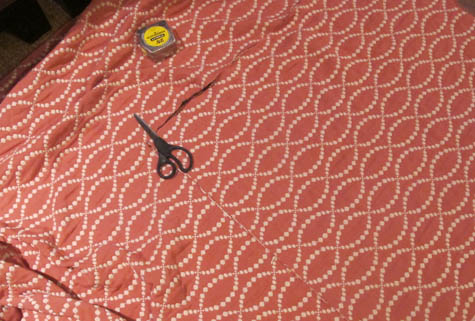
2. Sew a quick 1″ hem on the edge of each panel. Now your fabric panels should be the correct size.
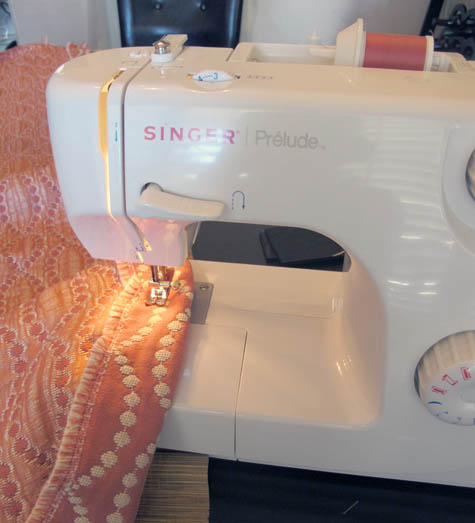
3. Using the sew-on velcro, cut 1-2″ strips and pin into place every 10 inches or so along one of the longest hems (now the top hem) of each panel. Use your machine to stitch down or hand stitch into place.
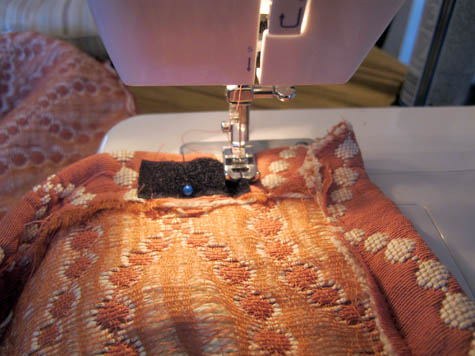
4. Cut similarly sized velcro pieces from the sticky velcro strip and add to the sewn velcro pieces.
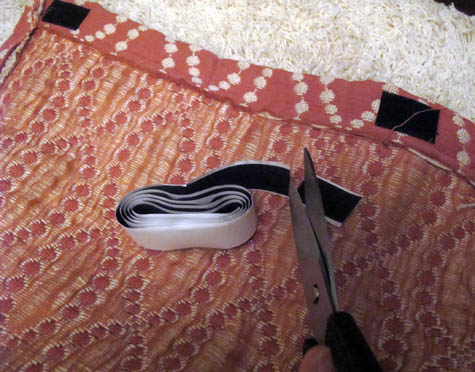
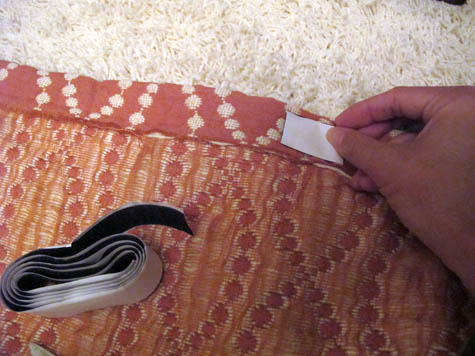
5. Now it’s time to add your new panels to the empty metal crib frame.
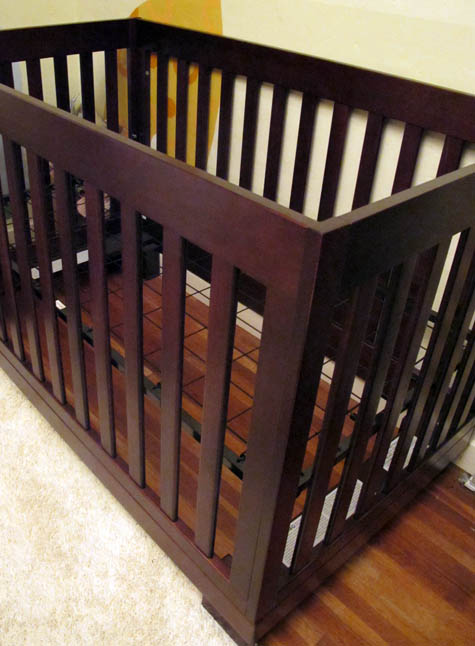
This is where following the photos may get tricky! Here’s a detailed breakdown…
a. With the sticky velcro attached to the sewn on velcro (see the white paper? that’s the sticky side), slip your fabric panel between the wood crib frame and metal mattress frame.
b. Take off white sticky paper
c. Attach to outside of metal frame
d. Tada! here’s how it should look!
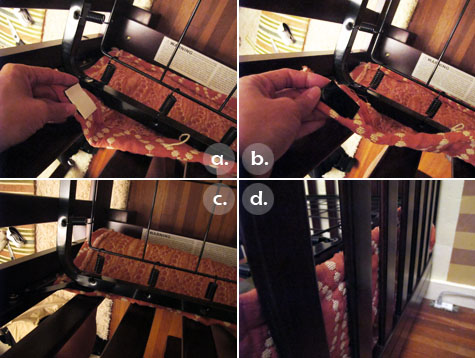
6. Repeat for the additional panels.

So easy!
7. Stick several additional velcro sections to the middle cage on the metal mattress (the part that the mattress sits on). This will allow you to move up the panels (using the velcro already sewn to the top hem) when you drop the mattress so that the fabric panels are always the perfect length.
Here’s the final bedding set:
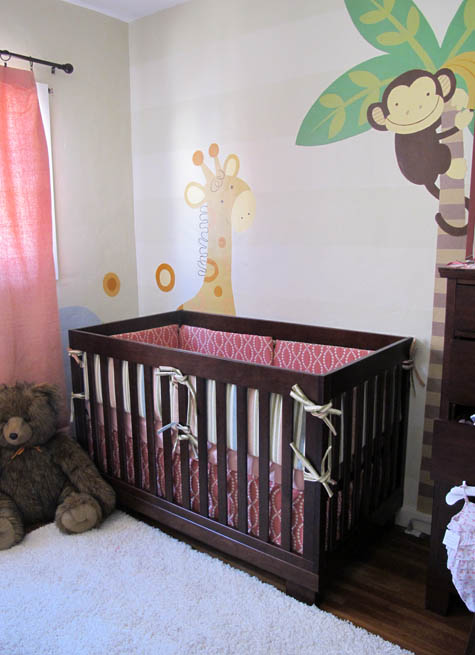
Use any fabric for this project – bright, patterned, vibrant, custom, etc to add a splash of personality to any nursery! And don’t forget that if your chosen fabric is a simple cotton, you can do this entire project using hem tape for a no-sew option.
There’s plenty more where that came from…
More Project Nursery posts: basket liners part 2, basket liners part 1, the great glider makeover, sewing the curtains part 1, part 2, part 3, nursery fabric board, curtain fabric selection, rocking horse find, new pendant light, new sconce lighting, vintage wall art addition, changing table makeover, nursery wall striping tutorial, painted animal project, the initial inspiration board and the before picture posts.

