We have a project over here that’s been underway for some time. Eight months to be exact. For those eight months we’ve had a rather large hole in the very center of the house, a hole waiting to be filled with a brand new full bathroom.
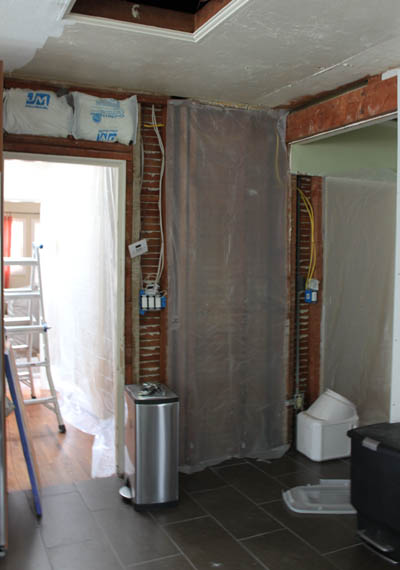
We’ve always known that adding a second full back to the house would be a necessity at some point, and it was about a year ago that we decided to take on the monster task of converting three adjoining hall closets into a bathroom complete with tub and shower.
But what I think I always glossed over (funny how that happens) was that this bathroom was, much like our kitchen, going to be built from scratch. So before we could pick out pretty tile and I could get excited over lighting and vanities, there would be serious demo, electrical, plumbing (oh what a messy, time consuming project – if your hubby tells you not to use the bathroom while he’s cutting into the main sewer line, DON’T forget no matter how badly you have to pee), venting, sky light placing, wall building, dry walling and plastering to do. That plus creating plans and getting approval from our city’s inspection office to determine that those crazy changes were in fact structurally sound. Wait, are you still laughing at the plumbing part? True story.
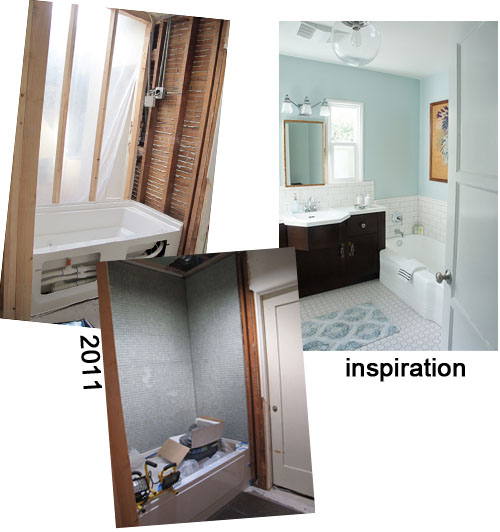
So we were way ambitious on breaking ground in March of 2011 and overshot our projected two month timeline after many delays that we just couldn’t prevent. Two months turned into eight and eight felt like for.ever. Here’s the visual:
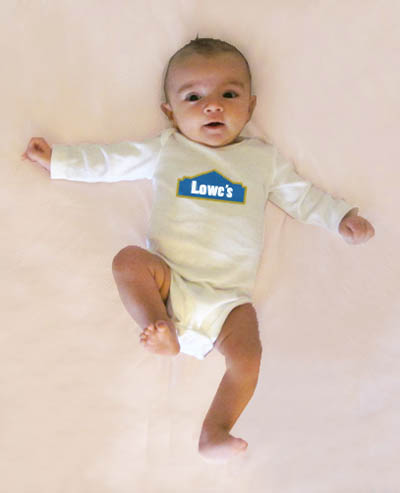
Just four months old!
And here she is at almost a year.

So much bigger! Eight months can feel like a long time. I’m so ready to patch up the 10×10′ hole in the center of the house!
As you might recall, we’re partnering with Lowe’s on this project to get it done! There’s a Lowe’s just around the corner from us and we’ve conveniently shopped there for so many different projects in the house (kitchen cabinets, guestroom, outdoor kitchen…). They’ve always had a much greater selection of decor related items too, Lowe’s is where I found an awesome silver leafed full length mirror a few years ago (see master bedroom), a nice selection of wallpaper (credenza project) and have you checked out their recent line of Waverly curtains? They carry this brown trellis fabric that I recently found at Ballard Design for $40/yard before snatching up a single panel curtain (3 yards!) for $14.99 in the exact same design.
Needless to say we were so excited to team up with Lowe’s to create a unique bathroom that was us and that fit our little bungalow well.
It’s been a while, so I’ll quickly catch you up to speed on the progress that we made back in April, and then the few weeknights that we tore back into her in an effort to speed things up. The story starts with a set of three hall closets that sit in the middle of a rather large hallway at the very center of the house. There’s Liv’s room to the left, the dining room through that hallway at the front and the new kitchen to the right.
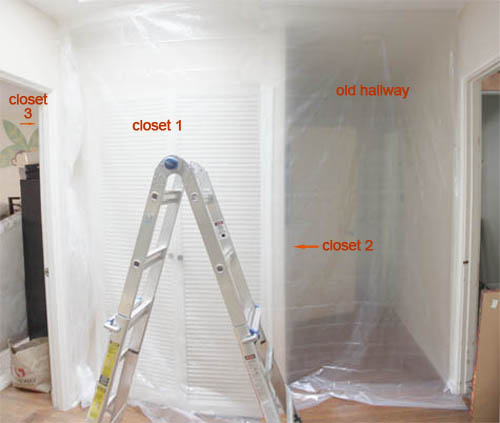
Closet 1 was a coat closet of sorts that opened into the hallway, closet 2 opened at the other side of the hallway and stored all of our cleaning products, closet 3 was the closet in Liv’s bedroom for extra bedding. What you can’t see in this photo is closet 4, which is behind me taking the picture and to the right. It also opened to the hallway and was plenty large enough to hold the necessary hallway goods.
So what to do with three adjoining closets so perfectly poised to become a space on their own?
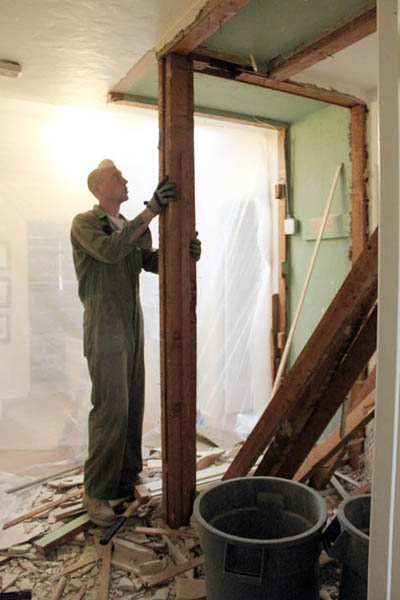
The house is just too small to justify four closets and so much unused hallway space. Plus, a second full bathroom means we can seal off the first for the master suite (which we hope to tackle at some point) and Liv will have her very own kids bath, plus guests will have their very own shower. As you can see, one of the doors to the bathroom opens right into Liv’s room, making it perfect for use with kids and guests.
Demoing was the easy part. Next was framing out the new space and determining the proper layout for the bathroom.
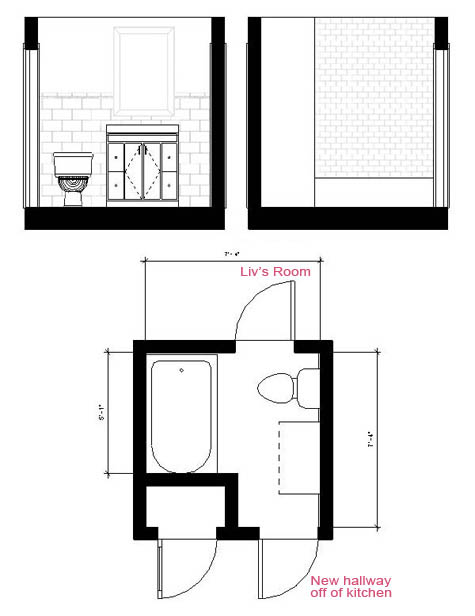
Once we had a plan in mind (that new little closet to the left of the door to the bath facing the hallway will become the pantry to the kitchen) we set out to find materials.
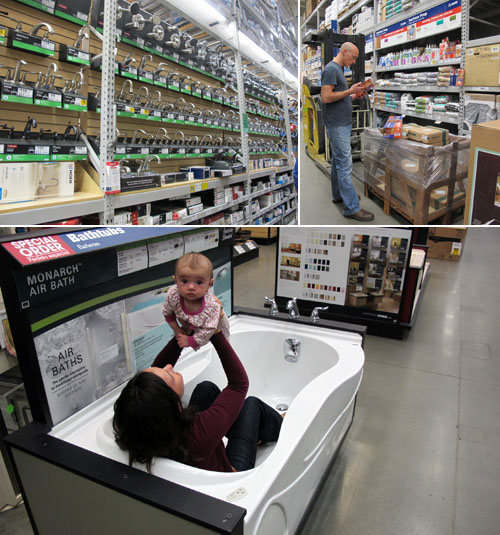
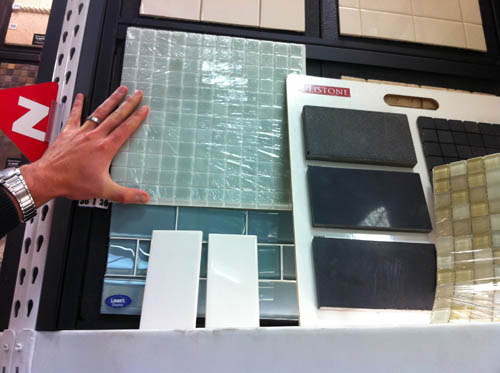
Oh man I love Liv’s face in the bottom photo. And she doesn’t even realize she’s flying in a bathtub in the middle of a store. We haven’t picked out everything just yet… but this is the color palette we decided early on.
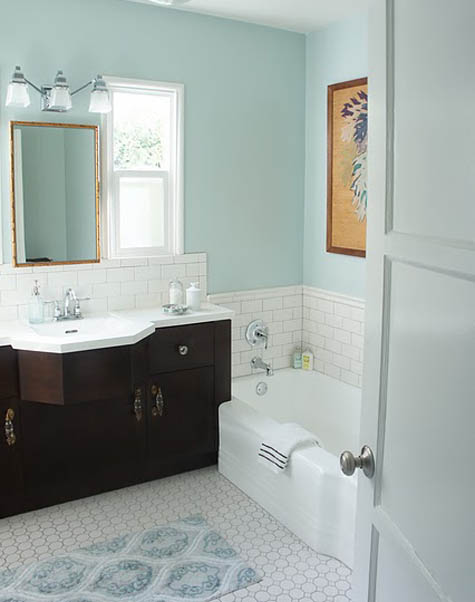
Which goes well with the inspiration image that we’re working with. This is also my best tip for happy remodeling – choose an inspirational image (or images, board, etc) that you both love before any work is started and use that image to resolve differences in decorating opinions (that’s the PC way to put it) when they come up. Does Kevin want to suddenly incorporate a ruby red tile skirt around the bathroom? Nope, not in the inspiration image(s). No, he really didn’t make that suggestion but we’ve had a few ‘let the inspirational image decide’ moments :).
We chose a tub back in May and installed it in the new space. Read all about that decision and how we chose the one we chose here.
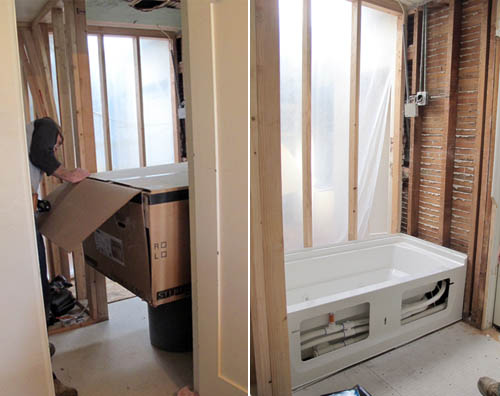
Next up came sealing in the walls around the tub. First was installing tar paper to keep that nook extra water resistant and then a layer of drywall.
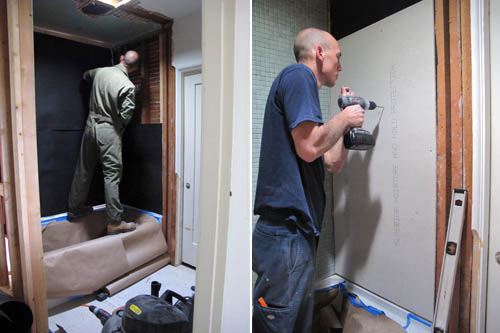
Our little tiling tutorial (for those tricky 1×1″ tiles) can be found here.
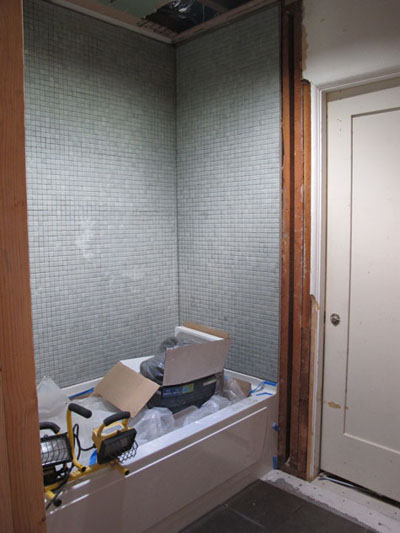
And now you are up to speed! The exciting news is that we have dedicated a whole week (Kevin’s on winter break) to knock out this bath from here to the finished product. Let the clock start now. (happy dance)

