I’m excited to share with you my Pinterest Challenge project! As mentioned last week, this quarterly challenge is all about tackling a project that’s been inspired by a pinned image or idea.

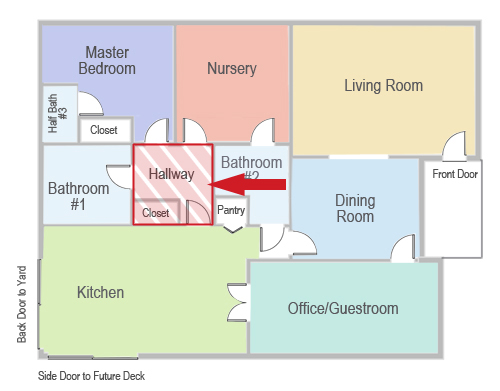
On Thursday I announced my hallway makeover plan and how I wanted to create a neat accent wall on the large and blank surface that greets us when we head back to the bedrooms.
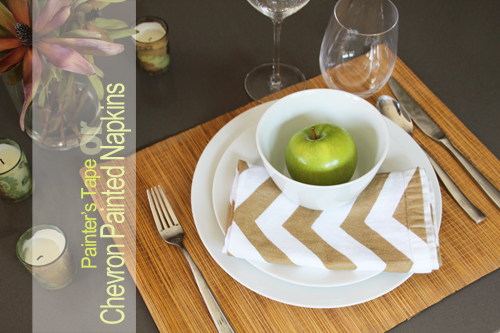
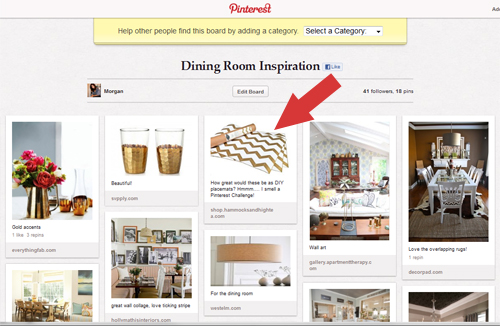
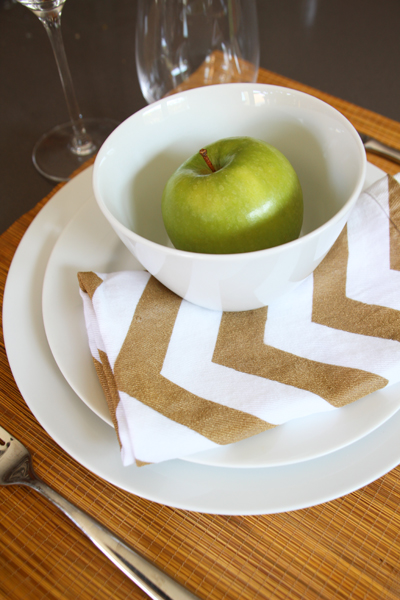
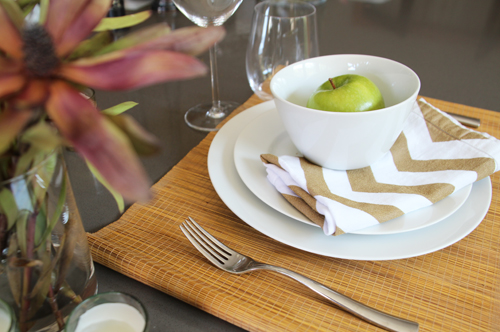
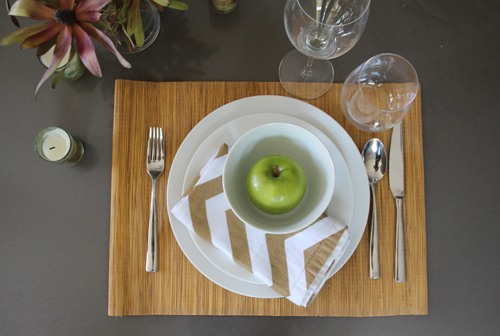
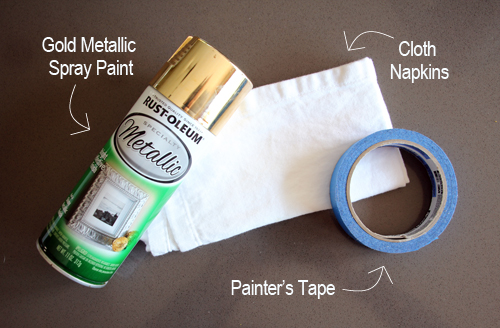
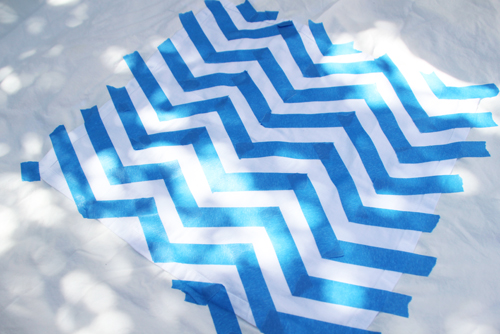
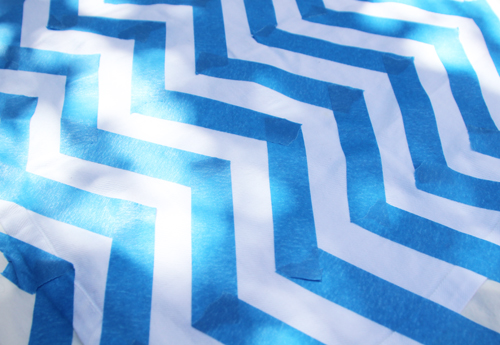
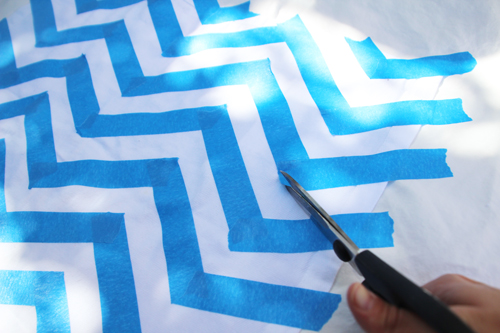
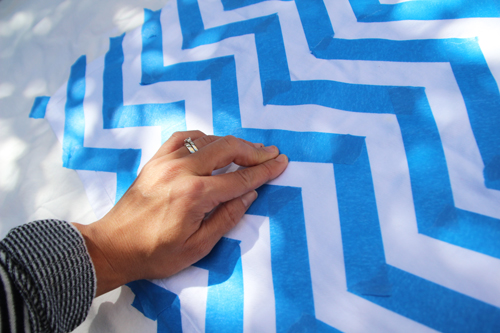
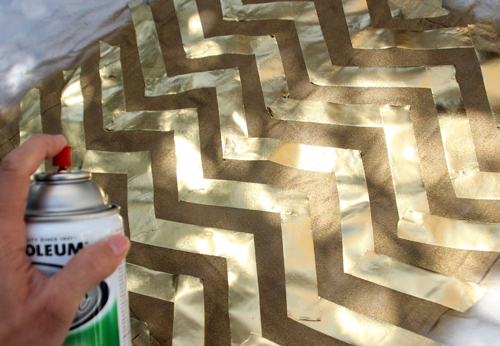
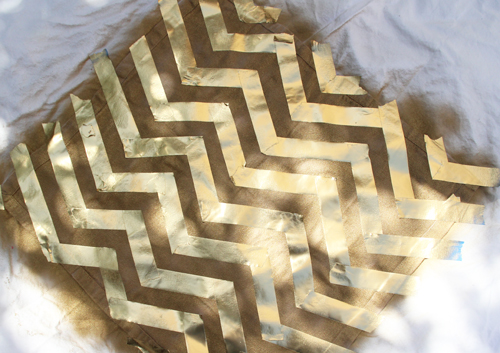
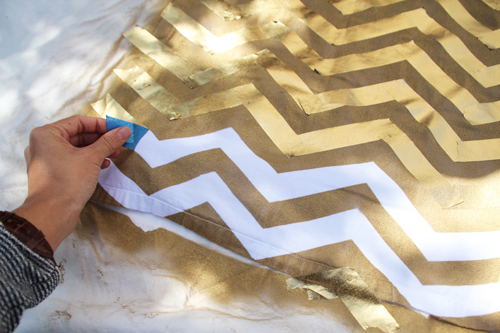
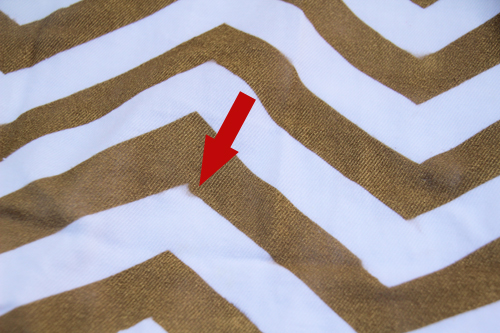
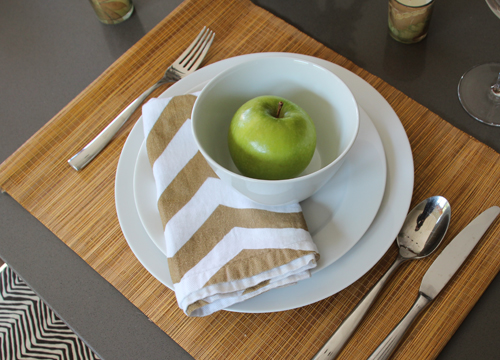
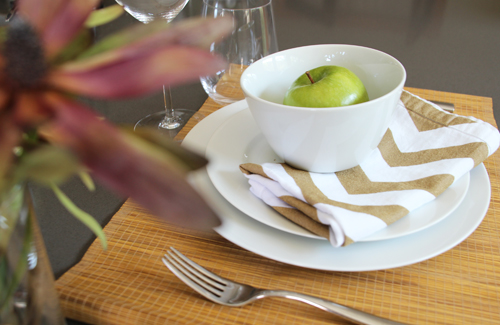
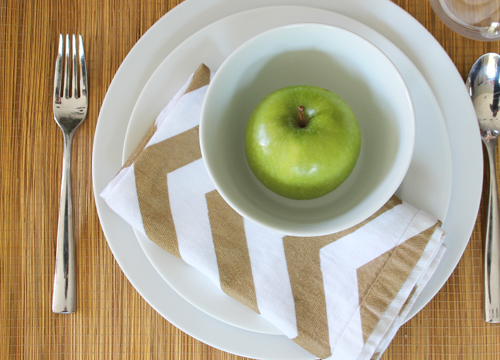
I actually had a hard time nailing down just one project so I’ve got two more to share (this cool painter’s tape gold chevron cloth napkin design from yesterday and the other a surprise for later this week :)).
Of the three projects, the biggest to tackle was by far the hallway.
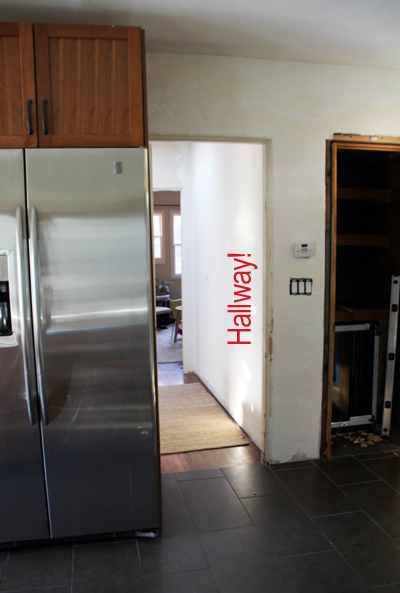
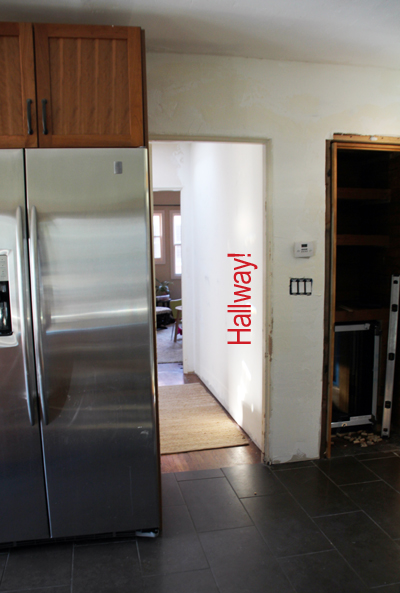
Since taking the above photo, we’ve actually patched and painted that wall of the kitchen (on the outside of the hallway) and have added molding where you can clearly tell it’s missing. It’s a nice update, too.
The wall originally hosted two closet doors and the entire space started as a tan color, but when we built that new middle bathroom the wall came down to help with electrical and plumbing, and went back up as a solid white blank canvas.
But today? She’s not empty anymore.
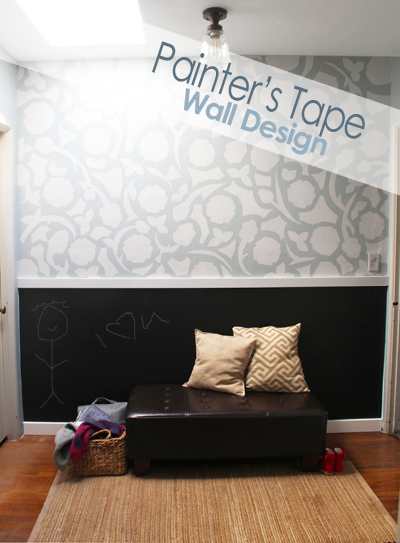
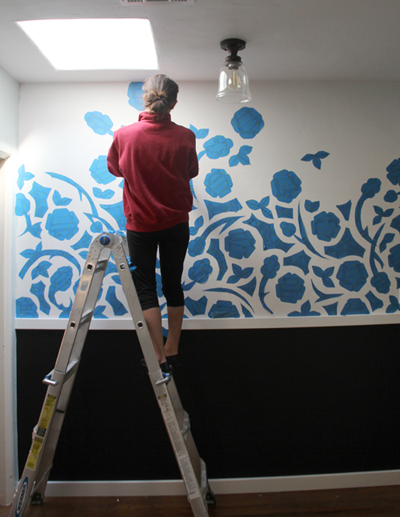
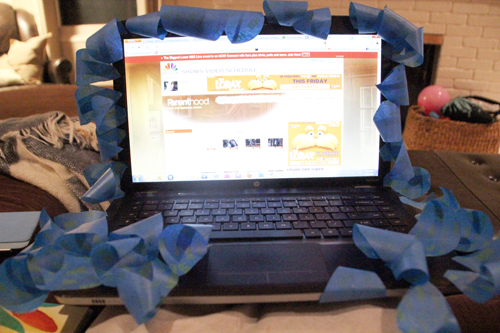
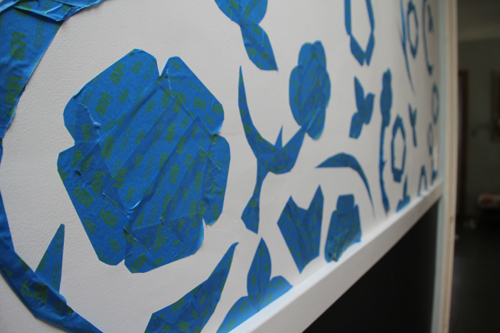
I created the block print design out of painter’s tape, scissors and two contrasting colors of paint. I attempted to stick with shapes of tape that were pretty easy to assemble (in front of the TV, while on the computer, etc) so that I could whip out a whole bunch of the same shape at the same time.
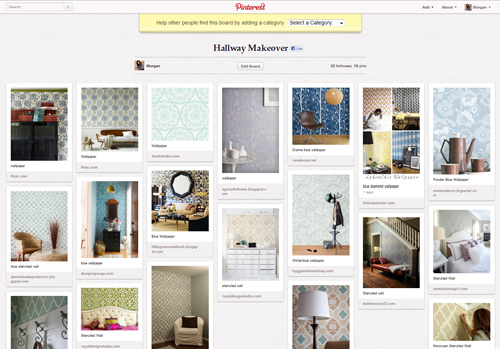
My inspiration for the project developed out of this Pinterest board:
I had started with the idea that I’d wallpaper that upper section above the chair rail and then I moved on to stenciling. But after hunting for just the right pattern for a bit I decided to try something creative by making my own. Check out this project for a different sort of hand painted (and very awesome) set of walls, too.
When it came to prepping the actual wall and hallway for this project, we first patched, plastered and painted with a primer. Three of the hallway walls were painted “Feeling Blue” from the Valspar paint deck but that last accent wall was left white.
I’m really happy with the blue that we ended up using in the space. I was searching for that perfect gray/blue and this one is close to fitting the bill. It looks very grayish at certain times of the day but over all feels fresh and blue.
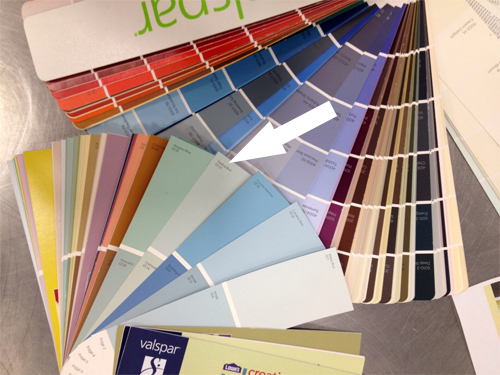
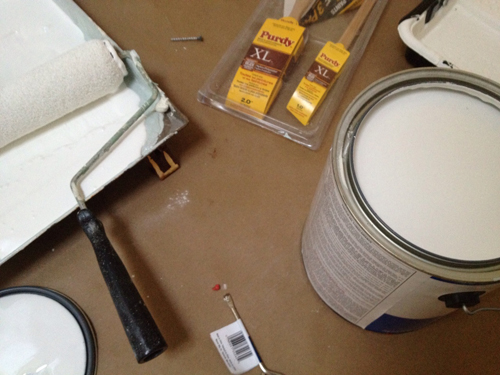
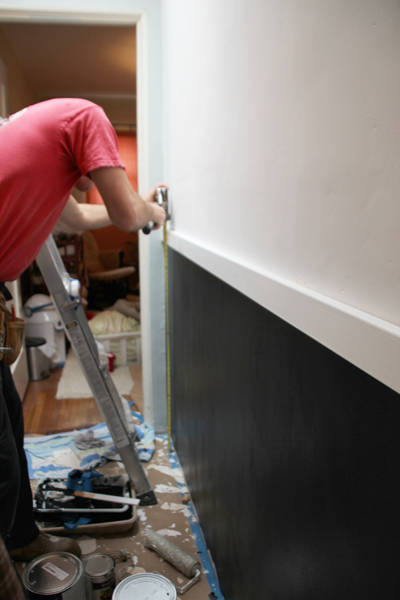
After painting the hallway, we measured out the bottom chalkboard portion of the wall and gave that several good coats of chalkboard paint (that little portion used up an entire quart!) until the section was a rich black.
Kevin lined the top and bottom of the black with baseboard and a chair rail painted the same white as the ceiling and trim (that we’re slowly cleaning up).
Then came the fun part!
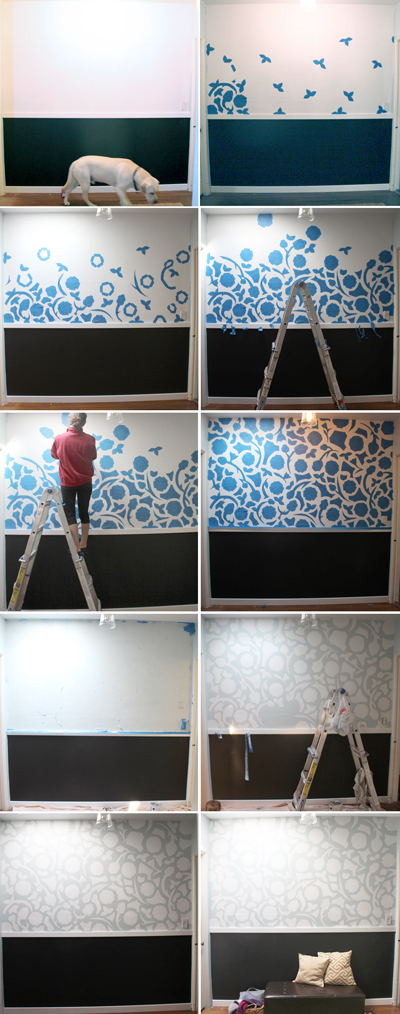
I slowly began filling in the space with my painter’s tape shapes until the wall was completely covered. Instead of sticking to a strict pattern or design, I sort of just filled in the gaps to create a fun block print that wasn’t too overly detailed.
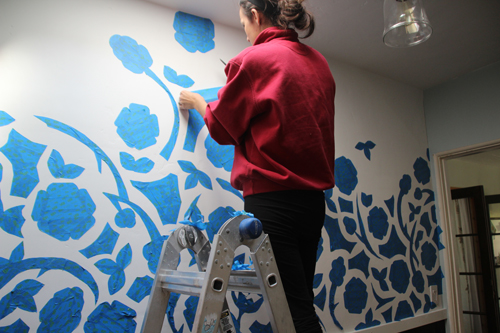
The design consisted of little bunches of leaves in twos or threes, a five sided round flower, a hycinth-esq flower on a curvy stem (the hardest shape to create) and then filler shapes in various sizes as needed.
When all of my taped shapes were up, I painted over the shapes with the same Feeling Blue as the rest of the hallway and let dry. The next day I began slowwwly peeling my paint off.
If I were to do this project again, I’d first paint over the wall in my same base coat of white to really help seal those edges, just like I did when painting stripes in the nursery, then I’d top that with my blue.
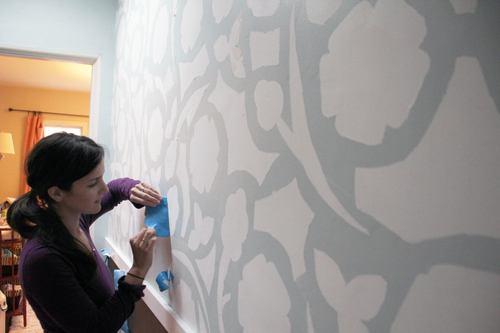
The first snafu that I actually ran into is that I had left the tape up for too long! And had probably taped too closely after the primer had been applied (maybe a day) because as I pulled tape I also began to pull up chunks of the paint from underneath.
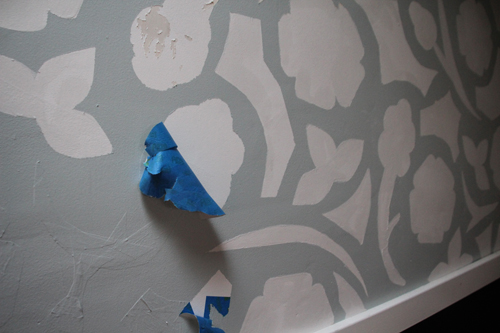
Oh so devastating! To fix, I used a sanding bar to break up the rough edges of the peeled paint and then repainted in white. Thankfully this wall has a slight Spanish texture (as do all walls in our bungalow) so this last-minute fix wasn’t too noticeable.
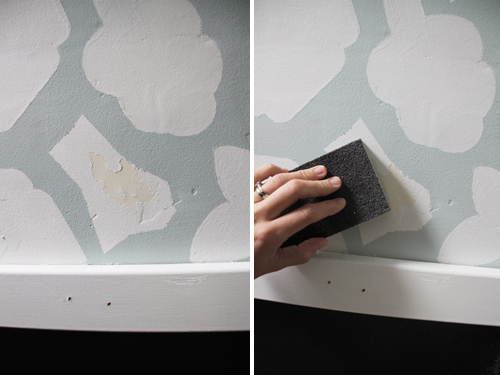
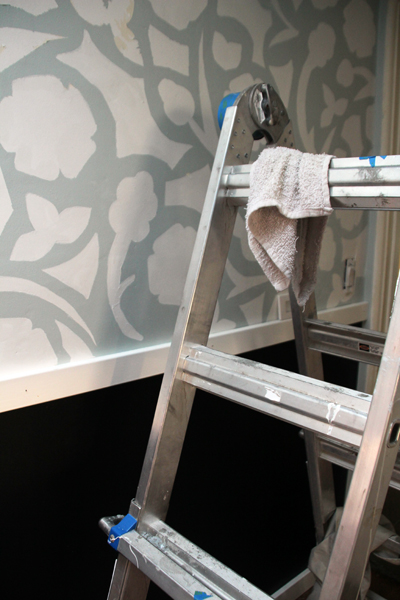
I also found myself retracing all of the shape edges with a small angled brush and more white paint to keep from the blurry bleed lines that appeared around the edges.
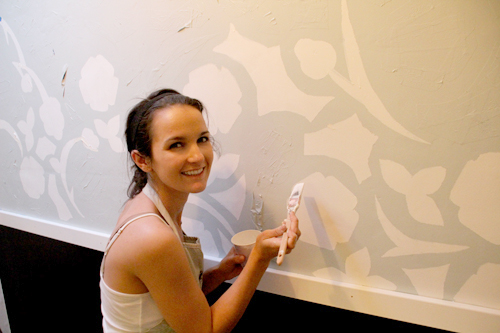
A late night photo! I ended up tackling the wall section by section, first pulling up tape and then touching up with white paint before moving on to the next section.
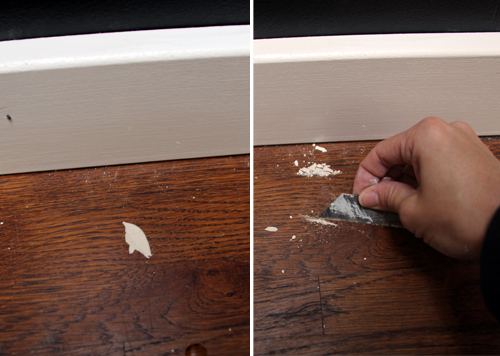
I used a dropcloth for the big paint jobs but for my minor touch ups just relied on a straight edge raiser to pull dried paint right up off of the hardwood floors. A nifty trick!
My set backs meant that this was not an overnight project by any means, but I really love the results so I’m definitely happy I put in the time and late night motivational pep talks to get ‘er done.
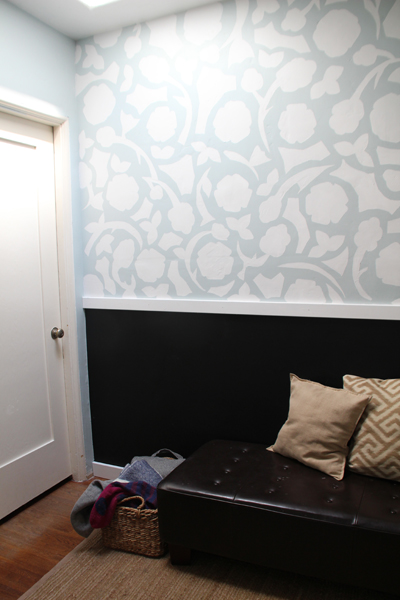
I love the idea of using the space as a drop zone for bags and coats, and a comfy place to slip shoes on and off. We don’t have an entry or mudroom and an easy spot to set your purse/diaper bag on the way in is a must. This particular bench might be too big for the area but we’ll see how it goes.
I also want to make sure Liv has plenty of access to her new huge drawing board! And while she can’t scribble now (yes, I did those stick figure drawings in the ‘after’ shot *sigh/wink*) I know she’ll dig it in a few months.
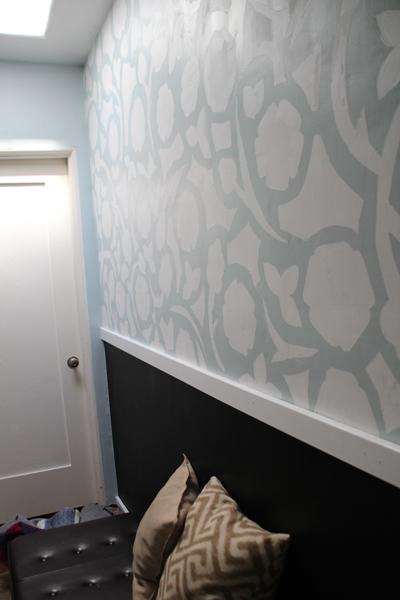
I’m thinking maybe a picture wall above the chair rail? That plus the rest of the doors and trim are screaming for a fresh coat of white! I had hoped to finish the entire hallway but that just wasn’t in the cards.
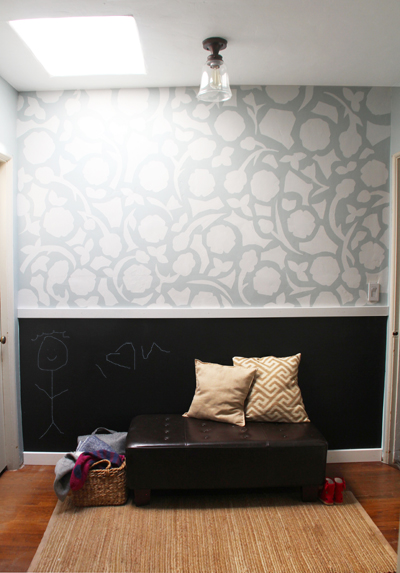
What do you think? I hope you love it as much as I do! Did you participate in the challenge? Would love to know what you worked on.
PS You can check out my DIY capiz pendant from the Fall Pinterest Challange right here!

