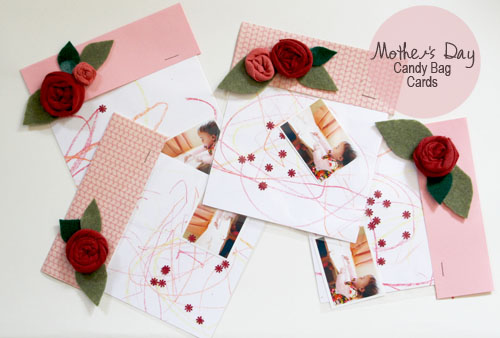
Liv has just recently discovered the world of crayons, colored pencils and drawing (right about the time I made the floating bookshelves for the tree painting in her nursery and stocked up on the art must-haves), so this Mother’s Day I’m creating little gifts for her Grandmas and Great Grandmas out of her very own art. Speaking of, if you are one of the above mentioned, I recommend skipping this post or you might spoil your surprise :). Oops, maybe it’s too late.
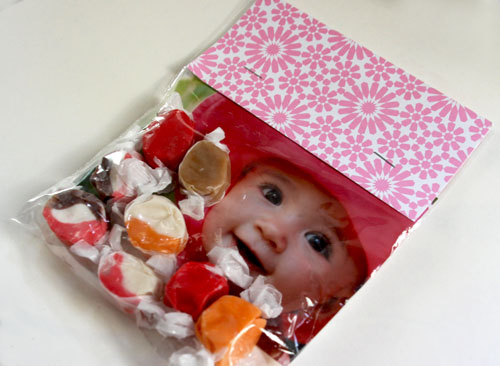
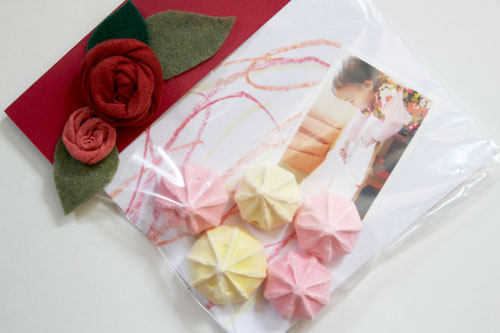
I call these guys candy bag cards because they’re made out of the small clear bags found in the make-your-own-candy aisle of most craft stores. They’re perfect for packaging up wedding favors, homemade lollipops, handfuls of M&Ms and adorable pictures or pint sized drawings by your kids!
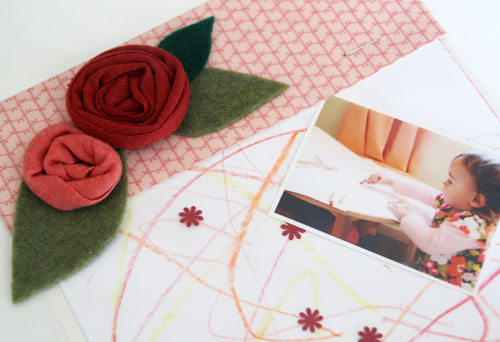
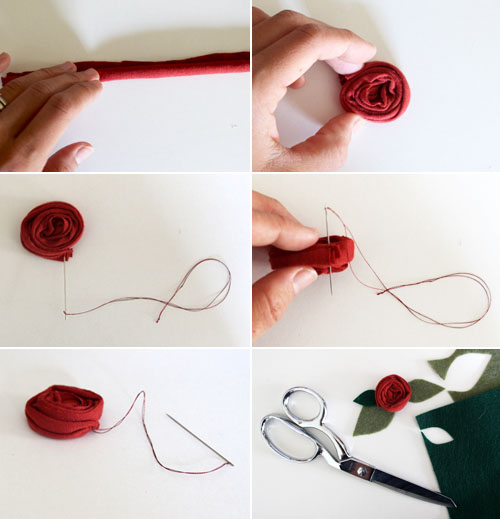
To add a little of my own artistic love to each drawing bag, I made little rosettes out of cotton fabric and felt. They’re really simple to whip up and are a favorite little accent of mine.
The last time I created these little treat bags-turned-card was for Valentine’s Day when I sent salt water taffy and a photo of Liv to family.
Super easy idea.
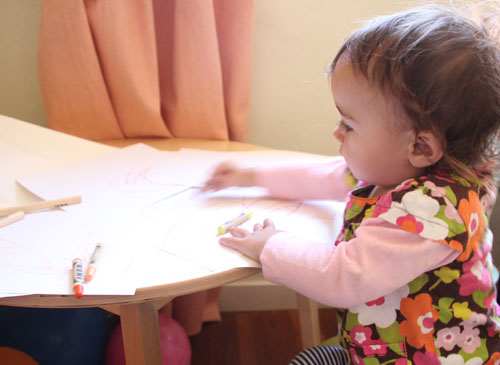
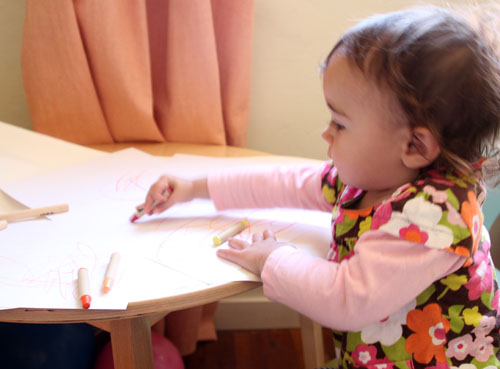
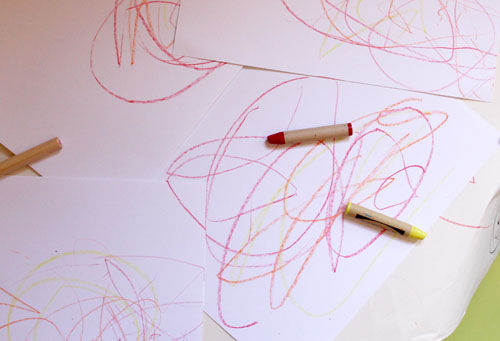
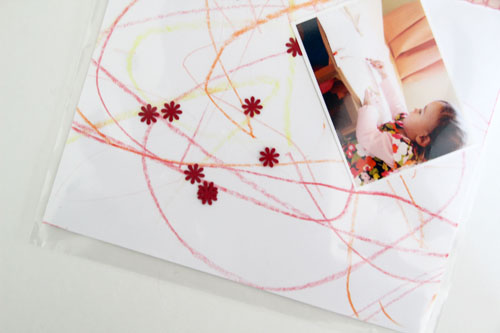
For this version, Liv had a blast drawing on several pieces of white card stock for the bags. I included a picture of her making each creation because it was just too darn cute.
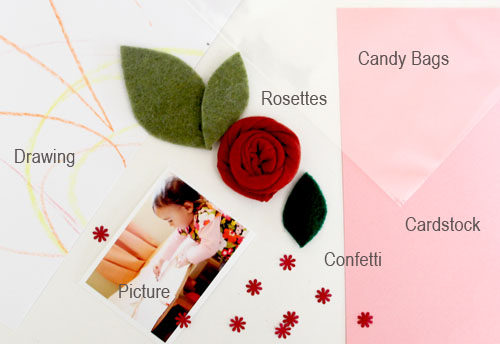
Here’s a look at all of the contents:
********************************************************************
Candy Bag Cards
m
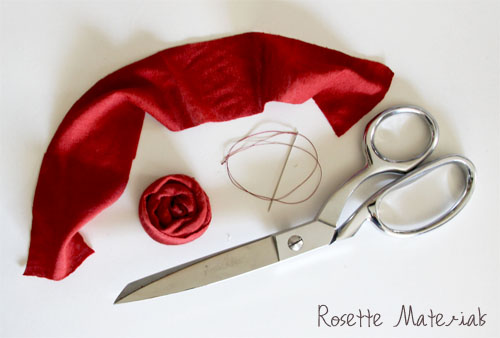
Materials: translucent bags, card stock or greeting cards (for the top of the bag), fabric for rolled flowers, needle and thread, felt for flower leaves, art, a photo to share, confetti for the bag (or candies that won’t melt), stapler, scissors, glue
Creating the rolled flowers was a quick and simple project, one that I’m thinking I might copy for a few cute barrettes or headbands for Liv?
To begin, I cut my fabric into roughly 2×6″ pieces (I used a t-shirt cotton found in my remnant box), and then began rolling the fabric lengthwise. Then I wound the thin roll around my finger to create a flower and added a small stitch at the end to keep the rosette in place. A second stitch helped me to tuck the edge of the fabric under so that it was hidden from out of view. Once I had my supplies together it took me 2 minutes per flower, maybe.
Lastly, using two contrasting colors of green felt I cut out little leaves for the rosette.
Next up was cutting out Liv’s art into bag-sized pieces. In went the confetti, the small picture of Liv drawing (which I just printed right from the home computer onto photo paper) and the actual drawing.
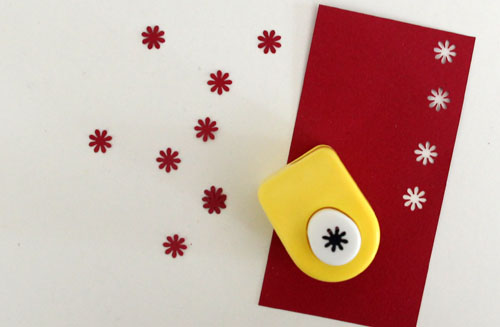
I used a little floral craft punch and burgundy card stock to make the confetti.
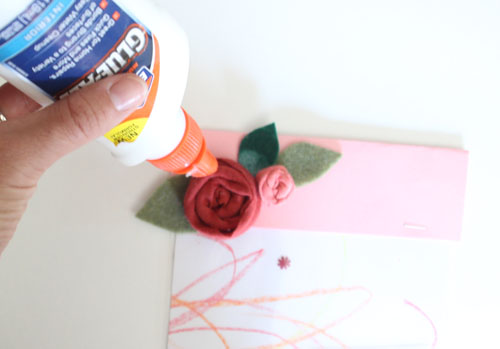
The last time I created these I used left over greeting cards cut to size to create the top of the bag (still love that idea), but this time I simply cut card stock and scrapbooking paper to the appropriate size and scored the edge with a credit card.
The card was stapled to the top on either side of the baggie and then I added the little rosettes for a finished look.
You could also write a little message right onto the front or back of the top of the bag making this a Mother’s Day present, drawing and card all in one!
********************************************************************
I love this idea for a birthday or shower invite, too! The possibilities are endless.
Another idea is to deliver the treat bags with candy instead of confetti. Choose a candy that won’t melt, such as a wrapped hard candy, conversation hearts or another favorite.
Perfect for Mother’s Day! I’m mailing these guys out as we speak, the Grandmas and Great Grandmas in Liv’s life should have their drawings by Sunday.
Happy Wednesday to you all!
PS All Mother’s Day ideas can be found under the pink ‘Entertaining’ button in the left sidebar (with the rest of the posts sorted by holiday or event), or by using this short cut right here.

