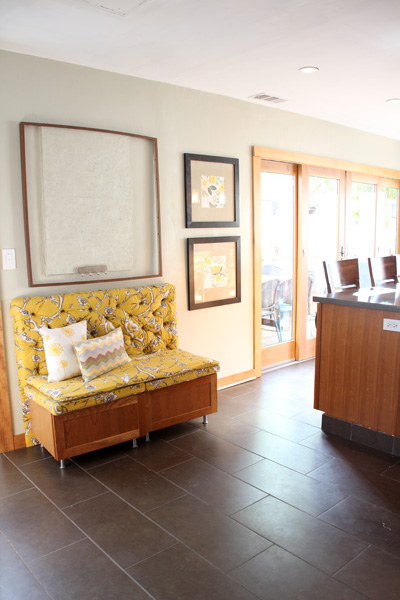
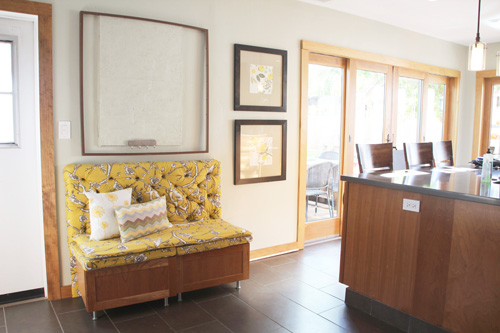
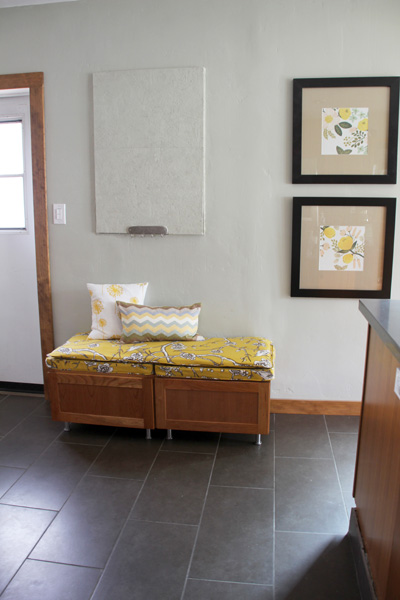
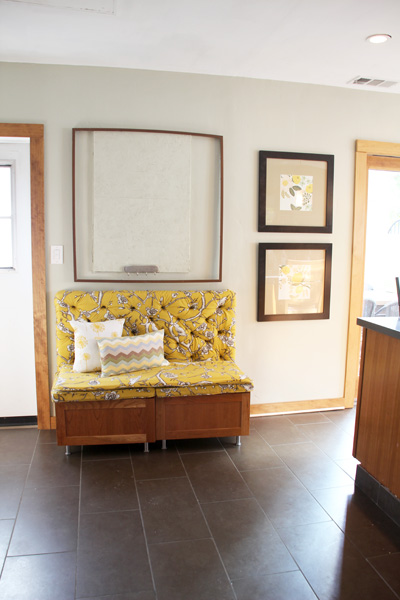
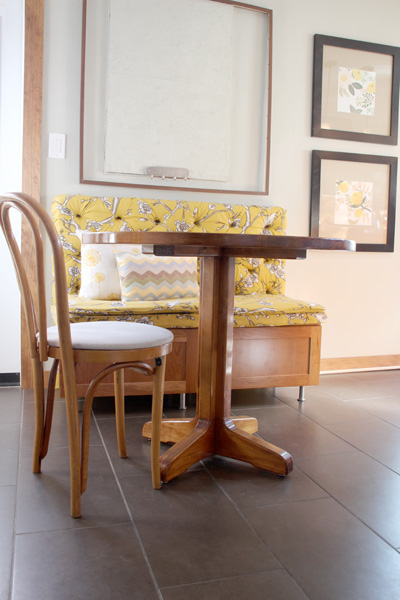
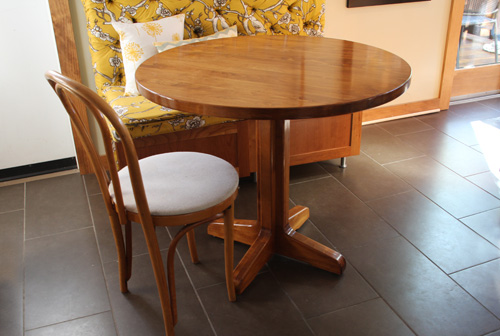
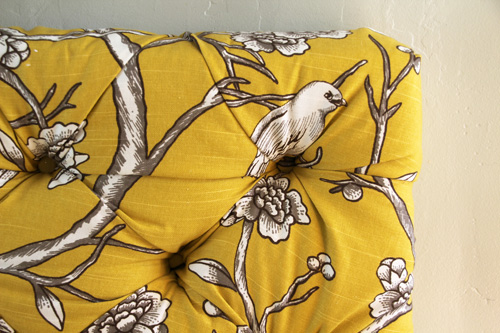
The new artwork is up! The tufted bench is finished! And the breakfast nook has a table and chair(s)!
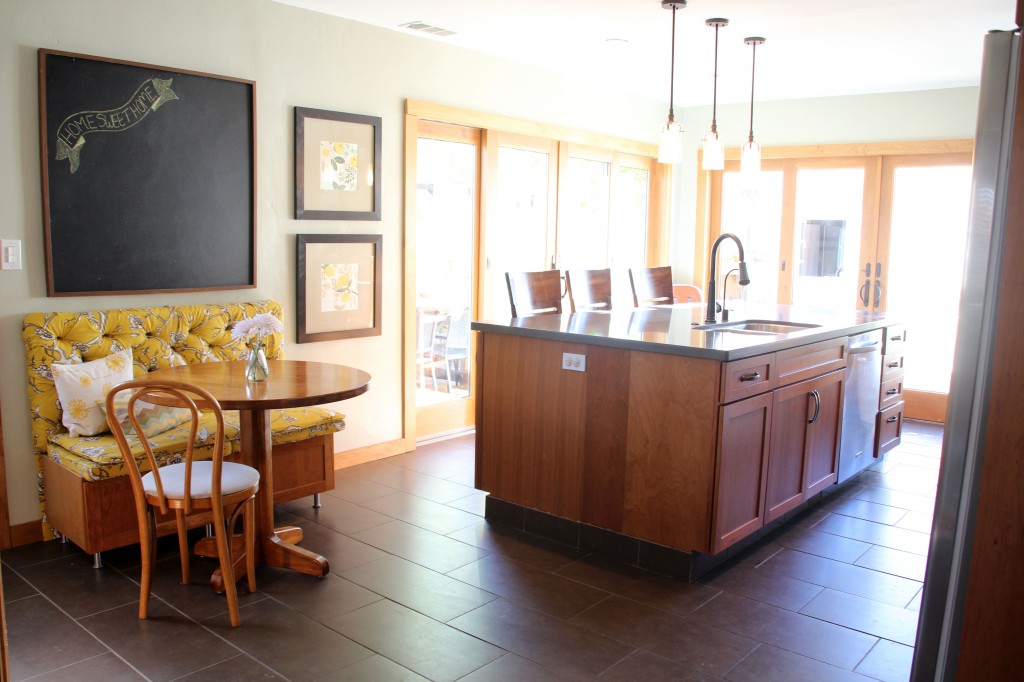
It’s really wonderful to have this empty area of the kitchen finished and ready to go. Now walking into the kitchen space feels pretty complete, minus just a few additional updates (such as adding molding to the end of each side of the kitchen island and replacing the white door to the far left which you can see in below photos).
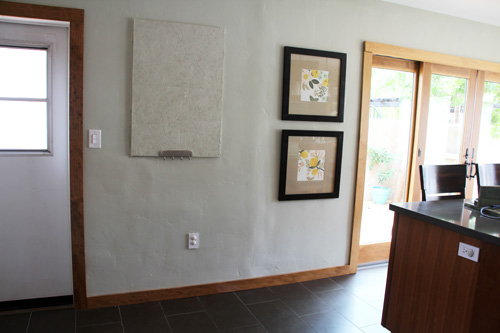
The space before:
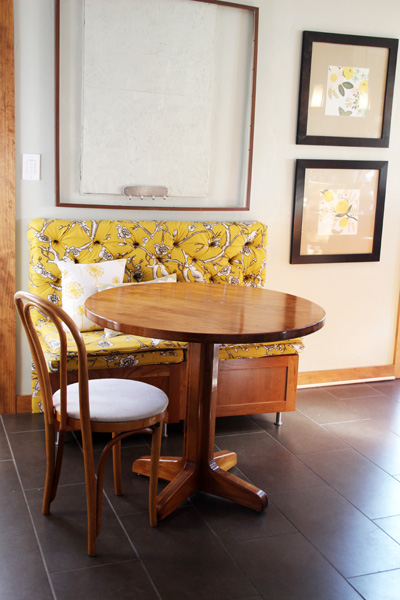
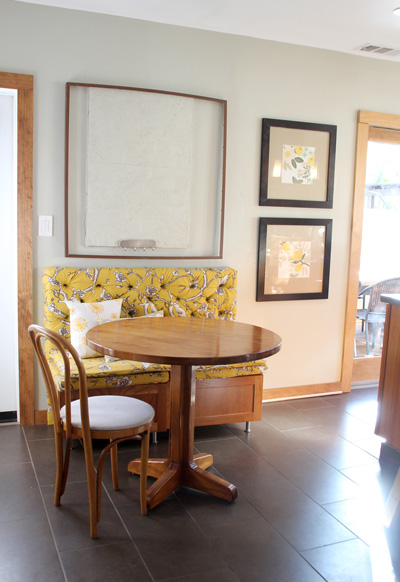
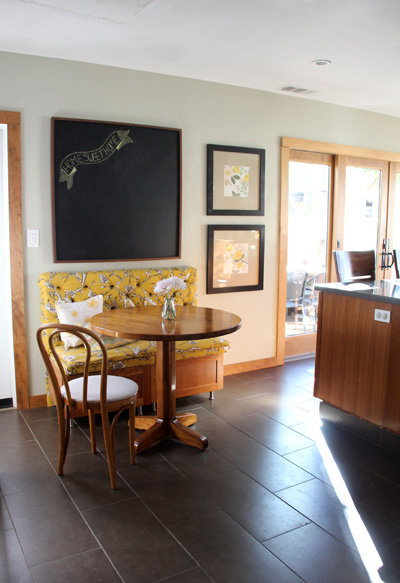
And with all of the updates:
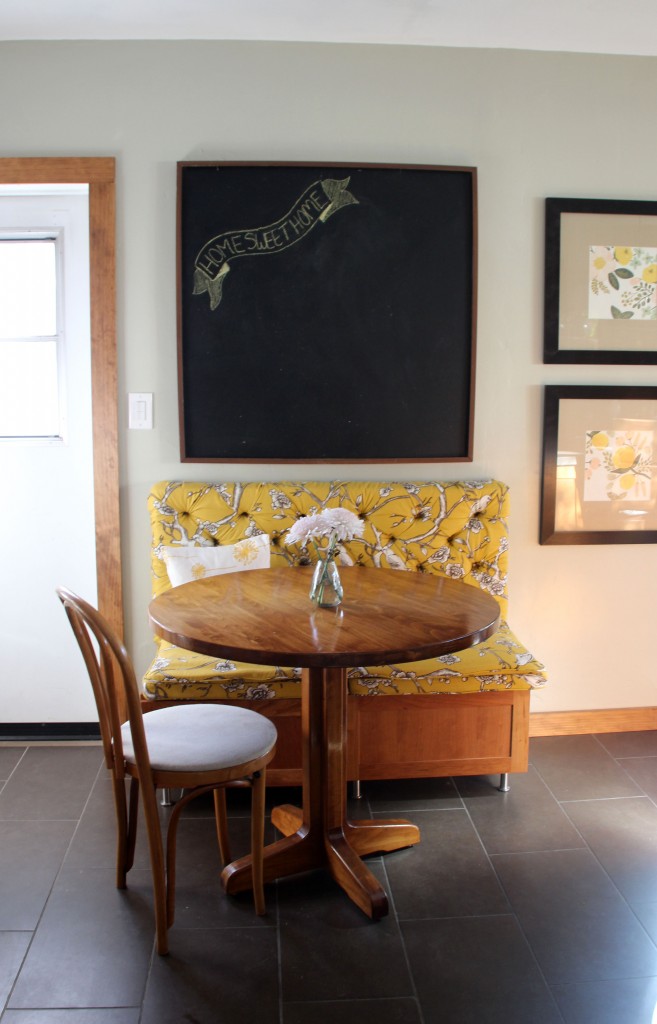
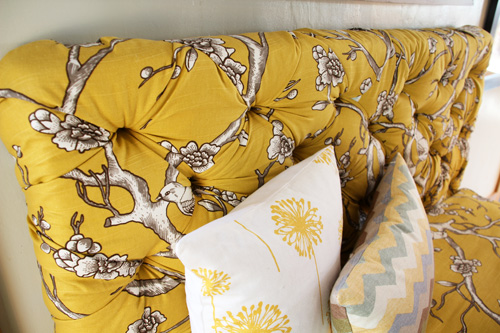
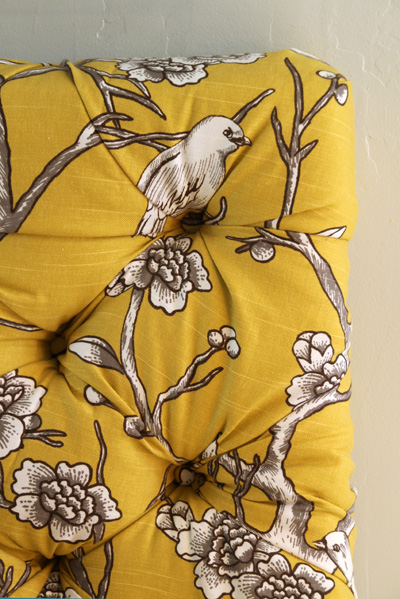
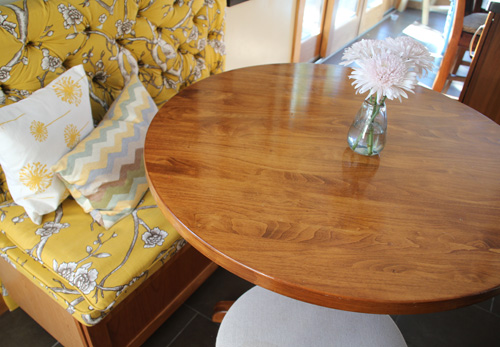
Which include new bench seats and cushions (a duo pair so we can move the seats around the kitchen, like we did when we moved them to the end of the island), a DIY tufted bench backing (revealed here, but here’s a link to the tutorial), new Craigslist table and thrift store chair and an over-sized chalkboard to cover up an ugly plywood repair (that we are waiting to fix this summer). Here’s a link to the calendar art that I DIYed last year that’s just to the right of the nook, I love that the art and fabric work so well together.
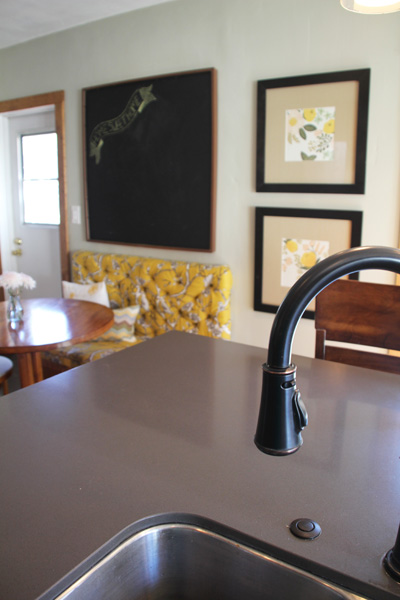
More to come on building that giant chalkboard, but because it was assembled from two pre made frames, it wasn’t a horrible task. I might use it for notes to share with the family, or maybe a few beautiful sepia photos on white mats to keep it a bit more organized. I attempted three layers of magnetic paint under the chalkboard, but alas it didn’t work out and a magnet won’t stick even if its life depended on it (and I threatened).
Prior to the chalkboard, I had attempted a faux window curtain, some sort of cool fabric art and a few other ideas… but the chalkboard ended up looking the best.
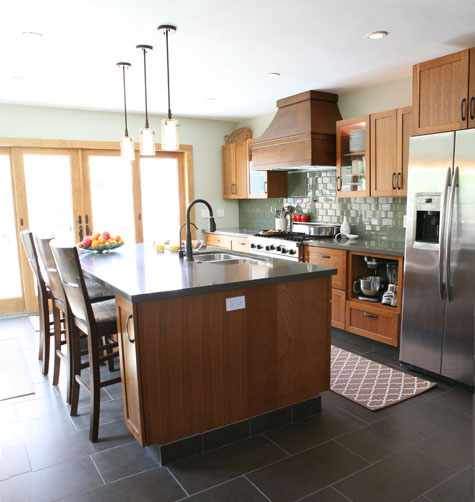
Here’s the other side of the kitchen for full perspective:
Have an awesome weekend and see you back here Monday for the full tufted tutorial post.
PS More on the breakfast nook transformation here: part 1, the inspiration, part 2, the bench, part 3, the cushions!, part 4, the ugly wall design dilemma, part 5, revealing the tufted bench

