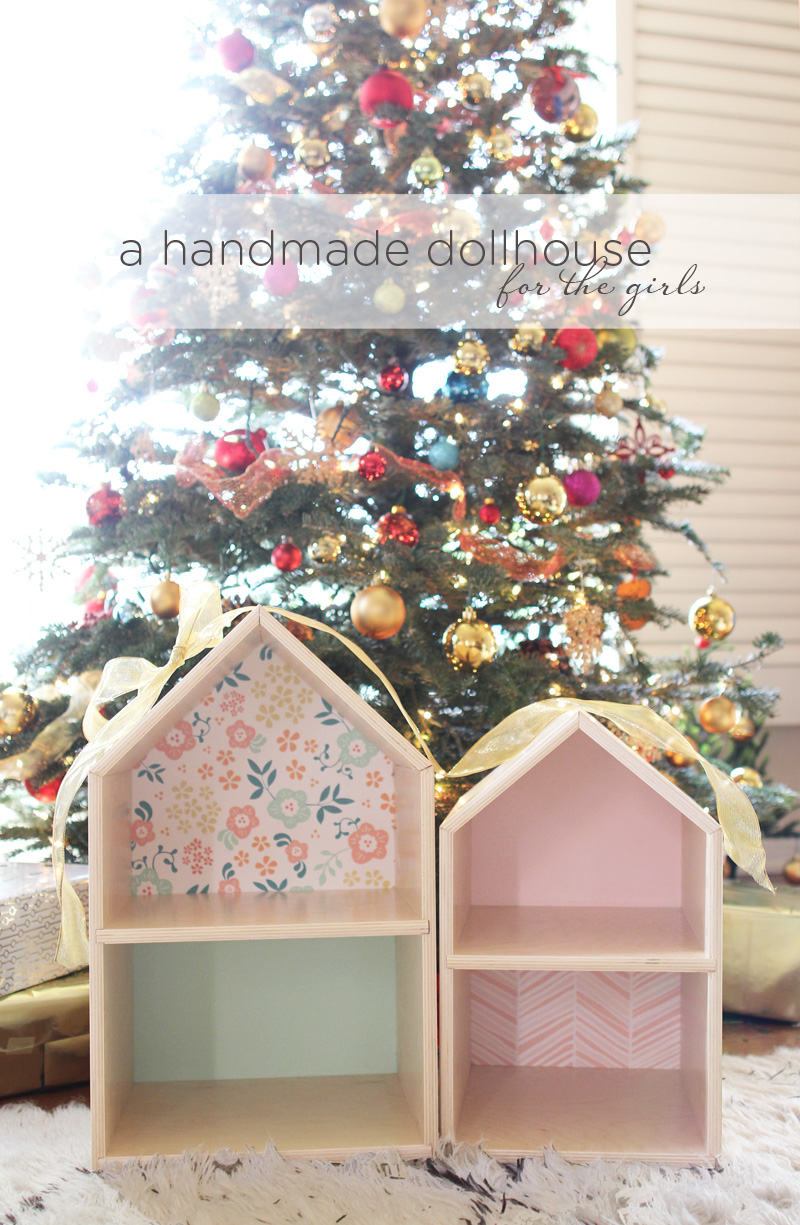
Project dollhouse is complete! I’ve been looking forward to creating a dollhouse for the girls for a while now and this Christmas felt like the right time to put that in motion. Liv is just the right age to play house, and Taylor wants to do anything that her big sis does :). The problem with most dollhouses that you can purchase pre made is that they are so big. We don’t really have a designated play room and the girls’ room doesn’t have much free space to store something extra large.
A while back I was wandering a Madewell shop and they had these adorable little house displays for some of their accessories. The houses sparked an idea and I knew immediately how I could build something size appropriate for the girls that also might be a pretty manageable task. Project miniature dollhouse was born!
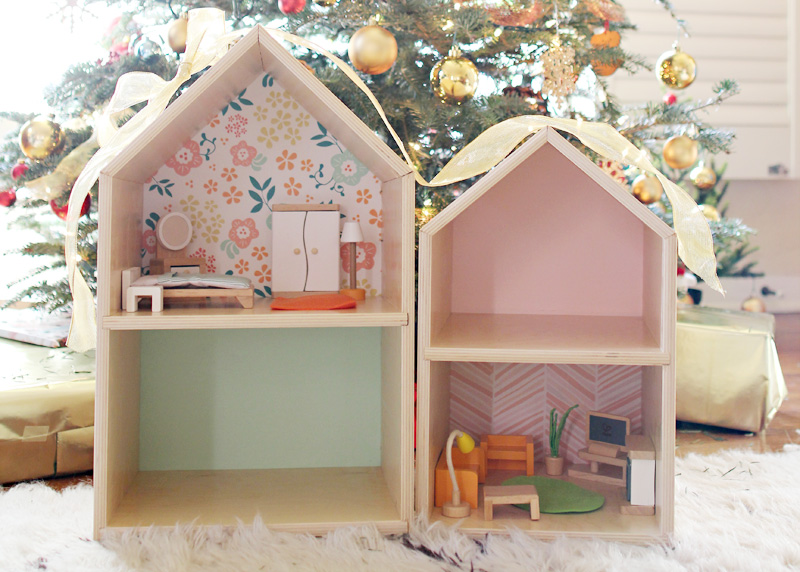
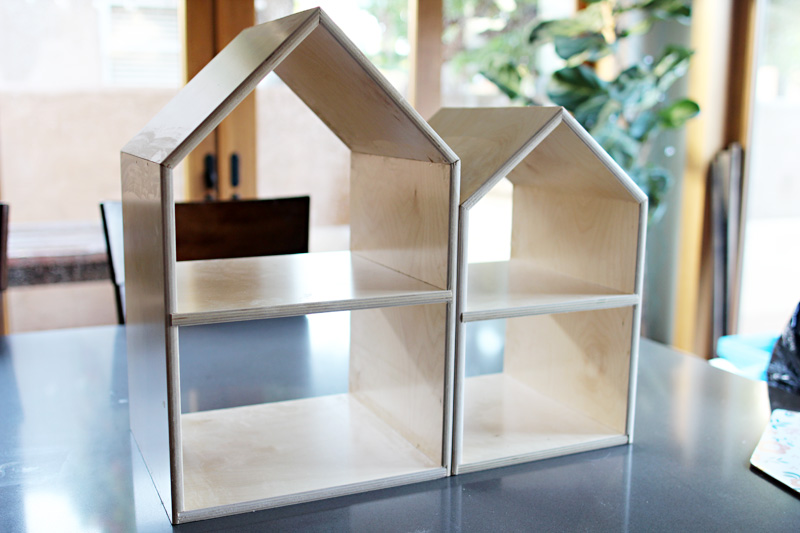
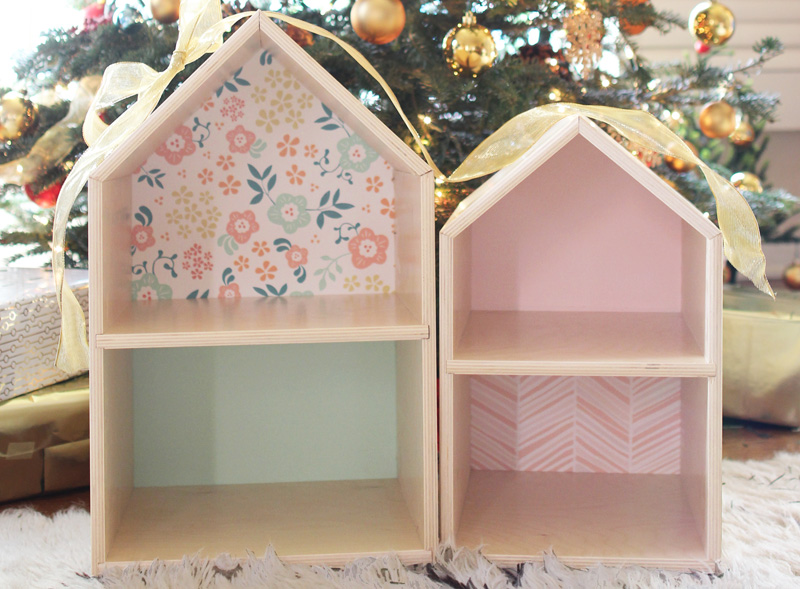
These two little houses are extra awesome because the little one can be nestled into the bigger one for storage.
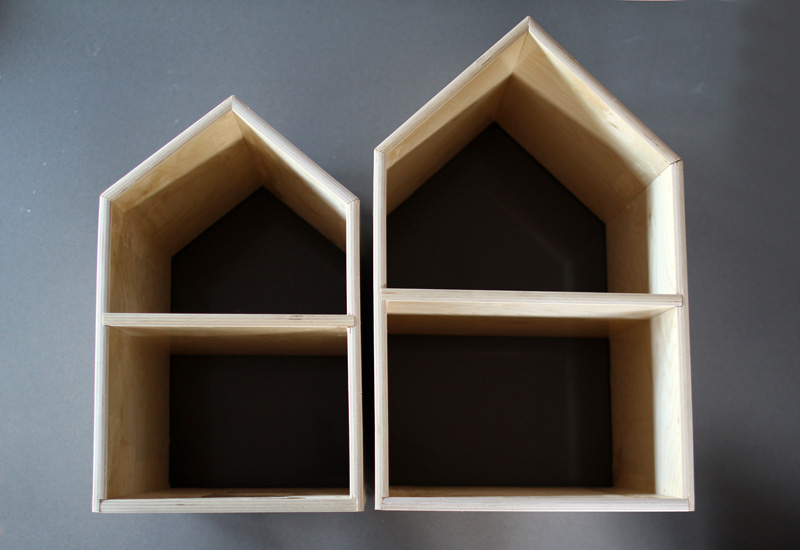
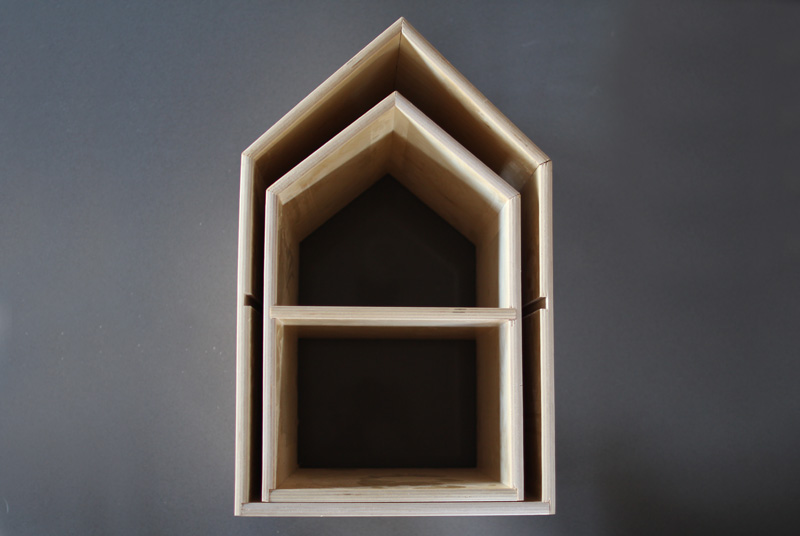
Perfect for a small space! The middle floor (shelf) removes from the larger house to stack the houses for tucking away or travel.
What’s also great about a two part design? Liv can play with one and Taylor with the other when they each need their own space (sometimes it can be frustrating for an almost-four-year-old to share with an 18-month-old).
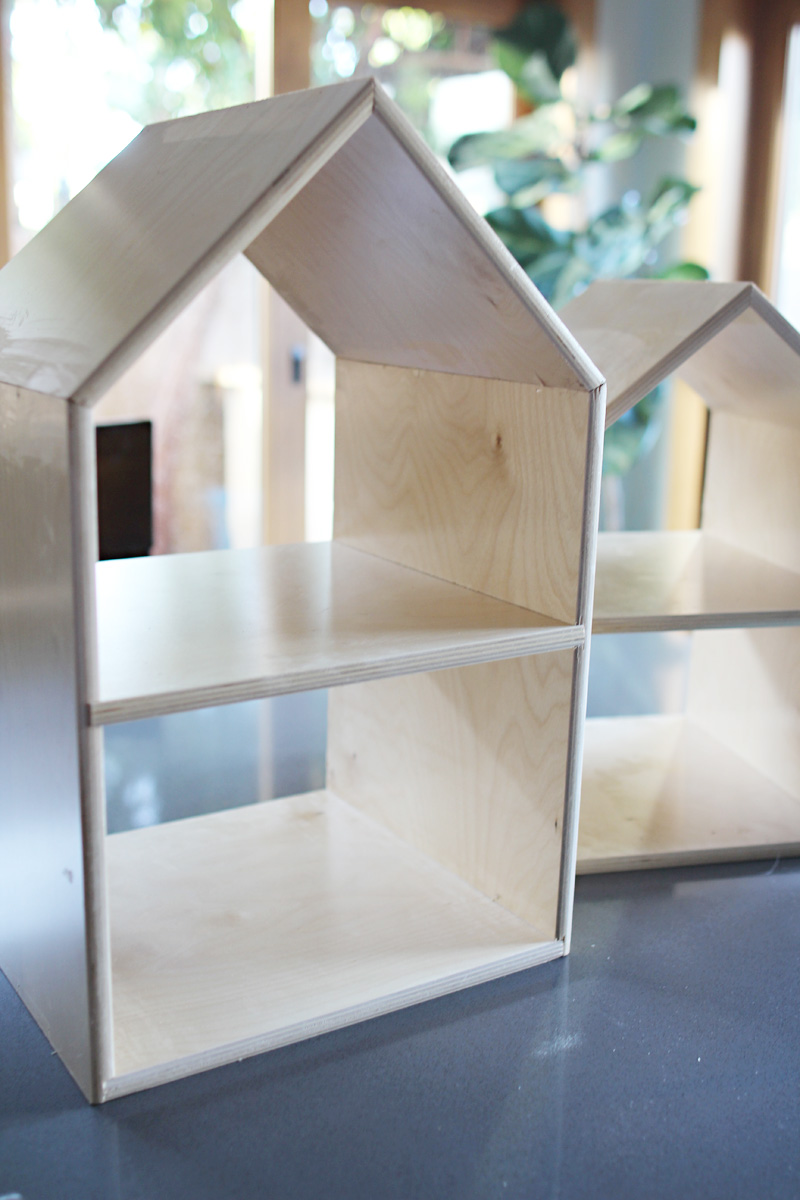
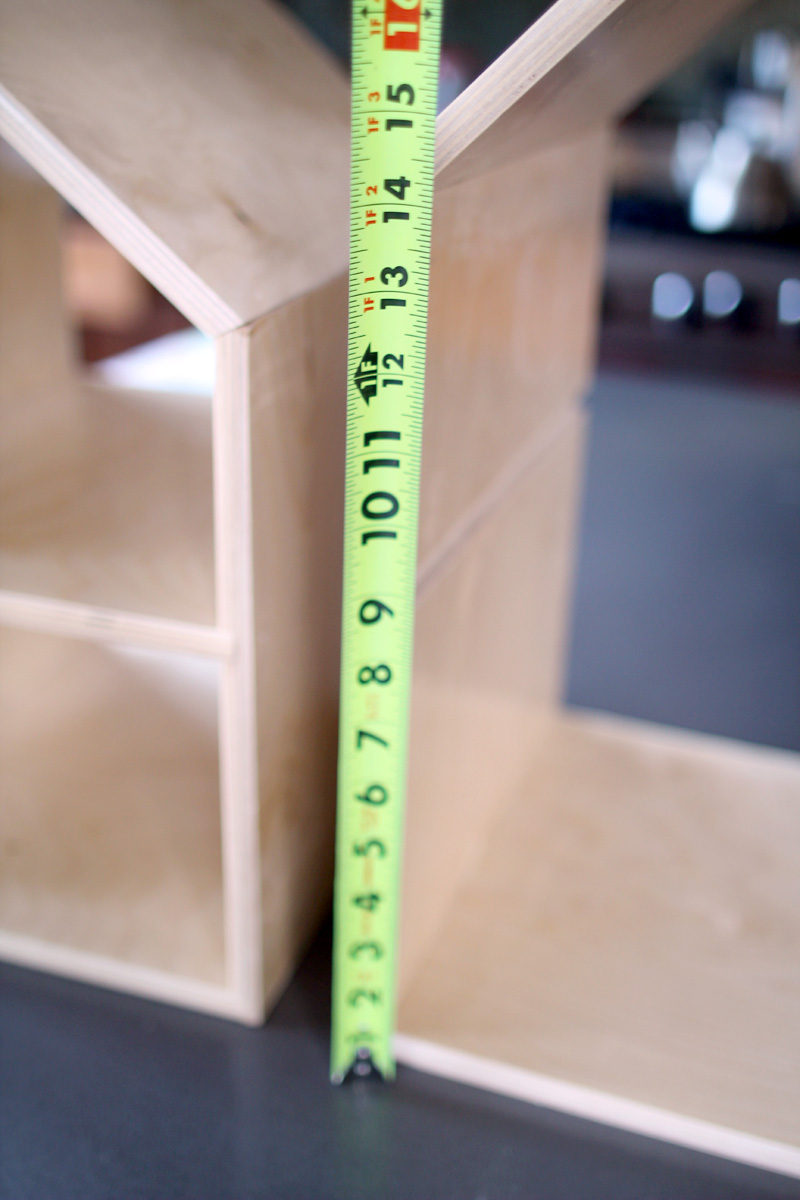
The houses themselves aren’t super big, the largest is about 18″ tall by 11″ wide and the smaller is roughly 16″ by 11″.
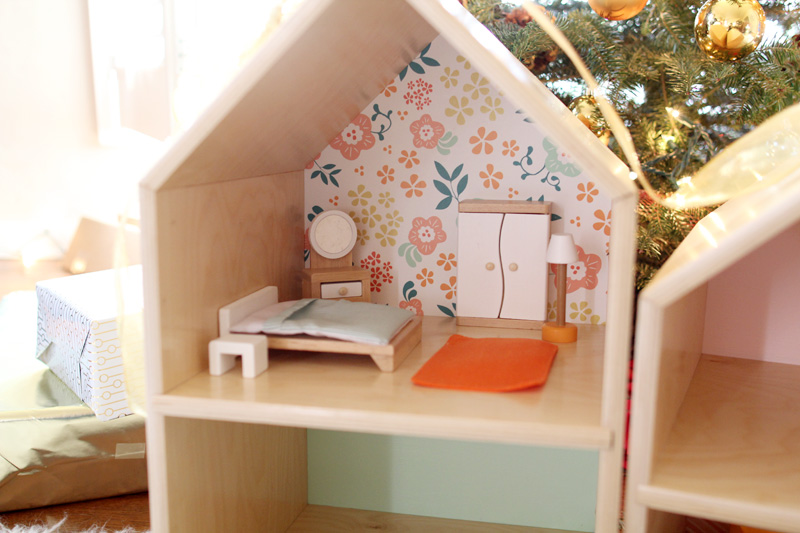
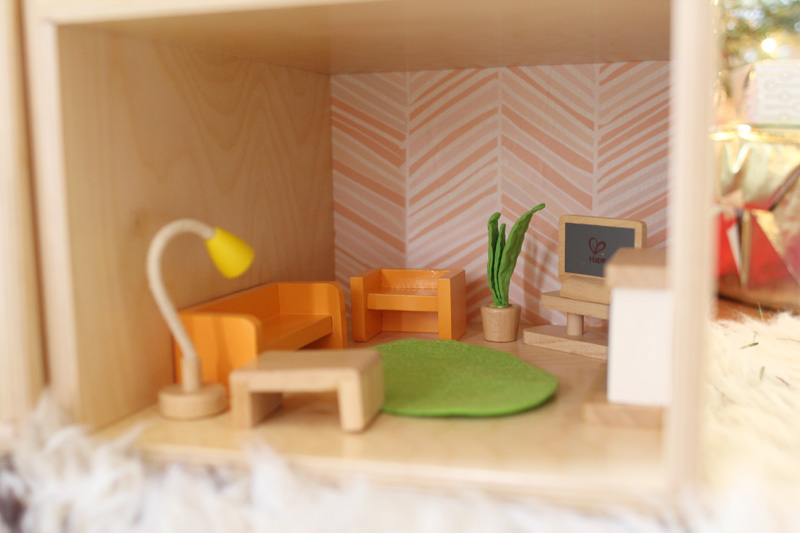
Rather than worry about creating my own dollhouse furniture, I decided that Santa might help the girls furnish the house a bit by delivering a sweet little bedroom and living room set from Hape (along with a family of dolls). Santa and I are in cahoots this year ;). I’m thinking that we can eventually add a kitchen or nursery (or even a little bathroom!) in the future for Liv’s birthday or another special day.

Let’s talk about building these guys for a moment. I wish I could take the credit for these adorable houses but I have to hand it all to my very talented neighbor (the one that built the beautiful built-ins for the girls’ room) who helped me make the cuts and ended up assembling the houses (as a surprise!) as well.
I sought some advice from my neighbor – who is an expert in all things woodworking – on the cuts for the house (from a list of measurements that I had drawn up) and on what kind of wood to use. I was also hoping to steal some time with his miter saw. He recommended 1/2″ birch drawer stock (it is already glossy and sanded making it slightly more expensive but the edges and finish are perfect) and helped to calculate the angles for the pitched roof (which aren’t in my measurements because it was sort of a trial and error process – the top is probably close to over 100 degrees and the point where the walls meet the roof maybe 160).
My measurements looked something like this:
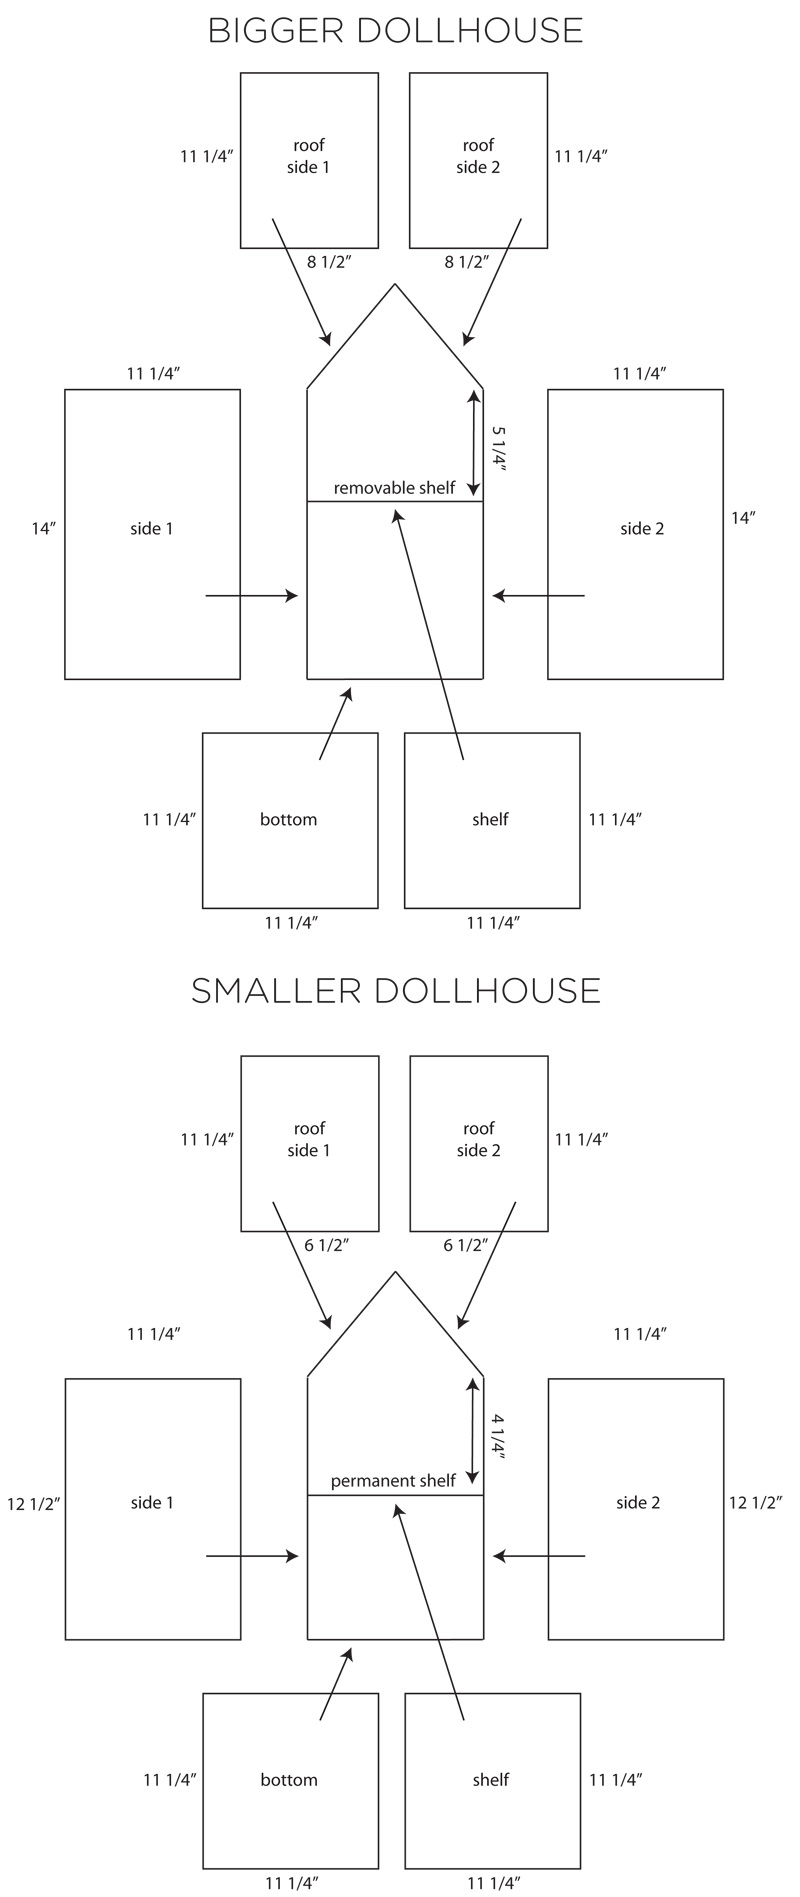
I started with 11 1/4″ drawer stock boards (because they came in that width without any cuts) that were then cut to length with a table saw. As a bonus, my neighbor also routed the bottom and middle shelves into place, something that I wouldn’t have thought to do had I assembled these guys myself. They’re so clean and pretty! Assembly included wood glue and brad nails (with exception of the removable shelf/floor in the larger house).
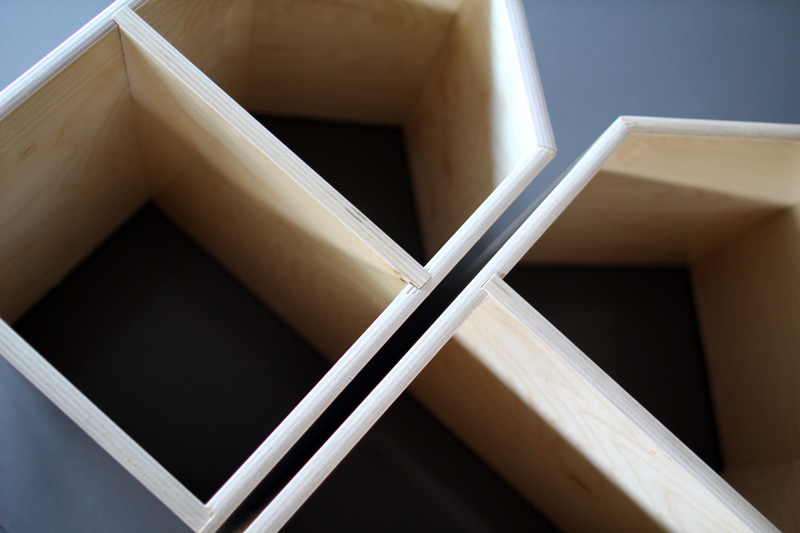
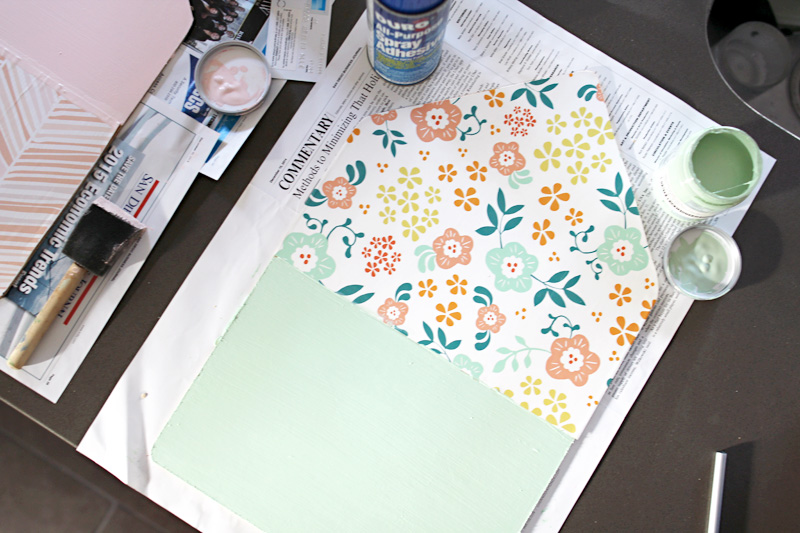
The backing of the houses is a thin plywood cut to size. To make them a bit prettier, I covered the top of one and bottom of another in wallpaper samples from wallpapering the girls’ room. I attempted wallpapering (following this method) the paper to the plywood but it didn’t want to stick, so I turned to my trusty friend:
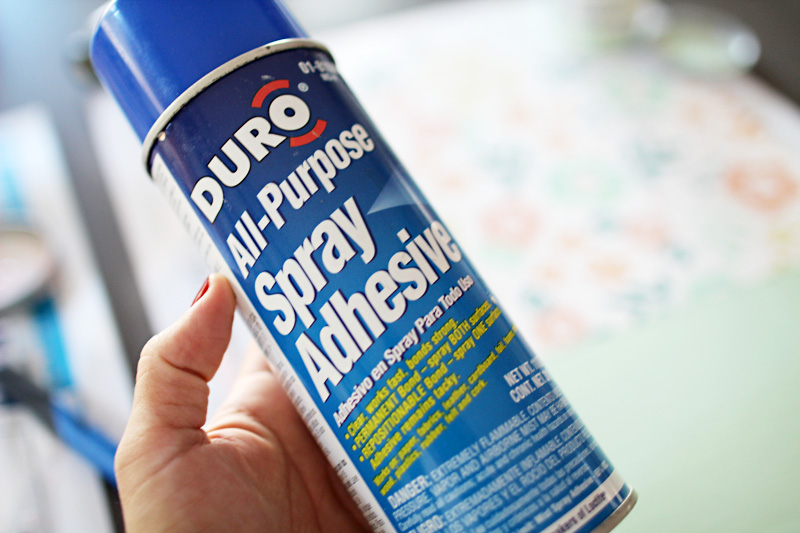
Then using paint samples from my stash, I painted the opposite ends of the backing. I can’t believe I had all of these supplies on hand, it worked out perfectly.
Finished! They’re just as I pictured them and I can’t wait to share them with the girls in a week :).
I had so many wonderful handmade gift ideas this year in the works, some of which have worked themselves out (yay!), many of which haven’t (so goes life but still hate when that happens…), this is the one big project that I’m so happy is complete! I couldn’t be happier with the new dollhouse!
PS the play kitchen (loved this one, too) for Liv two years ago and the set of art boards for her last year for Christmas (though I was still – shhhhh – finishing them up this summer :)).


Wow, these are just perfect! I pinned them for when my six-month-old daughter is ready for a dollhouse. I love how minimal it is (let’s the imagination go wild) and the furniture is just adorbs (Hape is awesome!). You are so right, this project just seemed to come together perfectly. And great tip on the wood. I wouldn’t have thought to use that.
Those are just so adorable! I love how they nest together, and that you used the wallpaper from their room. I’ll definitely have to look into that doll furniture. We’re sorely lacking in that area.
Wow!!!! That is amazing. I hope we’ll get pictures of the girls playing with them :)
Thanks, Mireille!