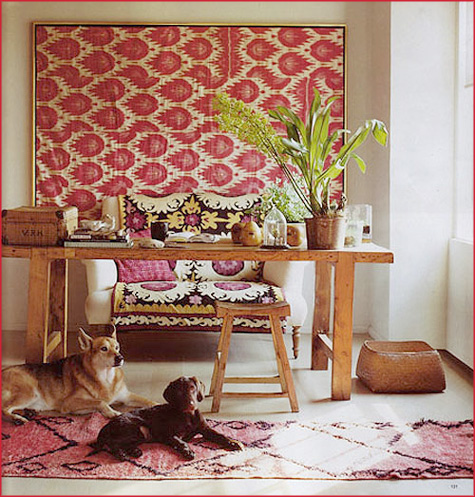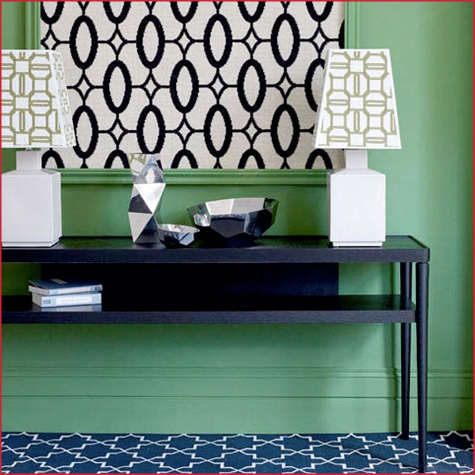
If you’ve been following this blog for a bit now, you’ve noticed that incorporating patterns into a room is a design essential that I love, and love finding creative ways to achieve. It’s that secret edge that makes a room feel pulled together — and for me, there is nothing more inviting & appealing than a print that provides a focal interest point for a room.

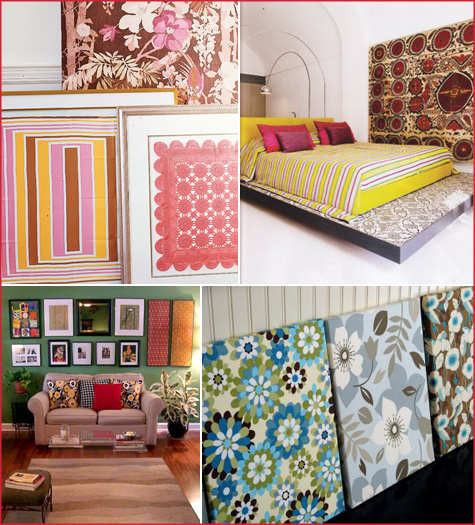
Framing textiles from exotic vacations (think saris and brightly colored tablecloths), scrap remnants (reusing old curtains or salvaging a beautiful cut from a sweater with bleach stains) or flea market finds (silk scarves, lace doilies and upholstery scraps) are excellent ways to incorporate prints into your space.
A simple wood or metal frame elevates the item — molding is another great way to border a print (see below). Applying a hem to unfinished fabric and hanging from a curtain rod behind a bed or sofa is another tried-and-true method of showing off finds that otherwise might be gathering dust at the bottom of a linen closet.

Images above: Framed ikat from The Style Files, pink vintage fabric on Country Living, a bold tribal print found at Sara Says Awesome, framed scarves with wall photos from Apartment Therapy, fabric art from Apartment Therapy, and finally a print from House to Home featured at Apartment Therapy.
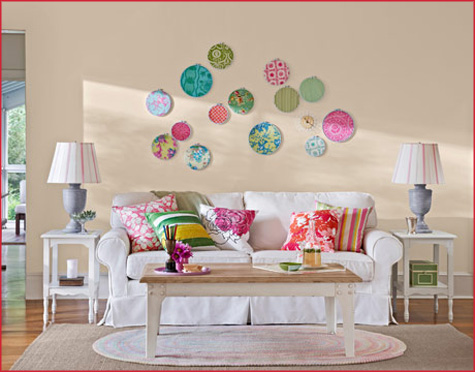
Follow the jump for a quick How-To on canvasing fabric and for more great ways to frame your prints (quilting circles, anyone?).

{Stretching Fabric on a Canvas}
p
From Leah (More Ways to Waste Time) featured on Apartment Therapy
Materials:
*Fabric
*Canvas
*Canvas stretcher
* Staple gun
*Wall hanging kit
1. Find some fabric you [heart]. Leah purchased most of her choices online: Tonic Living, Kiitos Marimekko, and Ebay.
2. Pick up canvas stretchers (art store) and a staple gun (hardware store). For extremely large pieces, Leah suggests buying a textile wall hanging kit. Less substantial than a regular frame, it’ll mean less weight on your wall and more money in your wallet.
3. Find your composition and smooth out the cloth. You may have to iron it, depending on the type of fabric, but stretching it tightly on the frame will remove many of the minor wrinkles.
4. Staple it to the frame. Start by placing a staple in the center of each side of the frame. Work out toward the corners, adding only a few staples to each side before moving to the next. An easy-to-follow guide for finishing those tricky corners can be found HERE.
5. Attach wall hanging kit (found at a local craft store) and hang on wall.
6. Admire your beautiful work and brilliant room!
Note from PDB… I have made these without a canvas stretcher, but it takes a bit more patience and a careful eye to be sure pattern is not distorted.


Fabric and patterns are always a great way to decorate a room, my friend has this lovely flower wall art in her living room at the moment that I just love! Though I have to admit, that piece with the fabric in the frame above is just stunning, such a creative idea!
Textiles as wall art is a great idea.It can add a stunning effect on your home.
Really love the idea ! And I need to renew my walls decoration,thank you for sharing your ideas I will try to remodel it and use textiles as a replacement.
We have recently launched our new website…www.aubussonhome.com! Please take a look and let us know what you think. We are a small retail design studio outside Philadelphia. We represent every fabric house and also have over 450 in-stock fabrics. We think our website will be very useful to anyone looking for fabric. You can buy directly online or fill in the quote form to get pricing on ANY fabric. Designer fabric without the designer! We think it could be very helpful to your followers.
Thank you for your time & consideration.
Peggy