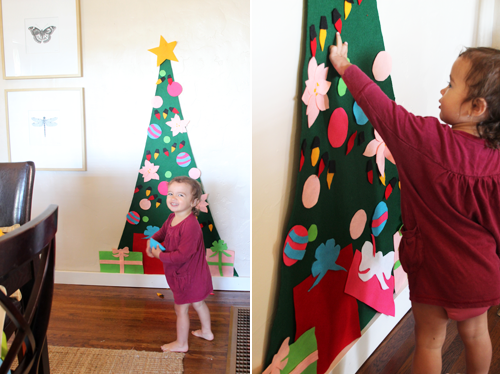
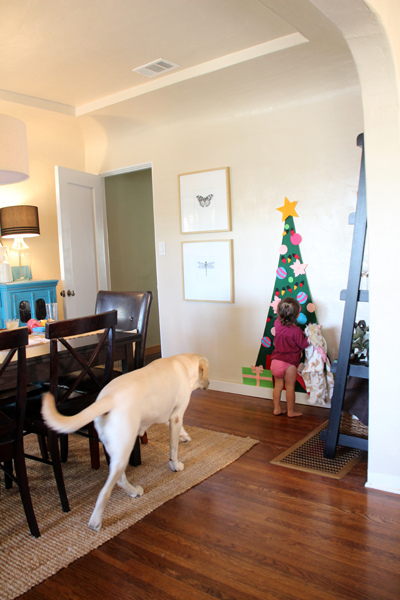
I rolled up my sleeves and crossed one big holiday-related project off of my list this past week after a little motivation from Katie and Sherry’s seasonal Pinterest Challenge. Too early for Christmas? Maybe, but making this project happen (with all that I have stacked for the big holiday season) was high on my priority list for Liv this year and I’m SO happy to have it ready to go for the holidays! Liv totally digs it, too. Even if we have to box it up and rehang it in about a month.
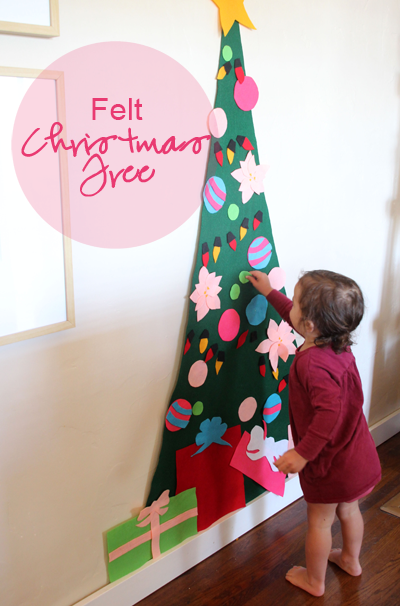
I imagine turning this into an Advent calendar of sorts when Liv is old enough to open up one ornament each day to add to the tree (maybe even ornaments we’ve made together?), and the concept behind Advent. Maybe I’ll try a version this year to… to be determined.
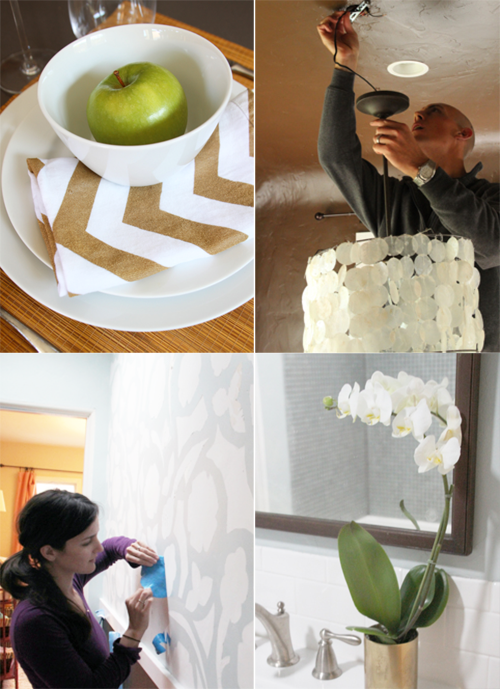
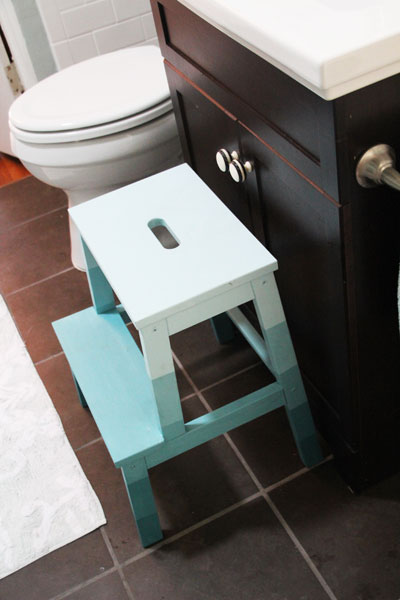
I love me a good deadline to make a project that I would normally push off and off happen. It could be a visit from family, a dinner party or a challenge like this one! Previous Pinterest challenges have produced my ombre stool for Liv, painter’s tape wallpaper, DIY gold mercury glass, shimmery chevron napkins (a bit of a womp, womp – these guys didn’t wash so well, though they look awfully cool) and the capiz pendant/chandelier that hangs in our office.
The original inspiration for the felt Christmas tree came from this blogger, who redeveloped her version of a felt tree after being inspired by this blogger.
What a neat idea for a toddler? Liv is at that age where she loves to mimic and especially loves to replicate whatever I’m doing on her own – she likes to carry a purse when I have a purse, cook when I’m making dinner, pretend to drive when we get into the car, attempt to apply lipstick in the bathroom mirror…. and the best solution for her to recreate and to copy momma and dadda, without actually cooking or carrying around my purse, is to give her her own version. Hence why this felt tree is genius.
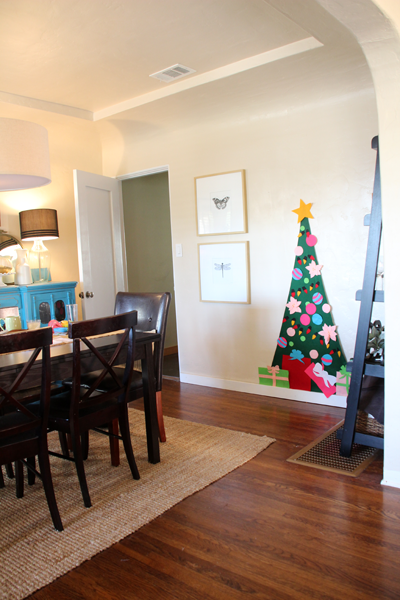
I hope that when it comes time to decorate the ‘big’ tree, she’ll be just as cheery at decorating her own version. And perhaps not try and undress or reorganize the real version in the living room?
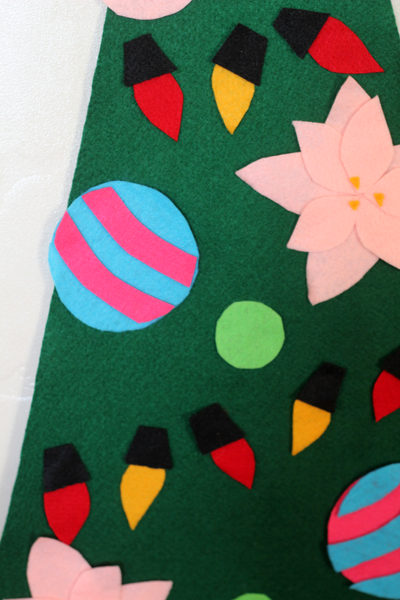
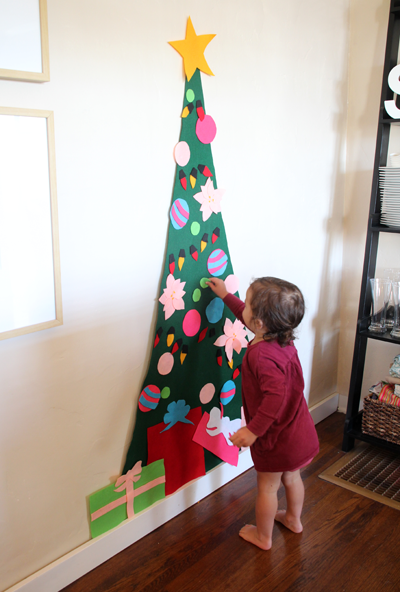
A few of the ornaments I assembled in advance, like the poinsettia flowers and the striped pink and turquoise bulbs. A little stitch or glue holds these guys together so it’s easier for Liv to move the entire decoration. It’s wonderful that felt sticks to felt – no adhesives to attach the actual ornaments to the tree.
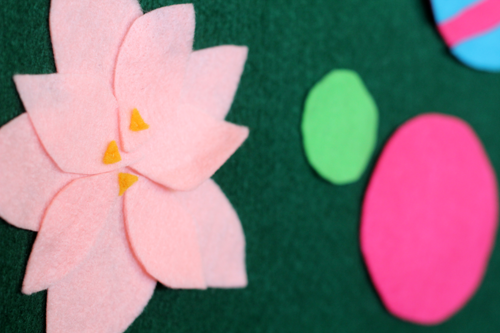
Others I left unglued so that she can play with and rearrange bows and packages and Christmas lights.
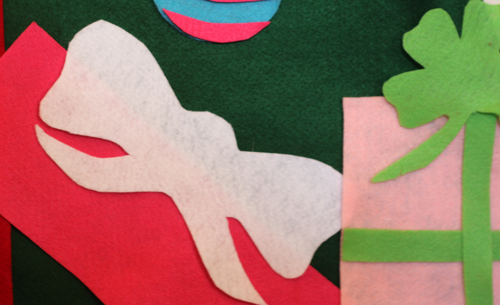
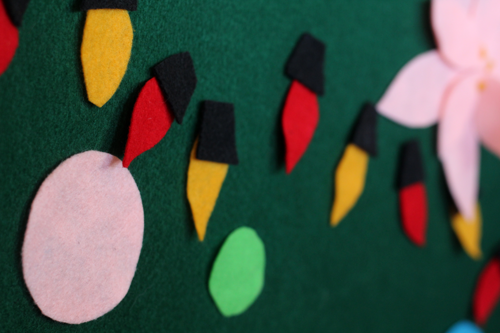
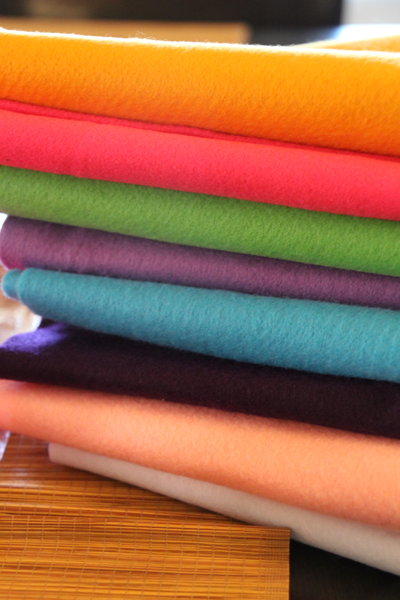
Creating this guy was fairly simple. I way over bought on yards of felt (1.5 of green for the tree, 1/4 each of the various colors) which left me with about $18 worth, this project was probably made with a fourth of that though so you can add this to the extremely budget-friendly category.
I opted for a modern, basic triangular shape for my little tree and chose the dining room (with a big open space on the wall while our fiddle leaf fig soaks up some sun closer to the window) as its home.
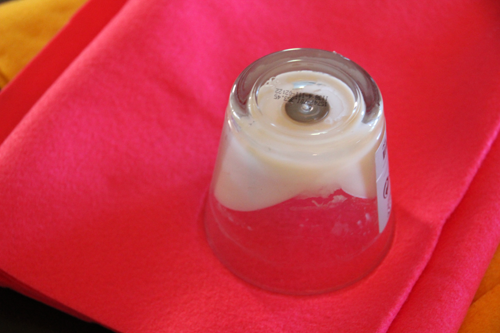
Various votive candle holders and glasses made for the perfect stencil to make my round ornaments, the rest were basically free hand.
One of the best tips I have for messy projects like this (aka lots of bits of felt everywhere) is to use the ol’ Rachel Ray scrap bucket rule. I love this! instead of leaving your scraps (of food on the prep table, in Rachel’s case) out, collect them all in a bowl for the trash or composting pile. In our case, a felt scrap bowl. As we cut out ornaments, we immediately pushed all of the extra bits and pieces from the table into the bowl leaving us with a cleaner workspace.
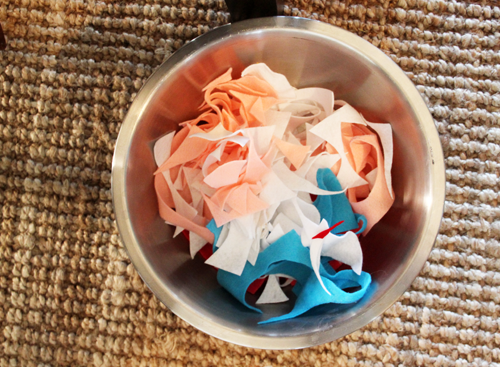
Which resulted in faster ornament making!
I’m imagining the felt board possibilities… We can keep rearranging and updating this tree through December, Liv has already stripped it down a few times to start again. What next? An ocean scene? or maybe a play kitchen out of felt?
And as of tomorrow, back to Halloween. Can’t wait to show you Liv’s homemade costume and my plans for our annual Halloween dinner party. PS I owe you all updates on our recent travel adventures, painting of the house, new deck (new side yard!) and so much more. Forgive me, I’m so behind.
Happy Pinterest pinning! If you participated in the challenge, I’d love to see your project!



This is the nicest one of these I’ve seen! Can I ask: what were the dimensions you used for the tree? It looks to be about the perfect size…
Hi Lisa! thanks for your kind comment. I believe the tree is about 4.5 feet tall and maybe 2.5 feet wide at the base :).
Hi I just wanted you to know I loved your DIY Christmas Craft post. So I added it to my 50 Christmas Crafts for Kids post.
In addition, I included a 125 x 125 image of your project in a college
Here is a link to the live post.{ http://www.mrskathyking.com/50-christmas-crafts-kids/} If you don’t wish for me to share you work with my fan. Please email me and I will remove you :).
Have a blessed day,
Kathy King
This is so awesome! Thank you for sharing. My daughter will absolutely love this. I’m off to search Amazon for felt! Merry Christmas!
What type of felt do you use to get it to
Stick to each other. I tried the 9 X 12
Sheets for ornaments and they didn’t
Stick too good thanks
Hi, we used felt from Michaels, I’m not sure of the exact brand but I hope that’s helpful!
I am doing this year for a long term care center, secure unit for dementia residents. I hope they enjoy changing the decorations around.
That is so wonderful! And incredibly thoughtful!
Love this!
Just out of interest, I have never worked with felt before, what thickness of felt would be best for the tree and decorations?
Thanks
Hi Nikki, that’s such a good question! I’m not 100% sure the exact thickness and getting a stronger stick might be worth experimenting with. This felt is general Michael’s art store grade felt.
Love this! Having girl friends over Saturday to make these together! With the amount of felt you bought would it be enough for 3 trees? Specifically the amount you got for the tree or should I get more? Thanks so much!
Hi Beth! Depending on the width of your felt fabric bolts, you could probably get away with 2 yards for all three trees. And then share 1/4 yard each of the various colors you want to incorporate :).
Great idea.Can I ask how you attached it to the wall?
Hi Bobby, I used a sticky putty like BlueStik. I may have even used a pushpin at some point too…
I used small command hooks to attach it to the wall. Sewed three loops of ribbon to the back of the tree (one on top and two on the sides). Also sewed a pocket on the bottom and inserted a thin dowel rod so that it would hang nicely.
Great idea!!!
What type of glue did you use? Yours turned out so cute! I way over bought on felt as well.
Hi! Do you mean what type of glue to attach the various pieces of ornaments together? I used a basic elmer’s glue for that process (I thought that my glue gun might melt the felt) but you could probably use any variety.
Wow you guys have been super busy since you got back from vacation! The trip must of really invigorated you two. A new deck, table, felt tree, halloween costume, wow I am impressed. Plus having a toddler, wow you guys are the bomb! Love, love that tree, I wonder if I could use my silhouette machine to make those? hmmm think I’ll try that ;)
Maybe a month away from projects made us that more ready to start when we got home! :) Silhouette machine is a great idea! You’d be able to hammer those ornaments out.
This is one of my favorite pins from the link-up! LOVE this! And I’m definitely going to get crafty with some felt one of these days.
Thanks, Katy!
This is such a great idea! I definitely need to do something like this for my little guy :)
I think I re-pinned this from you about a week ago. Such a fantastic idea, and your version turned out so adorable. I love the addition of the poinsettias and light bulbs. In keeping with all of your expansion ideas, a miniature dress-up doll board would be adorable. I just may have to do that for our girls…
A miniature dress-up doll board is a GREAT idea!
Such a great idea! I see projects like this and think, why didn’t I do things like that when my kids were little?! Ah, well, there is always the chance to make up for it with grandkids someday. :)
Adorable! What a great, inexpensive idea! Looks fantastic. :)
My BFF and I were just talking about making one of these for her daughter. I love the idea of pointsettias for the tree.
I tried to think of some unusual shapes, poinsettias turned out kinda fun! Made a few white ones as well.
I absolutely love this! I’m definitely making one of these for my little 2 year old this year. Great idea & thanks for sharing!
Thanks, Ashley!