Hello, hello! We are three posts into this wedding cake trio and I’m happy to announce that the cake is baked, iced and awaiting assembly with no major catastrophes! If you have yet to read post 1 and 2, feel free to head on out there to catch up on this particular DIY challenge and then back to see the results.
Speaking of, let’s jump straight to a results photo:
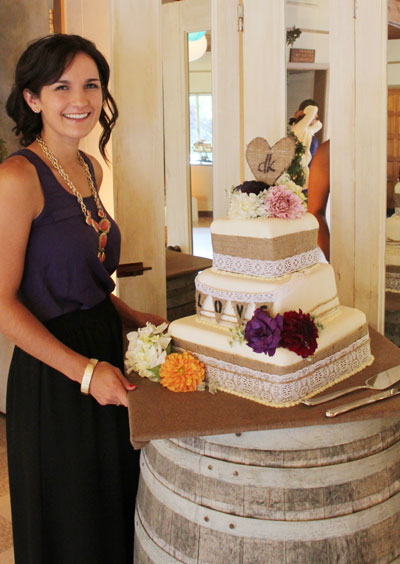
Project wedding cake: complete!
For this last assembly step, this was the bag of goodies that the bride gave me:
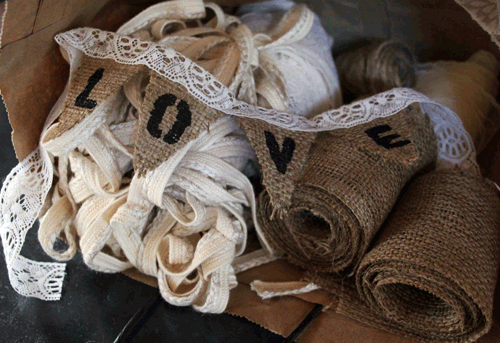
How pretty is the L-O-V-E banner that she made? Or the heart-shaped cake topper with their initials? So many fun supplies.
But let’s go back to where we left off with our last post and talk about assembly. Last we spoke, the cake was successfully covered in a buttercream and then fondant for that smooth, wedding-white look.
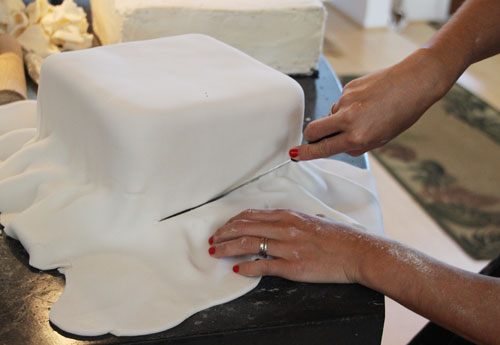
It’s important to add a structural support system to the cake because at this point it’s quite heavy. Without dowels or rods of some sort, the bottom tiers of the cake will eventually give way to the top tiers above, resulting in concaved and bulging bottom layers over the hours that the cake is on display.
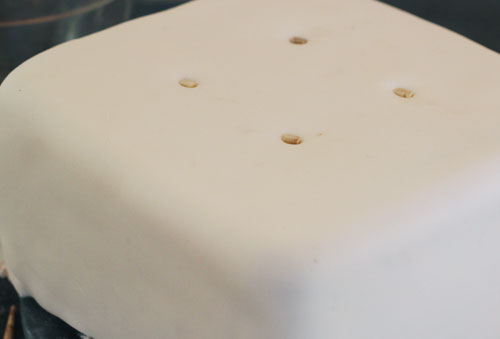
In the past I’ve used 1/4″-1/2″ wooden dowels from the craft or home improvement store, but for this particular cake (and the relatively small size when considering wedding cakes), I used chopsticks! These were easy to cut to height and were the perrrfect diameter. My base layer received six tier-height cuts and the middle layer four. The support system should be at the exact height as the cake – no higher, no lower.
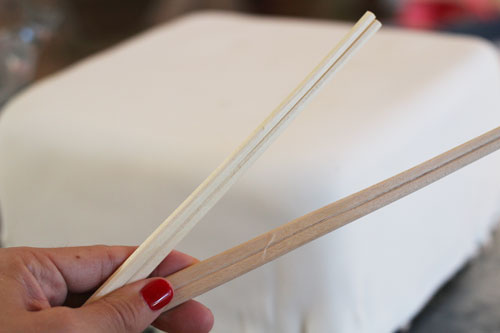
I added my chopstick support system the day before the wedding, and the morning of we packed up the car with my three tiers of cake resting on cookie sheets on the floor of the back seat, and traveled the 10ish miles to the reception site.
Once there I began the assembly in the kitchen… dun, dun, dun, dun…
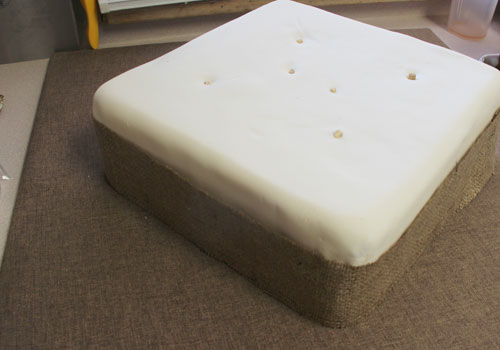
The bride covered a piece of plywood with fabric to serve as my cake board base. On went the first tier with the six supports as well as a layer of cut burlap.
Next up was the second tier (by the way, moving these layers is 10 thousand times easier with this tool! The mother of all spatulas and another tool that I borrowed from a friend and will be purchasing.)
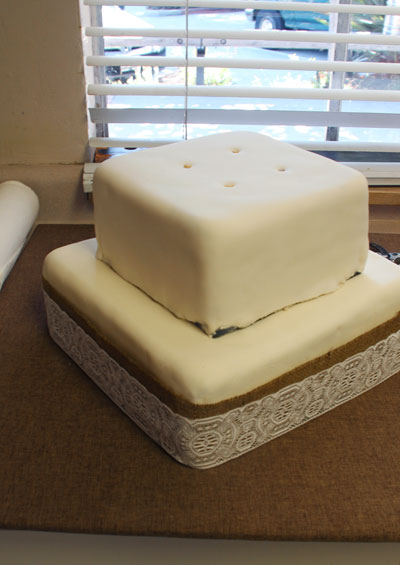
Finally the last tier, several layers of burlap, lace and twine, a good smattering of flowers that we asked the florist to set aside, and a beading of icing to help blend where the layers meet.
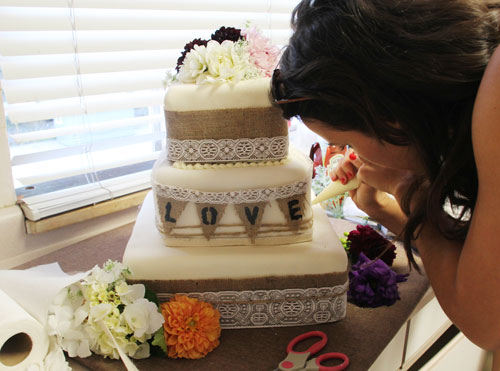
That soft little beading line can make a huge difference in the ‘finished’ look of the cake and it’s really not difficult with a bit of practice. Using a pastry bag (or zip lock bag) and small round tip, pipe a little round bead, move your bag forward about 1/3″ of an inch and pipe another. Repeat until all layer bases are covered. (Sometimes it’s easier to move ‘backwards’ rather than ‘forwards’, so play with what is your style until you find your rhythm.)
Next, I found some big strong men to move my 50+lb cake from kitchen to reception area. The bride had these beautiful antique mirrored doors for right behind the cake and a big wine barrel as its podium!
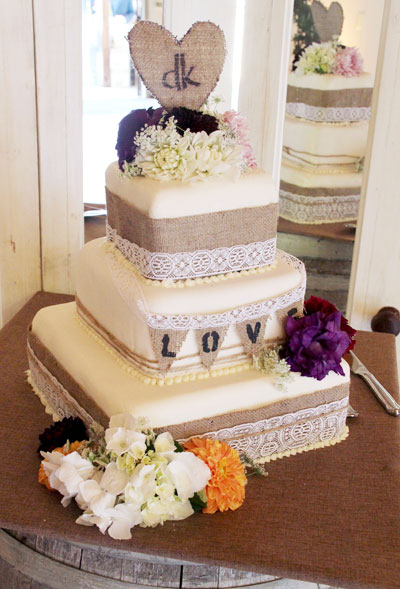
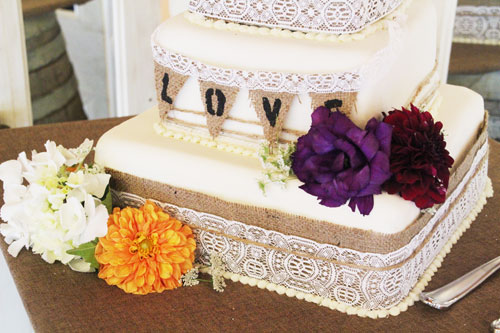
Finished! And ready for its close up. Pretty close to Katie’s inspiration, right?
The entire day was just beautiful, starting with a lovely ceremony and followed by that rustic, organic reception that I was describing earlier. Every detail was so special. Here are a few pictures to offer a recap.
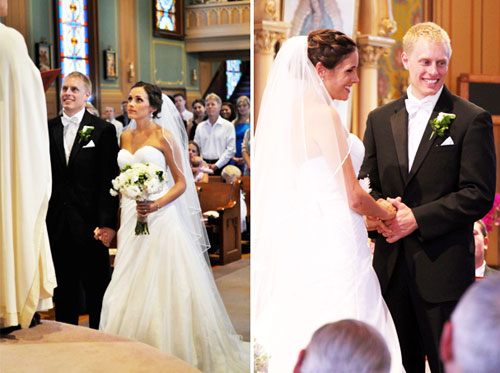
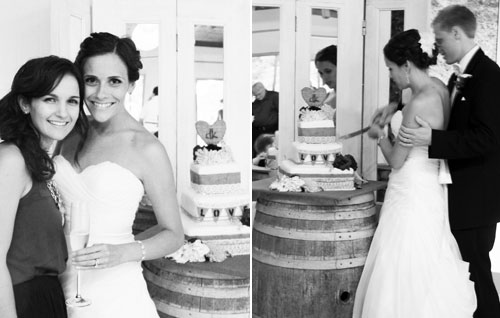
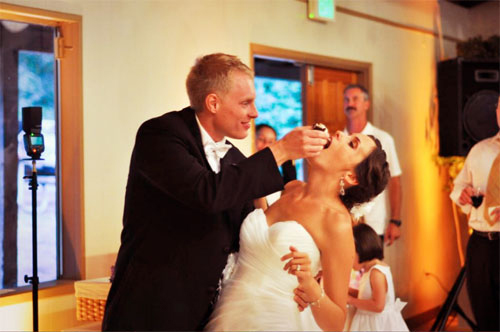
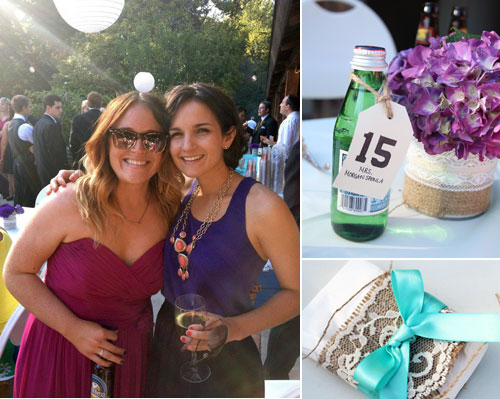
I’m so happy with how the cake turned out! And to save the bride a small bundle – ingredients ran in the $200 range, though cakes to feed 150 are probably closer to $750-1000 from a bakery – made the effort all worth it. Hope you enjoyed following along!


Truly inspirational post! I love how personal the cake looks, you can really tell it was made with love. Being innovative and daring when organising your wedding certainly pays off!
Well done Morgan! The finished product is beautiful :) Bet it tasted amazing!
That cake looks amazing…even better than the inspiration cakes!
It is beautiful Morgan!!! Just stunning!
From a professional wedding cake designer…that came out vey nicely! It’s also a good warning to brides who want to do their own cakes…Don’t! It’s a lot of work, get a pro or a talented friend to do it. You don’t want to be assembling a wedding cake in the days before your wedding, you’ll have other things on your mind then. And you’re right that fondant can be “fixed” by covering the flaw with a flower or something decorative. Sometimes that’s the easiest way to do it!
Thanks for the comment, Kara! I can attest (as a bride who made her cake the day before) that it is a lot of work! And not entirely worth the stress unless you are absolutely confident in how it will turn out (which I wasn’t necessarily ;).
This came out amazing! I love that you used chopsticks to add support, it gives it a diverse flavor :)
I just made a cake with fondant for the first time and it went better than anticipated.
It’s not such a bad icing alternative, is it? Fondant is kinda fun :). Yes on the chopsticks! haha
I’m seriously impressed! So cute!
Love it! Burlap seems to be really popular for weddings- every time I go to the JoAnn’s, they tell me their burlap gets snatched up for weddings. You did a great job, Morgan! :)
Beautiful! So much work but you nailed it!!
Great job! The cake turned out even more beautiful than the inspiration photos! Congratulations Morgan!!
Looks fantastic and I’ll bet it tasted even better. Yum!
Years ago I did 3 wedding cakes and then learned to say “No” :)
I love the burlap and lace together. Honestly, I went back and looked at the inspiration pics posted with Cake Saga Part 1 and I have to say your interpretation turned out far more pleasing than the inspiration photos. I really mean that, too!
Great job!
Haha, working on that ability to say ‘no’ – so tough! Thank you for your comment on the inspiration photos! {sigh}
I still can’t get over how talented you are! That is the most amazing wedding cake, you truly could start a business :)
That cake is GORGEOUS, you did a seriously amazing job :) I love the burlap-y look.
Thank you so much, Stephanie!