I was writing this post and immediately started with ‘September summers are here’. In fact, even the emailed version of this post (if you’re signed up on the RSS feed for the site) included September. I saw it this morning and was like – wait a second, something about that does not look right… but that’s how far back in time my brain is! And how quickly fall is moving along for us! Regardless, it is indeed October (sheesh) and the girls are asking about Halloween costumes. I’m like – are you sure that’s not next month??
We are enjoying this beautiful weather (especially the warm nights) with backyard dinners. We make a big point of getting together with family (and often friends) weekly for a communal dinner. They are truly the best and the big opportunity in our week to touch base with everyone.
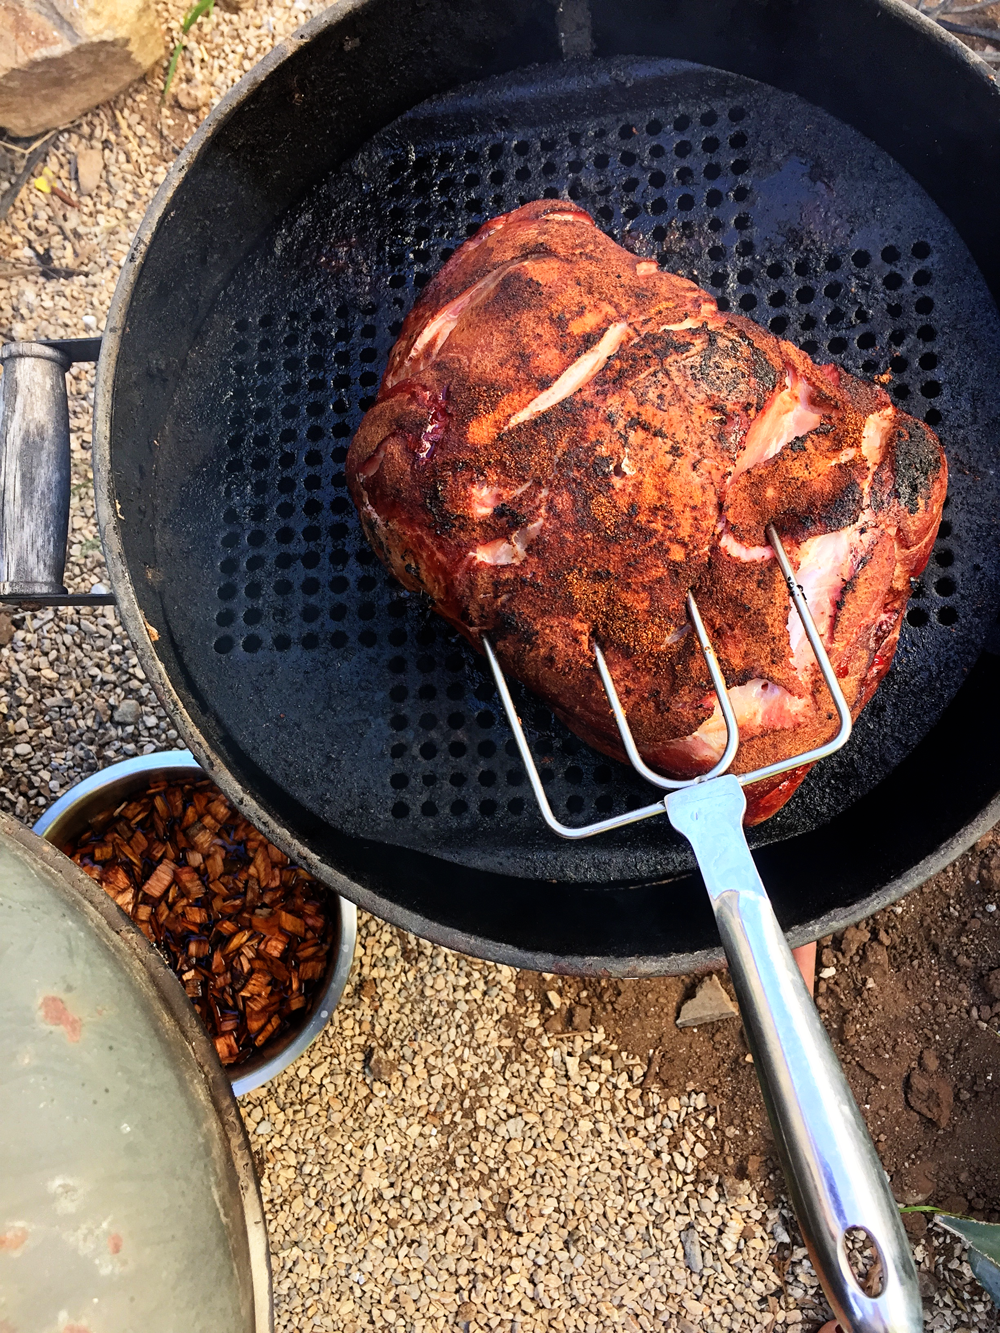
One of our favorite bbqing techniques (Kev’s the pro here) that we all love is to smoke our meat. The prep is time consuming (a little bit), but the result is always fantastic.
Kingsford Charcoal challenged me to share a favorite recipe that involved bbqing and I thought it the perfect opportunity to chat a little about smoking meats. We fall back on smoking again and again for hosting BIG parties with 20+ people (because you can buy a big ole pork shoulder and let it smoke all day), but it’s equally great for a smaller dinner + leftover sandwiches. It’s not challenging but it is time consuming. It takes about 12 hours to prep a meal, but most of that is meat on smoker or meat in oven. It’s like an outdoor crockpot.
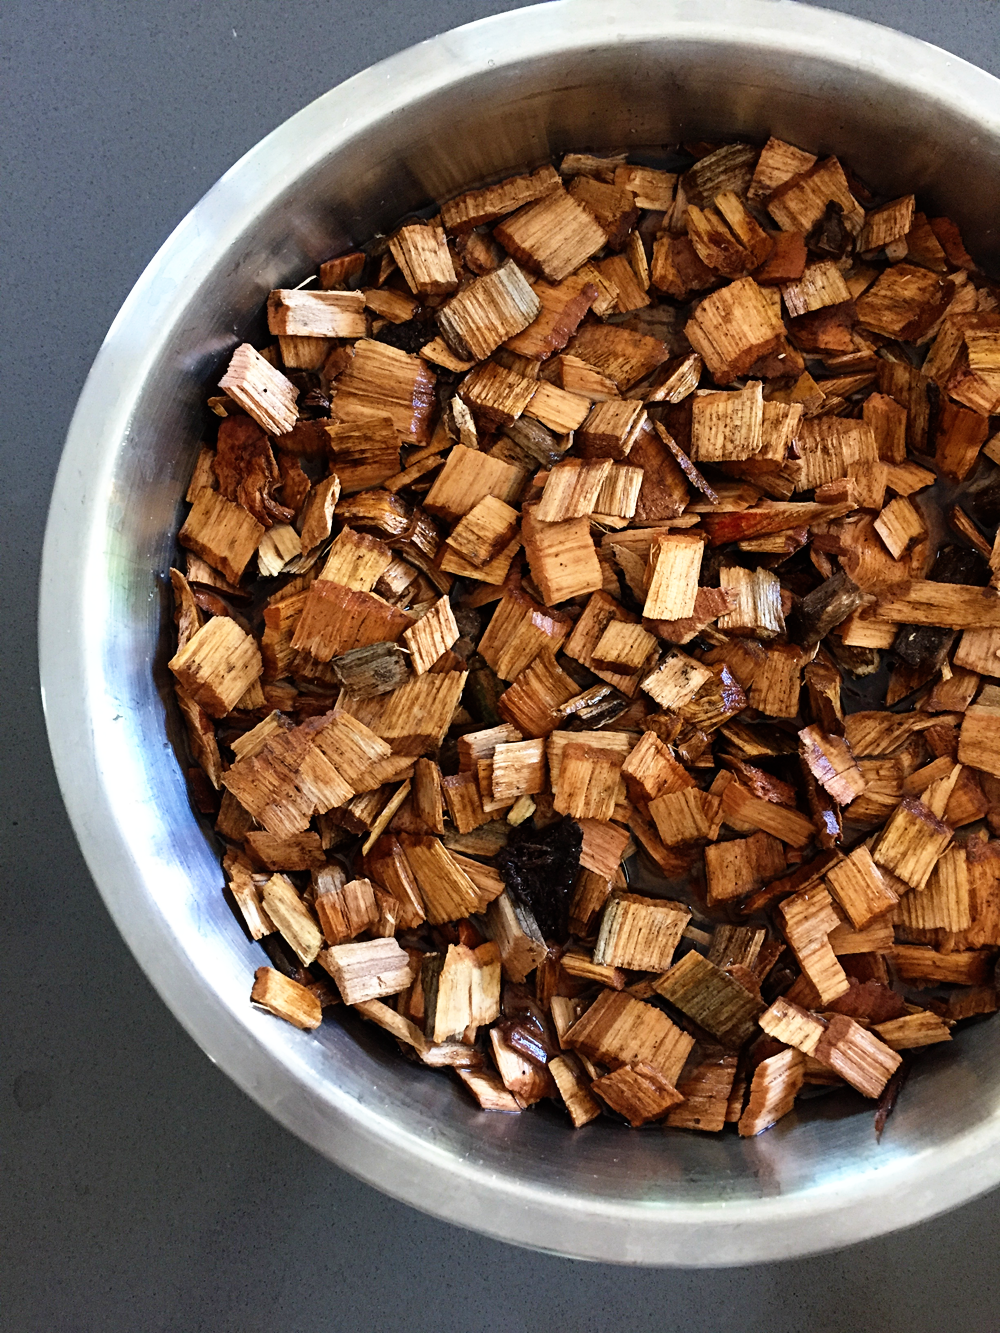
There are a bazillion awesome tutorials out there on smoking (here’s a good one) so I’ll leave this one to the basics and to how we do it. The goal here is to infuse meat (or fish) with that deliciously hearty smoked flavor. Because of the slow, all day process, this happens gradually. You can control a bit of the smoky goodness by choosing wood chips that are also flavorful, good choices include hickory or cherry wood chips (avoid any sort of ‘sap’ wood such as pine). In terms of meat, you can’t go wrong with BIG chunks like pork shoulder or with the more traditional ribs.
Once you give this food preparation process a try, you’ll be using it all fall. It’s daunting at first (believe me, I know) but now I feel comfortable enough to start a big hunk of meat in the morning and to serve it in the evening. Thanks to Kevin who made his own smoker from a metal keg and taught me a little of his technique. Now there’s nothing like knocking dinner out when you’re finishing up breakfast. If you want to hear more on our technique…
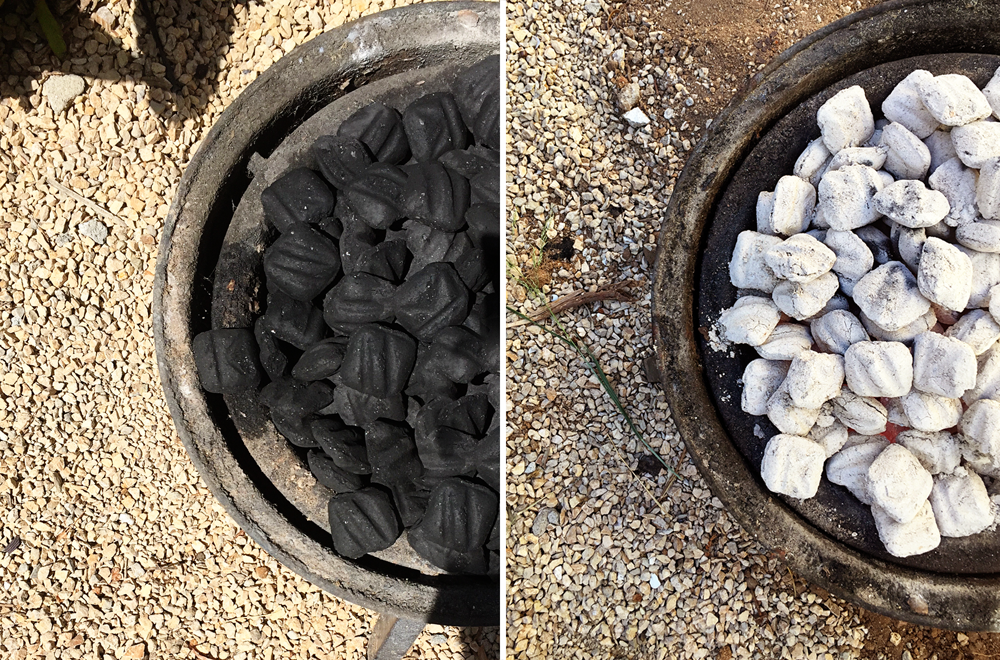
1 | Fill the base of your smoker with charcoal and dousing of lighter fluid to get the charcoal started. Wait 5 minutes after adding lighter fluid and then light charcoal several places. The charcoal will flame up, now let the charcoal burn down for 30 minutes before adding meat. I set it and forget it on my iPhone timer. Soak wood chips for thirty minutes as well in a bowl of water.
2 | Let’s talk rubs!
There is no secret to our madness but we do rely on a few key ingredients (and then modify based whatever’s on hand). The process: rub down your meat with your favorite spices and herbs. Because the slow method of smoking, the collagen in the meat will break down over the course of the day creating a fall-apart texture. This also means that the meat is slowly infused with all of that goodness.
Here’s a rub to try:
-2 part brown sugar
-4 parts tajin
-1 part salt
-1 part pepper
From there, feel free to add spices or dried herbs. Go crazy. The rub is just to add a bit of flavor and salt & pepper would do just fine if you don’t have anything handy.
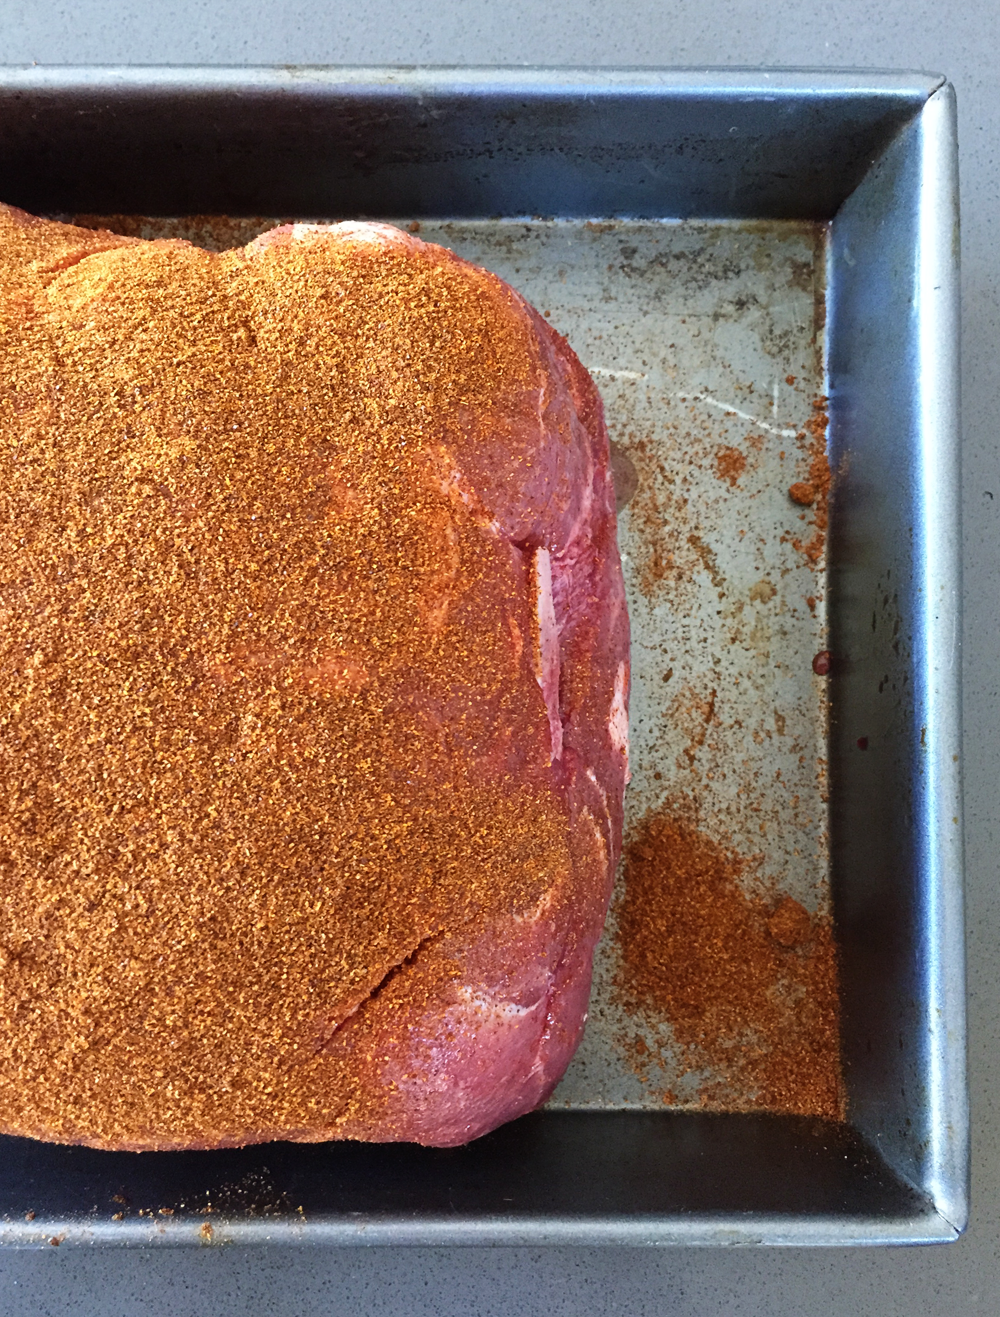
3 | Once the charcoal is grey in color you can add the first few handfuls of wood chips to the charcoal. Cover charcoal with the chimney portion (or body of the smoker) and add your meat to the grate at the top of the smoker.
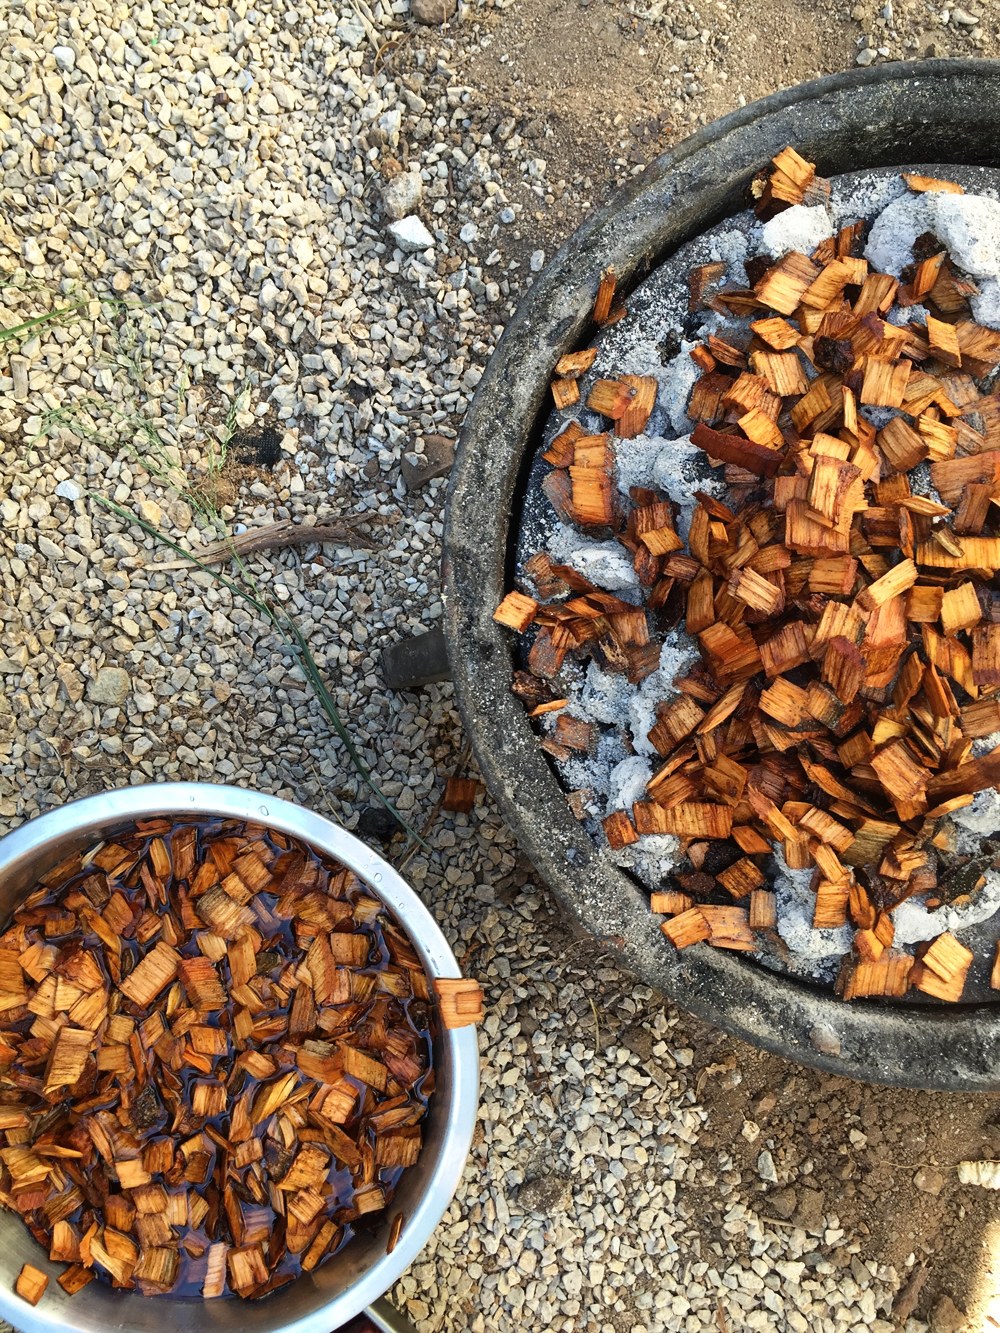
4 | Now’s when the smoker starts her magic! Allow to sit for 2 full hours without touching the meat. Add wood chips every 30 minutes to the charcoal (there should be a little door at the bottom of your smoker for easy access). Don’t touch that lid!
5 | After 2 hours flip the meat and cover again. Let sit for 2 more hours on the smoker (don’t forget about those wood chips).

6 | Preheat oven to 200 degrees after almost 2 hours of smoking if you’re smoking a BIG chunk of meat.
7 | Smaller pieces of meat or ribs might be done now, but here’s where the oven comes in to help. Take your big pork shoulder off of the smoker after 4 long hours of smoking-infusion-amazingness and continue the slow cook in your oven for an additional 4-6 hours. I told you it would take a long time! By now though your backyard smells absolutely incredible and every neighbor within a half mile is drooling.
8 | Test the center of the meat for doneness and serve.
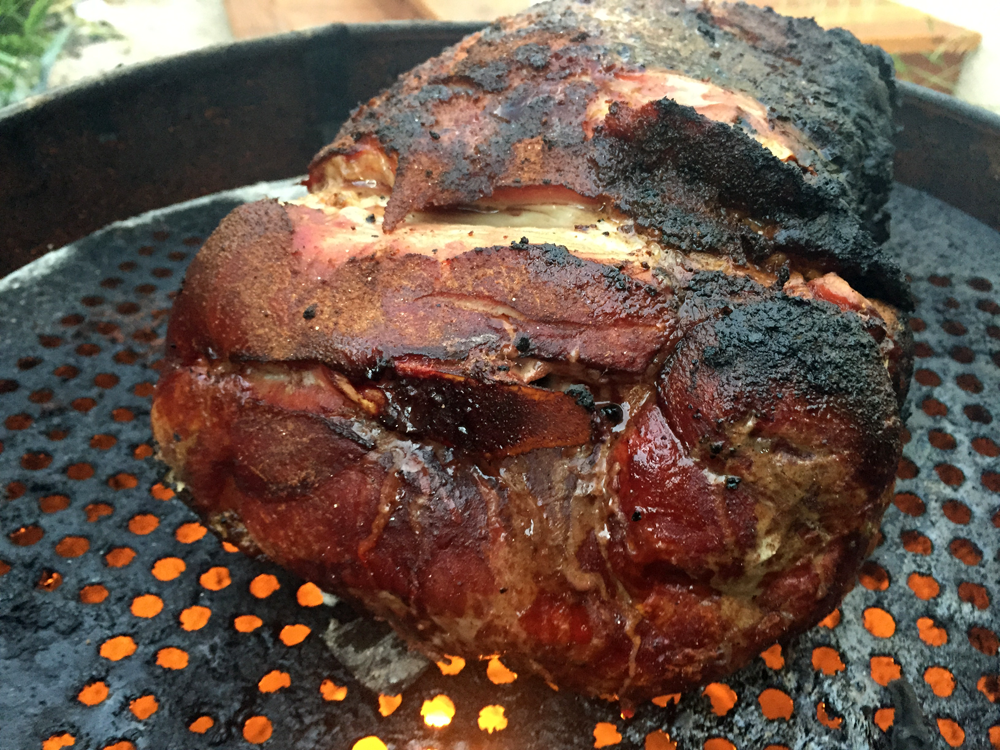
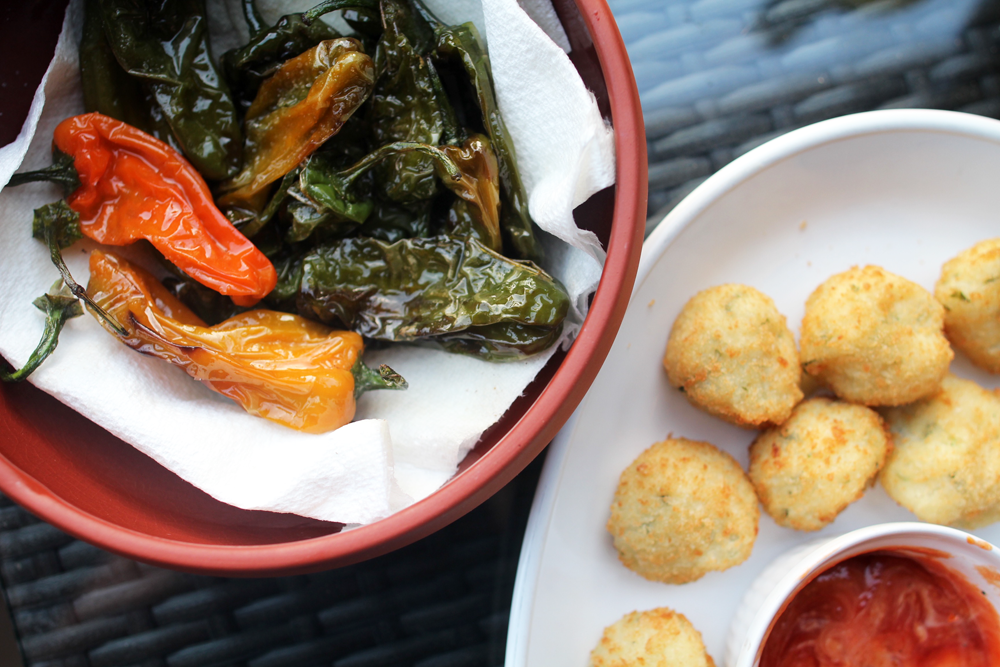


Good drinks, great food, people we love. We watch college football or start a riveting game of scrabble (where we take five minutes each between turns – anyone else?). I love an evening filled with good conversations and happy children, you can’t beat it. Gathering with our friends and family needs to happen regularly or we can feel it as a family. We are rejuvenated and reenergized by the people we love, especially those going through the same stages of life! If you don’t currently do something like this weekly, I totally recommend sending out an evite right now for a regular monthly dinner with your closest tribe (potluck style!). It’s life changing. Hope you get to enjoy a great smoked meat this season, too.
This is a sponsored post from Kingsford Charcoal and Clorox, thanks for letting share a little more about the brands that support this site. Here’s a clever Tumblr feed on how other folks around the internet are using The Clorox Family of products to make gathering this summer more amazing!


The Husband has been coveting smokers for a couple years now. We’ve mostly just used our charcoal grill, and it’s been pretty darn good. Definitely love a smoked pork shoulder…especially those pieces with nice fat pieces of bark on the outside. Yum!