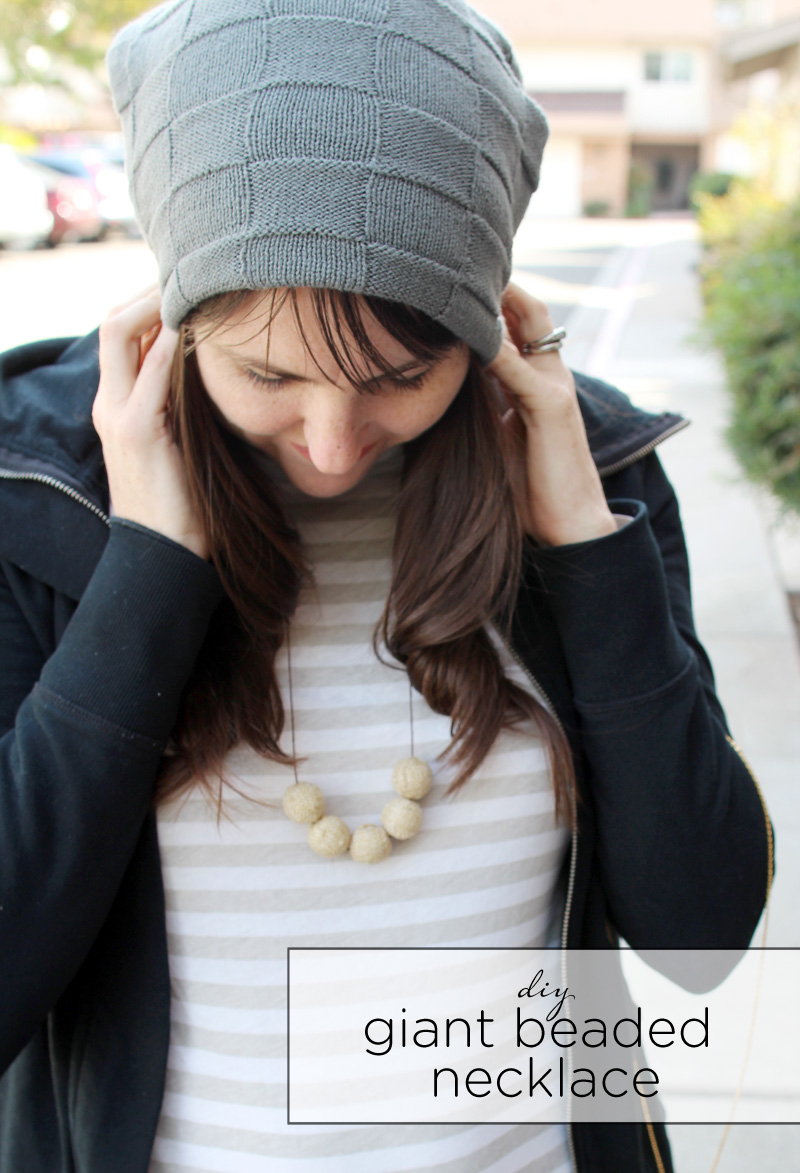
I shared earlier this season about my new love of oversized beaded necklaces. They so easily serve as that one statement piece (throw it on and you’re ready to go!) and pair perfectly with classic, everyday jewelry. I invested in two that I adore, but then while at Jo-Anns recently to pick up a few craft supplies, realized that they would be pretty easy to make (even sans jewelry tools – which always feels like more of a daunting project).

Supplies:
1mm leather cording
Oversized beads (mine are from Jo-Anns, Etsy is a great place to search, too)
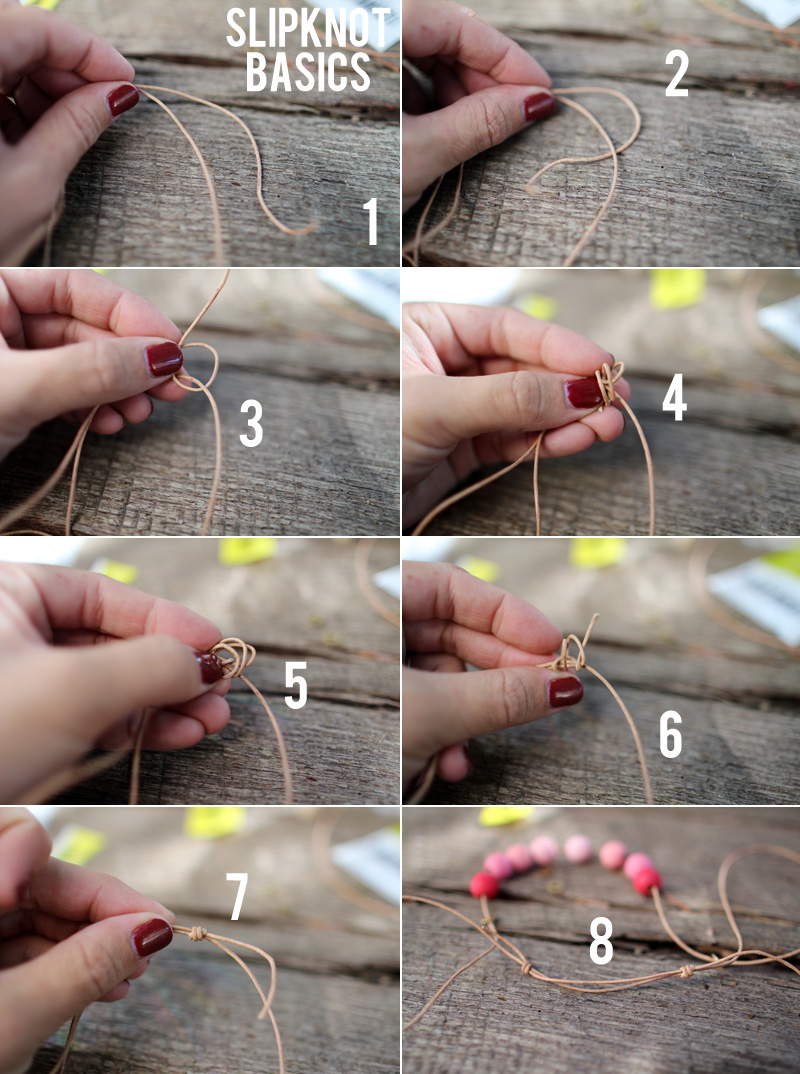
It’s that easy! I’m a fan of threading in odd numbers (3, 5, 7, etc) and I always add a basic double slipknot (or an ‘adjustable set of knots’) to the back of the necklace so that I can shorten or lengthen the necklace depending on what I’m wearing. Sometimes it’s fun to wear these much closer to the collar, sometimes hanging very low (such as when layered with multiple necklaces).
Here’s a quick overview of a slipknot:

1. Cross over the two ends of your necklace, one tail should be 4-5 inches because it will become the second slipknot. 2. Tuck the smaller tail underneath the longer tail to create a ‘P’. 3. Wrap the tail of the P up and over the first tail to create a circle. 4. Wrap the end of the smaller tail around the two cords, looping them OVER and on top of the circle 2-3 times. 5-6. Push the end of the tail back through the new loops. 7. Pull tight (you can trim the extra bit of tail now, too). 8. Repeat using that longer 4-5 inch tail to that you’ve reserved to create a second slip knot so that the knots are side by side. Now you should be able to adjust the space between the two to create a sliding cord! (if I failed miserably at explaining the above, here’s another tutorial for a basic adjustable slipknot).
PS The gradient pink necklace in the above example is coming up as a featured post soon.

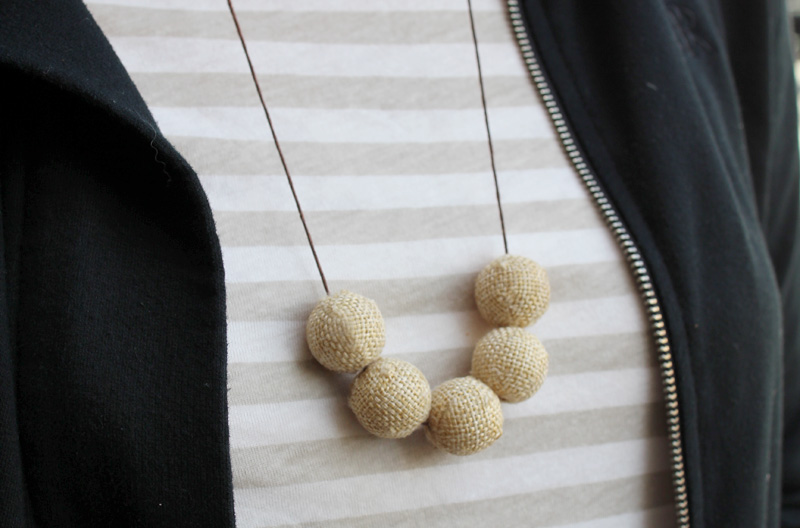
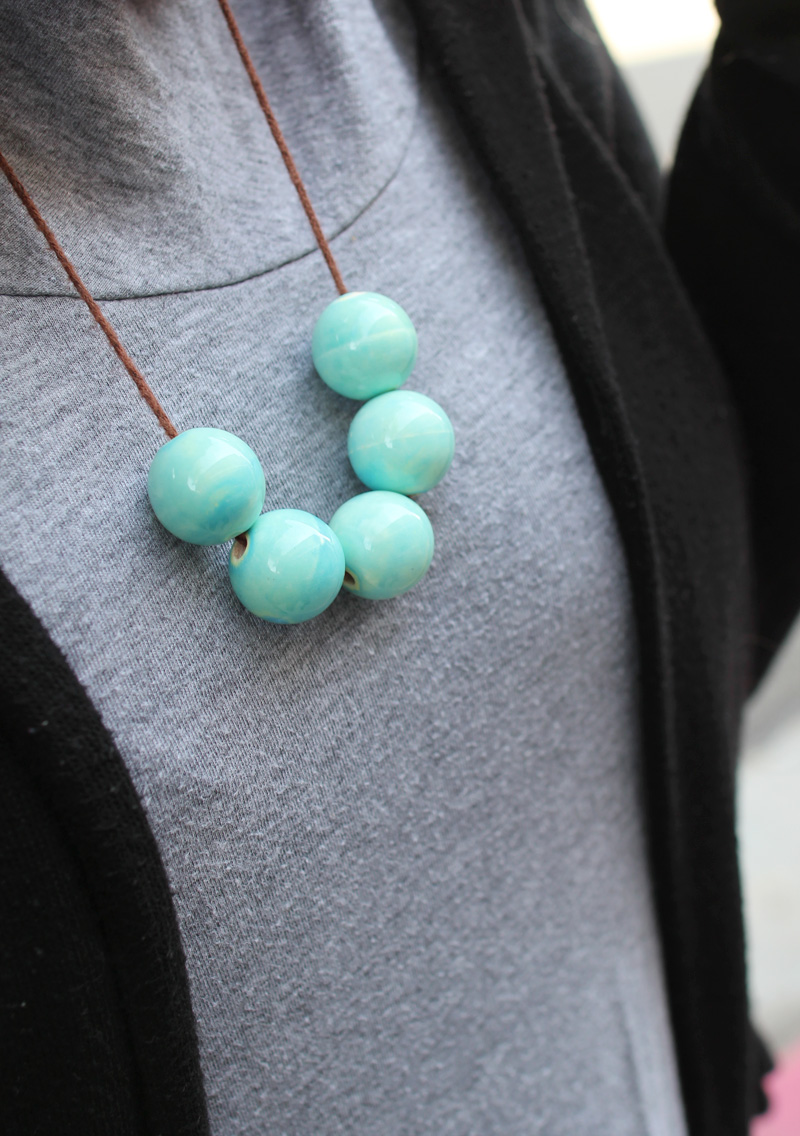
Thanks to friends Cassie and Diana for modeling the new natural woven beaded necklace and turquoise green ceramic necklace that I made using these basic steps. Cost came out to about $4 each (used those great 50% off coupons from Jo-Anns ;)) and I adore them. Happy beading!
This is the first in the 2014 handmade gift series (checkout some favorites from 2012/2013) and you can find all posts chronologically listed here. I can’t believe we are six short weeks from Christmas!


Pretty! Love the idea of just adding a knot in the back. Is it easy to change out the beads if you decide you need something different? I’m overflowing on jewelry and would love it if this could be a double-duty type necklace.