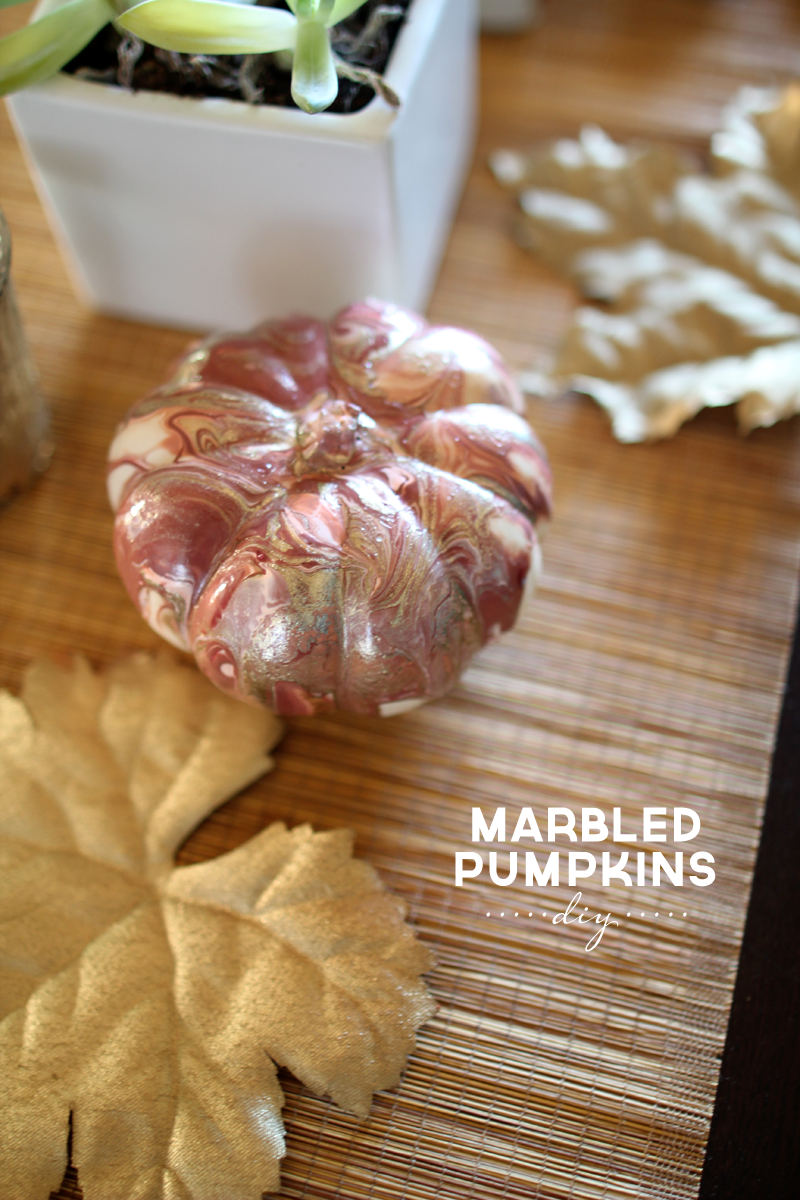
Hope you had a relaxing (or productive), happy weekend! I wanted to share an art project that Liv and I tackled two weekends ago (I mentioned it during our little fall home tour) that included marbling a handful of mini pumpkins.
I’ve been inspired by several tutorials I’ve seen online (including this one that led to a ridiculous purchase of little bottles of nail polish that I might not otherwise own) for marbling beautiful paper and even ceramics. Marbling – I kind of recall an art project in grade school that included marbled note cards (or was that spin art, do you remember that?) and from what I remember it was messy and tedious.
But seeing this online inspiration (and with just warm water + nail polish to create an insta-marbled effect!), the wheels started turning… what if I marbled pumpkins instead of paper? A neat twist on fall decor?
Too tempting and pretty to not give it a go… plus Liv and I have been filling our free weekend afternoons with mommy + daughter craft projects (while T naps) and I’m always looking for something that would make both of us happy. Side note: she really digs that time together, she asks all of the time if it’s ‘our craft afternoon’ yet and we’ve had probably a half dozen over this summer.
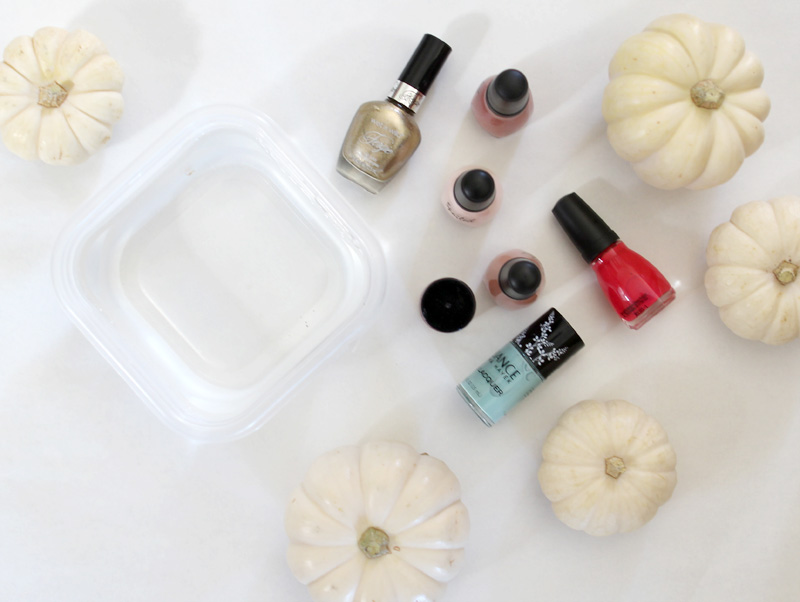
Materials: nail polish, miniature pumpkins (white will show your color choices best, though orange gave us a fun result too), toothpicks, a small plastic container (that can be thrown away) filled with luke warm water. You might consider plastic gloves for your hands because your fingertips will get really messy. I kept q tips, cotton balls and nail polish remover nearby.
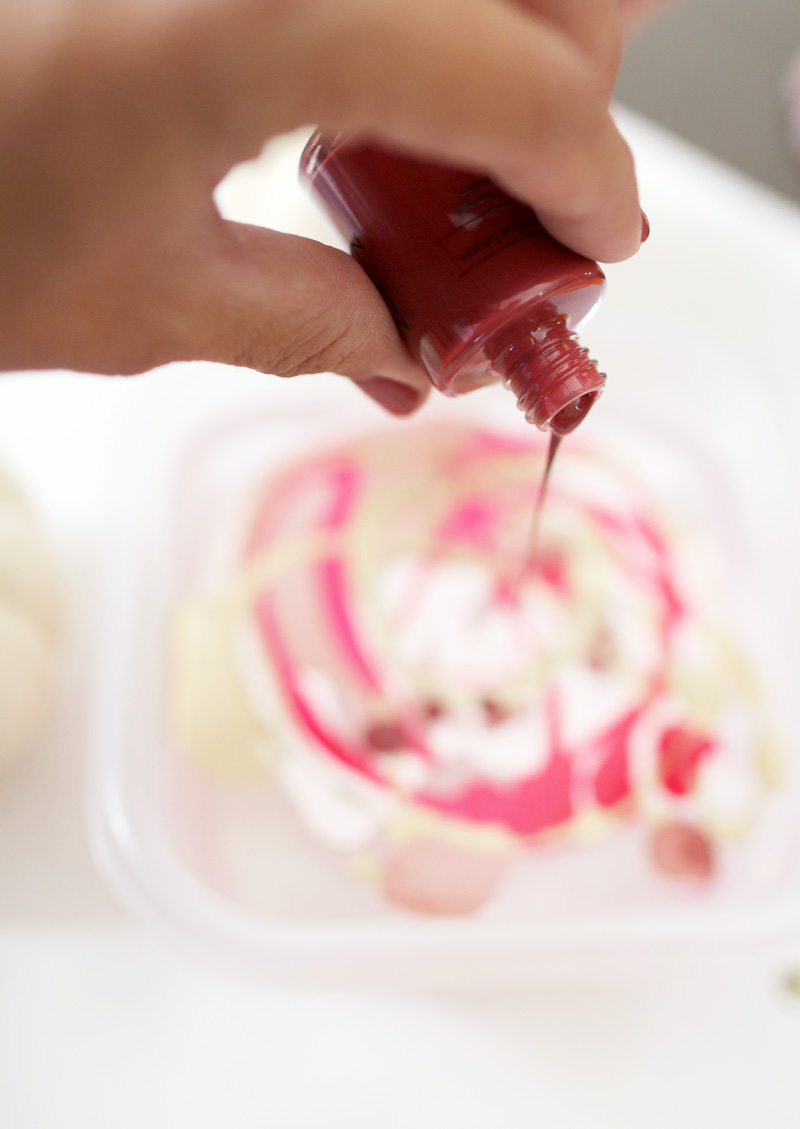
Liv and I tried out two techniques. First we poured the nail polish (you’ll find out quickly that less is more) directly into the water in swirly circles, and the second time we used toothpicks to move the nail polish around for even more exaggerated swirls and patterns.
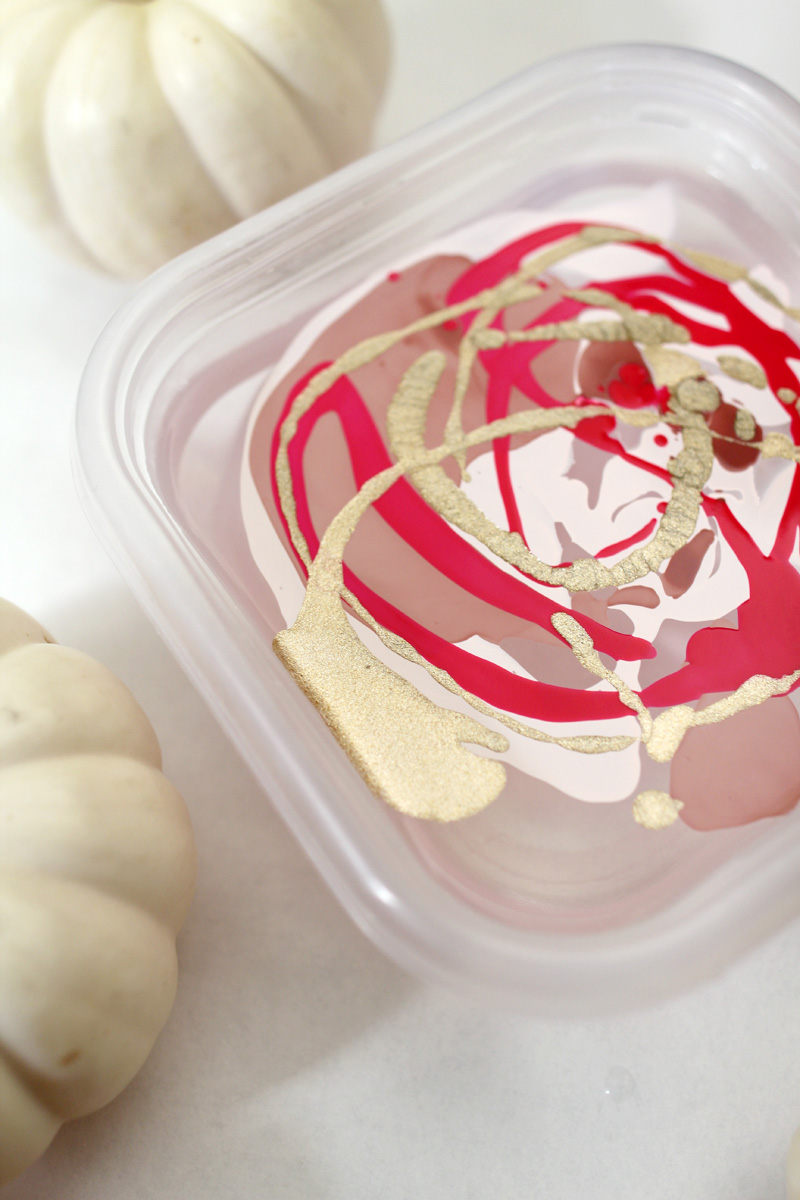
One of the key factors for this project is water temperature. If the water is too cold the nail polish becomes hard immediately. Likewise if too hot, the nail polish becomes almost unusable because it dissipates throughout the water and your swirls will disappear. Play with it a bit by using paper to experiment first. Bonus is that each time you dip a pumpkin (or paper, or anything else) you sort of get to start over!
For the pumpkins, I wanted the marbling to cover the top and a good portion of the sides, so Liv and I took turns gently dipping/dropping an entire pumpkin face down into the marbled water. It sort of bobbed there for a moment (without me moving it at all) and then I retrieved it by placing my thumb on the stem (that’s upside down in the water) and my index or middle finger on the bottom of the pumpkin (creating a C with my hand but not touching the sides) to flip it over and let it dry. It dries almost immediately as the nail polish finishes hardening.
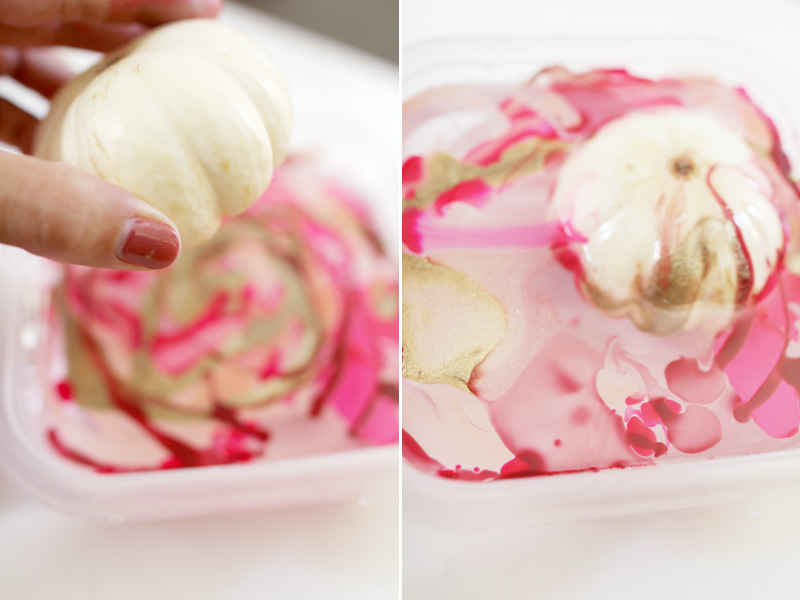
It’s a neat process to watch over and over again because almost as soon as the pumpkin plops into the warm water, the nail polish gravitates towards it and coats it.
Here’s a look at when we used a toothpick to exaggerate the swirls:
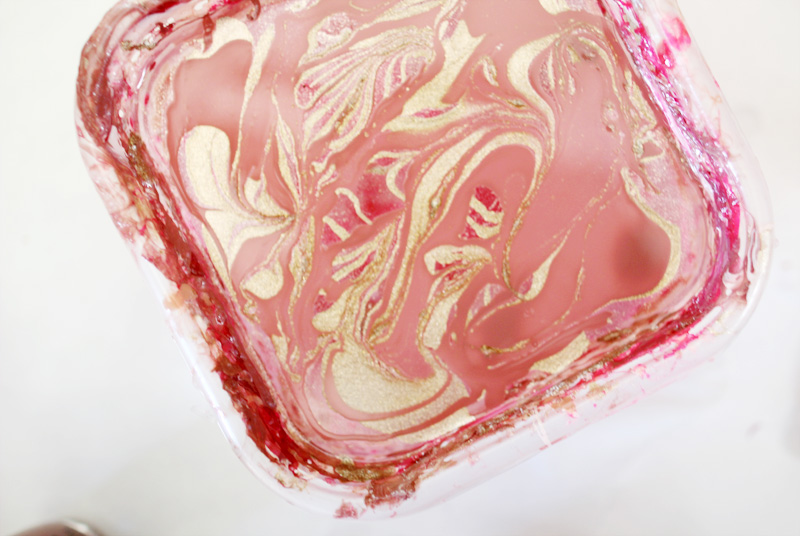
The nail polish takes only a little bit of time to dry and then they’re ready to go.
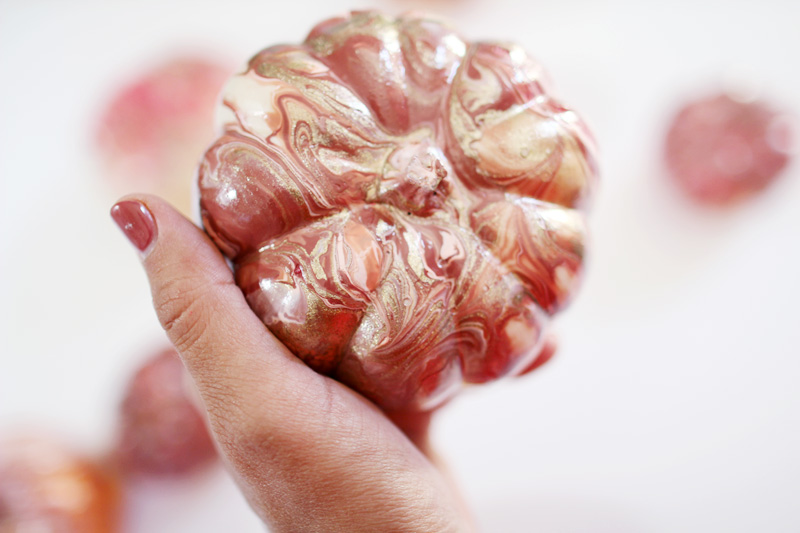
If you don’t love how a certain pumpkin turned out, you could always re-marble him by adding another layer.
It’s not a super easy project with kids because there’s not a whole lot of interaction besides swirling the nail polish and dropping the pumpkins into the water. Liv was eventually a pro at making pretty marbled paint patterns in the water and she loved to experiment with how different colors turned out on the final pumpkins. I thought I would love a minty green and bright pink combo, for example, but those two colors ended up being my least favorite when our pumpkins had finished drying (we made maybe 8). The light pinks, peaches, golds and blushes, on the other hand, were great!
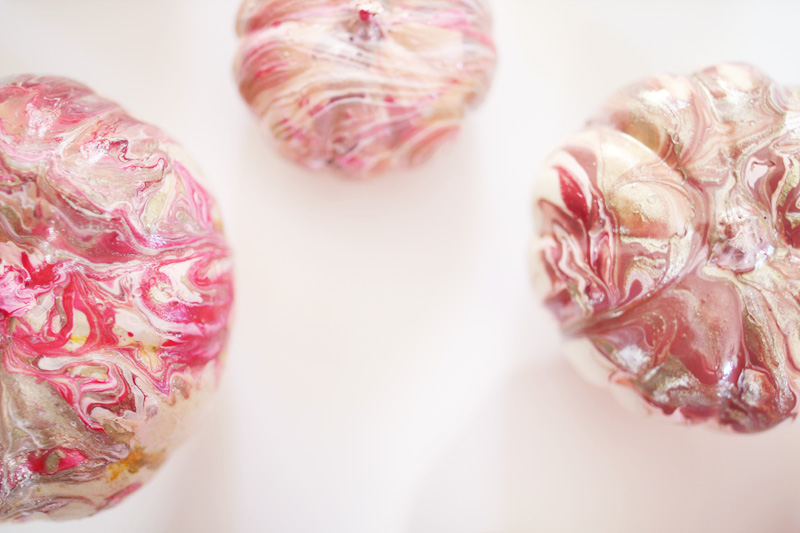
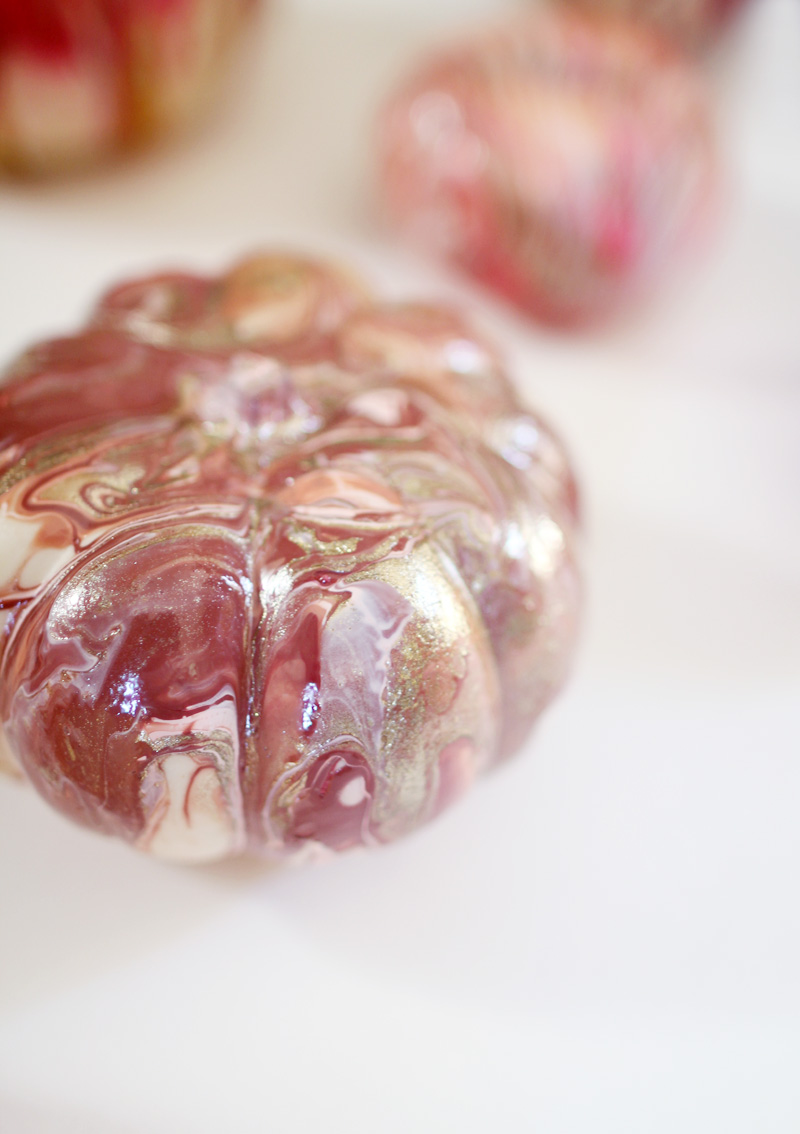
It’s a fun alternative to painting pumpkins because the results are immediate (and drying is so fast). Would make cute little place cards for a Thanksgiving table or would be fun to mix into a bowl of plain pumpkins and gourds.
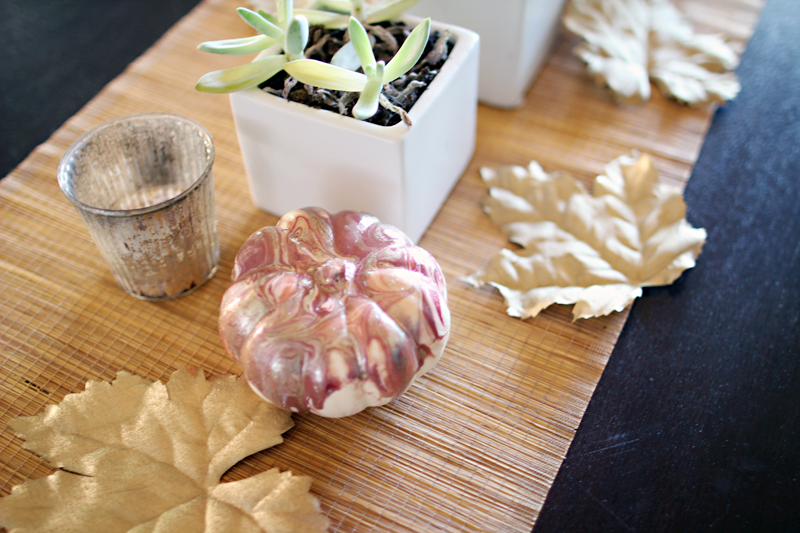
Happy Monday and happy craft time.
PS more fall-themed projects/posts here, and here’s a look at the fall decor popping up around our house these days (including those gold leaves above). PPS turns out we’re not actually supposed to capitalize seasons. I had to google that a few times, but it’s true.


We did this marbling technique with our Easter eggs this year. It was lots of fun, but definitely messy. (Glitter nail polish added a little extra fun, too) We went with bright colors, which sometimes got muddied up, but I love your burgundy/gold/rose combination. What a great idea to make crafting a weekly “date” with Liv. I bet she just loves it.
That’s such a great idea! Both the glitter nail polish and the Easter eggs – I’m going to have to try both! I’d like to master this nail polish technique, it provides such fun results and really isn’t too much work (but very messy! :P).
Love these!!! So pretty!!
They turned out great! I did some marbled Christmas ornaments using same technique, but with spray paint. Fun but messy. :)
Spray paint? What a great idea! Did you also use warm water to create the marble design? I love that!
Love these! If I ever actually committed to Fall decorations, these would be top of my list!
Thanks, Kellie!