Fondant (and gum paste) can be likened to playing with playdough. Remember how much fun it was to build mini hamburgers (complete with lettuce and a tomato) or bowls of spaghetti when you were a kid? I like to think of fondant as the adult version, which is why it’s a lot of fun to play with and shouldn’t be passed over by the everyday baker! I bake only as a hobby and I say give it a go. Those cute fondant decorations you’ve seen on Cake Boss (or the latest pastry show on The Food Network)? You should give it a try.
You can start with a basic shape like the simple oversized polka dots on Liv’s first birthday cake, or go a little bigger and cover a stacked wedding cake. Whichever you decide as your jumping off point, give it a go. You won’t regret it!
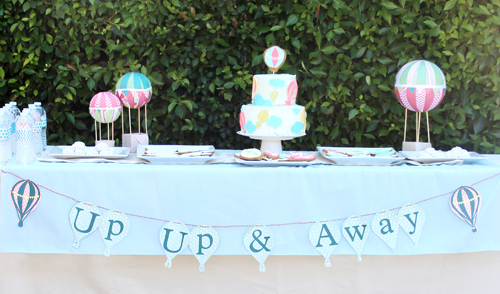
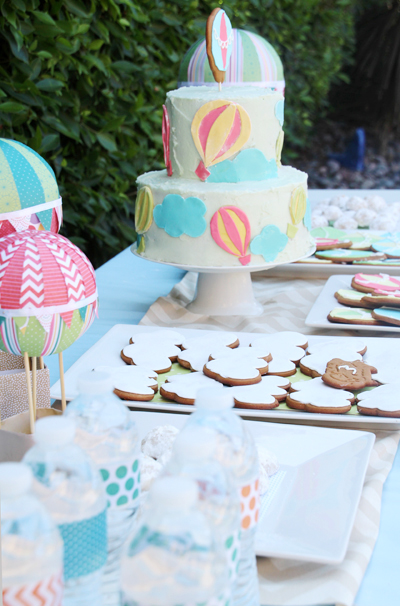
Last Friday I shared with you the Up, Up & Away! themed baby shower that we threw for our friend, Trish. When brainstorming desserts, I was pretty set on doing something simple like cupcakes or cookies, but my co-host suggested something bigger – maybe a cake like this one ;). I ended up having the day before the shower free and so I gave it a go.
While baking the cake I snapped a few photos of the process for making fondant decorations (or at least the semi-homespun steps that I’ve adopted) to share with you all.
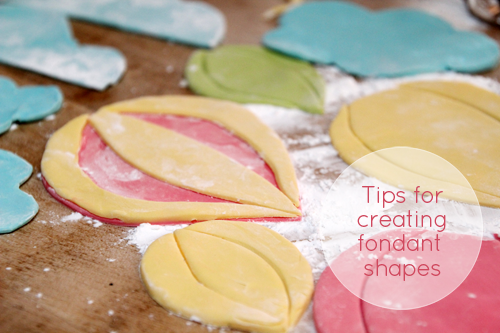
First things first, fondant. You can buy small packages at stores like Michaels at a more expensive price, but I recommend investing instead in a large bucket of a fondant such as this one and slowly chipping away at it over the years. I still have – no joke – fondant left over from our own wedding cake 6.5 years ago… and when kept in an air tight bucket it’s as fresh and easy to work with today as it was back then. Needless to say a lot of people don’t actually eat the fondant decorations (but you’re welcome to if you’d like). Don’t need to color your fondant? Here’s a super brand to work with for first-timers if you’re going for white white.
Back to my story…
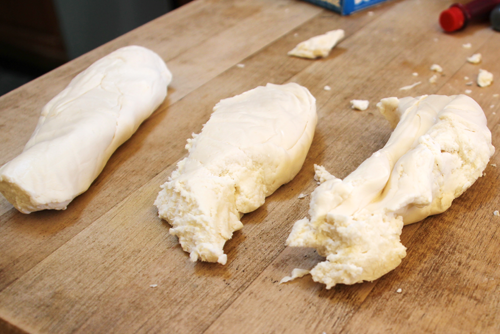
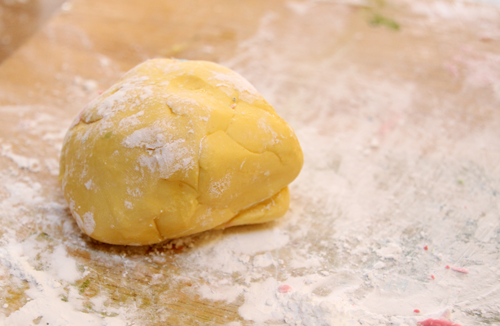
First up is separating out your chunks of fondant into manageable sized portions. Add 5-10 drops of food coloring to each fist-sized piece (more for a saturated color, less for a lighter color) and kneed, kneed, kneed.
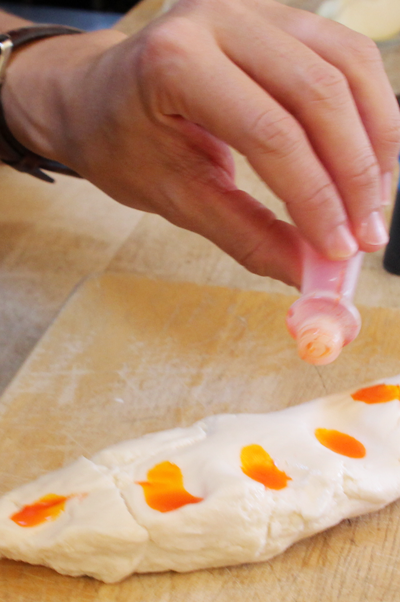
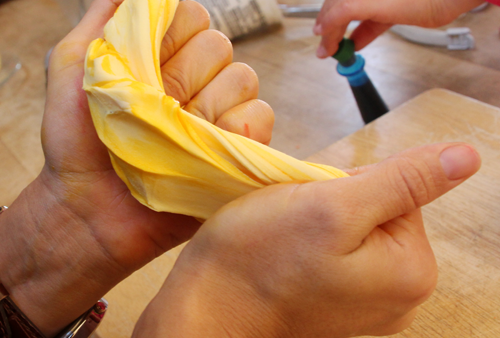
Very fun to play with – this is what reminds me so much of playdough!
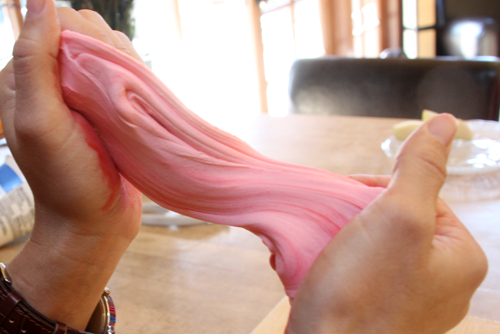
By the time you’ve finished up your range of colors you might be dyed like an Easter egg…
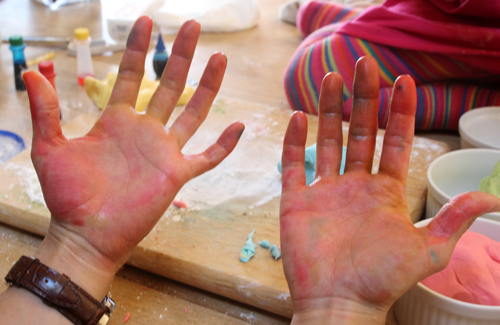
But that will fade over time…
And you’ll be left with some beautiful fondant to play with.
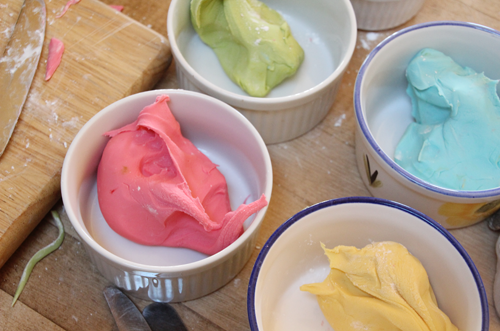
I use corn starch rather than flour if I’m noticing any sticking tendencies with my newly formed fondant playdough balls. Corn starch is your friend, don’t be shy.
A rolling pin is the easiest way to roll out fondant to about 1/8″ thick. Cover that rolling pin in corn starch, too.
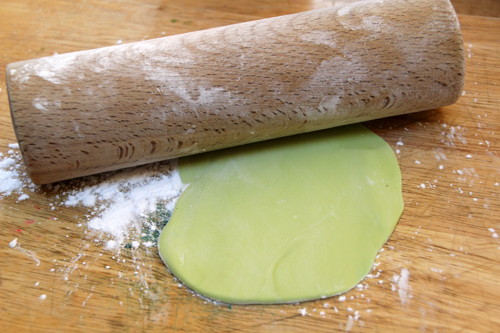
To make hot air balloons, I cut out hot air balloon shapes in two different colors (you can freestyle any shape or use cookie cutters to make it easy peasy).
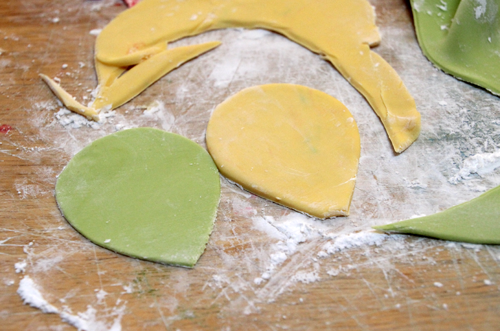
Then I cut one of my balloons into strips and used the strips to create a colorful outline on the second balloon shape.
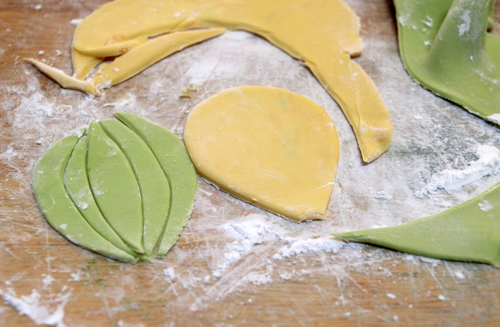
A little bit of water on your finger will help adhere the two pieces of fondant together.
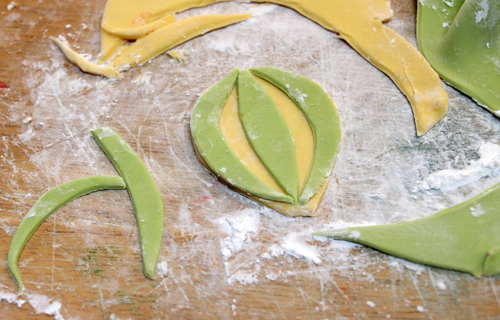
As far as cutting is concerned, there are a couple of easy ways to play with fondant. Over the years I’ve invested in more cake decorating supplies that make this even easier (like a little wooden scalpel for slicing through cleanly) but I was without my decorating box when assembling these at my mom’s so now is a good time to mention alternatives.
First up is a sharp knife:
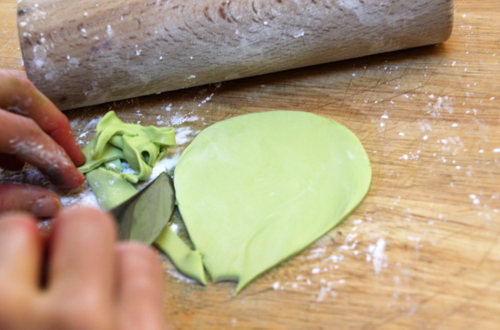
But even better? a pizza slicer.
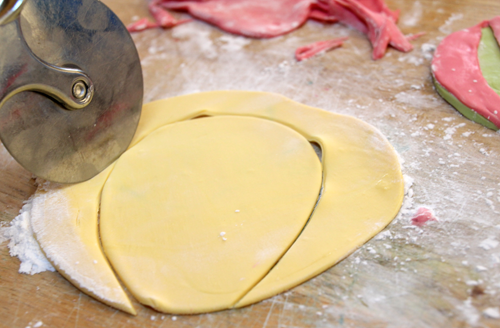
That was a genius of a shortcut find! Makes the process so very quick and easy.
Once you get the hang of the project, hot air balloons can be made in all sizes and colors. I liked the look of some as dual colors, others as solids (but still with the outlines cut out).
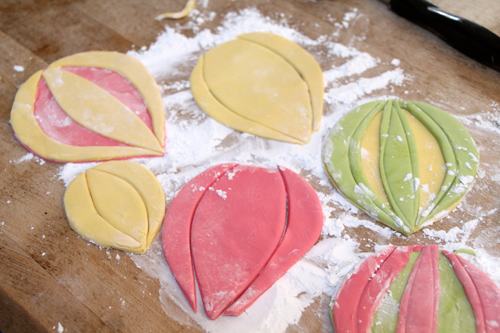
I can’t underestimate the importance of corn starch, you literally want to be rolling in it:
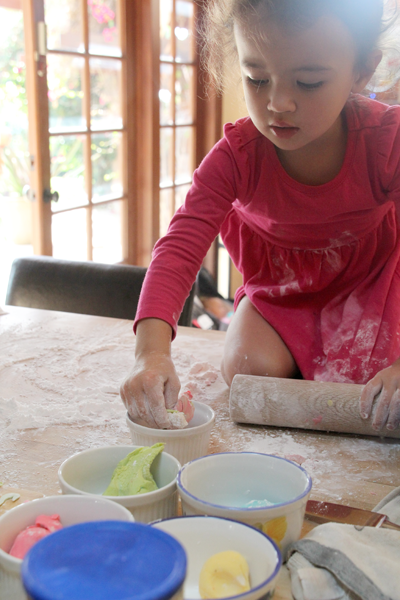
Since fondant can go sticky fast.
A nice way to seal the edges of two pieces of fondant together is to go over the edges with the pizza slicer again. This will pinch together the outline of the shape without making finger dents (which will happen if you attempt the same step with your hands).
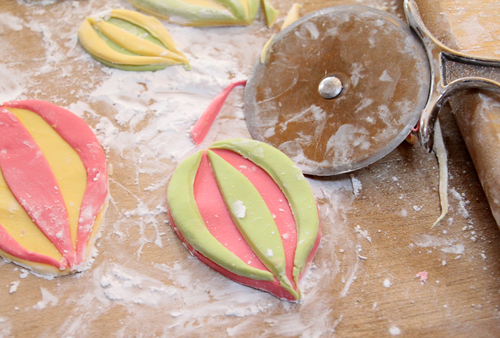
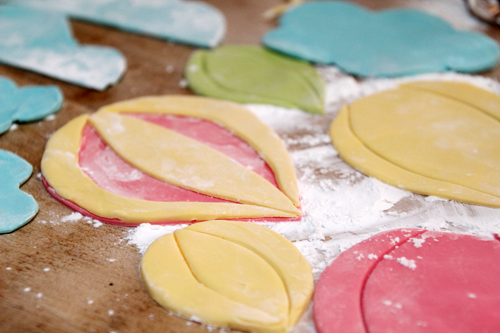
Create and duplicate!
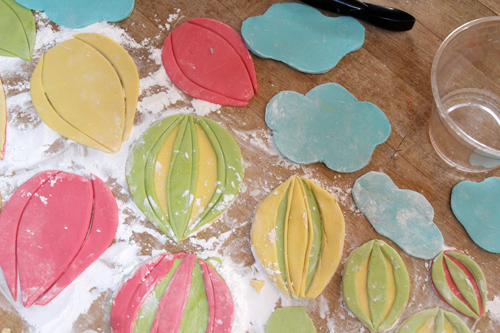
We’re not going for perfection here, but if you are make a ton. You can pass on your least favorite when decorating your actual cake.
I stored my fondant pieces over night in tupperware (in one layer – no stacking). You can use the pieces right away as well, but I recommend adding them to the final cake the day of. To adhere them to the cake, press them into the wet frosting or lightly dampen the backside of with water and smooth on (especially useful for adding fondant to a fondant covered cake). I made the mistake of not brushing off all of my corn starch before applying (thinking I could easily go back and clean up my balloons by brushing off the starch post application) and ended up with a powdered cake. Oops! Make sure those puppies are clean before adding.
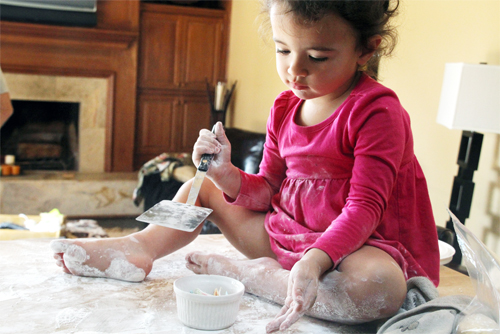
And again, corn starch is your friend. Invest in a big can, especially if you have helpful kids.
I hope I’ve convinced you! Remember, fondant = playdough, you have to give it a try.
More desserts here! And my 3 post amateur wedding cake saga here – with a few fondant tips & tricks here, too.


The balloons are adorable. I haven’t tired fondant- my sister is the cake decorating queen, so I let her keep all the glory- ha! :)
I remember spending HOURS making flower cookies with layered fondant on top. They were cute, but a lot of work. I love the idea of thinking of it as playdoh. T loves playdoh right now, and would love to have something that we don’t have to worry about keeping away from her sister. This just gave me a cute idea for classroom gifts this Christmas. Thanks for the inspiration!
Can’t wait to hear about what you come up with!