I’ve been meaning to capture the steps for this little project for some time. Remember when we hosted a gender reveal party for Taylor earlier this year? (complete with video – me about to fall over from shock, Kevin with the most complacent and calm reaction I-ever-did-see.) It was a really fun way to learn the gender of baby #2, especially since we waited to find out with Liv.
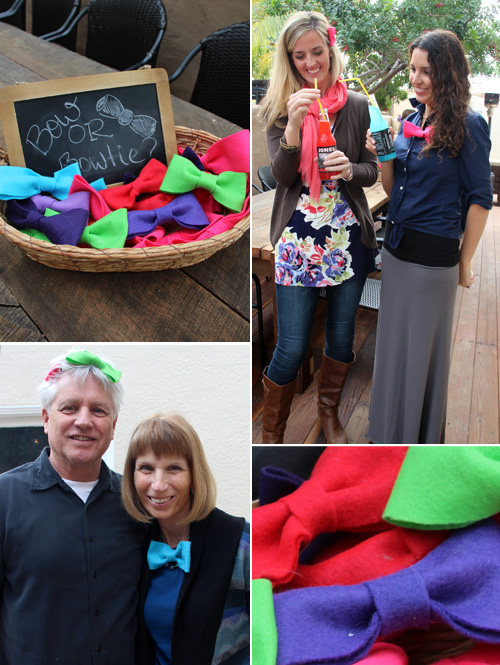
As a fun little accessory for the party, a friend and I made about thirty felt bows for our friends and family to guess what baby would be. Those that voted ‘girl’ wore the bow on their head, those that voted ‘boy’ on the collar of their shirts. Super easy and super fun for photos!
When a reader recently asked how to recreate the felt bows, I thought I’d put together a snapshot series on assembly.
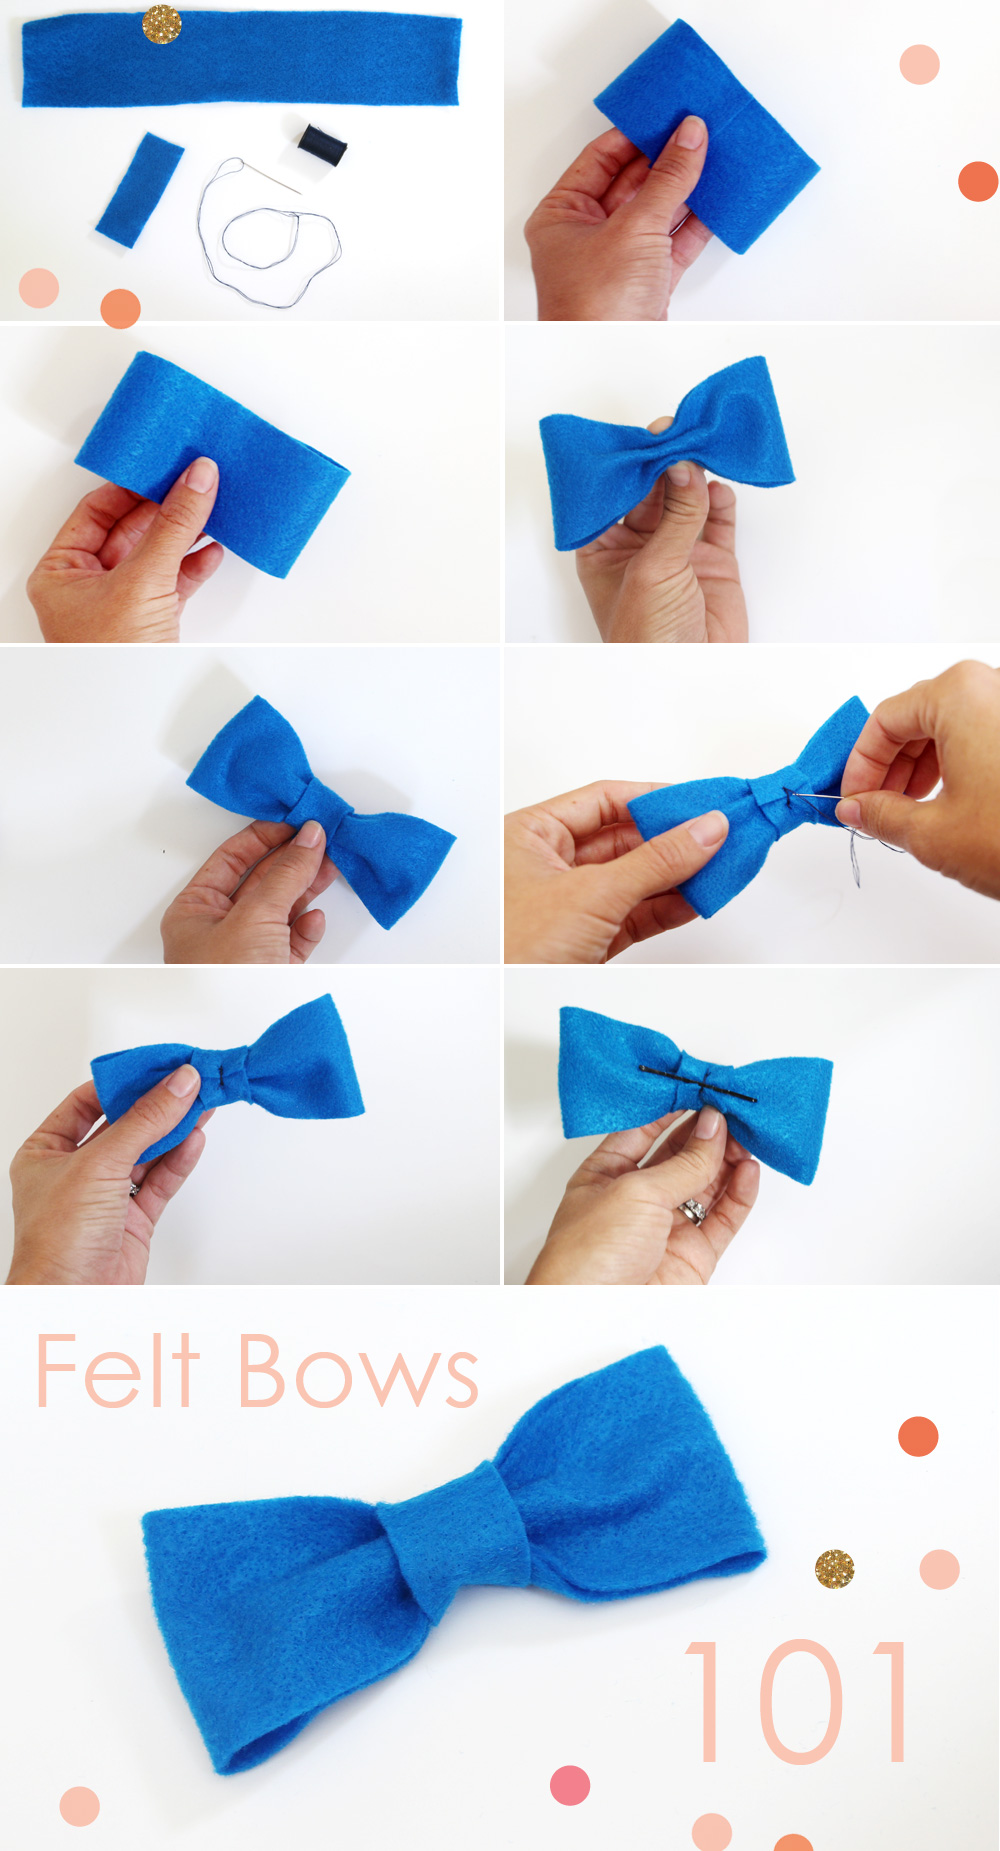
Once you have your two felt strips cut (one large, one small), assembling all of the bows takes just a minute or so each. I came up with a little assembly line for all of the bows that went something like: fold long strip, scrunch together, wrap small strip around center, stitch in place. Very simple – my brother even chipped in during crunch time prepping for the party.
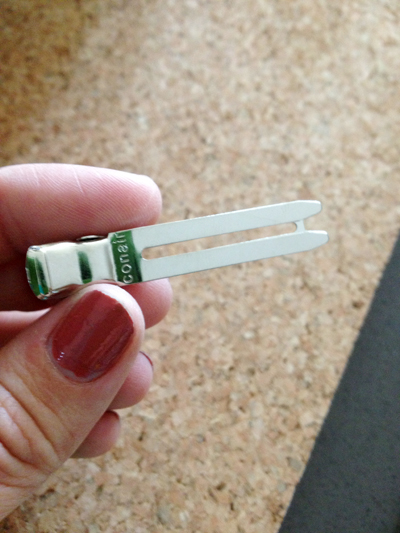
I used a bobby pin in this collage because that’s what Liv and I have been using to make little hair accessories. For the actual party I used alligator clips (found in the hair accessory section of most grocery stores and pharmacies) so that guests could easily clip the bows to their shirts or into their hair.
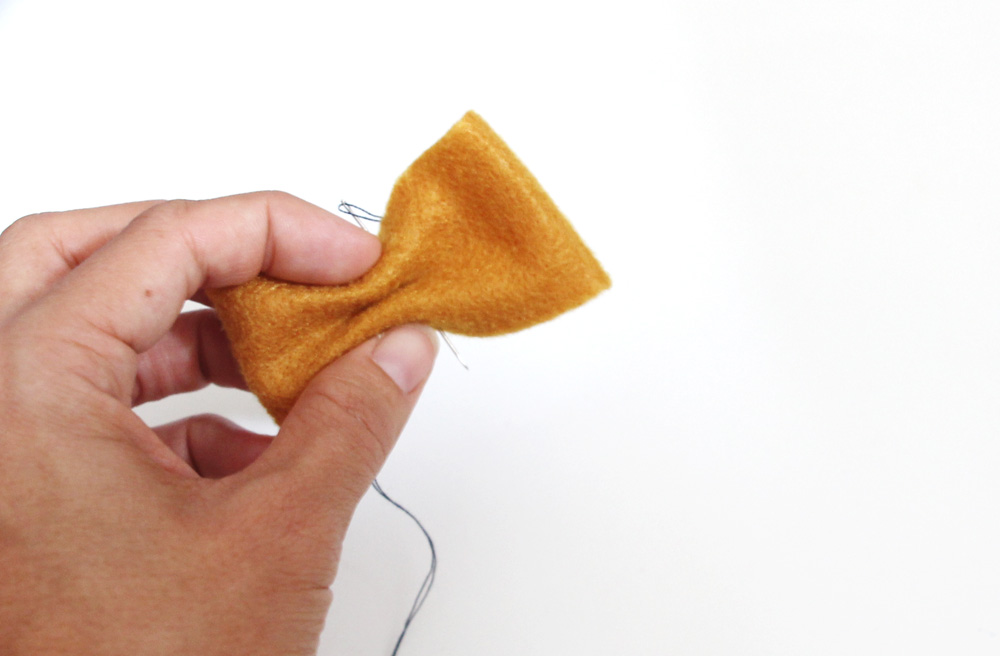
An alternative look to wrapping the center section is to stitch while the bow is scrunched.
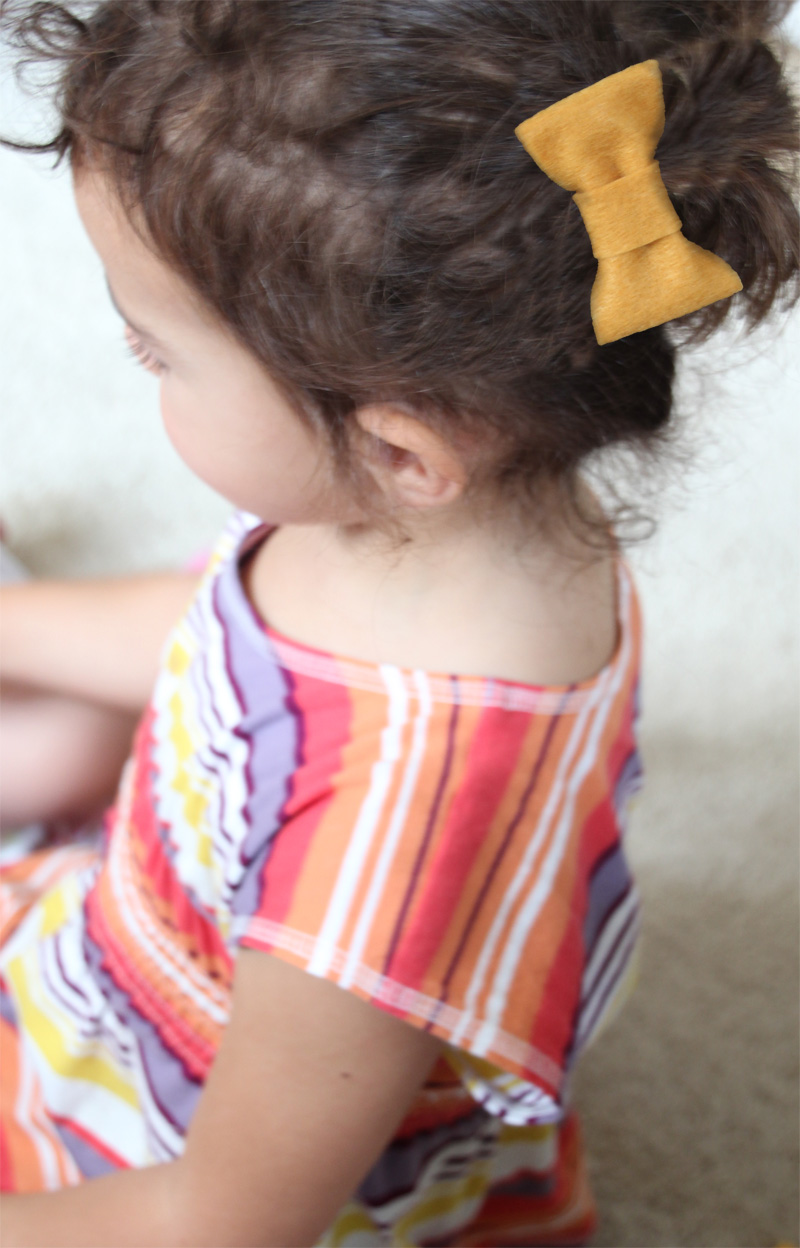
We made bows in blue, lavender and mustard in mini sizes for Liv’s beautiful and often crazy curly hair (which is long enough to put in a pony now!).
And here are more shots of the larger bows on family and friends at the party. Plus the other games we played to bet on the gender prior to the big box & balloon reveal ;).


I didn’t know it was that easy to make felt bows. Thank you so much for the tutorial.
This is one of those genius ideas that I always wish I’d thought of. It’s a fun little touch, but since it can be used in more than one way you don’t have to make two different sets. Thanks for sharing the details for making them!