Liv is collecting little art supplies and toys by the bucket full. The big bins that we initially added to her bookcase are great for storing bigger toys, but little cars, wooden blocks, doll clothing and so on is quickly swallowed up – and finding complete toy sets (like Liv’s wooden train) is impossible these days! So we’re working on adding small container storage to the room little by little.
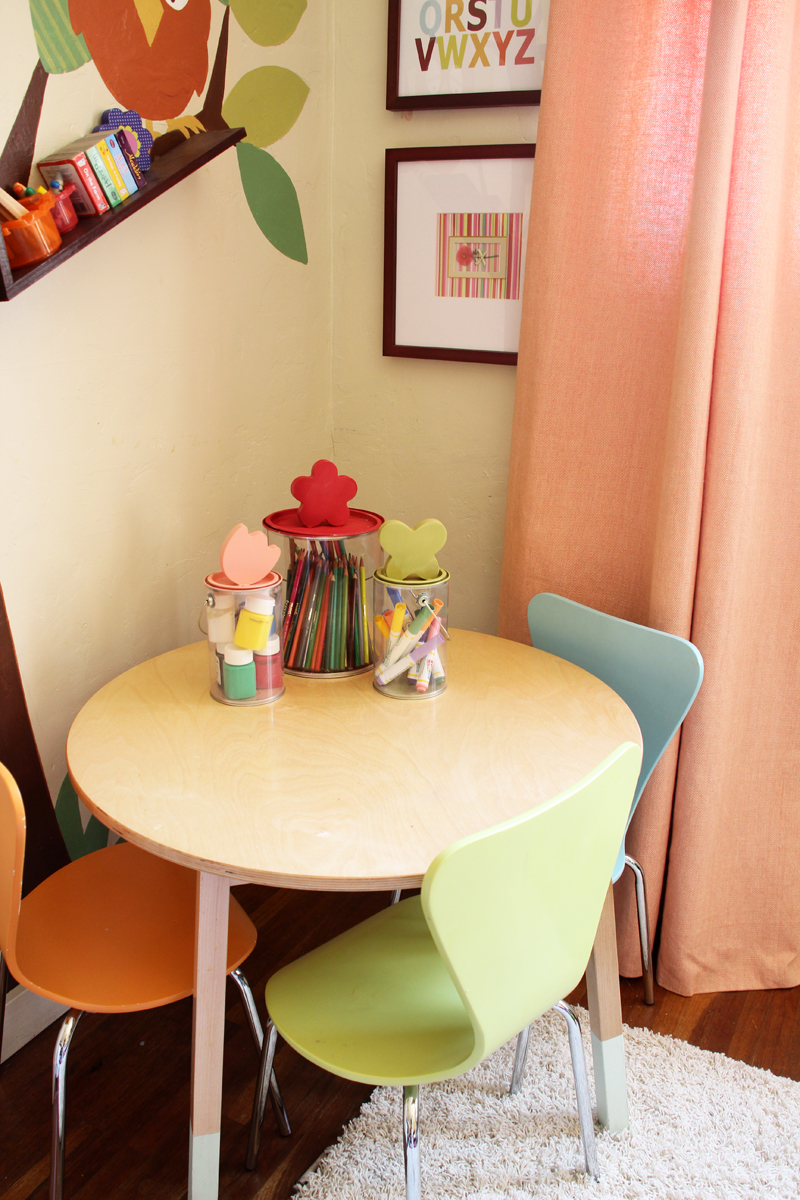
One of the first organizing projects I tackled included Liv’s art supplies in her little reading nook.
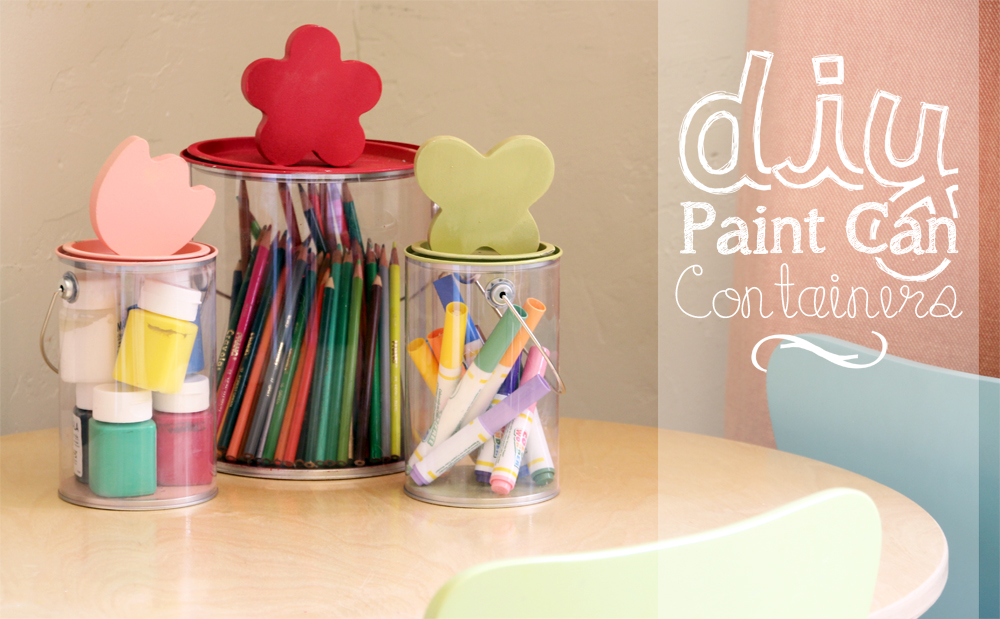
Rather than collect colored pencils, markers and paint into one central storage location (as we had previously done for a while), separating out supplies makes it easier to focus on one specific art activity, put that craft away, and then move on to the next. I first attempted this with open buckets but soon everything was mixed together and crazy again. What is it about organized spaces with a home for each little item that is so darn appealing? It makes my world feel right.
When I spotted these clear containers at Michaels I thought that they might work well just for Liv’s art supplies. I love that they’re plastic paint cans ;).
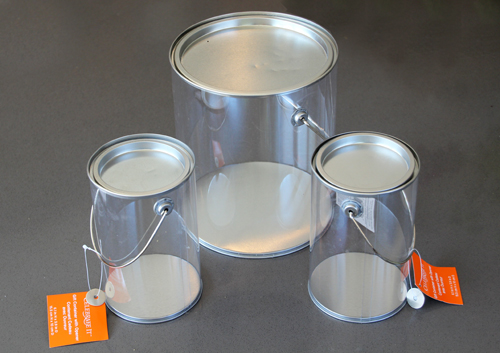
After bringing them home I discovered that cheap was too good to be true – the tops are impossible to pop off! Just like a real paint can, to open and retrieve anything inside requires some prying from a really strong object (like a screwdriver) which is not ideal for kids. Poor design.
I thought it would be fun to come up with a DIY handle that would help Liv open up the cans whenever she wants to play, and I kind of like that I can press the lids in extra tightly for art supplies that I don’t want her to have easy access to (like real tubes of paint) so that even with a makeshift handle the lid sticks really well.
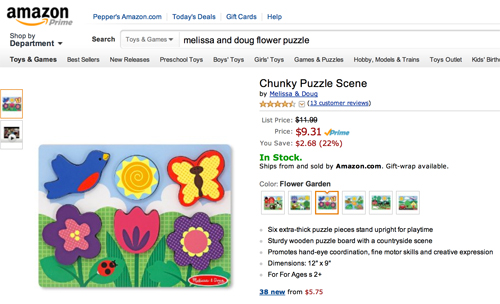
I thought about gluing little plastic animals or some other little toy to the top of the paint cans and then remembered that we have a very cute wooden Melissa & Doug flower puzzle that has received quite a bit of wear and tear since Liv began assembling and disassembling two years ago.
I love the shapes and use them all of the time as decoration for her floating tree bookshelves so the entire puzzle really doesn’t stay assembled nor is it really used anymore.
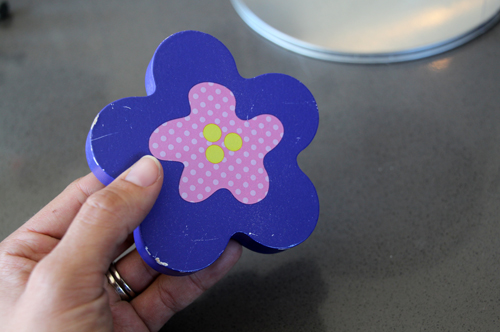
I picked out three of the shapes and hot glued them to the top of each of the paint cans.
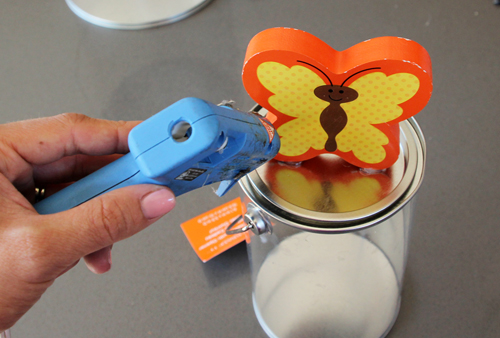
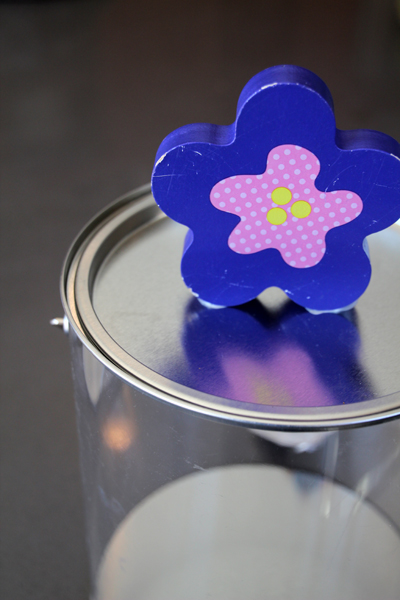
But after a night of drying quickly found out that even with strong hot glue the wooden shapes popped right off of the lids if the lids were really well planted onto the container. Boo.
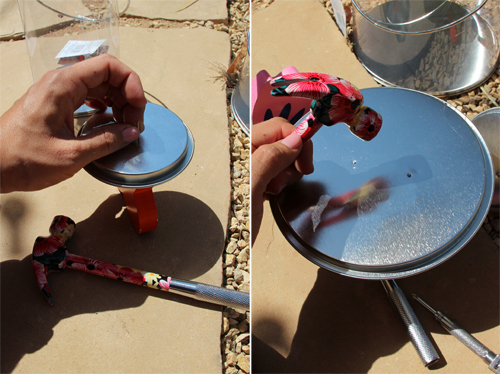
Thankfully the puzzle pieces were wooden and not plastic, so plan b was to drive a little tack nail or two into each shape through the bottom of the lid (with my favorite floral desk hammer – perfect size to keep inside). Now the wooden pieces are stuck stuck.
I used three paint spray colors that I thought worked well in Liv’s nursery today, and would also match her new nursery for two.
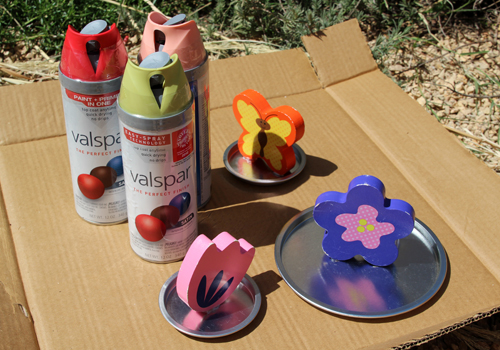
The colors turned out a bit chalky rather than pretty and polished, I’m actually really disappointed in the consistency of these particular primer + paint in one Valspar paint cans. I picked up a glossy varnish to cover all with at some point in the future that I’m hoping will fix that.
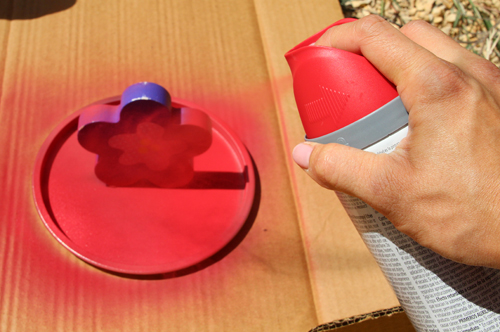
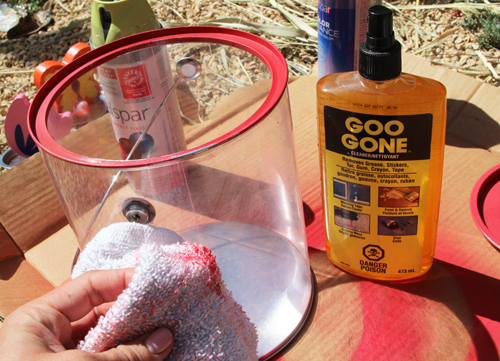
For the paint can itself I wanted just the edge painted out so I carefully taped off all exposed clear areas inside and out. Learned that lesson the hard way with a slightly careless first round of taping. Thanks goodness for Goo Gone.
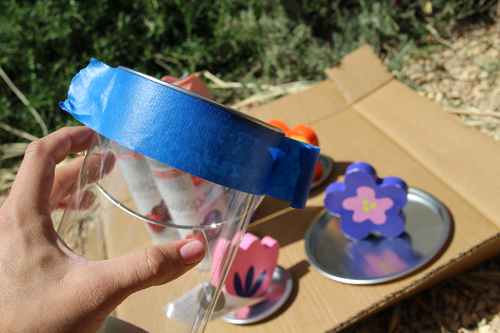
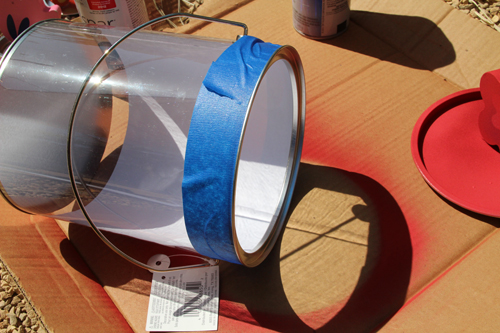
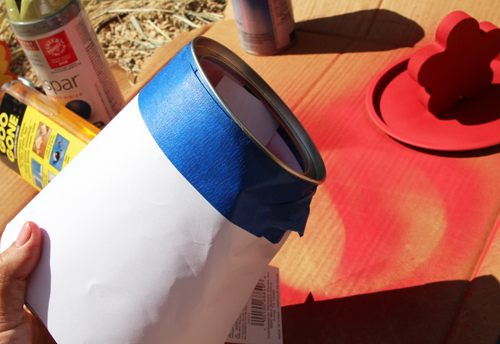
If spray paint still makes it through onto the clear plastic, Goo Gone to the rescue.
Finished! You can see the chalky consistency if you look closely…
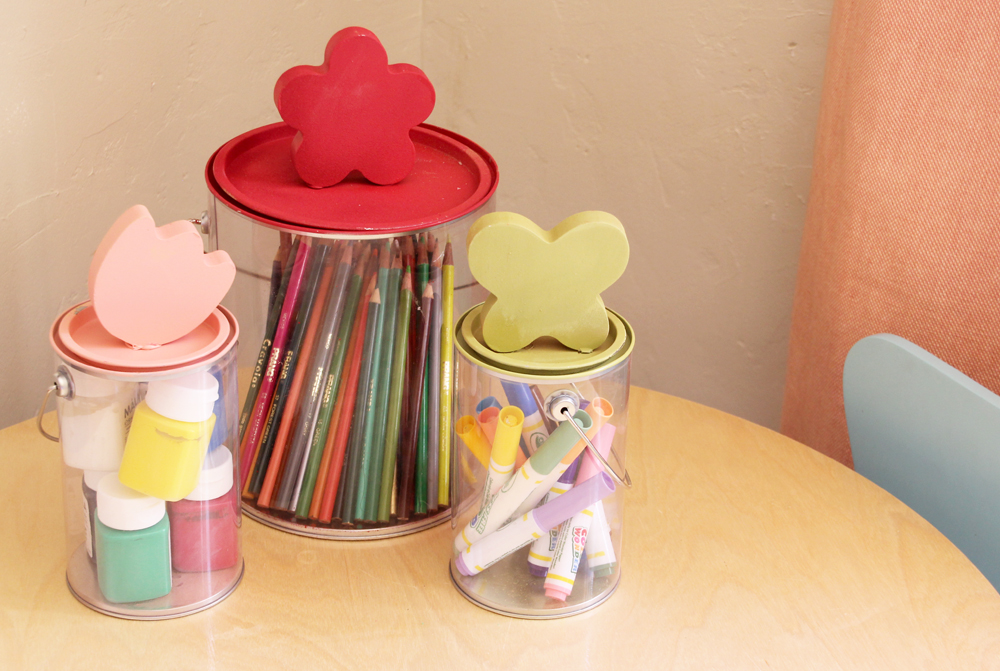
But for now they’re a cute new addition to the nursery.
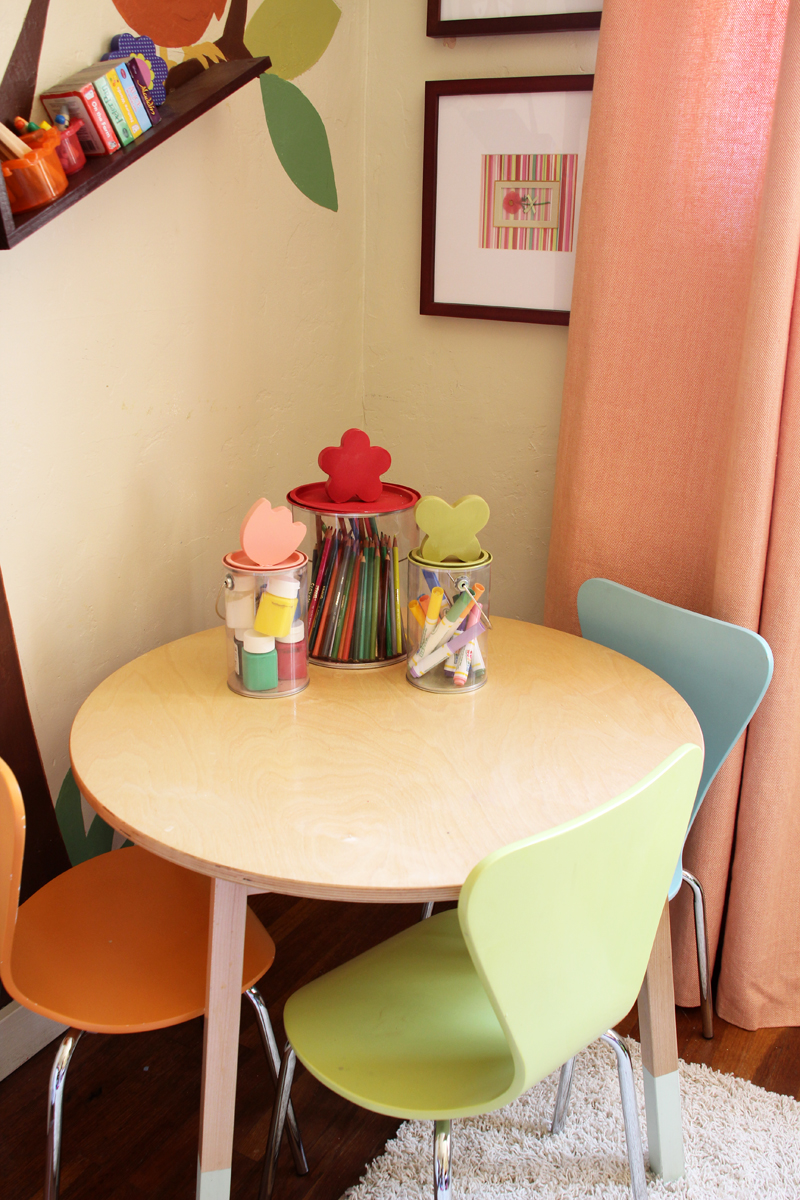
Love that the colors work well with the artwork hanging above the little table and chairs and with the painted tree and owl on the wall.
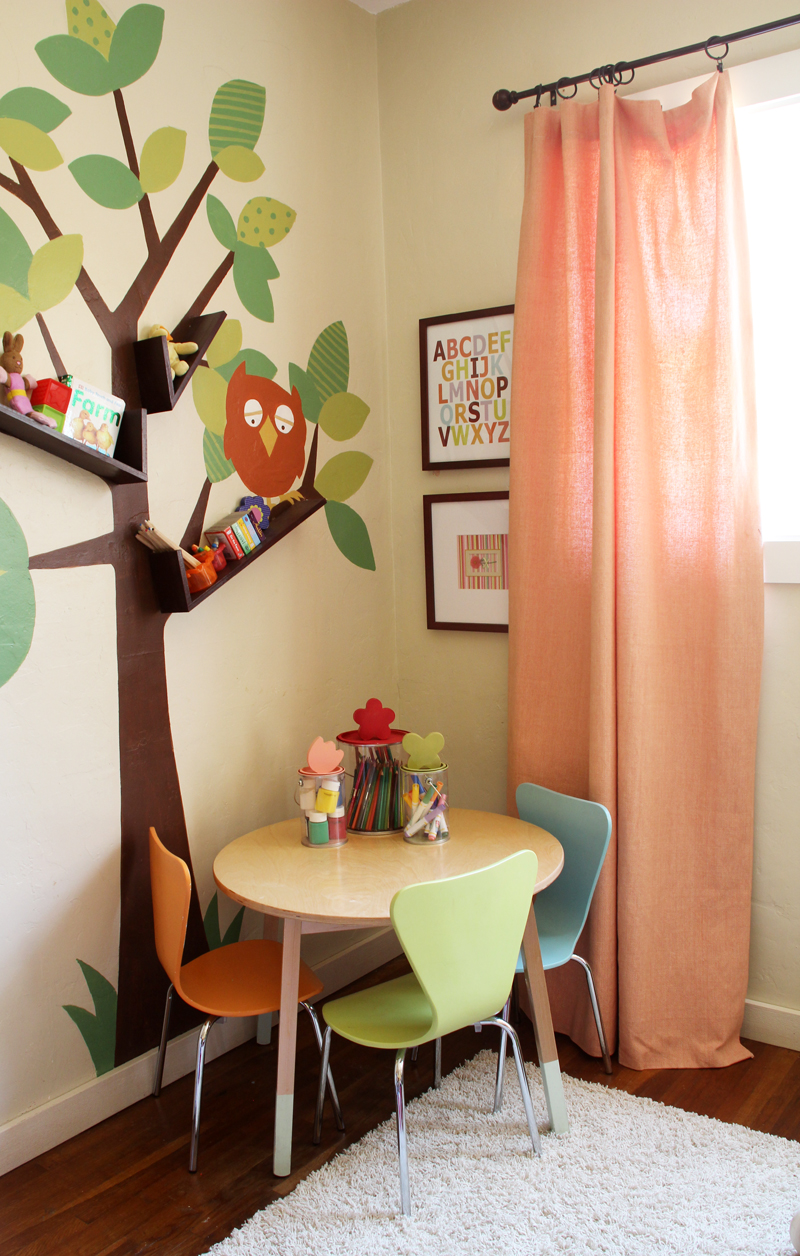
Now onto all of the other little toys (like bubble wands and figurines and musical instruments…) that are filling up Liv’s room! Time for a spring cleaning.
PS all Project Nursery posts are sorted right here.



I bought a few of those same cans a few years back and hated the lids too. I love your idea though…so simple and cute! I bet a few sprays of the high-gloss varnish will make the chalky finish go away – at least that’s a simple fix!
Thee are absolutely adorable…perfect for storage!!
These are really cute. Interesting about the Valspar paint.
What would we do without GooGone? Love that stuff. Didn’t know it could take paint off!
The chalky consistency was unusual, I think that the primer and paint in one was the reason – next time I’ll definitely prime separately.
Goo Gone is great!!