I’m working on adding a few homemade Christmas touches each year to our collection and this year I decided to DIY a new pillow cover for our couch. The sectional is an ever-changing pillow hodge podge (I tend to just cover up a current pillow with a new cover, so sometimes you can find two or three previous designs underneath ;)) and I scooped up this particular basic tan throw pillow cover from Ikea for $6.

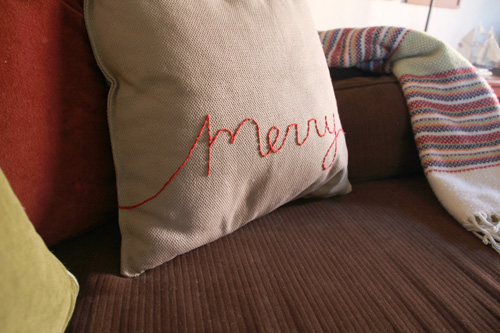
I thought about felting an ornament or Christmas tree design onto the front (maybe a future project?) but then recalled seeing pillows of seasons past with a simple, scripted message and decided to give it a go.
The toughest part was deciding on what word! I love the pretty flow of ‘Merry’ and the joyful message – or state of Christmas being – that it conveys. It’s a good word to see day in and day out during this special time of gratefulness. Plus ‘M’s are just too fun to write out in cursive! (yeah for an ‘M’ first name)
Supplies for this project included two bright red embroidery thread bunches, an embroidery needle and my blank pillow cover.
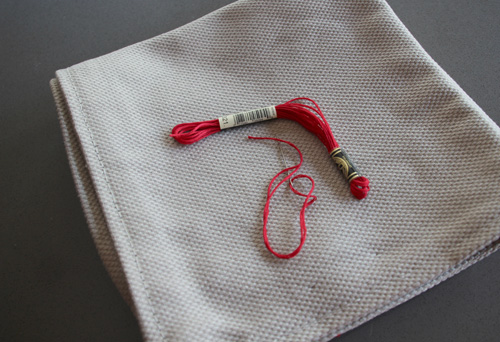
An embroidery stitch is quite simple, it involves a basic back stitch technique so that while you’re stitching forward in your design, each stitch will head backwards as you go. Forgive the left hand awkwardness of this shot while I balance my camera in the other:
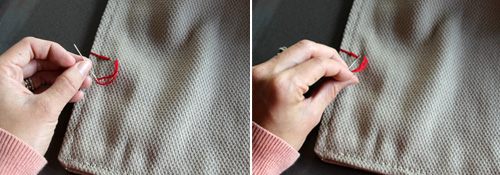
So my forward progress is on the reverse side of the pillow (though make sure you’re not stitching the two pillow sides together) and my needle pops up and out of the fabric about 1/4 of an inch out from the previous stitch. Then I head back towards that previous stitch to cover up my 1/4 fabric gap. The back stitch allows me to overlap my stitches just a hair so that the embroidery might appear to be close to one continuous line.
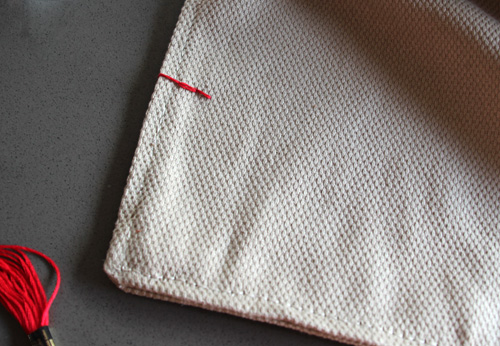
Writing out the entire word ‘Merry’ took a couple of hours one late evening while we had some friends over. I like projects that occupy the hands but don’t require too much thinking ;).
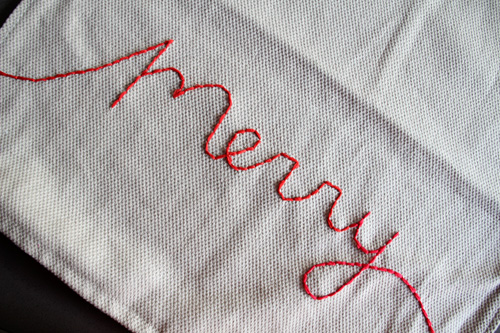
I first attempted to draw a light pencil line on the actual fabric to give myself a template to follow with the needle, but quickly found that it disappeard into the color of the tan fabric too quickly. Anything darker and it would have been harder to erase off of this heavily weaved fabric. Update: Sheila just shared with me that you can purchase a vanishing fabric marker that will write purple and disappear by the next day! Perfect!
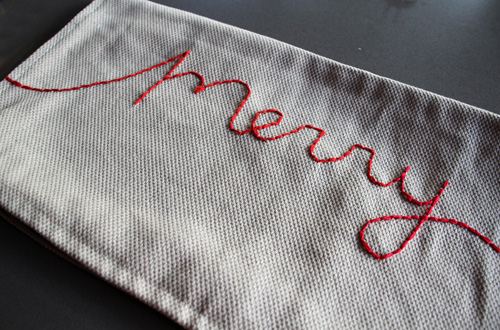
In the end I wrote out ‘Merry’ on a card and free handed the pillow. The imperfections are part of what makes it special, though I see areas where I would have dipped my cursive down further, should have slanted my ‘y’ more, or might have added more flourish for interest. Ah well.

I’m really excited with how this project turned out given the time I worked on it and the easy update it makes to the living room! When Christmas is over I can pull off the cover of one of my favorite pillows (those ikat tan ones left over from the nursery glider fabric) that’s hiding below and pack up the ‘Merry’ cheer into my Christmas boxes for next year.
Christmas is just around the corner! So exciting!


Very sweet pillow- I love it! It must have been a bit tricky not to catch the back side of the pillow in your stitching. Did you know there is a vanishing fabric marker for just such projects? It shows purple then disappears after a day or so.
No there isn’t – really? that would have been amazing!! I’m so glad you shared that because that is exactly what I need! :)
I love this idea! So simple and so looks so nice. Happy Holidays!