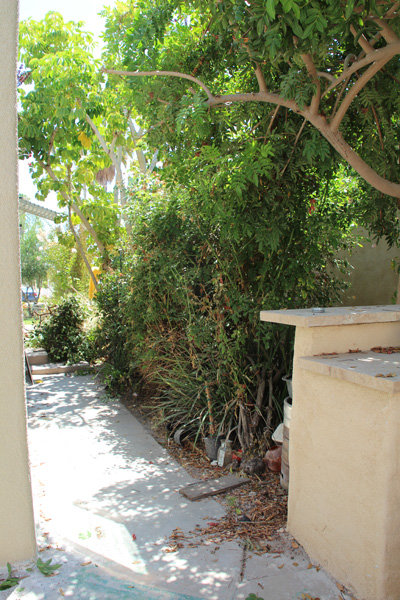
The side yard is almost finished! The entire backyard feels transformed and we are now very close to crossing it off of our list. In a couple of months it went from a space that you practically had to pull on mud boots to wade through, to a relaxing read the morning paper/play with Liv/dine under the stars snuggle spot.
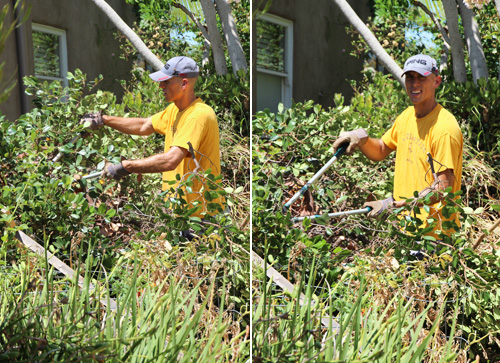
Then:
Now:
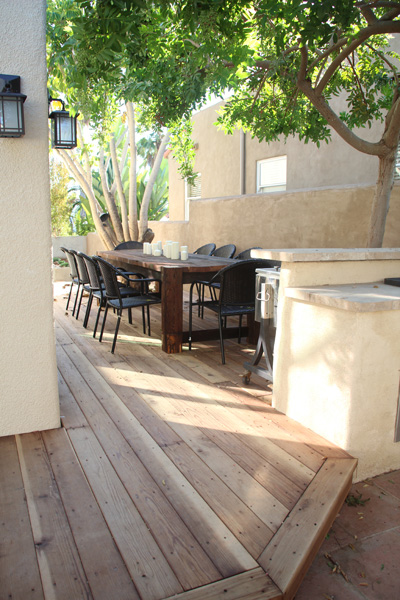
Cue the collective ‘ooooo’. I can’t take much credit for this space and I hand over all of the glory to Kevin.
We put it to good use on Halloween when we test drove the new dining spot with a few close friends and their families:
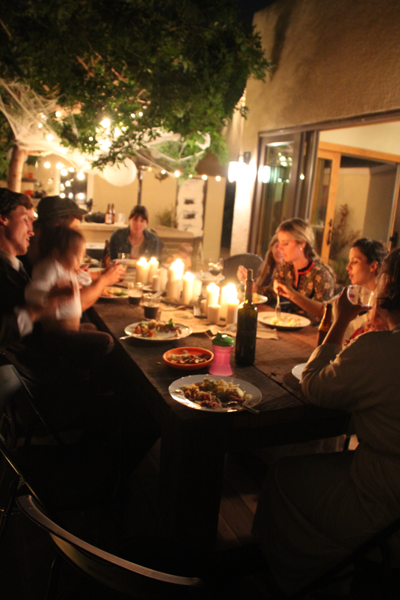
It was perfect. And thank goodness for this beautiful San Diego weather that we have through the better part of fall! I think we’ll get plenty of use before it’s too chilly to eat outside.
We partnered with Lowe’s for pieces of this project as a part of their Curb Appeal campaign this year, and I’ll be sure to point out areas where their expertise and product played a big role. You’ll see more of my favorites in the final reveal when pots are in place and flowers are a bloomin’. It is a huge honor to represent our favorite home improvement store on the blog, so a big thank you to the folks over at Lowe’s :) – you guys are awesome.
Back to the side yard transformation… it is still amazing to me that there was SO much space hiding in those bushes! Here’s a shot from the front of the side yard looking back.
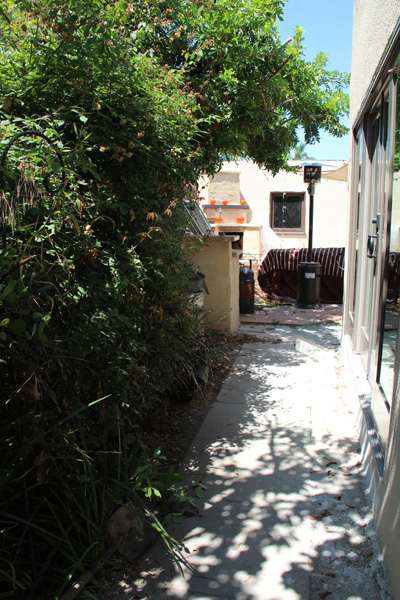
We expanded the deck all the way out to the new wall and property line between our house and our neighbor’s, which essentially took a foot path that was three ish feet wide and turned it into a deck space 3 times that width.
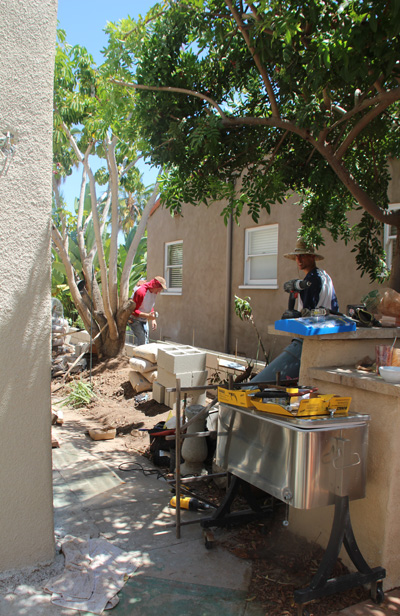
I last left you all with pictures of the wall as it was beginning its ascent. The wall was an arduous task – who knew so much cement and cement block could take so long? But as soon as the wall was finished it was time to lay the footers and frame out the future deck. These photos were from days before we left on our big trip, so we actually brought in a couple of recommended guys to help us knock it all out. Local San Diegans, hit me up for phone numbers if you need deck or flagstone contacts.
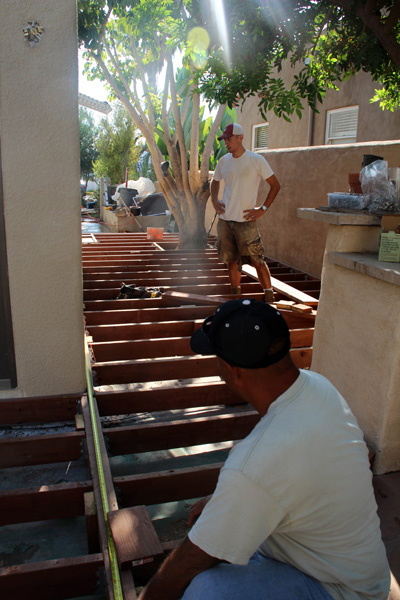
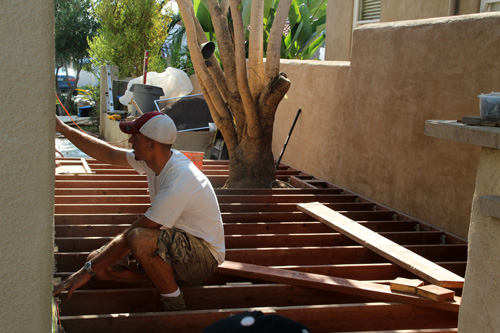
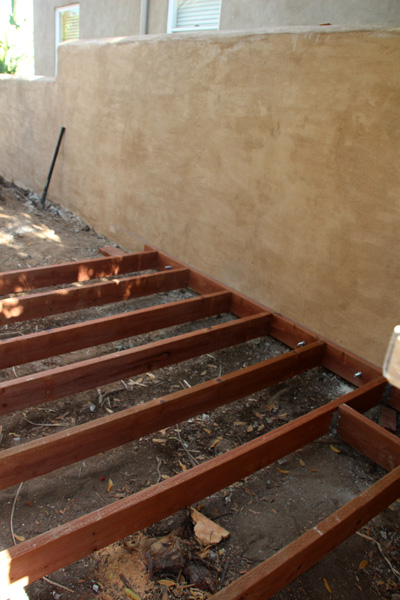
After much research and many hours spent perusing the forums of deck builders (yep, they exist), we settled on pressure treated douglas fir for the frame of the deck and redwood for the top. Choosing a synthetic vs real wood deck is very much a preference and budget choice – there are so many options out there these days and it all comes down to the look and feel that you are hoping to accomplish as well as the amount of upkeep you’re willing to supply on every-few-years basis.
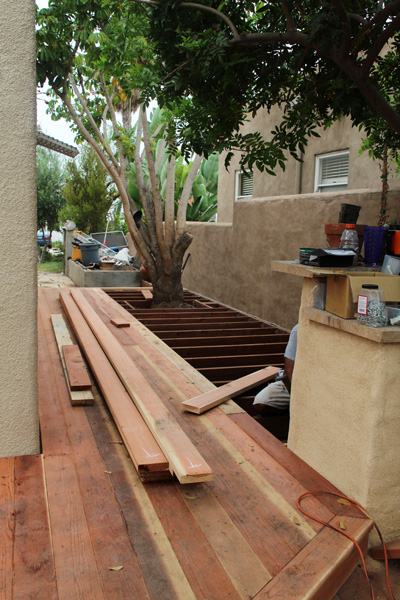
We chose natural wood for a variety of reasons, a few included: the overall look and feel of the deck (wood vs wood-like), redwood is naturally weather-resistant (though we’ll seal it annually to prevent damage) so it won’t bow or shrink as it retains and sluffs off water from a storm, there is little expansion/shrinking of boards over the years, it contains tannins that make it least-termite friendly and rot prone of natural woods, it’s easy to work with, it’s quite durable and most importantly, it fit our budget. Other materials considered: oak, cedar, tropical woods (like ipe), pressure treated wood, plastic and composite options.
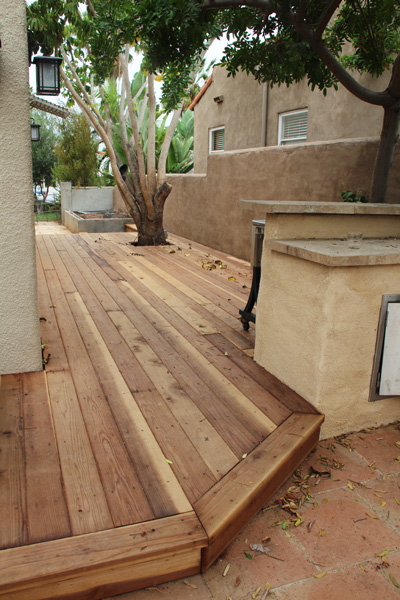
This is where we finished up before leaving for Europe. A functional deck but not yet stained or sealed (bad!). Now we’ll have to pressure wash it back down (as well as possibly sand) so that we can seal the deck asap.
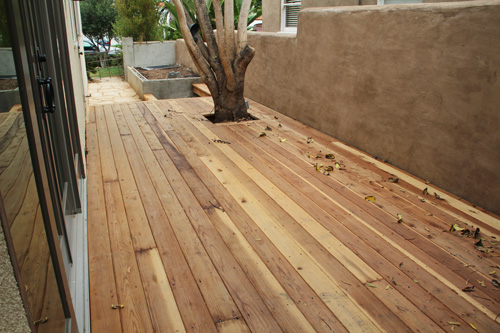
We have a little surprise going in at this end for Liv!
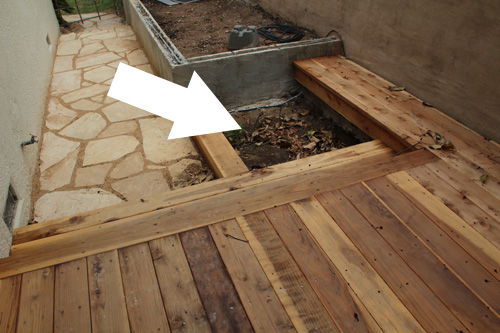
The flagstone path from the front of the house now wraps around to the back. We’ll eventually replace that window above the path (the only aluminum guy in the house), the door in the forefront of the photo (with a version that matches the paneled sliding doors) and add a nice gate to the front of the side yard, too. Also on the list is texturing and painting the garden box that is still sad and grey.
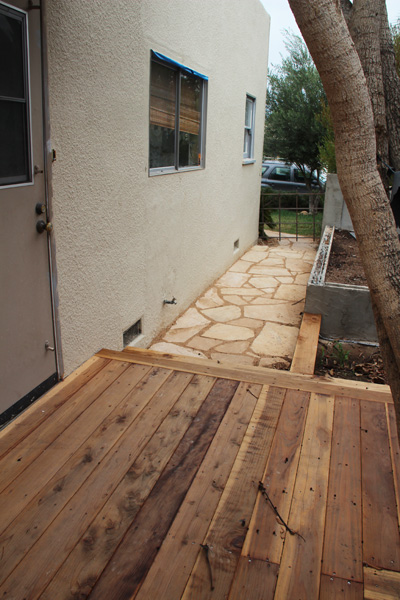
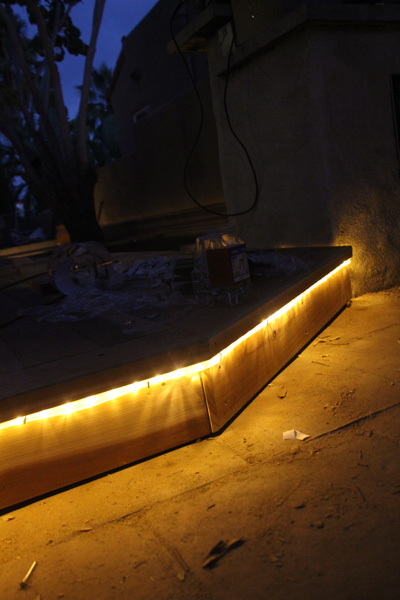
Mid-deck build we asked our electrician to come out and help us install deck lighting. Kevin chose to wrap rope light all the way around the base of the deck so that a subtle uplighting would highlight the space at night.
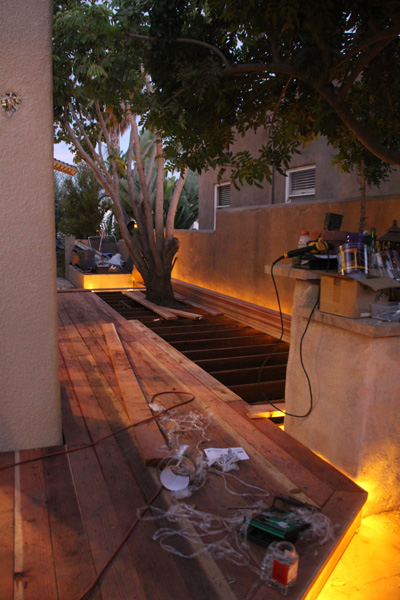
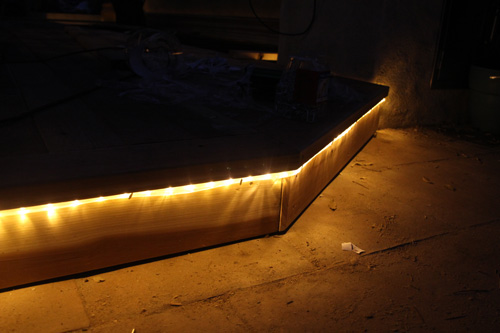
Oooo, so soft and pretty (and energy efficient). Here’s a glance at the under side, the lights are held into place with U shaped nails.
We also had electrical outlets added to the outdoor kitchen island and porch lights installed on either side of the kitchen sliding doors. These guys are great! and very cost-efficient.
Kevin and five of his strong buddies added the new table to the deck just in time for Halloween, but we’ll pull the 1,000lb beast off again before we stain. Can’t wait to share how that table came together so quickly!

The outdoor dining area sits right off of the large four paneled sliding doors from the kitchen with the goal being that the two spaces could easily be integrated on warm summer nights.
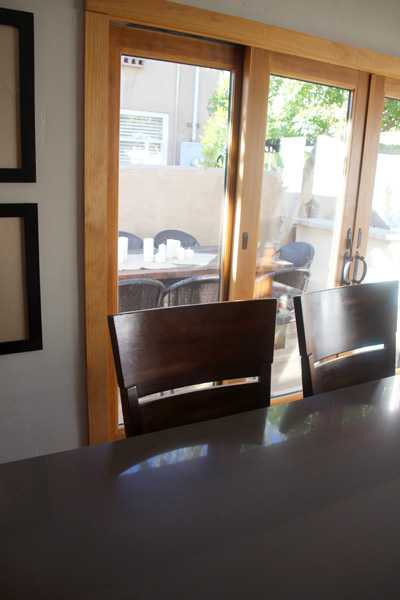
Still need to find or DIY some sort of long candle plate to hold my white pillar candles (from Ikea), so that any potential tip overs don’t hit the actual wood table or deck.
Here’s a view from the grilling area that we built back when we first moved in. We found the grill, doors for the various storage compartments in the island and the beverage bin on Craigslist for a steal (a landscaper had just pulled them out of someone’s property for an upgrade), and then Kevin built them into a cement block cooking area that was eventually plastered a neutral sand color.
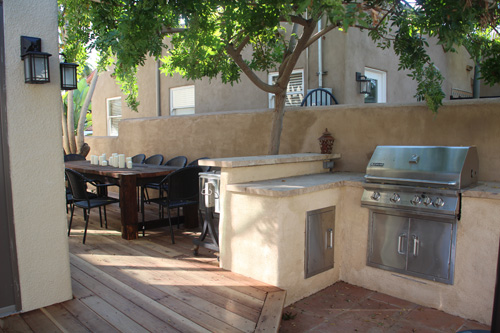
To the right of the grilling area is our outdoor fireplace (Kev also built that from scratch a couple of years ago) and the outdoor sectional that we semi-DIYed (the cushions at least ;)) for cozy fire-side wine nights.
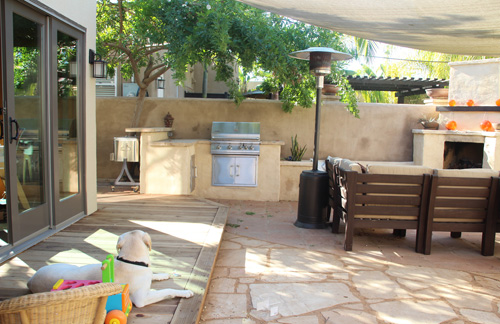
The original plan was for the deck to stop after the side yard, but Kevin came up with the idea of wrapping it around the back of the house and it was brilliant! Now the two spaces feel very entwined and connected.
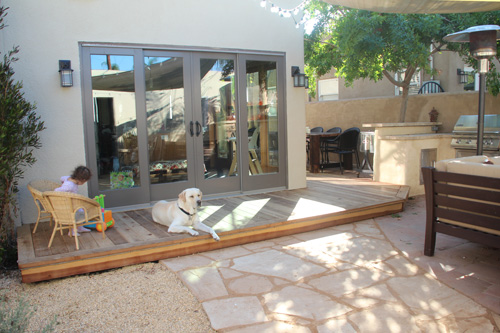
I hope to one day replace that decomposed granite that continues to crawl around the back of the house with a lawn area for Liv to run around on. But it’s very pretty and neutral for now.
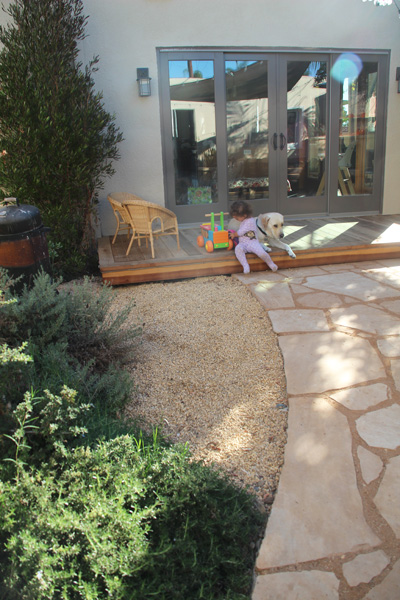
The above photo is deceiving, but that DG actually stretches another twenty feet to the left. I’ll have to snap a few photos and show you all soon – perhaps when the chicken coop is a bit more photo ready!
Bodie and Liv, best friends forever.
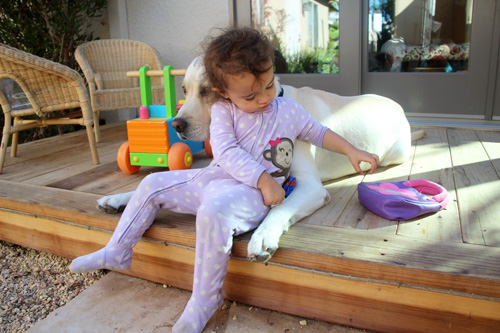
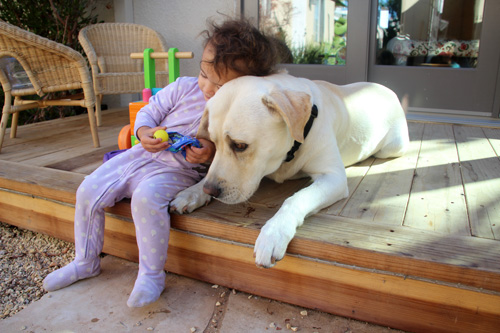
I found a cute set of wicker chairs at Ikea a while back as well. I need to treat them for outdoor use (I’m already starting to see the side affects), but Liv’s a huge fan of sitting on the porch and playing or ‘reading’.
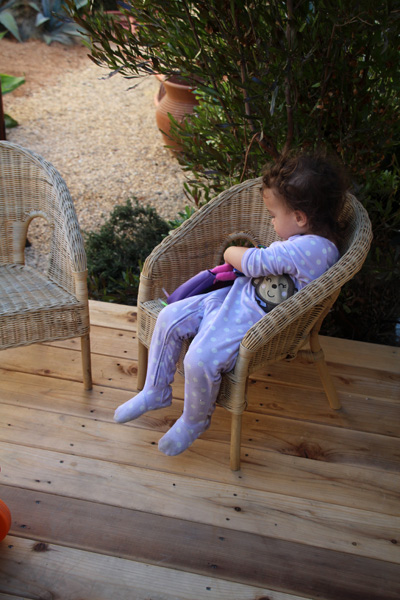
She really digs Liv-sized chairs right now.
One more post on staining and sealing (still deciding on colors – possibly just a nice clear to really show the grains in the redwood and so that it contrasts nicely with the table) and then our deck is finished! To be completed on the yard front is the flagstone path that stretches from the back of the house to the garage, a remodeled chicken coop, finish the garden bed and find a beautiful gate to seal it all up.

Yay for fall projects! And more Curb Appeal posts headed your way as we finally finish painting the house, continue our work on restoring the windows and add pretty winter foliage to the bare spots that still need a little love.
We are incredibly excited to have partnered with Lowe’s for various parts of this project, including those great dining chairs (more on that when I share about the table), outdoor lighting and deck framing materials. All opinions are always our own and as usual we try to keep it as real as can be.


I love your site and all of your very detailed projects. I came across your site by googling “diy outdoor dining table”. I LOVE your table. I am having trouble finding how you built it. Any help would be greatly appreciated! Thanks
Thanks so much, Hollie! I have a ton of progress shots of my hubby building the table but have not been able to nail him down to write a post to fill in his steps :). I will nudge him about it again! Thanks for your kind compliment.
Wow, your deck and yard space is gorgeous! I can’t believe you guys dreamed that up yourselves. I love how the deck wraps around back, too — great idea! I am very inspired to fix up our atrocious back patio (which is basically a square, cracked cement slab. blech.).
Oh, and I love the pictures of Liv with your yellow lab! I grew up with labs — they are the BEST dogs ever (even though they smell bad!).
Hi!! Nice deck, I live in Escondido – North County, can you share the contractors # ? Did you buy all the wood and only paid for the labor? Can you give more details on that?
Thanks!
Yes, of course! I will email you the details right now.
What a gorgeous project! There really was tons of space hiding under those bushes. The rope light is gorgeous (we may have to steal that idea on our lower deck somehow!) Love the pics of Liv out there with Bodie. You’re making it difficult to keep saying ‘no’ to the Husband and toddler about getting a dog!
Dogs can be messy and dirty and hairy… but they are full of so much love, too! Bodie is just awesome :).
AWESOME job Kevin!! You did a great job!
Thanks, Andrew!