The cake is baked! 16 total hours of bake time later and we’re moving on to getting these layers prepped for decorating. If you’re just joining this trio of wedding cake posts, you can start here to read more about the project I’m working on for a friend (and to find a bookmark-worthy chocolate layer cake recipe).
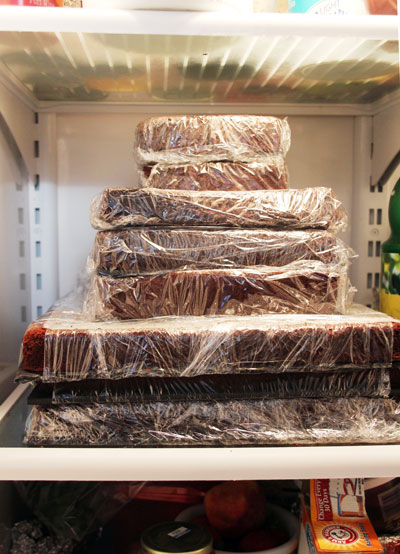
Back to the cake! After my cake layers had spent a night and day in the refrigerator, they were at the perfect chilled temp to work with. First up was applying a buttercream crumb coat. This is a must for three reasons: fondant (our very top layer of ‘icing’) isn’t super tasty and guests will enjoy the sweeter buttercream underneath, the crumb coat helps to disguise the chocolate cake (turning it into a white base for the fondant) and the fondant will go on that much smoother and easier with such a well-formed base. Actually, after much fondant experimenting I have come to prefer two coats of crumb coat and if you give this a try (even for a smaller birthday cake), I think you’ll find that it makes things worlds easier, too!
Now to share a few tried and true recipes.
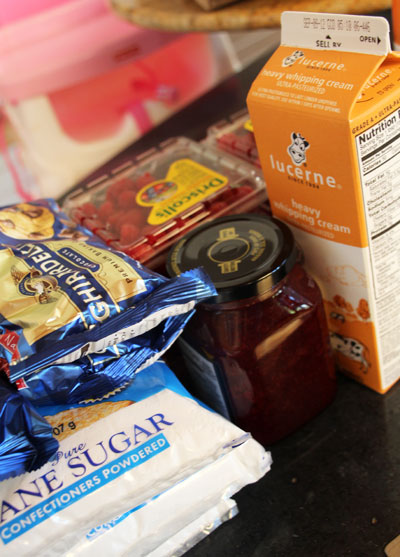
Classic Buttercream
Adapted from Savory Sweet Life (a post which also shares several great tips and pics for following along)
1 cup unsalted butter (2 sticks or 1/2 pound), softened (but not melted!) Ideal texture should be like ice cream. (Note: I accidentally bought salted butter and therefore omitted the third ingredient on this list)
3-4 cups confectioners (powdered) sugar, sifted
1/4 teaspoon table salt
1 tablespoon vanilla extract (I opt to leave this ingredient out for any icing that will be piped onto the outside of the cake and vanilla -unless you use clear vanilla – leaves your icing a bit off-white in color)
up to 4 tablespoons milk or heavy cream
1. Beat butter for a few minutes with a mixer with the paddle attachment on medium speed. Add 3 cups of powdered sugar (in 1/2 c or so increments) and turn your mixer on the lowest speed until the sugar has been incorporated with the butter. Increase mixer speed to medium and add vanilla extract, salt and 2 tablespoons of milk/cream and beat for 3 minutes. If your frosting needs a more stiff consistency, add remaining sugar. If your frosting needs to be thinned out, add remaining milk 1 tablespoons at a time.
2. Optional: seal up frosting in a tight container and refrigerate until necessary. You’ll want to give the icing plenty of time to come back to room temp and to whisk up again before using (which is why I only refrigerate icing if I must – there’s a risk that you might lose it).
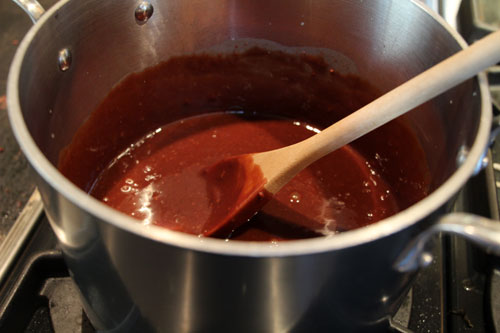
Milk Chocolate Raspberry Ganache
Adapted from this Food.com recipe
1/3 cup heavy cream
1 cup milk chocolate chips
1/4 cup seedless red raspberry preserves
2 tablespoons butter
1. In a small, heavy saucepan over medium heat, bring the heavy cream to a simmer. Add the chocolate chips, preserves, and butter and begin stirring slowly with a wooden spoon, shaking the pan occasionally to immerse the chocolate and as much of the preserves and butter as possible.
2. Remove from heat once chocolate begins to melt and continue to stir. The butter and preserves should prevent the chocolate from thickening up and the ganache is ready once all ingredients are melted.
3. I found that adding 3 parts ganache to 1 part buttercream resulted in a thick icing ideal for the filling in my cake layers.
Simple Syrup
1 cup sugar
1 cup water
Bring sugar and water to a boil in a saucepan, reduce to a simmer and remove from heat when your sugar water becomes slightly thicker. You can flavor with really any sort of additive (lime juice is great on a white cake, for example) but this is a step that helps to moisten thick, beefy cakes.
Alright, here’s the basic assembly of one tier of this three tier cake: foam core (should already be at the base of the cake layer you refrigerated), cake, simple syrup brushed on with a pastry brush, a smooth coating of ganache, raspberries halved, repeat until you have four layers. A large dollop of buttercream on the top and then a pastry spatula for smoothing out over the top and sides. Forgive the nighttime pics!
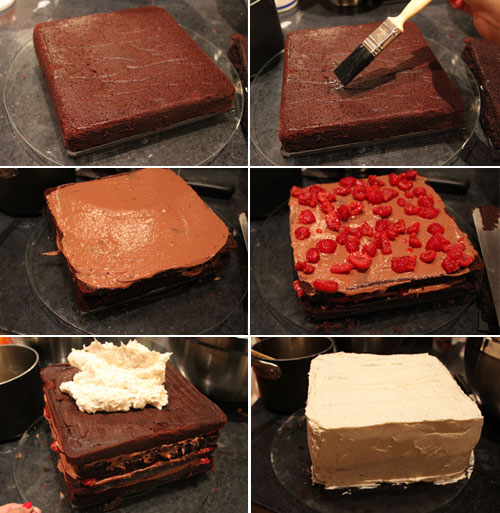
This first crumb coat layer is really to seal in the filling and the loose crumbs of the chocolate cake. It will likely be rough (unless you’re a serious pro) which is why I inevitably do two. Back into the fridge it goes!
You’ll notice that I try to use towels under each tier and that’s to help keep the space clean but also so to help aid me in getting the bigger layers out. I can casually pull on the edge of the towel closest to me and that slowly delivers the heavy tier right into my arms.
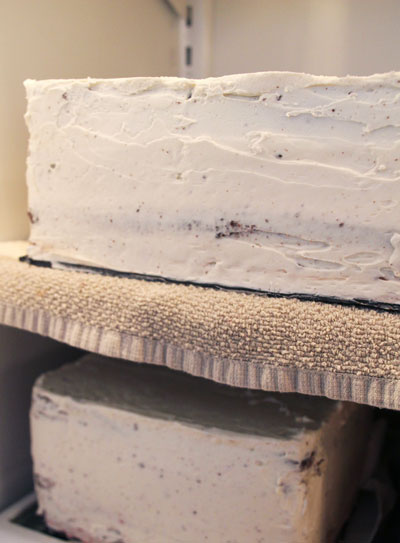
All three tiers get an overnight chilling once again to really help firm up the cake before we add the final layer of buttercream and fondant.
Now it’s time for crumb coat #2! The first coat is well chilled and this second coat should smooth right on.
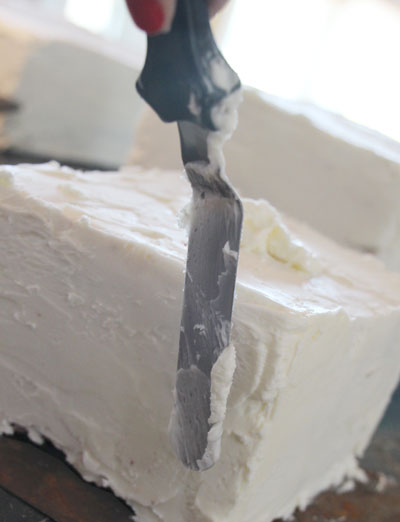
This is the coat that needs to establish a little structure for under that fondant. If you’re after nice tight corners and edges, here’s where icing can be built up and shaped. It doesn’t have to look perfect – after all it’s going to be covered – but it will provide the pliable base that the fondant can then be smoothed over.
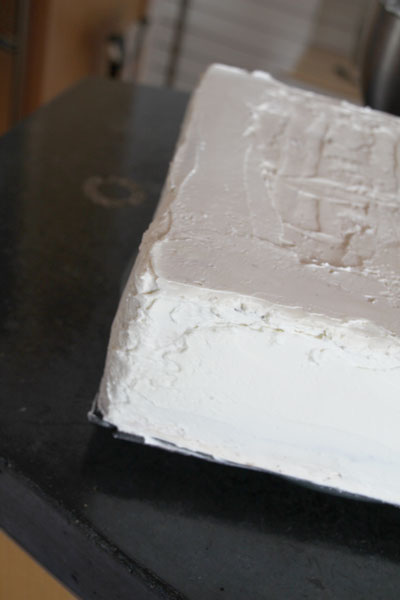
Here’s a little trick I’ve learned with tiered cakes. Sometimes all of your layers don’t bake evenly and one might be a bit shorter than the others. I make up the difference with foam core (just like the foam core used to help refrigerate the layers) and then cover that foam core in icing just like it’s a cake layer. I’m usually the one also cutting the cake so I’m well aware of the faux portion :). Here’s an example, it’s the top tier but it’s about 1/2″ shorter than the other two. I’ve added three layers of foam core to the base and will frost! Shh… if you don’t tell anyone I won’t.
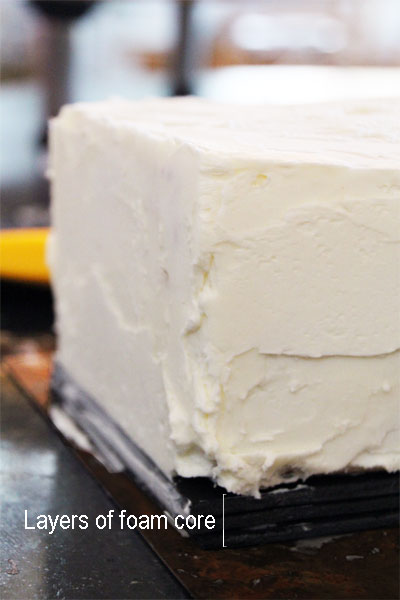
I then added a layer of buttercream over the foam core to blend it in.
Fondant time!
I’ll preface that fondant and I have a love-hate relationship. I loooove how it looks on a cake (hiding all of those frosting flaws with no risk of a melty, droopy cake) but a I am not a fan of rolling it out, dealing with cracks and creases (that really can’t be put back correctly once it happens) and then smoothing it perfectly onto the top of a cake.
Favorite fondant tools that make the process much easier include:
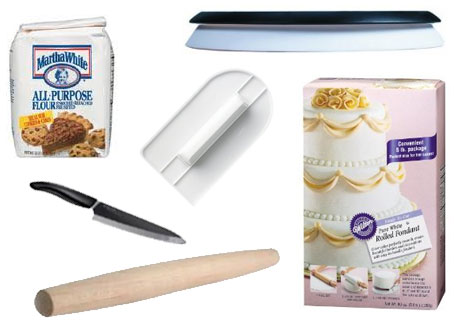
A lazy susan (this is not the same one that I borrowed from a friend for this cake but is similar – have to get me one of these for frosting and fondant), fondant easy glide smoother, favorite new fondant brand, a sharp knife to cut the fondant edges, rolling pin (we used the usual kind but this would have been worlds easier since there wouldn’t have been dents from the edge of the pin) and flour to prep your surface and avoid any sticky spots.
After reading recommendations online I gave this fondant brand a try, but I actually ran out mid-cake and sent my dad to the craft store to pick up uber expensive last-minute fondant and loved, adored, sang praise for this brand (see pic above). I would say it’s worth the cost difference, especially if it’s your first go around with the stuff. (If you are looking for a cheaper bulk fondant though – and you need like 10lbs of the stuff – then I would recommend this brand, which is what I used for my wedding cake back when.)
Side note is that I needed ~7lbs to cover a 12″, 8″ and 5″ set of tiers.
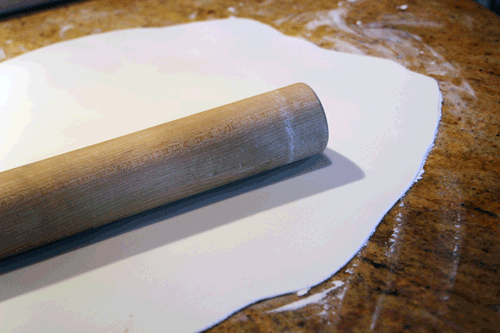
You need muscles for this next step! I recruited another wedding guest/house guest to help me roll out the massive sheets that we needed and he was a huge help. This would have taken me hours alone. To transfer fondant to the top of the cake, consider rerolling it around your rolling pin and then unrolling above the cake – or wedging your arms under it and carefully lifting it up over the cake. About a foot is all you’ll want to travel so make sure you’re rolling out your fondant close by your cake workspace.
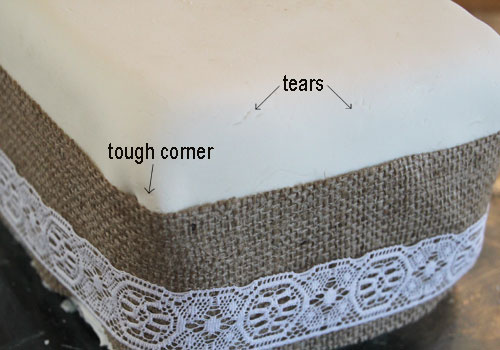
You’re aiming for about 1/8″ thick which also means that your final fondant coat is quite thin and easy to tear – but any thicker and it will surely crack on you. My method is to start with the corners (because a square cake can be tough!) and to move inward on each side. Just keep on smoothin’.
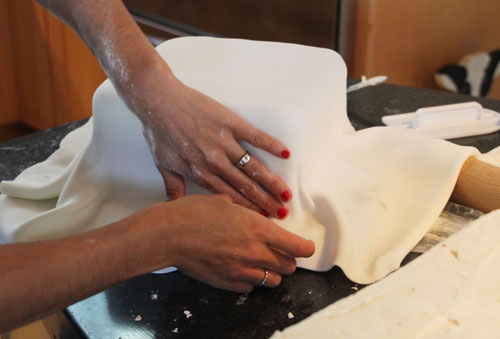
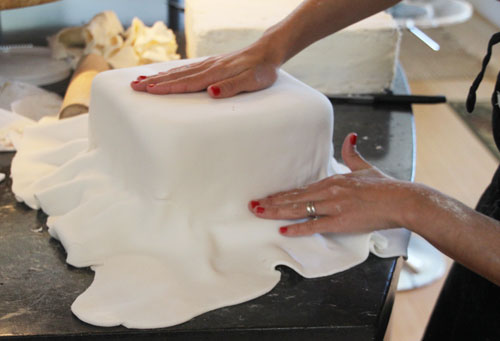
You can see my corners above start to cave in a little, which is why a really sturdy, chilled buttercream shape is essential.
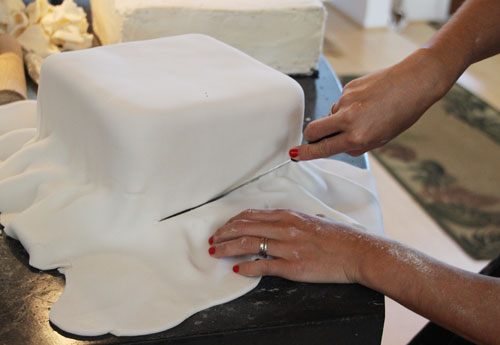
The last step in applying the fondant is cutting the edges with a sharp knife.
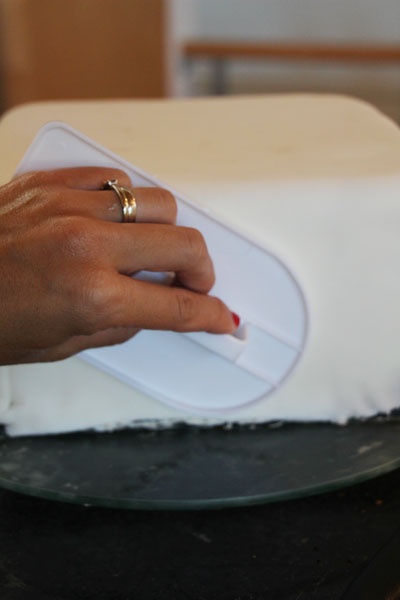
And perhaps another once-over with the smoothing tool (which is awesome, by the way!).
These shots are from my easiest layer (aka the magical fondant) while my others were quite a bit tougher. You can repair minor tears with just a bit of water (or light pinching). Or better yet, you can cover them up with flowers, ribbon or burlap and lace! Which this cake happily called for anyways.
Whew! There it is. See you all very soon with the final cake!


mmmmm, the yumminess continues…
Thanks, Janelle!
This looks like it’s going to be DELICIOUS. The raspberry and chocolate ganache will be gorgeous. Can’t wait to see the finished product!
Thanks Rachel :).
I think you’re amazing!!! It’s such a huge responsability! I could not do it, no way! Can’t wait to see the result!
Haha,thanks Nina!