In addition to the monster wall project I worked on for the Pinterest Challenge, I also wanted to attempt to tackle a few smaller pinned ideas that I’ve had my eye on. The first was a gold stenciled chevron napkin project and the second, today’s gold mercury glass makeover for a few plain glass vases I have lying around.
My inspiration came from the adorable dipped gold drinking ware that I had pinned over in my Dining Room Inspiration board (that room is getting its makeover soon):
But I modified the project a bit because I was really wanting to create more of a mercury glass effect with that neat, mottled coloring and multiple layers of paint and distressing.
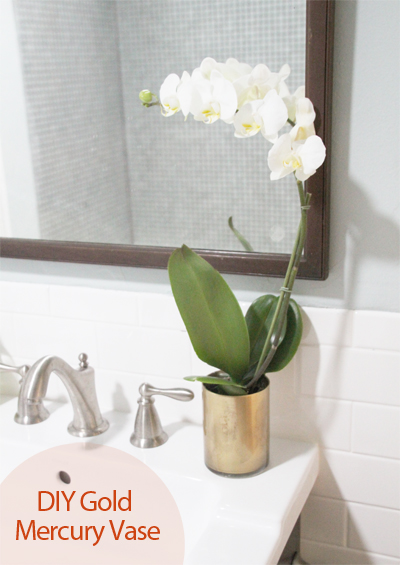
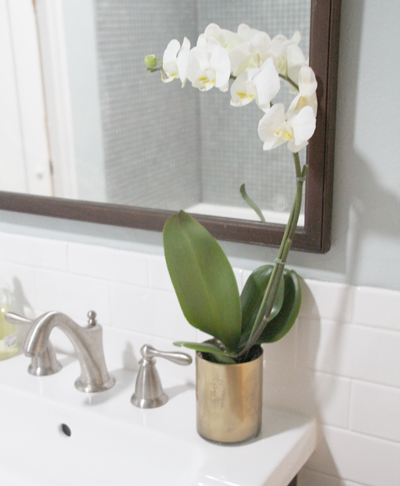
I love my finished vase and I’ll probably use it for holding silverware at a dinner, straws at a party or pencils on my desk in the future. Plus flowers! Looks great in the new bathroom with my new orchid (thanks house guests for the thoughtful gift!).
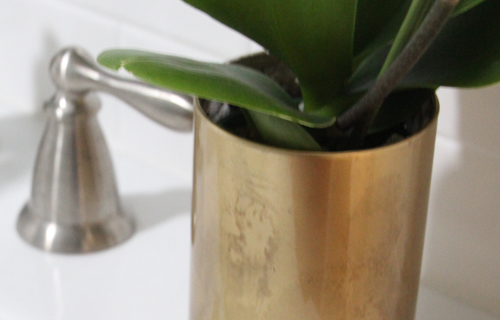
I opted for a more subtle mercury finish (you could instead take big chunks out of the paint for a more distressed look that you often see in stores – and while I started with that I ended up filling in some of those holes and liking this best) because of the gold rather than the traditional mirror or silver finish.
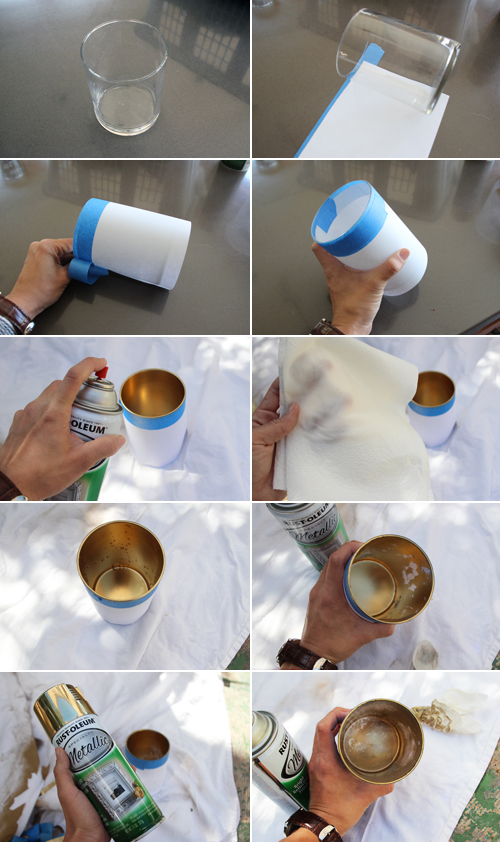
In a nutshell, here was the process:
I used the super helpful tutorials here and here to get me started.
Now in slow motion… I began by lining a clear glass vase in painter’s tape and paper to keep the paint on the inside of the glass.
Once I had a nice, even coat of gold (I chose Rust-Oleum’s Metallic Gold) I used the above tutorial’s suggestions of blotting vinegar onto the inside of the vase to begin to distress the gold.
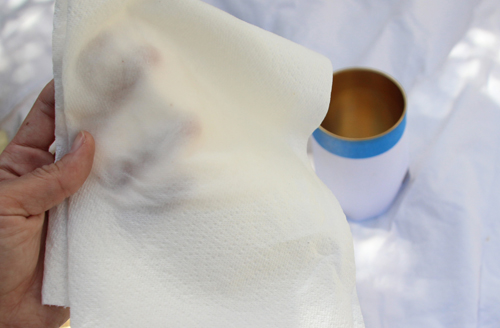
I learned the hard way that you don’t want to pour the vinegar in over the edges or you’ll end up with big drip marks in your gold, but you want to squeegie out the vinegar onto the surface until it beads, let sit for a minute or two, and then rub, rub rub!
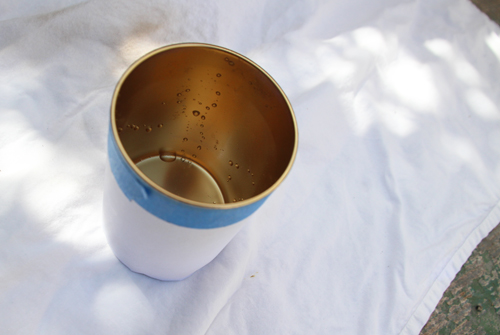
As I rubbed I slowly began noticing chunks of the gold begin to fall away, creating that distressed mercury glass effect.
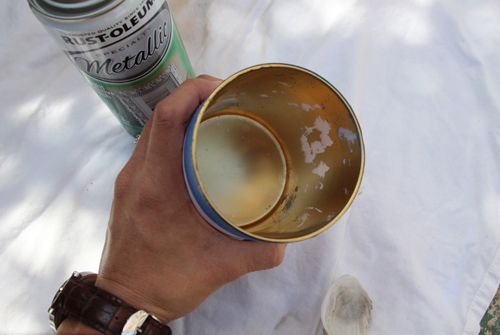
Cool, right?
Word of caution: I thought I’d expedite the process (I love to find the best shortcuts) and used a piece of a wire sponge to burnish the inside of the glass for a more distressed look, but that left really scratchy results (hardy har har). Back to the paper towel I went.
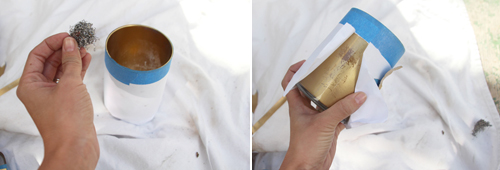
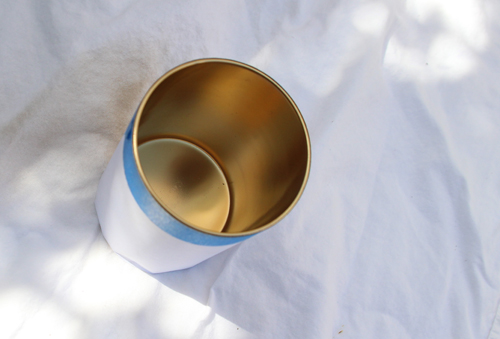
When I had finished my distressing I let the vase dry for quite some time (the vinegar will repel any future coats of gold until dry), and then gave another soft spray of gold, another level of distressing and so on until I was happy with the results.
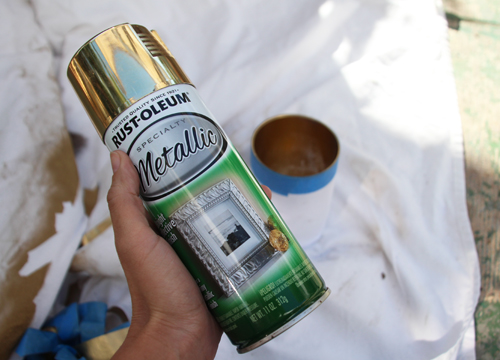
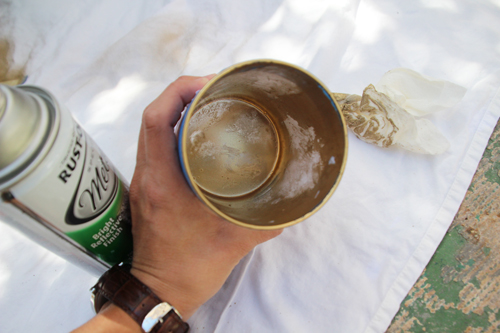
If you put a candle to it you’ll really see the visible layers and holes in the gold for a more ‘mercury’ look, but I’m really digging the subtleness of the distressing with my orchid pot as the backdrop.
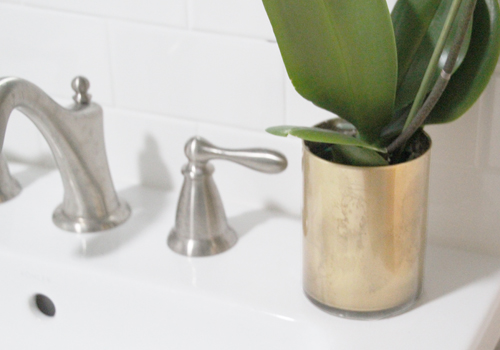
The first accessory of many for the new bathroom! More on that very soon :).
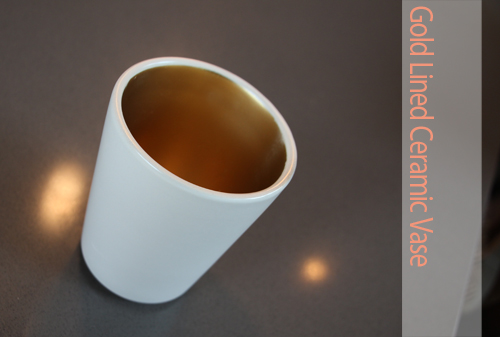
While I was at it, I used my new favorite spray paint to line the inside of a white ceramic vase, love that bold gold peeking out!
PS you can find my other Pinterest Challenge projects right here, or by choosing one of these guys: diy gold chevron cloth napkins, painter’s tape accent wall or capiz shell pendant (from last year).


I’m getting married next month and I’m obsessed with the gold mercury design! One question, how would my florist put flowers in their with the water without ruining the spray paint?
Congrats! The spray paint dries really hard, shouldn’t be an issue.
I am helping with a wedding next week, and trying to find containers at a reasonable price for guest registery table. This is perfect. Thanks for sharing. The colors are black and gold and vintage style linens. The arrangements will be white roses, cotton stalks and greenery with berries. So, this will be a great contrast.
Margot, that sounds beautiful!! These will be easy to do in bulk if you line up all of your vases and spray them down the line, then use the sponge technique on them one by one.
is it washable? or more specifically dishwasherable?
I would say no on dishwasher safe but that you could definitely hand wash (no abrasives) but filling with warm soapy water and swishing it around. :)
Very pretty! I have an idea of some glass I could use this on….
It looks great! And I love how easy it is :)
Very elegant- I love the subtlety of the distressing. And what a beautiful orchid- my house guests only leave dirty towels- ha! :|