Hope you had a great Valentine’s Day!
I have a funny story… Kevin took me to a really lovely restaurant last night in La Jolla (just north of San Diego) called Whisk n Ladle. It’s a place that I’ve wanted to check out for some time and it was delicious! I’m not sure you can call us ‘foodies’ but we’re big on locavore-style restaurants full of unique flavor. If a menu mentions anything with the words ‘fig compote’, ‘breaded goat cheese’ or ‘lavender infused anything’ I start to salivate immediately. It’s the unique pairings that you can’t always accomplish in your own kitchen that I like most about eating out.
Well, this menu was everything and more and I was so excited to try it all. We narrowed our choices down to two specialty cocktails to start, braised pork shoulder with dates and roasted brussel sprouts as well as seared local halibut for our main courses — and to start us off delicious pan fried sweetbreads with onion confit in an au jus sauce. Are you salivating yet? But this is where things got a little crazy. What do you think of when you hear ‘sweetbreads’? (this is officially why we’re not foodies), I was picturing a most delectable french-toast style of handmade bread with an onion confit for dipping. Nope! Sweetbreads are a friendly word for the throat, glands, stomach and intestines of a lamb or calf. We were half way through the appetizer when I decided to Google it because it just didn’t taste like I was expecting… ha! Kevin happily finished off the rest. So maybe he’s the foodie in the family.
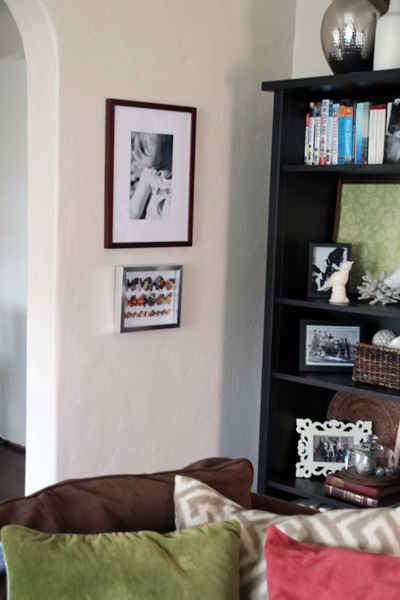
Okay, back to a fun little laser cut butterfly art project that brought a little more Spring to our living room.
There’s just something about these natural beauties that is so lovely to look at! And such an easy way to add color and bring nature into a space.
More lovely inspiration:
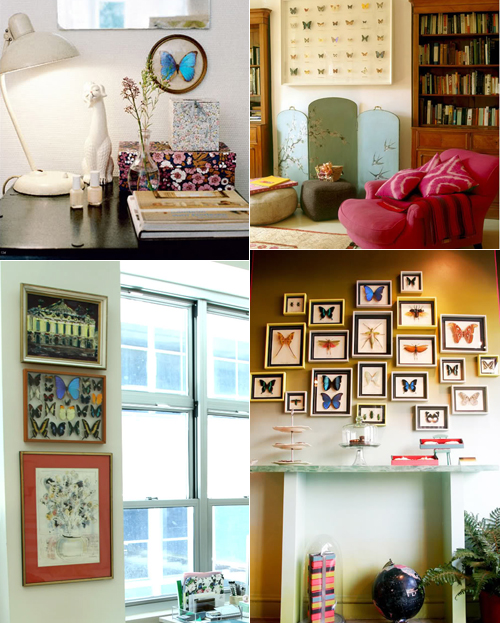
Lots of folks are not fans of taxidermy butterflies. It doesn’t bother me so much if I’m purchasing from a humane seller who harvests butterflies after they have naturally passed (since many live only 3-4 weeks) but if you’re looking for an alternative (or you don’t want to spend $50-100 for a shadow box) plastic laser cut butterflies are the way to go.
Krista of Kiki’s List (who I learned about from this favorite site) turned me on to Etsy seller Clear Cut Crafts that creates just that – beautiful, natural looking thin plastic butterflies that can be used for cake decor, weddings, you name it.
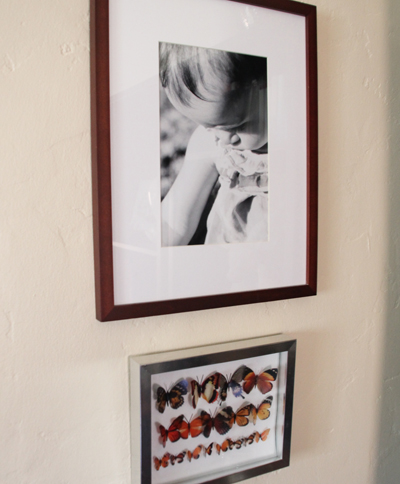
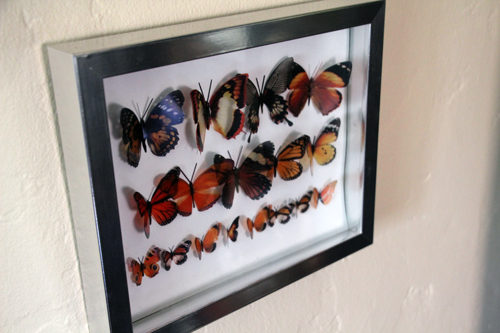
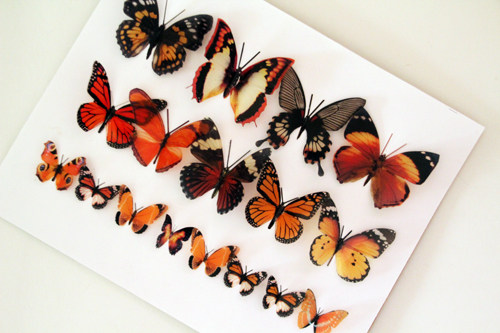
I placed an order for 2 dozen Monarch colored butterflies (love that orange! and thought they were the most realistic – plus I grew up near Monarch groves which are just beautiful when full of butterflies). To hang them, I found a cheap Ikea frame in silver that I altered just a bit to function as a shadow box.
***************************************************************
Butterfly Art (and converting a Ribba frame to a shadow box)
m
Materials: laser cut butterflies (or the like), Ikea Ribba frame, white construction paper, scissors, pliers, 1″ tack nails, hammer, glue
Using the back of the frame as a guide, I cut out a piece of white construction paper to match. My butterflies came pre-cut (huge time saver! hence the laser cut) and so I gently folded the wings and laid them out on my paper to get an idea of how I wanted the finished display to look.
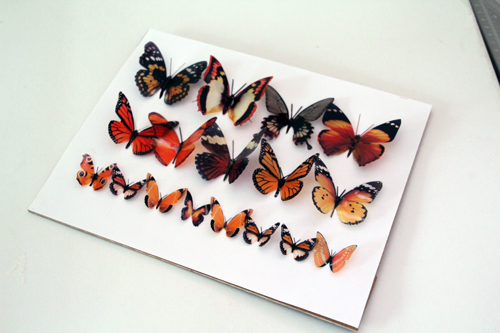
Once I had settled on a layout I used a white glue (so that I could adjust placing as I went) to hold them in place.
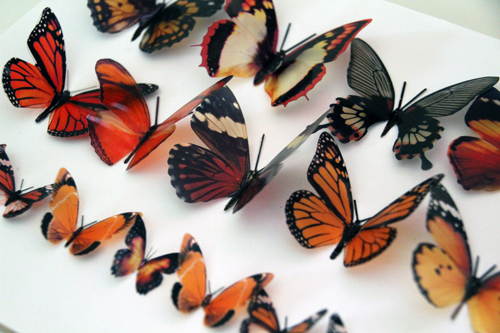
I let this dry over night and began working on the frame. Apparently there is a shadow box frame that Ikea makes – and I thought that I had picked up that version when I found my $4.99 find. But later after arriving back home I realized that while it’s deep for a frame (as most Ikea frames are) the photograph mounting was smooshed right up against the glass.
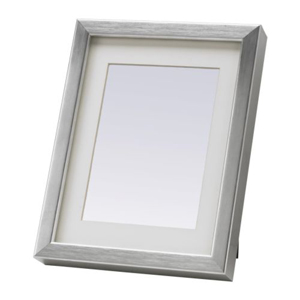
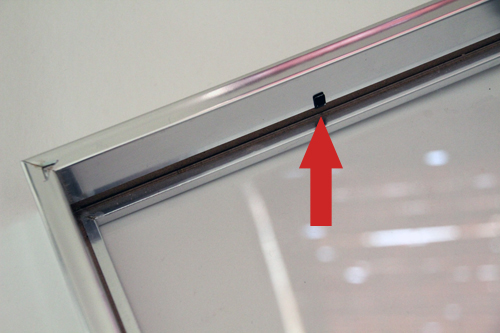
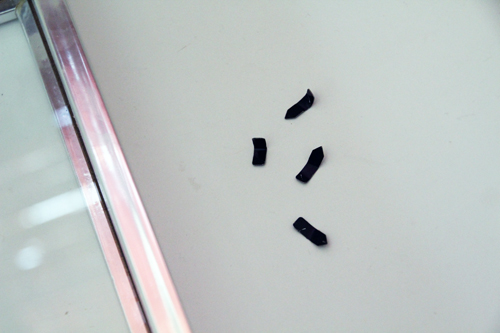
To create a shadow box out of the Ribba frame, I popped out the glass and mat and pulled out each mounting clasp (is there a more accurate term for those little metal clips?) with pliers.
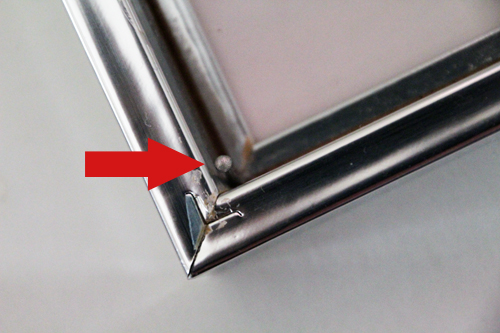
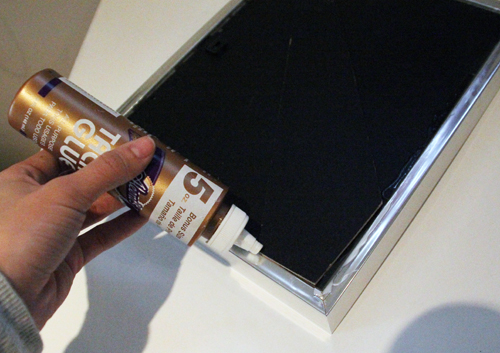
Then I added small tack nails between the edge of the glass and the frame. Just a gentle bump with the hammer and a little glue held these guys in place. I also let the glue dry overnight.
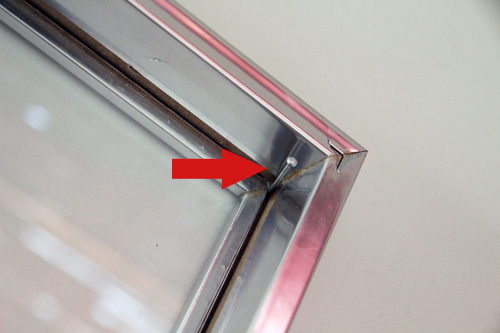
Now the back of the frame would sit atop the nails and the nails would bridge the distance between the glass and artwork — making the frame a shadow box (and perhaps the cheapest I’ve ever bought).
Since I pulled out the little clasps that keep the back in place (because they were in the wrong location for a shadow box) I simply glued my back to the frame edge. Since it’s a tacky white glue that I used it will hold my artwork in place for as long as I’d like but will allow me to easily pull the back off (maybe with the help of a utility knife) later down the line to update the contents. A glue gun here would be equally useful but might not allow the versatility to easily replace the artwork inside. Let dry overnight if using white glue.
Finally, flip over and hang!

***************************************************************
The finished frame fits in well with my Spring update for the living room with the bright colors playing off of the new throw pillows.
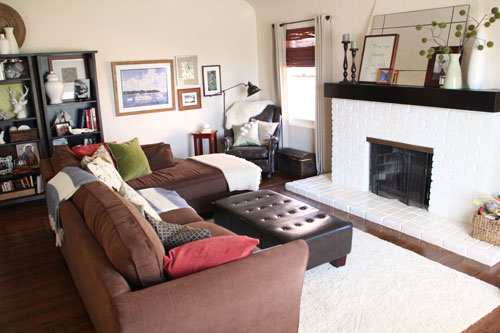
And another shot of the corner of the room with the new butterfly artwork:

Do you have any funny stories to share from Valentine’s Day? Or any new DIY artwork projects? What are your thoughts on butterflies – fake or taxidermied?
More living room posts right here.


Unfortunately trends like this mean that hundreds of thousands of butterflies are caught and killed for their beauty every year (they almost never die of natural causes like people think)!
There is no mistaking that butterflies are beautiful but I much prefer beauty without the best. As a group of nature and art lovers we have created a solution at the Butterfly Art Shop and create paper butterflies that are bigger, brighter and stronger than taxidermy butterflies that are 100% Vegan.
http://Www.Thebutterflyartshop.com
https://m.facebook.com/TheButterflyArtShop/
Hi Louise! These are fake, thin plastic butterflies in this tutorial, too :).
And they really are beautiful! Goes to show that the practice of killing really butterflies should be long outdated with such good fakes! xx
From where did you purchase the butterflies?
Hi Liz! You can find them right here: http://www.etsy.com/shop/clearcutcrafts2007
real butterflies turned me off until I did learn that they are humanely harvested after living for just a couple of weeks. If someone did not pick them up they just become food for some bird or other animal and when grown in a protected environment maybe the “quality” of their life is a little better. Sounds silly but I also grew up in Pacific Grove where the monarchs are celebrated every year so it is lovely to see these beauties every day. Your DIY project is a nice alternative.
Thank you, Diane! I absolutely agree about the Monarchs – when flying and resting altogether in the trees they are just breathtaking.
I have mixed feelings on real butterflies for decoration- they’re beautiful but I have a little squeamishness about them. I think I like your fakies better- they’re beautiful and look realistic, but no decaying little bodies there. :)
I know how you feel! I don’t mind for butterflies but another trend that I love right now is cowhide rugs. I’d love to get one for our dining room but I’m having trouble getting over the whole idea of an animal’s skin on my floor :).