Back with a few more details from Liv’s 1st birthday. When it came to creating little invitations for her party I was a big time procrastinator. Actually, it was during my few days off between Christmas and New Years that it suddenly dawned on me that her birthday was just a few weeks away! and we needed to get something in the mail asap.
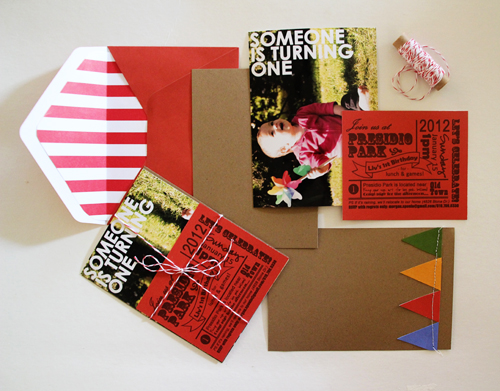
It was fairly simple to throw these guys together quickly. I used Photoshop to add some cute, bold text to two of my favorite photos of Liv (I couldn’t pick between the two! So half of the invitees received one and half the other), but you could use one of the free programs reviewed here to do the same.
I sandwiched that photo between a smaller red card (bought a set of red envelopes and matching cards at Michaels and printed the party info in fun fonts directly on to the red inserts, then cut them to size) and a piece of brown construction paper.
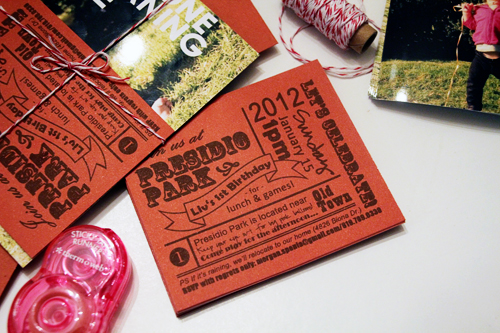
Inspired by this creative girl’s Christmas card and this beautiful invite from Pinterest, I tied up the bundle with Martha Stewart’s striped baking twine (found in the scrapbooking department in a pack of 6).
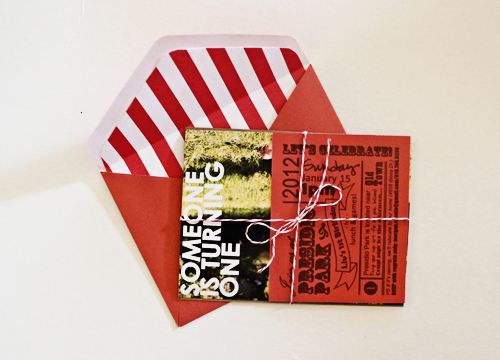
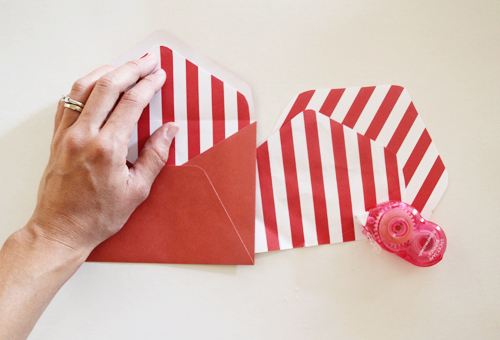
The other half of the fun was creating envelope liners that for me really made the entire invite. I love the peak of red and white striped paper and it tied in perfectly with the rest of the party. It was a little teaser of what was to come!
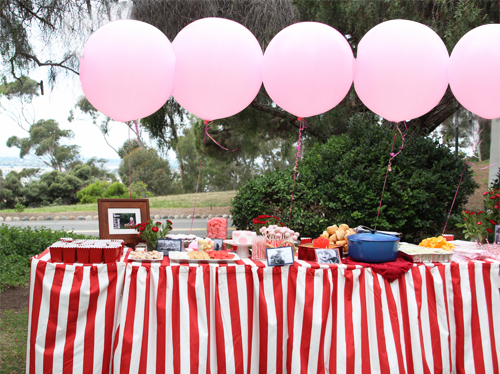
To make the envelope liners (by the way, they’ve been on the back of my mind since seeing this adorable version), I created a simple template of the inside of the envelope (trace the shape of the envelope on to thicker paper, cut out and then snip off about 1/3″ of an inch from each side) and then cut out about 25 from 12×12 striped scrapbooking sheets of paper from Michaels. I used double sided scrapbooking tape to adhere into place.
My last addition was a failed attempt. I had originally hoped to sandwich the information card and photo of Liv between a piece of paper bag brown construction paper (that was the specific color I was on the hunt for :)) and a top piece of the same size but with cute, colorful bunting (a la a few images from my Pinterest board on Liv’s party).
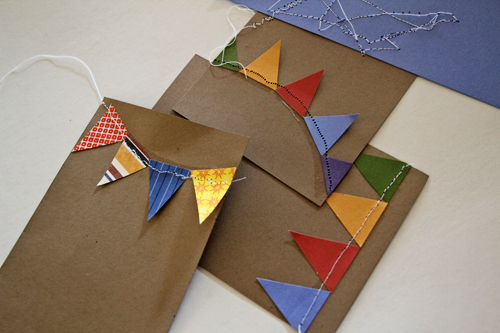
Sewing paper is seeeeeeew difficult (see that crazy stitching above?), and after a half hour of testing, tearing, tangling and tormenting I decided to omit the addition.
But I was thrilled with the results of the invites and we got those puppies in the mail just in time to notify friends and family that there was a par-tay coming up!
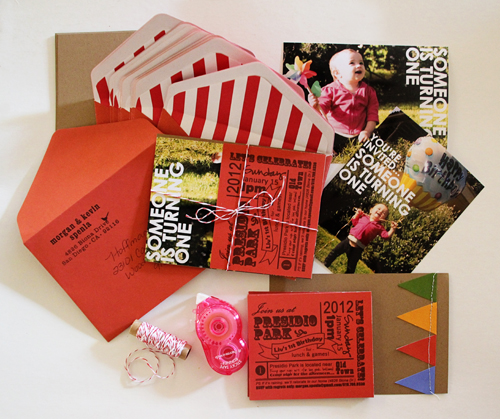
Total cost was about $.25 per invite and from the time I hit ‘send’ on my online Costco photo order to the time I picked up my pics at our local Costco, all of the supplies at Michaels and assembled the invites, it took just a day or two to get them finished and in the mail.
And just for fun, here was my assembly workstation:
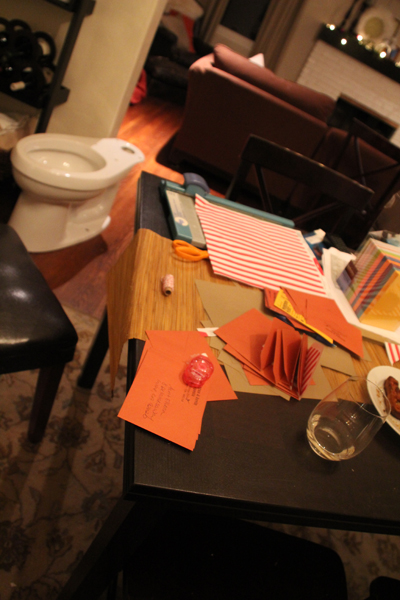
Wait, you don’t have a toilet in your living room? Just us?


The red card…do you have the font names and sizes for the card? im having a hard time trying to make this!
Hi Sarah, The cards were pretty small and measured close to 2×3″ (can’t recall exact measurements…). The main font (the circus-y font) is Rosewood Std, the rest are various serif and sans-serif fonts from my default Photoshop font box :). Good luck!
PS there are quite a few great Etsy sellers who sell similar ticket-style invites if you decide to purchase rather than make.
These are so awesome! I am going to do them for my sons first birthday. I was wondering how nice of a printer you have? I am worried about printing on the card stock with my normal printer.
Thanks!!
Hi Ashley! Our printer is just okay – nothing fancy and thankfully it was only required to print the black ink portion of the invite (we went through a couple of sheets that had funny printer lines, were off center , etc ;)) but you could always take to a print shop for a quick printout, too! That might be a cheap and quick solution if you bring your own paper and your already formatted work on a disc :).
Your invitations turned out really cute, so envious any time I read someone using Photoshop- I think it’s just way beyond me. The toilet kinda’ threw me for a minute- very convenient for potty training! :D
Haha, I didn’t think about that! Sadly the toilet has moved to the new bath but that would have been convenient! :)
Your invites are just too cute!! Bummer that the sewing didn’t turn out, but you didn’t need the additional insert…they are cute just the way they are. :)
That toilet shot is so funny! I am in awe of your ‘whipped together’ invites, they look flawless. It took me forever to do my wedding invites, props to you!
Thanks, Sara! Don’t worry – I only had about 25 and was not nearly as a perfectionist as I was with my wedding invites. Thank you though! The toilet has now been returned to its rightful home in the new bath :).