Back with a few more details from the Bedtime Stories baby shower that I shared last week. I’m all about handmade decorations so two of the little projects I worked on leading up to the shower included a set of fabric flags and a little ‘ribbon strand’ to hang onesies from (which was our shower craft project).
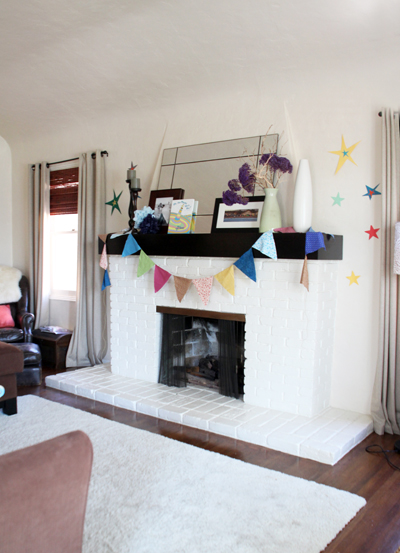
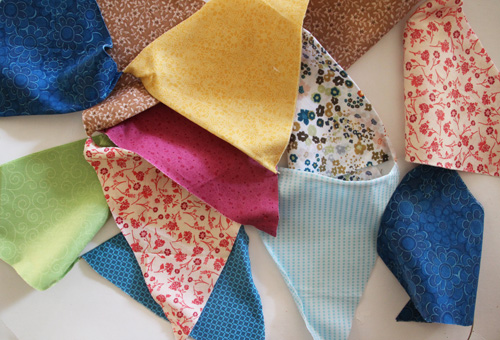
So I’m still not exactly sure what the major difference is between fabric bunting, pennants and flags are… but I’m pretty sure they’re all basically describing this:
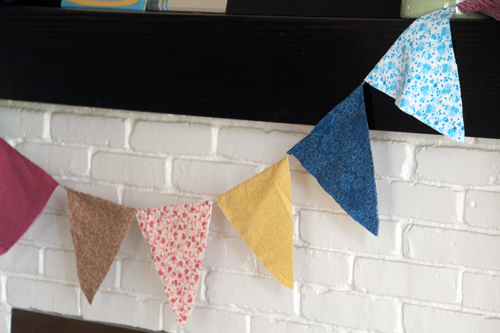
We’ll call them flags today :-).
I made a no-sew version for Liv’s nursery out of left over fabric remnants from her room decor a while back and had used a fusible iron-on hem tape to put it all together.
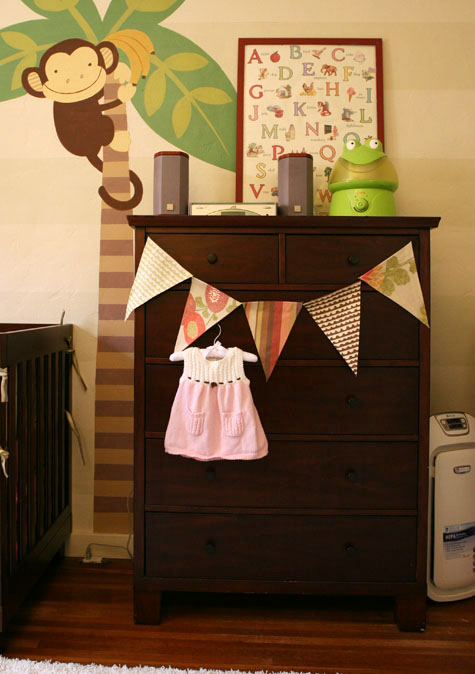
But I was pretty sure there was an even easier no-sew way to make a really large set of flags for this party.
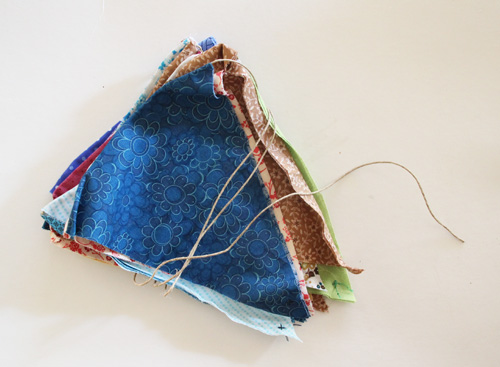
What ended up making the bunting so super simple was the basic stitch at the bottom of each to create the individual flags. No sewing machine, not even an iron!
I opted for a light weight quilting cotton from Joanns and raided the quilting squares remnant boxes that they usually have throughout their store. Each quilting square made roughly three flags (which started as diamonds… more on that soon) and I probably had somewhere around 40 when all were cut.
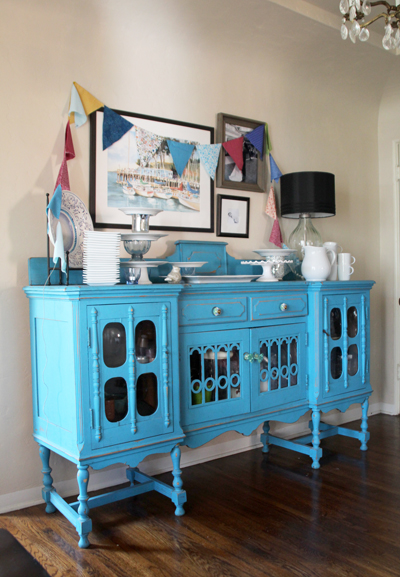
I split the 40ish flags between two long lengths of thin twine to make two different strands. I know I’ll use these for lots and lots of different types of parties (they’re just really fun to throw up and around whether they’re indoors or out) so I kept the colors soft and gender neutral.
One set was strung over our buffet in the dining room (above) and one was added to the fireplace mantle.
But back to putting these together…
***************************************************************
Super Simple Fabric Party Flags
a
Materials: fabric remnants, scissors, needle & thread, twine (or ribbon or string), white glue (such as Elmer’s)
We first cut up the fabric remnants into large diamonds and folded the diamonds in half over the long length of twine.
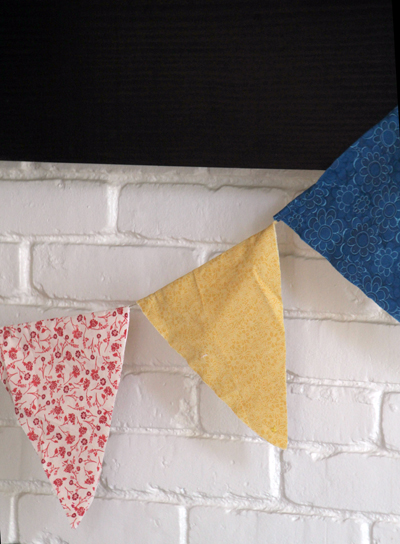
To keep the sandwiched diamonds in place, we added a simple X stitch at the bottom corner of the triangle with a needle and thread.
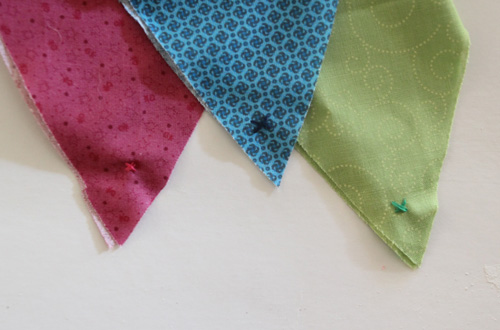
I found thin twine at Joann’s and thought that it gave the flags a nice little shabby chic look. You could use ribbon though (like I did for the sturdier bunting for Liv’s nursery) or really any kind of string you have lying around.
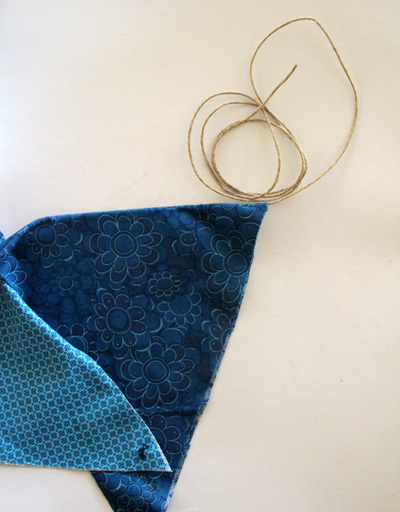
When the flags were strung up we noticed that they started to slide back on top of each other, so as a last minute solution a little dot of Elmers glue was placed on each end of the flag where the fabric meets the twine. Held the flags in place like a charm!
My awesome group of lady friends came over one night to help me assemble all 40 flags which made the process quick and easy, and Liv’s babysitter saved the day when she helped me add dots of glue to the edges of each flag after we realized (last minute) that the flags tended to slide back on top of each other without the adhesive. I was plum out of time and it was super helpful (yay for naptimes).
a
Ribbon Flags
mMat
Materials: ribbon of varying widths and colors, fabric strips, twine, baby clothes pins (found at craft stores), onesies or other fun items to showcase
The second bunting-ish project was a ribbon strand that held various lengths of folded over and loosely knotted ribbon, fabric strips and finished onesies from the group craft project (more on that to come – such an easy and fun shower activity!).
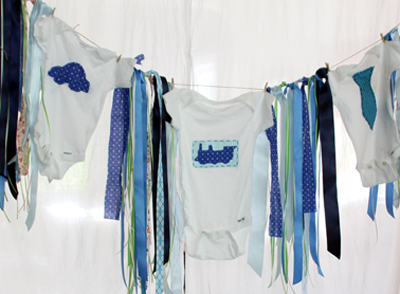
This one was so easy to assemble and while I don’t have the best pictures of it, the project is a fun addition as a backdrop to any shower or birthday. I’ve seen these strands strung up behind dessert tables before (without onesies) to add a little color – beautiful! The only bummer is that it requires SO much ribbon. My little strand here was four or five ribbon spools from Joann’s and I’m glad I planned on mixing in the onesies because that’s what really filled the gaps.
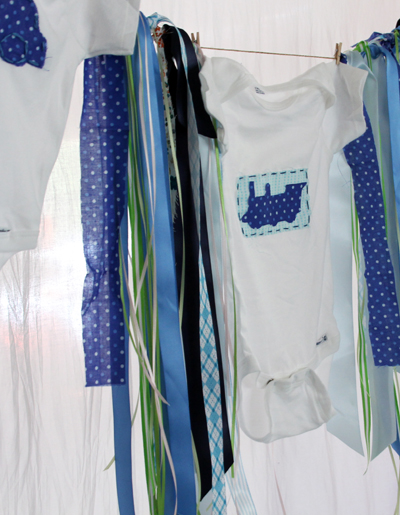
The bonus is that the ribbon can be used again and again for all sorts of projects, or even as bunting for a future event.
***************************************************************
For the Bedtime Stories Part 1 post, jump out to this link. Hope to post one more segment soon with details about the iron-on/embroidery onesie craft project (and how easy they were to make as a group!) and my easy-to-assemble solution (without destroying your plates) for tiered food stands.


Ah! I love these. Thank you for posting your simple technique. It’s awesome and oh-so-cute. :)
Both the ribbon flags and the fabric flags turned out great. What an easy way to decorate. Thanks for sharing.
They are so cute. I’m glad to know they’re also easy. I know I’ve said it before but that blue credenza is a-ma-zing!!
Thanks, Carol! Love that blue piece too, it was the first piece of furniture we bought for this house!
Looks great! I’m sure it was fun! I really love your blue credenza.. don’t think I’ve noticed it before!
Thanks, Jenna!