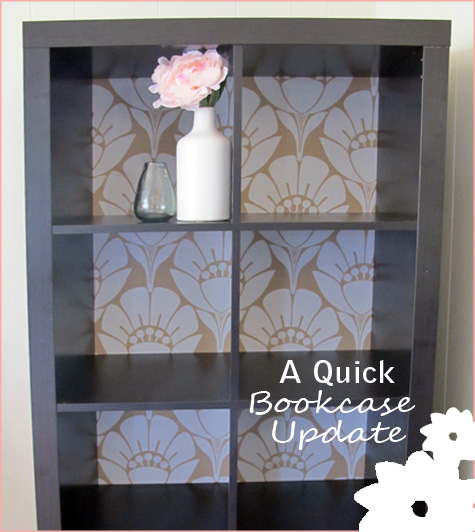
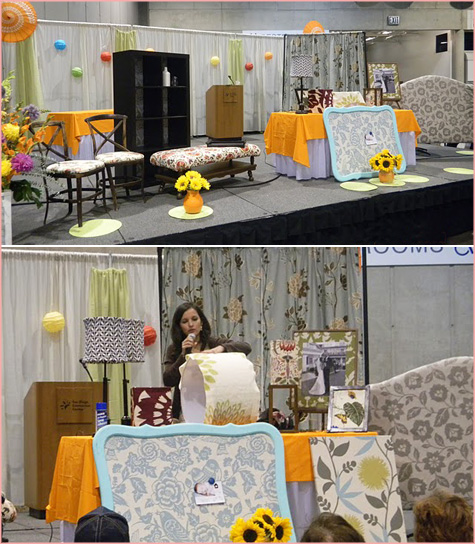
I haven’t had a chance yet to highlight any of the projects from the Stylish Living Interior Design Expo from a couple of weeks ago. The organizers of the event asked me to create ten or so easy fabric projects that anyone could use to instantly update their space.
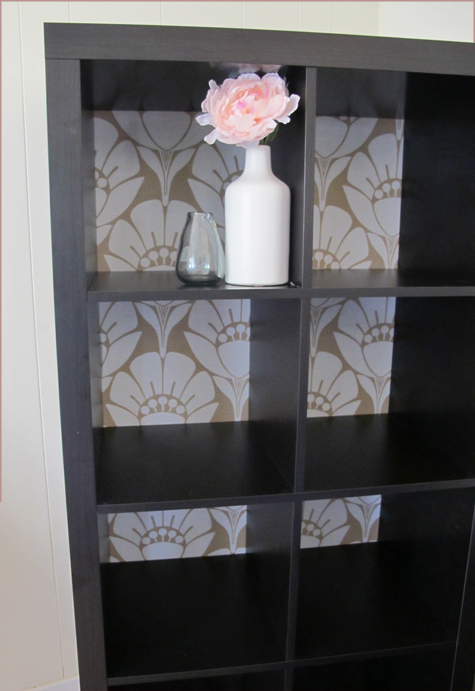
One of my demos was a quick bookcase transformation. The bookshelf I used was a standard backless shelf from Ikea (the 8 cubby Expedit). For the improvised backing, I had particle board cut to size at Home Depot and used a favorite Calico Corners fabric for lining.
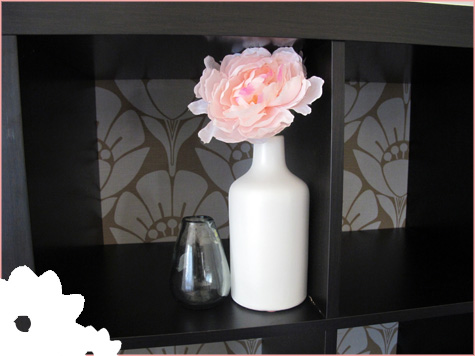
I know fabric-lined bookcase demos are all over the web so I won’t post every detail here on the main page… but if you’d like to check out my step-by-step directions follow the jump!
******************************************************************************************************
{DIY Fabric-Lined Bookcase}
a
Materials:
*Bookcase (I chose a backless option, though most bookshelves give you the option to completely remove the back for the purpose of this tutorial, or you could always remove all of your shelves – if the back does not come off – and add the fabric directly to the back with spray glue and tacks , replace shelves and you’ll have a similar look)
*Fabric
*Particle board cut to the size of the your bookshelf
*Tack nails
*Spray glue
*Hammer
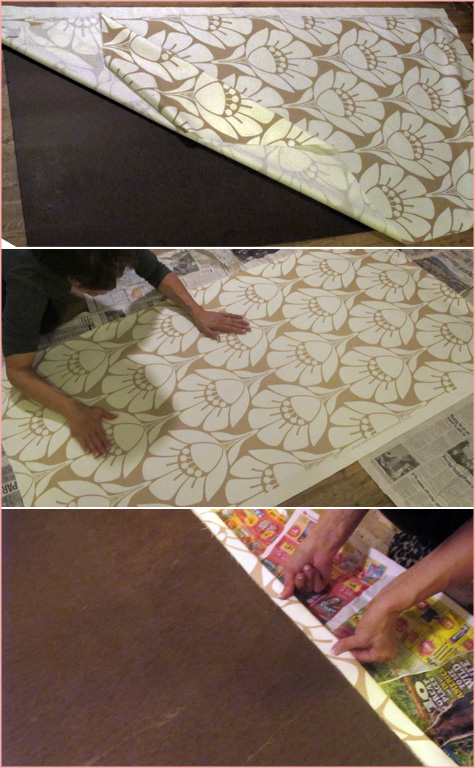
1. Cut fabric for lining: Lie your fabric directly on top of the bookshelf backing and cut roughly 2″ wider on each edge to allow for a generous fold over.
2. Adhere fabric to backdrop: Remove fabric and coat your bookshelf backing in a light spray of adhesive spray glue. Wait 5-10 seconds until the glue feels tacky and spread fabric carefully over backing rubbing out any wrinkles.
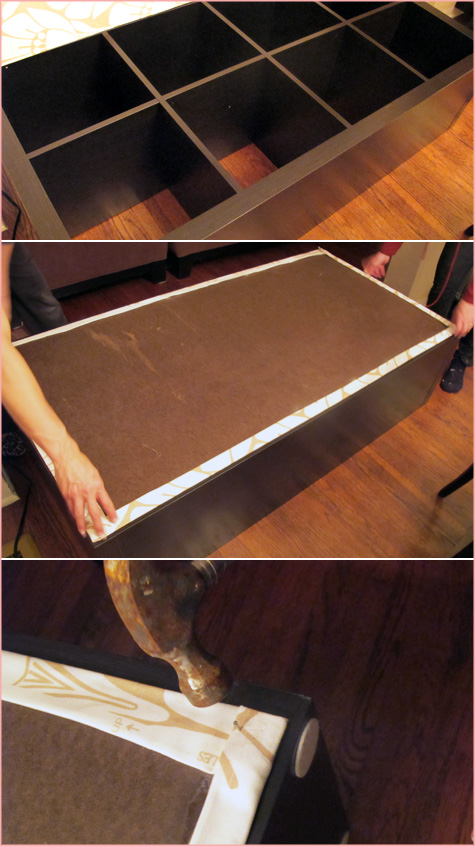
3. Create a clean hem: When dry, flip bookcase backdrop over and begin folding over the edges of the fabric creating a clean hem. I folded the fabric twice – once to get rid of the cut lines and to create a clean edge (a simple spray of glue held this hem in place) and once to adhere my new hem to the board (again use spray glue to temporarily hold).
4. Nail to bookshelf: Lie backdrop directly on top of bookcase and use tack nails to adhere fabric to backing and backing to bookcase in one step. I spaced my nails roughly 6 inches apart.
And now you have a revamped bookshelf for the office, living room or bedroom!
*****************************************************************************************************



I just found this and it was exactly what I needed! I have a giant Ikea bookcase/room divider that totally doesn’t match my thrift shop antique decor. I decided to modify the bookcase and bought fabric for the back, but wasn’t sure how to get it on there! Thank you. :)
So awesome! Thank you for sharing and good luck with your project. :)
Morgan
such a cute idea. I may tackle this at some point. If I could only pick out a fabric….
You’re right that the bookcase makeovers are all over the web but rarely do they look this great.
Carol
I love this – what a great and hopefully quick/easy project!
Ahh, next time I buy an Ikea flat-packed bookcase, I will remember to buy some gorgeous fabric and cover the back before I put it together. Great idea to personalise mass-produced furniture.
Looks great, as does all the projects you have shown here. The turquoise frame is adorable…if you ever tire of it please send it my way! Janell