A Little of This & That… Renovating, Decorating, DIY Projects & Family

Guest Blog Interview: Dana of House*Tweaking

About once a month I get the chance to sit down *virtually* with a blogger (or author or artist or designer…) to pick their brain about their own sense of creativity and style.

Usually it’s a home design blogger. Sometimes it’s an entertaining/hostessing site (like here), or an organizing blog (like here), an inspirational everything collection (like here), an author or editor (here or here) and sometimes it’s a super clever crafter (like here or here), but usually it’s a blogger remodeling/redesigning/reimagining their home. Through these little interviews I get to share what makes these bloggers/authors/artists spark, what inspires them, what trends they’re following and what some of their favorite design tricks might be. I don’t get to interview nearly as many as I’d like. It’s a time-consuming sort of post, but it is truly one of my favorites.

Some of my favorite blogs include families that are completely modifying and remodeling an older or builder-style home little by little. Like an HGTV show but over a few years rather than 30 minutes.

My guest today, Dana of House*Tweaking, is one of those bloggers! And her 1950’s rancher-style home is a seriously pretty example of such a transformation.
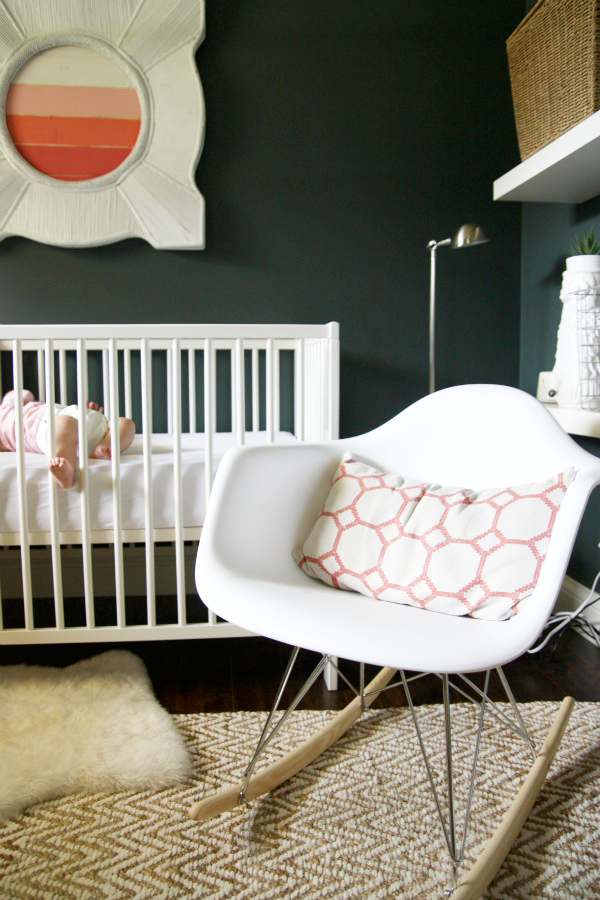
What initially drew me to Dana’s blog is the awesome nursery she designed for her daughter, Mabrey (isn’t that an equally awesome name??). The white wooden mirror with the coral gradient, those dark charcoal walls, the chevron jute rug, the white Eames rocker… I could go on and on.
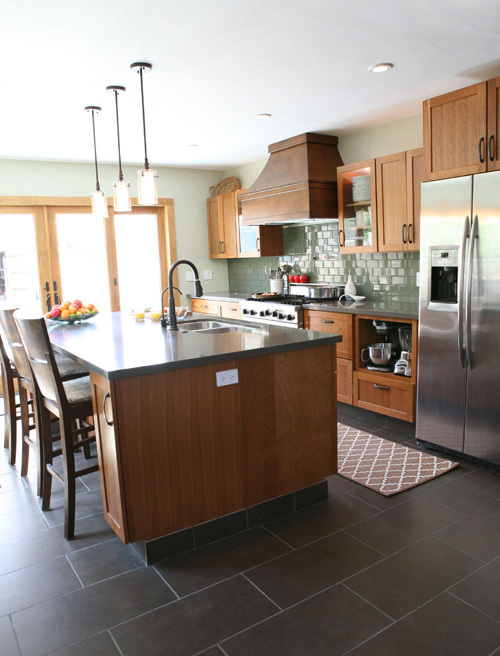
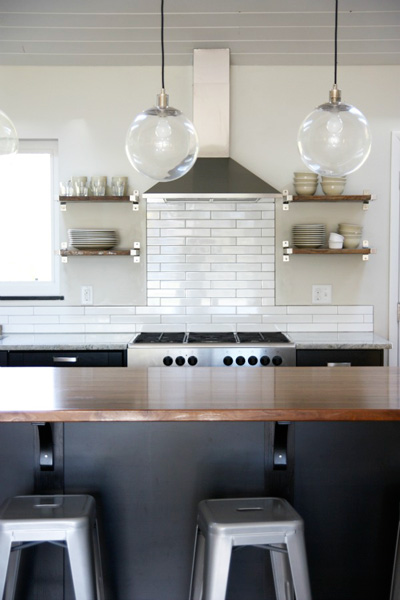
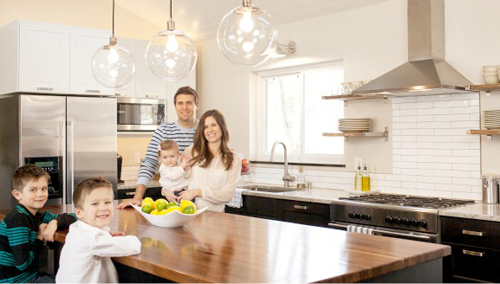
And the rest of her home? So very inspiring. (Wait until you see their new ‘everything’ room after the jump.) In fact, this interview is a reminder to myself that I’m about one weekend (and ten paint brushes) away from painting the inside of my entire house charcoal and white. Sigh.

Read on for more examples, and Dana’s answers! Continue reading

February Finds… An Inspiration Board

What do oversized spring blooms, classic gold cuffs and fingerless mint mittens have in common? A round up of favorite February finds!

Spring feels as if it has almost arrived in San Diego. But just this week we were surprised with a few days of rain so maybe it’s just a tease :). I’m including some favorite spring finds in this month’s inspiration board though – talk about a major tease in the I-can’t-wait-for-spring-weather-to-wear-those-shoes!

I’d like to add a few spring flats to my collection this summer and these cute grey and coral Seychelles would be quite versatile. The colors in this new peony print duvet by Urban Outfitters are so fun! And the bold, big print would be neat for a girl’s room. Henley tops play well with both the pregnant belly and the, well, non-pregnant form – I have my eye on this coral one (which I found via Making it Lovely).

Oh my goodness, printed skinny jeans for babies? I knew I was having another girl for a great reason. This customized walnut iPhone cover was Kevin’s Valentine’s Day present this year, love supporting small company’s like Toast that hand produces them and love the finished result on his phone. I have 2 pairs of fingerless gloves that I wear whenever it’s chilly outside – I highly recommend! These mint guys are cute and handmade.

I’m brainstorming a big girl room + new nursery that is everything pink and girly. This Once Upon a Time pillow might make an appearance. I’ve always been a sucker for classic jewelry and I have a hammered gold cuff just like this one that I sport all of the time to fancier events. How great are these grey leather + wooden Nalo heels? Perhaps a new pair of spring shoes for wedding + baby shower season?

Happy February!

 PS all inspiration boards can be found right here.

Kitchen Addition: A New Cork Board Corner

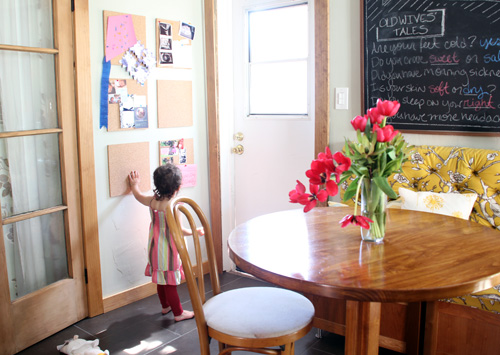
Organization has been on my mind lately… somehow stacks of paperwork and magazines and yesterday’s mail are slowly starting to creep up and take over favorite spaces of mine, like the breakfast table in the kitchen. It’s high time that we add a functional and easy-to-use corner somewhere in the house that can display Liv’s adorable works of art (I’ve waited so long for those!), wedding invitations, birth announcements and important family reminders.

Inspired by our big chalkboard addition (but not wanting to cover that guy in glitter and pink construction paper), I’ve found the perfect home for such a display.

We actually previously had a white board here (that a friend of mine helped me to construct to size from molding and white board from Lowe’s – I swear I had pictures somewhere…) but we never used the white board to actually ‘write’ anything on it. I ended up just taping important announcements directly to the board, and that became really crowded really fast.

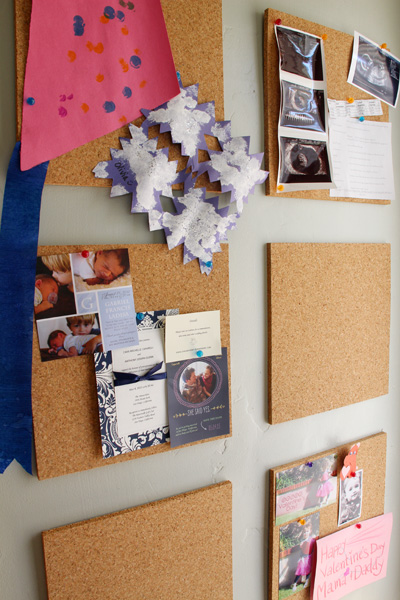
Now there are spots for Liv’s artwork (she likes to help arrange), photo cards, invites, you name it. And we can circulate items in and out to fit the seasons or what’s most important right now.

I thought the idea of a cork board would be most realistic for what we need – aka a space to pin, pin, pin – but didn’t want one giant long piece of cork along the wall (our chalkboard across the way is already massive enough). Squares made sense, but most of the cork tiles available these days online and in craft stores are too flimsy at just a 1/4″ thick.

I took a chance and ordered these guys sight unseen from Amazon:

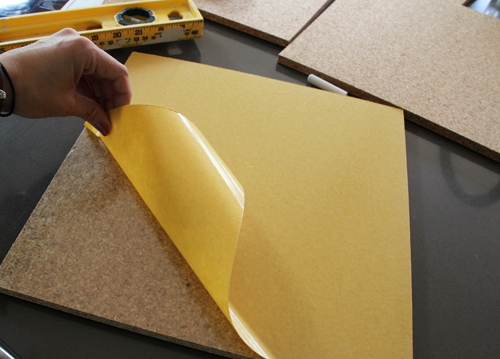
Package of six? Perfect. 3/8″ thick? Much better than 1/4″. Self-adhesive? Bonus.

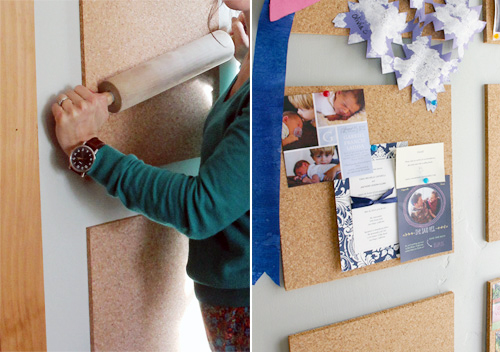
Once they arrived, applying them to the wall was as simple as unpackaging them (directions instructed to leave the cork out for 72 hours to acclimate to the air so that they can expand before adhering to wall), unpeeling the self-adhesive backing and sticking them up.

The sticky backside made these cork tiles very easy to install. Most tiles come with little adhesive squares, but the all over strong ‘sticky side’ of these made me a little more confident that they might actually stay put. One week later (we finished this project just before our Gender Reveal Party) and I’m noticing a few edges that are lifting up. Might have to readhere with something stronger in the future.

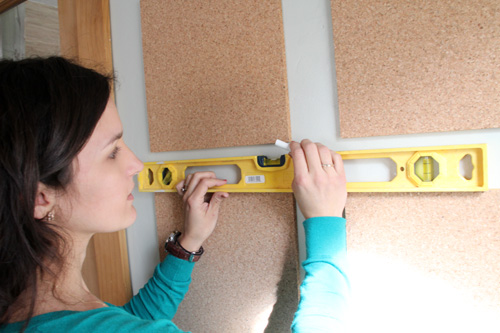
To create a grid on the wall, I used a level and chalk during installation.

And then at the suggestion of the instructions, a rolling pin with lots of pressure. Finally, time to decorate the tiles!

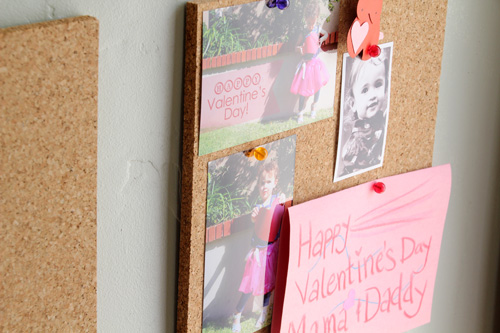
Liv’s Valentine’s Day tile is one of my favorites right now :):

She made us that sweet card and Kevin delivered the below beautiful red tulips!

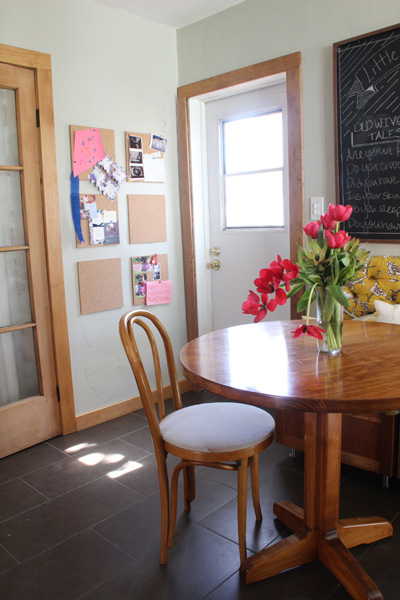
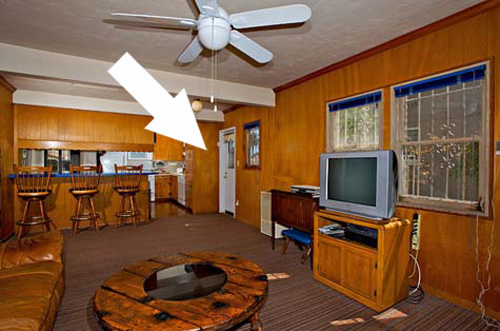
We’ve just ordered a replacement door for the white one above, shortly all of the doors in the kitchen will be matching (yay!). Still a big improvement from this, though :):

That’s the new cork board corner above!


Our new mail/message/art station is finished and the kitchen is almost at a place where I can confidently call it finished (for a little while, at least…).

PS To start at the beginning of the remodel (or checkout projects like the tufted breakfast nook), see all kitchen posts sorted right here.

Related Posts Plugin for WordPress, Blogger...