Just finished a new project for our kitchen and I love how it turned out!
Let’s start this post off with some yummy inspiration.

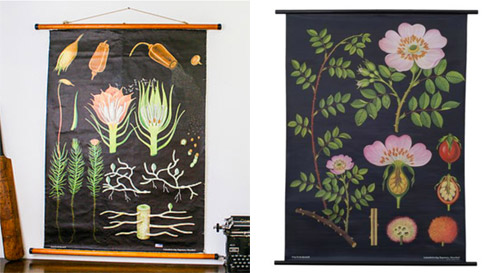
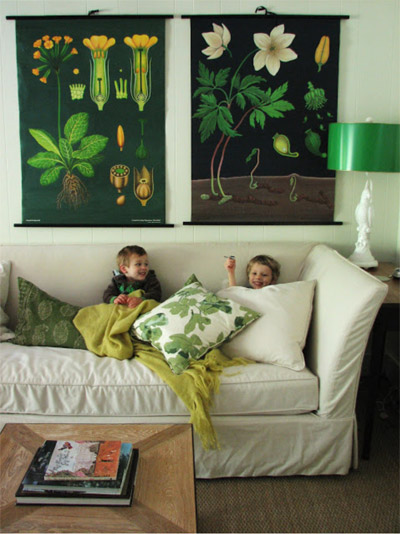
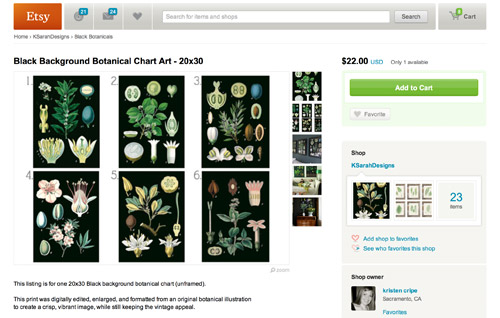
I have loved the look of vintage botanical charts for some time! They are oversized, full of contrasting color (love the black backgrounds) and the illustrations are so detailed and just stunning.
But I ran into two dilemmas before finding one for the house. The first was tracking down the right print for the right price. I was hoping to find a fabric version rather than a print that I would frame behind glass (see those beautiful dowels above? my favorite way to hang a piece of art like this) and many fabric versions are originals from quite some time ago and because of that they all seem to be pretty pricey (like in the hundreds of dollars a pop range).
The second was finding the right spot! I wanted to find a creative way to hang a new print but these guys are usually pretty big and they need a special home that’s just perfect for the look of the print.
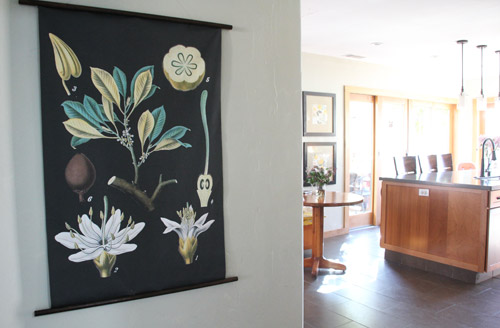
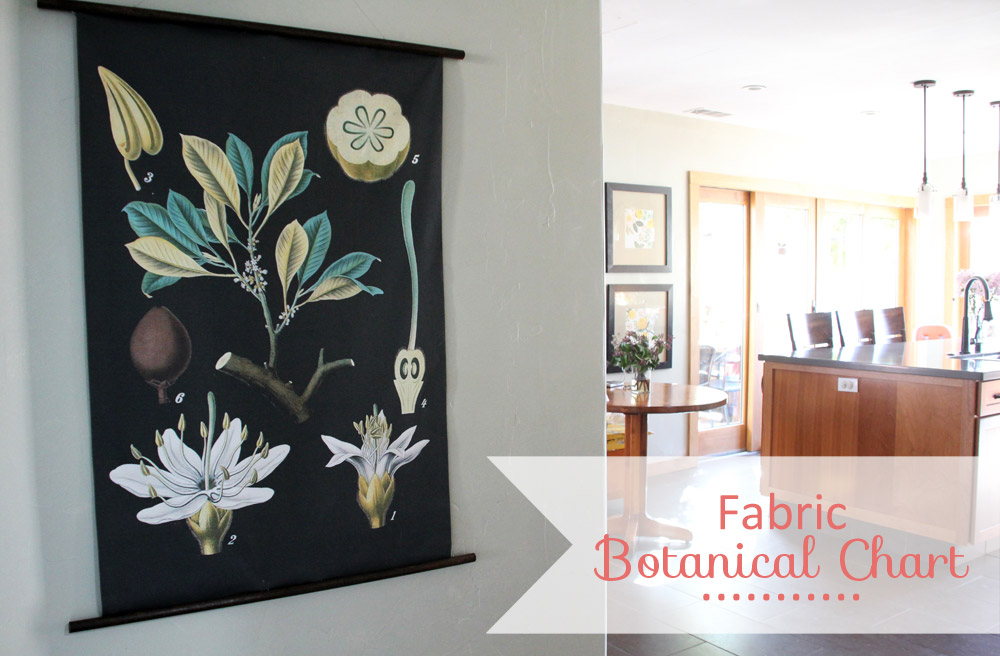
Then very recently, I found the perfect source (and added a little DIY love) and the perfect spot in our home! Our new fabric botanical chart now hangs in the hallway between our dining room and kitchen, and it fits in perfectly.
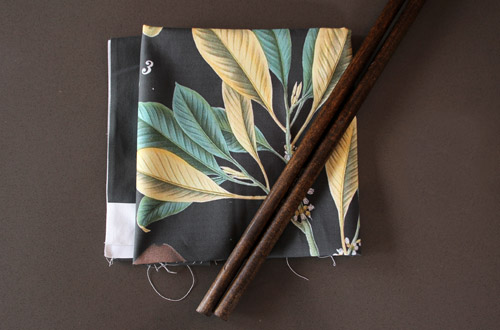
After a few months of occasionally googling and searching, I stumbled upon KSarahDesigns and her beautiful botanical print reproductions on Etsy. The store offered a gorgeous selection of paper prints, but I reached out to Kristen anyhow to ask about possibly using her artwork to print the illustrations on fabric. I was so happy and surprised when she offered to take on the project herself! Spoonflower is an awesome source for printing your own fabric and a few short weeks later I received my folded, heavy duty cotton twill fabric in the mail.
Printing black onto fabric is near impossible (we learned the hard way) but even the dark charcoal grey looks great as a chart.
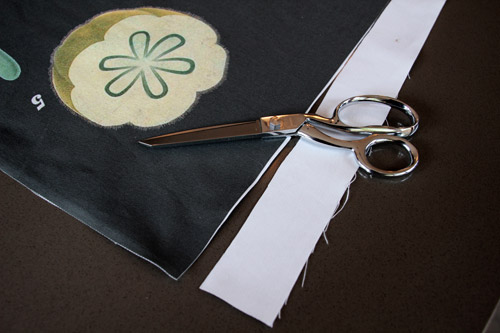
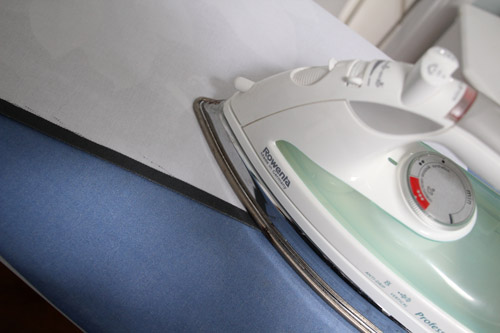
Next step was to transform the fabric into a hanging piece of art. I snipped the white edges (no need for a perfect cut since my edges would either be hemmed or hiding behind a dowel) and then carefully added a very small hem to the long, horizontal sides of the chart. My first thought was to use an iron on hem tape to secure the hem, but after pre ironing my hem flat on each side I noticed that the tape wasn’t necessary – the edges stayed perfectly.
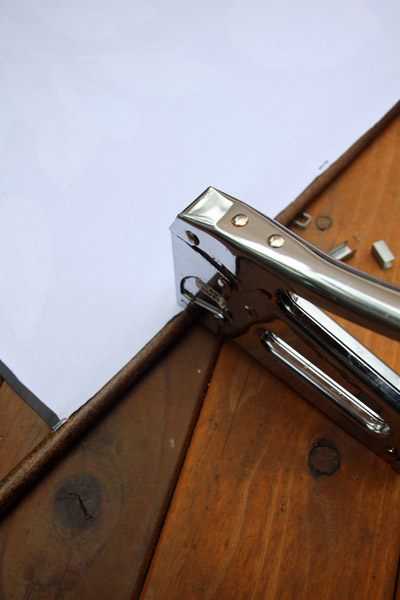
I picked up two 1/2″ dowels from Lowe’s and we cut them to size. Then I stained them a warm, chestnut brown (they were originally pine) and I stapled my chart directly to the dowels to give the top and bottom of the print a clean look.
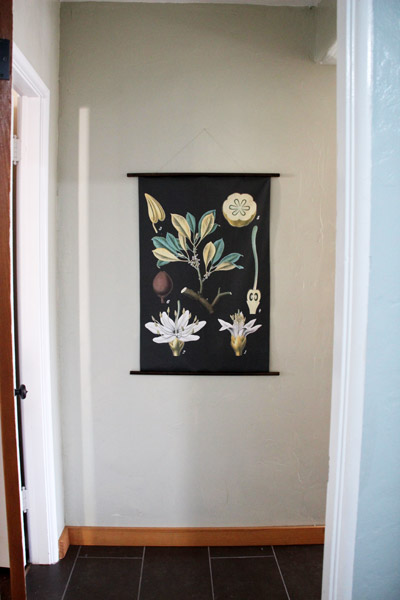
It’s hard to see the string in the photos (and I may switch that out in the future) but for now the chart simply hangs from a nail. Finished!
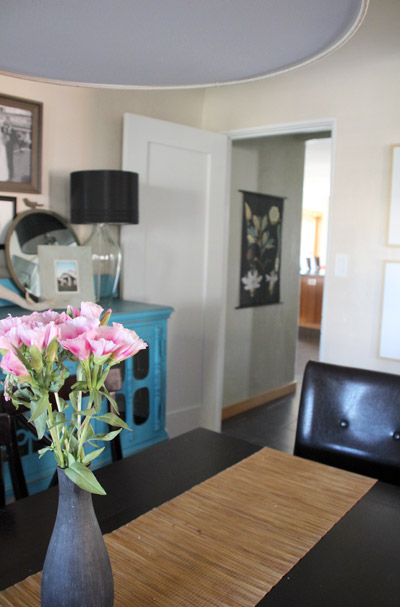
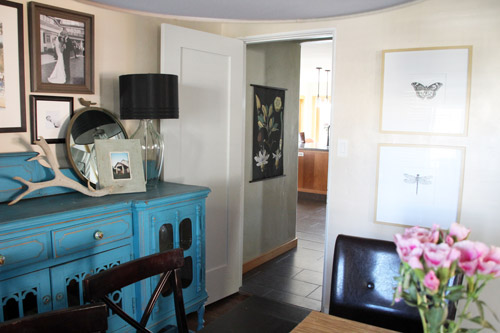
And a glance from our dining room! Love the black accents and how the lampshade, b&w photos and print compliment each other. The chart leads you into the next space.
From the kitchen, the black of the fabric looks great with the new chalkboard and the black framed calendar floral art (those big prints that are sitting just to the left of the sliding doors).
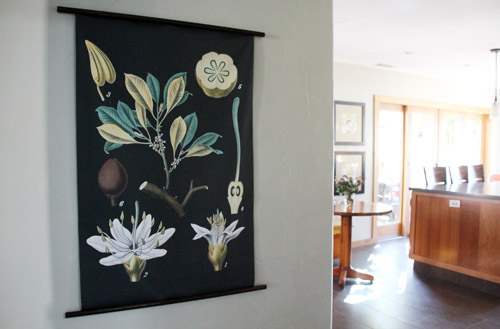
Love my new art and that the price for the finished, semi-DIY piece (which came in at under $50) is a totally affordable alternative to the originals out there.

