A Little of This & That… Renovating, Decorating, DIY Projects & Family

Kitchen Addition: Grandma’s Recipe Art

I thought I’d share a little project with you today that I recently hung up in our kitchen, but that I actually created about six months ago. We lost my Grandma just before our big trip to Europe and it was devestating. She was the local Grandma in my life that I was very close to – the one that taught me to bake, gave me sage advice on finding ‘the one’ (which subsequently confirmed my yes to Kevin) and who picked blackberries with me every summer when we visited Washington together. It was a very heartfelt loss and there were no words to describe it. To add salt to the wound it was in a matter of weeks that we were celebrating the passing of my other special Grandma, whom we had lost the year before.

But, I took what meant most to our relationship and created a piece of art that I thought my family would enjoy.
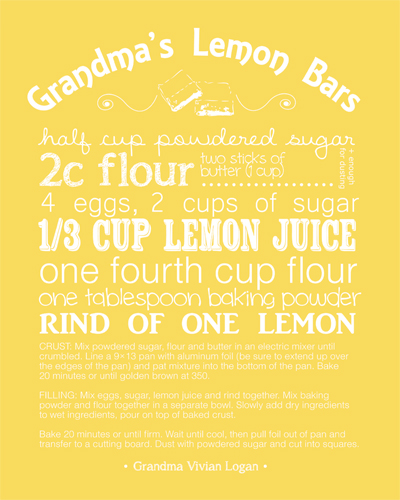
 

Grandma and I baked together at every opportunity we had – she was an incredible baker!

We couldn’t attend her funeral because of travel and that was a second blow to my heart. There was nothing to be done regardless of how hard I tried to change flights and so on… so instead of being there in person, I was there in spirit (while in the Ireland countryside, her heritage) and I wanted to leave something for the guests that were present to celebrate her life.

My first thought was to create a memorable piece of Recipe Art for everyone to take home and I was on the hunt to find an Etsy artist to help me out! But because of short notice (as these things often go, funerals that is) no one could fit my short timeline. Sooo, I opened Adobe Illustrator up and created the art myself.
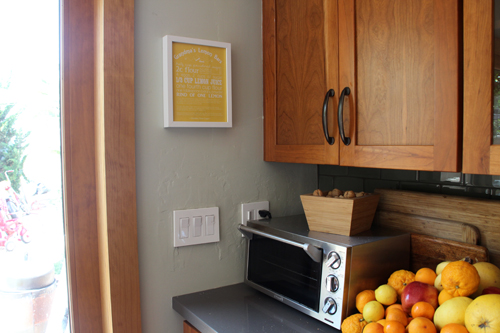
I made about 50 copies for the funeral, packaged them up and sent them to my Dad to leave out for family. And now, finally, one of my prints hangs in our kitchen.
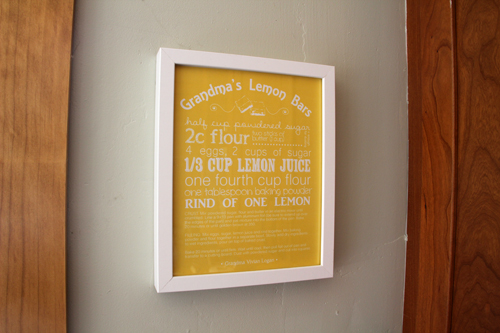
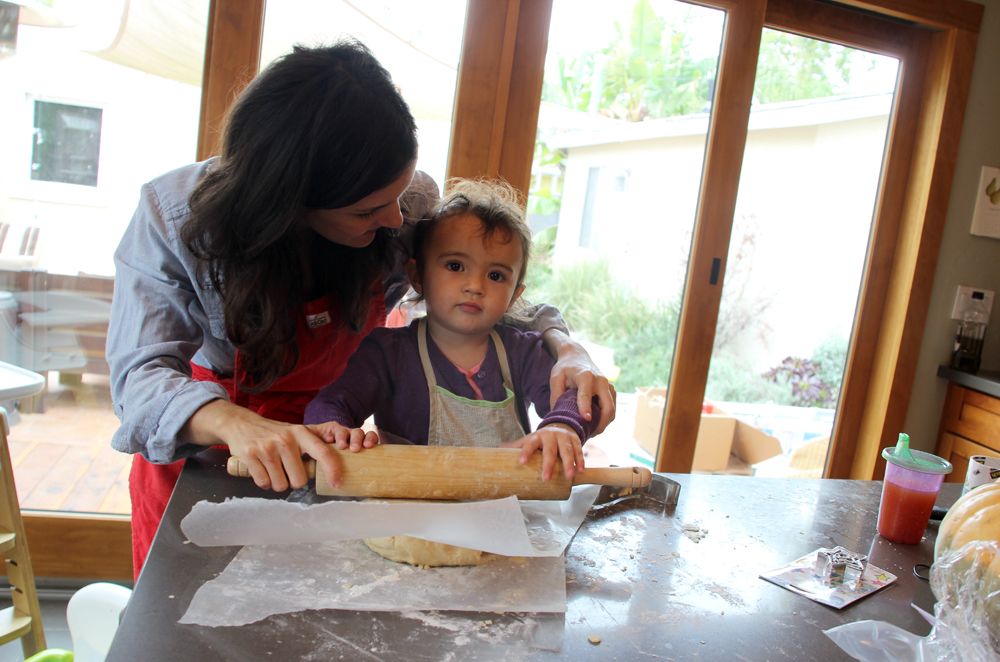
Lemon bars (hence the bright, happy color) is one of the BEST recipes we have from my Grandma, though I’m working on an entire cookie book inspired by Grandma’s delicious creations. She was a baker – a real conossieur of the trade. She taught me everything I know and it runs in my blood because of her. I hope to pass that on to my girls.
About a week prior to her death, I was visiting her home in my hometown of Santa Cruz and I sat down next to her bed with a tablet and began recording. I knew that I didn’t have much time and Grandma was happy to share her secrets (the ones that I had heard before, the ones that I was just learning for the first time) of baking with me. We went through hundreds of recipes together from her shelves and hand written books and boxes of torn out magazine clippings, and picked out about 30 that were her favorites. The legacy she will leave us is the love that she shared, the stories of her inspiring life, and her recipes.

Grandma’s memory lives in the heart of my home now, and she will be with me every time I bake.
 Love you, Grandma! I know you are watching over us with the angels now.

PS I shared the actual recipe here when we made lemon bars for Liv’s baptism. Delicious.

PPS If you are an Illustrator wiz, I’d be happy to share the original file with you so that you can edit it with your own favorite recipe. I can’t link it here because it’s not compatible, but feel free to email me at: morgan at pepperdesignblog.com

Time for Easter Eggs! Five *Gold* Ideas

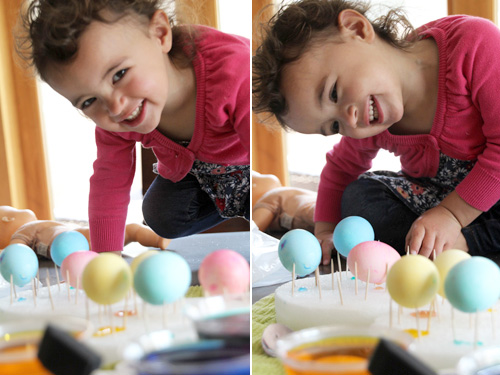
We spent some time over the last few days decorating Easter eggs. It’s so neat that Liv is at an age where these types of mommy/daughter craft projects are fun and exciting for her. She’s still not as hands on as I’m sure she’ll be when she’s just a little bit older, but she helped me choose colors, paint, apply stencils and dab glue for all of the different techniques we played around with.

Such a cutie! She loved the entire process and didn’t question the idea of coloring and displaying hard boiled eggs that we would normally have for lunch – but I’m sure there are much odder oddities in life for a two-year-old.

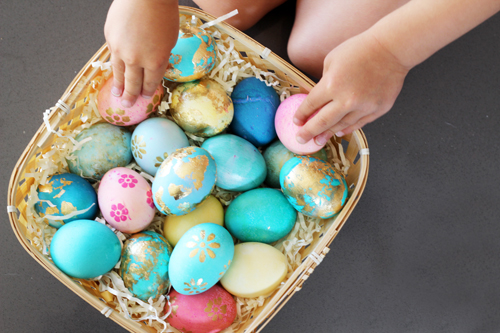
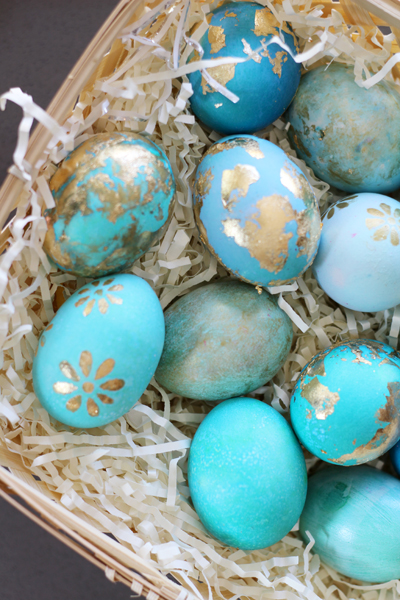
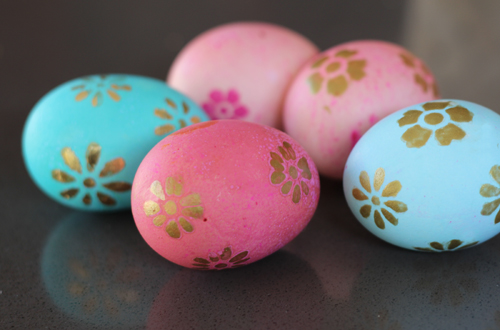
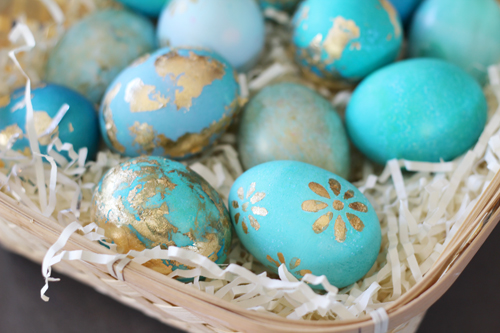
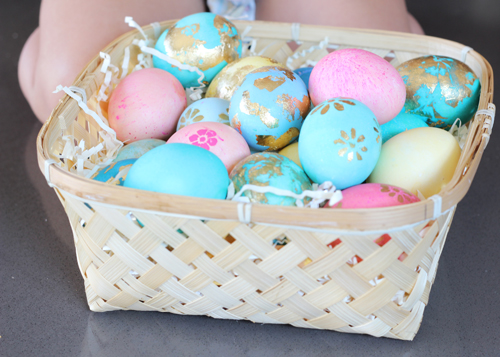
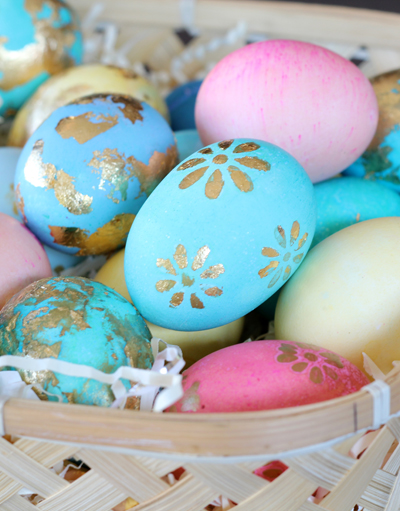
Looking over our little assortment of finished eggs, I’d have to say that this year’s theme was all about the gold.

Gold leafing, gold marbling, gold stenciling… subconsciously I was clearly tying recent home decisions into Easter decorating :).

So I have about five-ish ideas to share today (with a few bonus finds here and there), but before getting into any of the specific techniques that we tried out, step one was to dye the eggs.

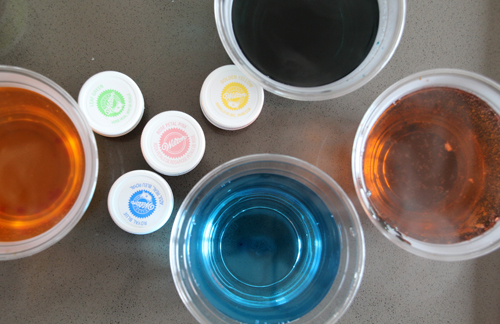
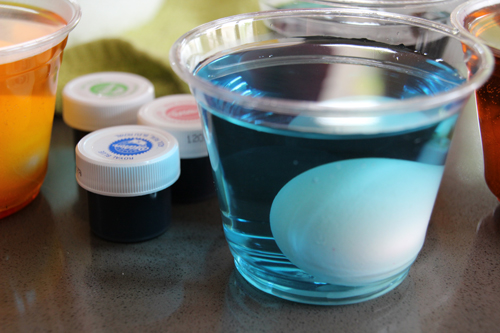
We dyed 18 in total and used Wilton food coloring (because that’s what I had on hand, though any ole’ dye works great) to create an assortment of blue, teal, pink and yellow eggs.

Each of the four little plastic cups that I set out received 2 tb white vinegar, a cup or so of hot water, plus the various dye colors.

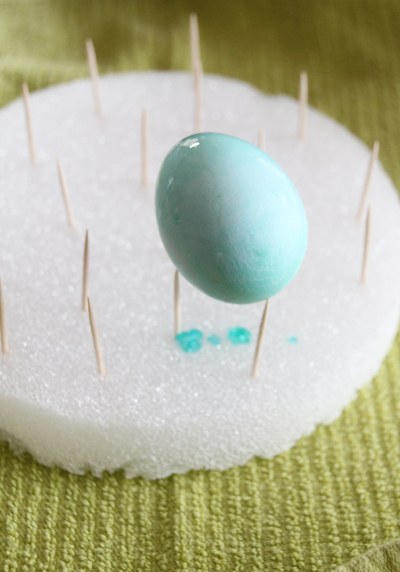
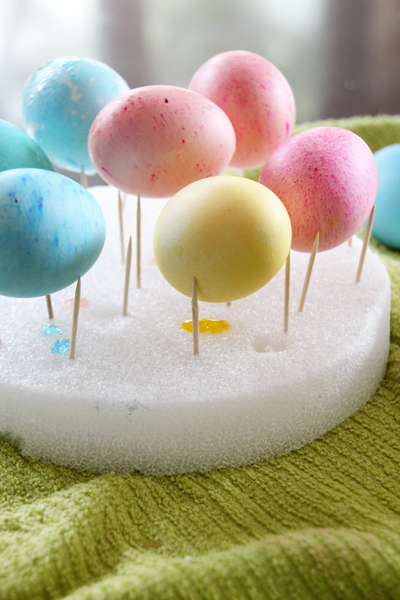
I read about a styrofoam block + toothpick egg drying rack from this article here – brilliant!

A couple of minutes submerged in the dye/vinegar/water mixture will yield soft colors, more time = more saturation.

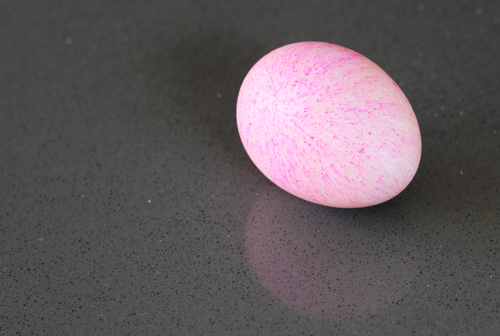
We opted for mostly lighter, more pastel colors and that little speckled effect on the pink eggs was a happy accident. More on that soon.

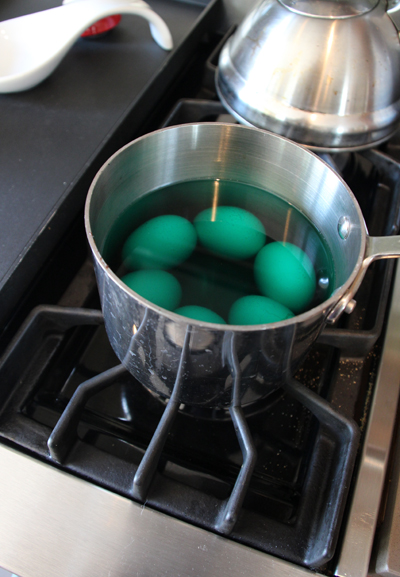
When the above began to get a little tedious (a toddler only has so much attention), we sped up the process with stove top bulk dying.

We bulk dyed much of the teal colors, they were definitely my favorite!

Alright, let’s get down to the nitty gritty on a few of these techniques because these were so fun to play with.

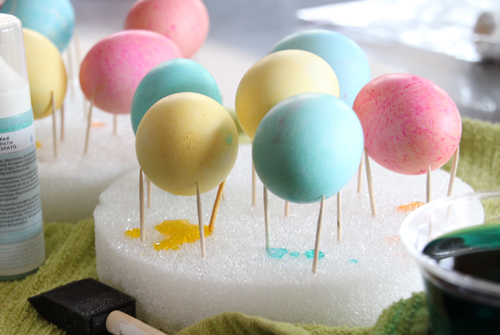
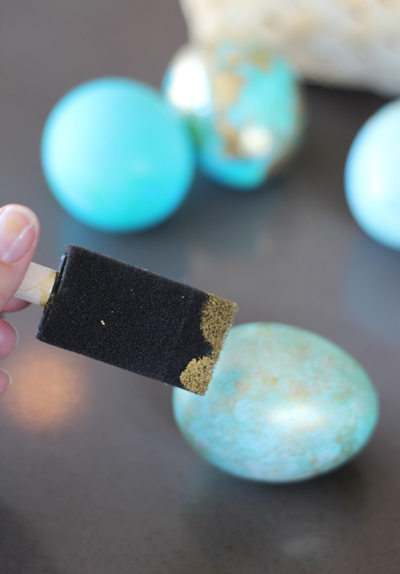
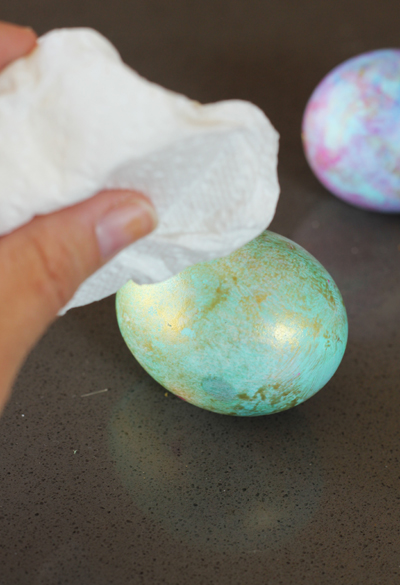
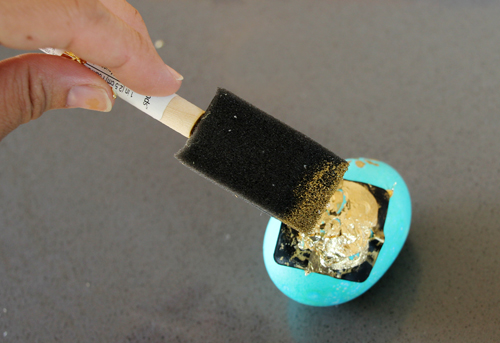
The first is a faux marble with gold craft paint using two different tools: sponge brush or paper towel.

A little dabbing/blotting and your eggs take on a most unique effect. I love these! Quick and simple.

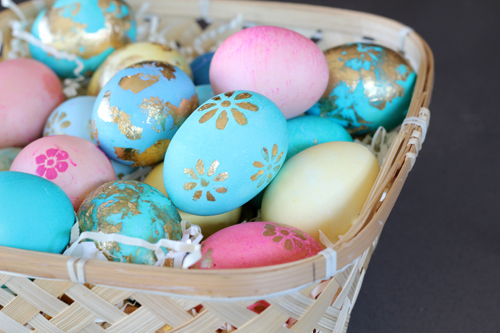
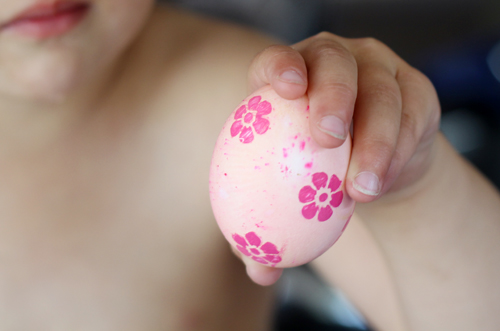
Next up, stenciling. Using the same gold craft paint, I found a package of gloss enamel Americana reusable stencils at Michaels that were made out of decal-type paper (which is incredibly flexible and can wrap around an egg, plus has a sticky side to help adhere stencil temporarily) and used a sponge brush to lightly fill in the various floral designs.

Here’s Liv’s:

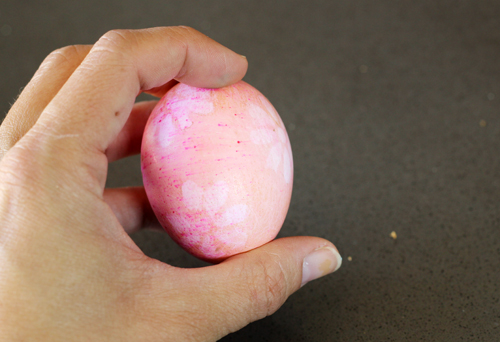
By default, we discovered that if we messed up and wanted to start over, wiping off the paint will actually pull up some of the dye as well, creating a neat tinted/washed effect where the painted florals once had be.

Side note: some of our eggs came out with a tie-dye, dotted explosion look and I discovered that this happened when our gel dye did not completely dissolve in the hot water + vinegar mixture. But it’s actually pretty cool looking!

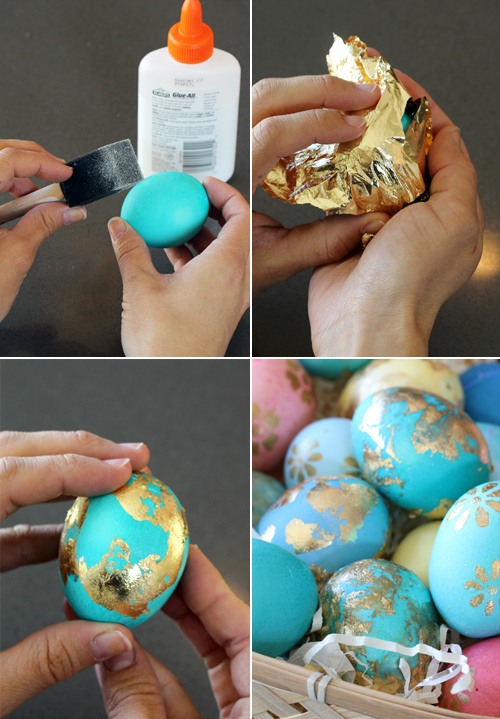
When I came across this idea on Pinterest, I was smitten. Had to try my own version of gold leafing eggs! Here are the steps that I used for the effect, though if you’re on the hunt for more detailed instructions, check out the original full post.

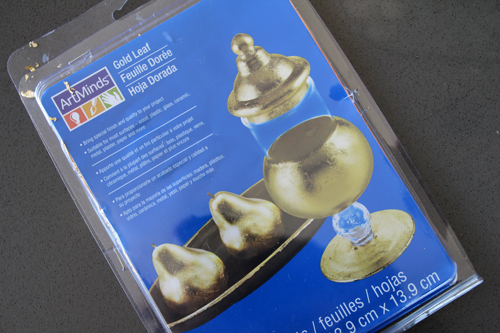
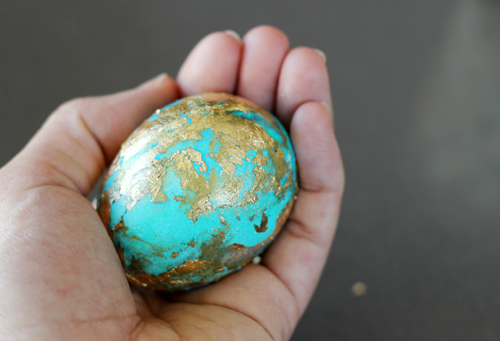
Rather than a leafing adhesive, I went the inexpensive route and applied Elmer’s glue in dabs and blots and swirls. Next up was lightly covering the egg in a half sheet of gold leaf (straight from the craft store) and then gently rubbing at the leafing until only the areas with glue adhered. Slowly an organic, smudged-gold leaf design emerged.

If you decide to give this a go, play around with the final look and different mediums to enhance the gold effect. To blur the lines between gold leaf and egg, I added a bit of gold paint to a couple of the eggs with a sponge. One more unique look.

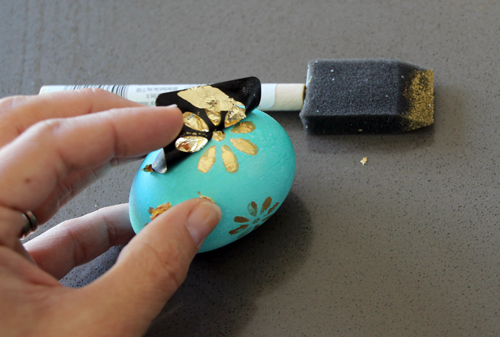
My favorite effect of the day included a combination of stenciling and leafing (see floral egg at the very front below).

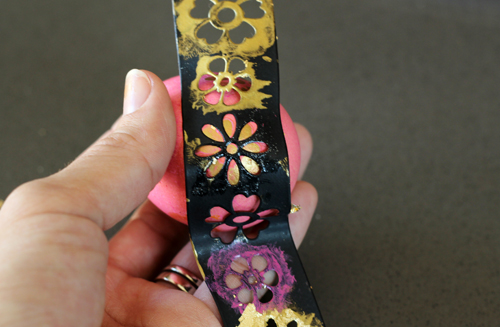
Using a stencil as my guide, I gently applied leafing and gold craft paint to the egg and then slowwwwly pulled the stencil up and off.

Probably the trickiest technique of the day, but with a little patience and a little creativity (try a sharp x-acto knife or your fingernail if leafing sticks to stencil) these guys are so pretty.

I wish I had blown out the white and yolk of some of these eggs so that they would last a lot longer than just this week… but maybe next year. If I were trying to preserve my designs I would also coat each of these eggs in some sort of spray seal or varnish.

Just one week until Easter! These will be fun eggs for the Easter bunny to hide :).

Just for fun, a picture of Olivia from Easter last year. Oh my goodness, heart is melting.

PS More Easter ideas here

Dining Room Update: Giant {Pink!} Art for Spring

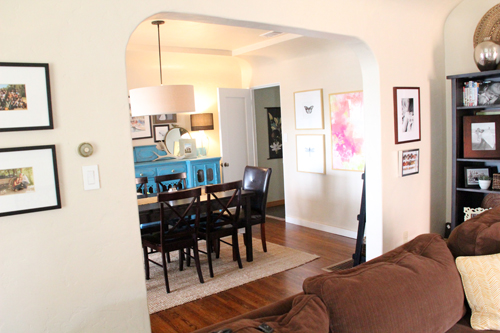
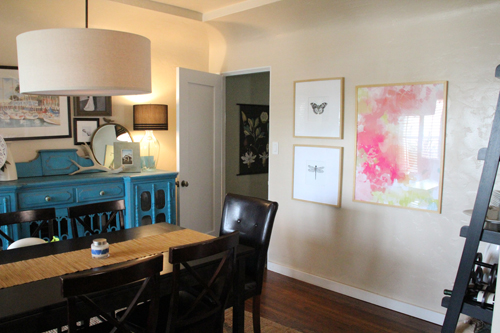
It’s been a while since we revisited the dining room, but I’ve been in the mood to inject some color into our home this spring (and pink, of all colors!) and this particular room was high on my list. We’ve had a wall in this space that for some time has needed one BIG piece of artwork. Something colorful and whimsical and oversized, a piece that would ‘pop’ with beautiful color.

But finding large artwork at a reasonable price is tough! I initially was on the hunt for a big piece of canvas art to add texture to the wall, but I soon realized that purchasing a piece that big (even if I saved my pennies for months) was not in the cards (though there are some really fabulous artists out there – I’ll try to get a post together on options). I patrolled Etsy and Art.com and every online shop in between. My mother-in-law gave me a huge 30×40″ canvas so that I could give creating my own abstract art a go – but then I found a piece that I fell for (that canvas will have to find another great spot in the house!).

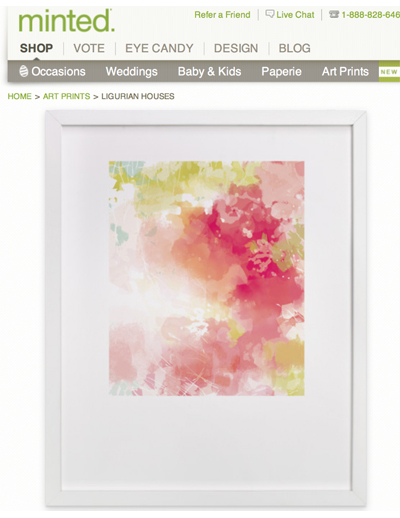
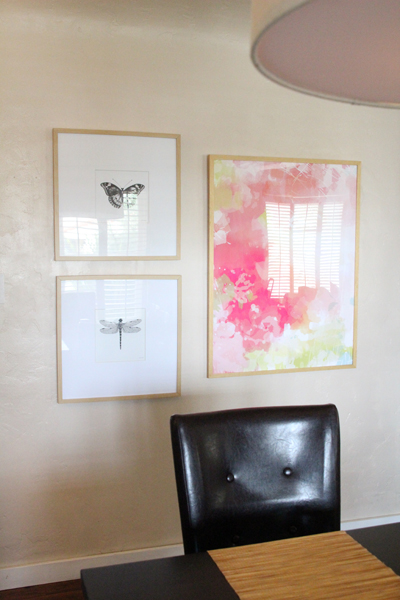
Minted came on as a blog sponsor right about the time that I was giving up, and Minted’s print selection is over the moon fabulous! After searching through their beautiful selection, I fell in love with a print by Kelli Hall called Ligurian Houses. It was the perfect mixture of abstract, colorful, whimsical… it would fit the space perfectly.

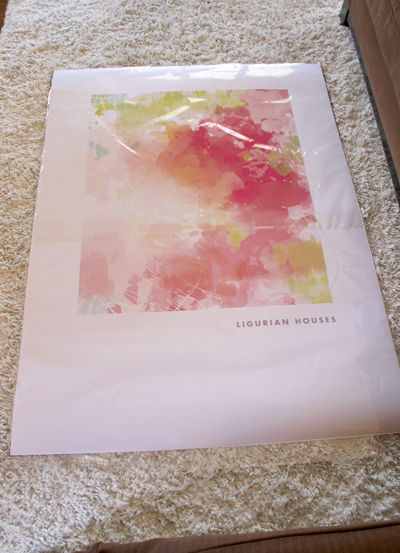
Instead of framing the entire poster as it’s seen on Minted, I actually ordered the print in a much larger size than needed and then cut the poster down so that just the colorful artwork was visible. This is a great trick for any poster-style artwork, no need to frame the entire piece if there’s one particular portion that you love.

When the print (on a really thick, museum quality archival cotton rag paper) arrived, it was HUGE. I could have wallpapered the dining room wall with it.

When it came to framing, I was on the search for an economical solution, but one that would still look professional and great hanging there on that big ole wall. My favorite Ikea poster frames were just a few inches too long, and I considered breaking one apart as I did here but then decided that spending a little extra to have the right size made was probably worth the longevity of this image.

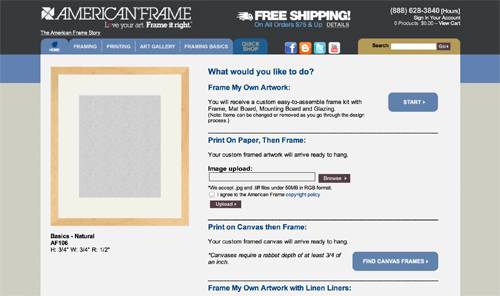
The most affordable route that I could find? Americanframes.com. I was especially happy that they offered to pop six frame samples into the mail before I ordered so that I could compare the different finishes and wood before making such a big purchase at about $85 sans the white matte.

I ended up settling on this natural frame because it matched well with the Ikea framed butterfly and dragonfly, and was the most inexpensive of the bunch.

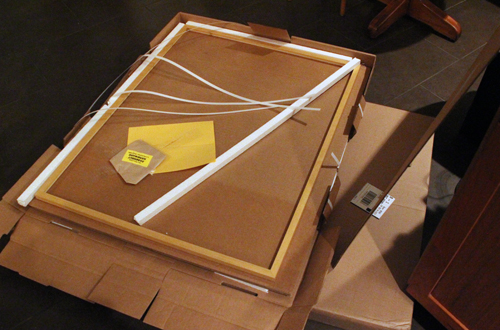
 It felt like an eternity but finally my frame arrived! I spent last night assembling it. 

The wood frame came assembled and the backing, acrylic and hardware were in their own separate wrapping. A screwdriver (actually we pulled out the electric screwdriver for tightening the last few clips in place) and hammer later and the artwork was up!

I especially love how it plays so nicely with the new pink additions on the bookshelves in the living room.

I’m playing with adding a few lighter Spring-colored throw pillows into the mix as well. Yay for the arrival of Spring!!

Here’s a link to two additional semi-DIY over-sized pieces of artwork we’ve recently added to the house (and inexpensive solutions, too): ‘canvas’ fabric art for the living room and a black botanical chart for the kitchen.

PPS All dining room makeover posts can be found sorted right here.

Related Posts Plugin for WordPress, Blogger...