One of my big plans for changing the nursery around was to add a large accent wall covered in a pretty wallpaper. It has taken some time to narrow down, order, install, make a mistake in the installing process, reorder and reinstall, but I think we are just about there!
Thank you for all of your kind comments, emails and messages regarding yesterday’s post… as you can see I’m still here with no major updates! But maybe this weekend??
Back to the girls’ room. First, here’s the wallpaper I ended up choosing:
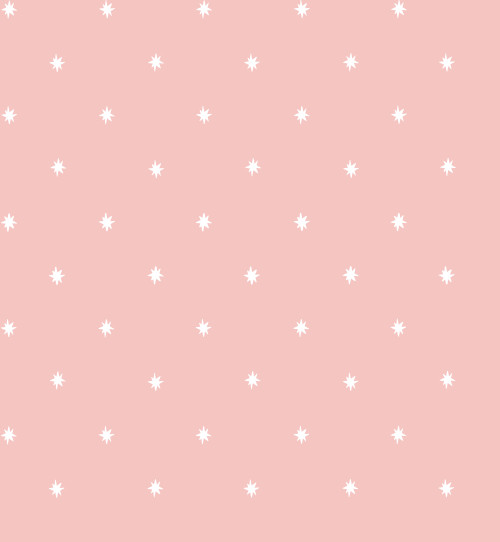
I designed it myself in photoshop and had it printed out using Spoonflower (which I’ve used for fabric before such as here in the office), but this was my first go with their new wallpaper printing.
I based the design off of Osborne & Little’s beautiful Coronata Star wallpaper, which unfortunately doesn’t come in pink/peach and is a little pricer than I was hoping to spend… I also didn’t love the pointy edged stars that it featured and so in my version I designed a funkier star from scratch, gave it a nice, round edge and then repeated it in an offset fashion (with every other star flipped upside down) to make it my own.
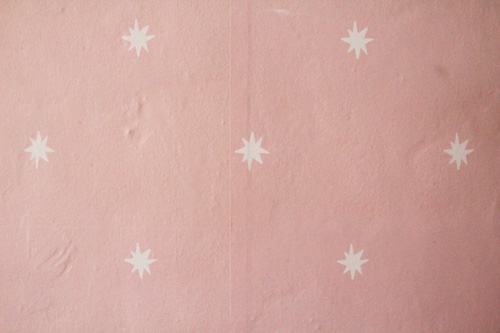
Here’s a close up:
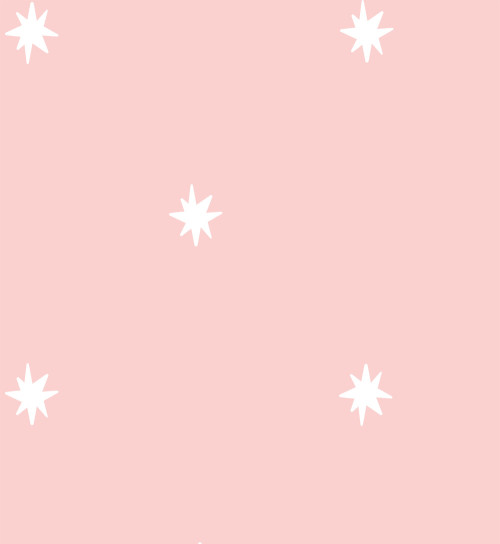
Spoonflower printed out the rolls for $38/piece, which is by no means cheap – but when it comes to wallpaper (and customized) it’s definitely on the lower end of the price scale.
Here are a few of the other designs from Spoonflower that I was considering:
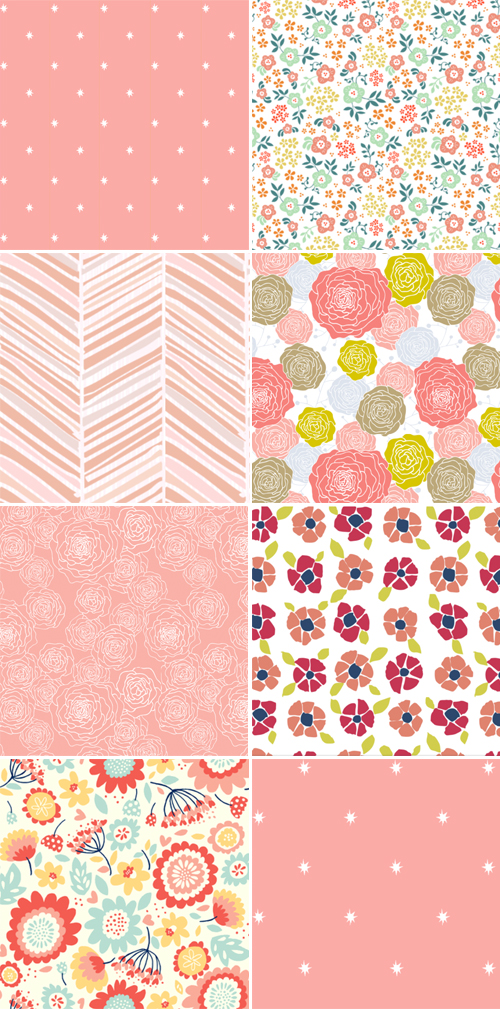
Loved them so much I even ordered a set of samples for the wall to see if any were just right.
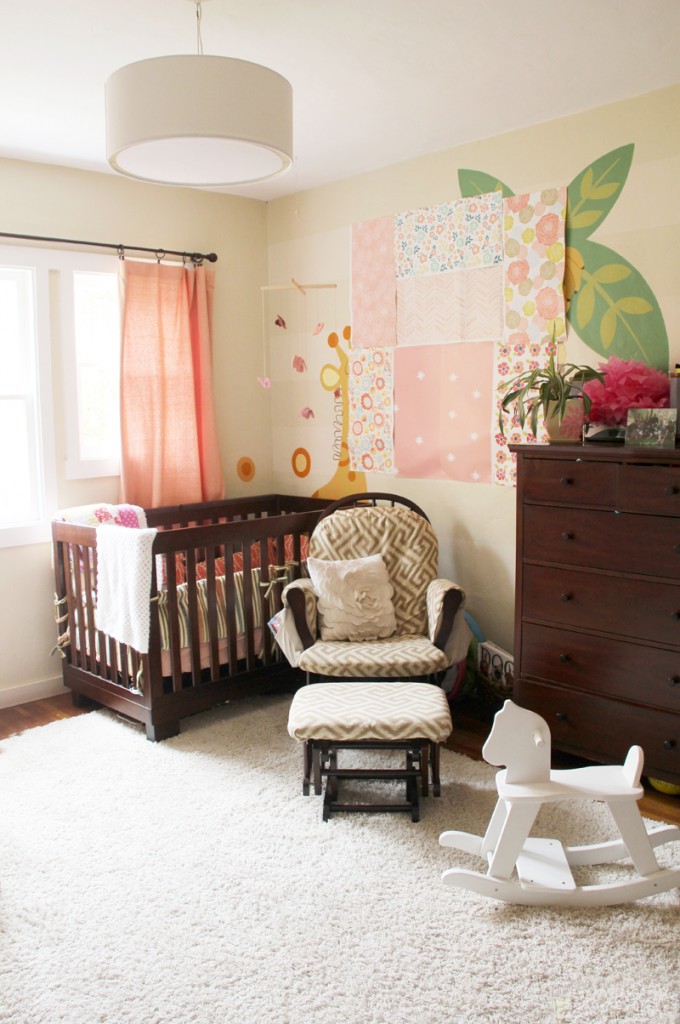
I ended up choosing a very basic wallpaper because I didn’t want it to limit the fabric and patterns that could be brought into the room in other ways (curtains, bedding, window cushion). This pattern feels subtle, serene and perfect for the space.
In the end, I’m really happy with my design and with the final look of the hanging wallpaper! Can’t wait to tackle the rest of the room with this soft, peachy pink as my base!
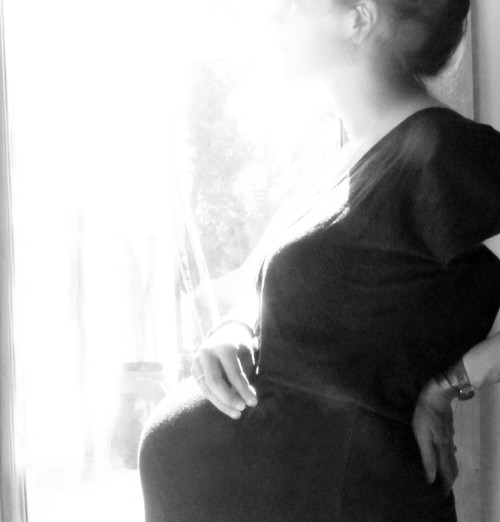
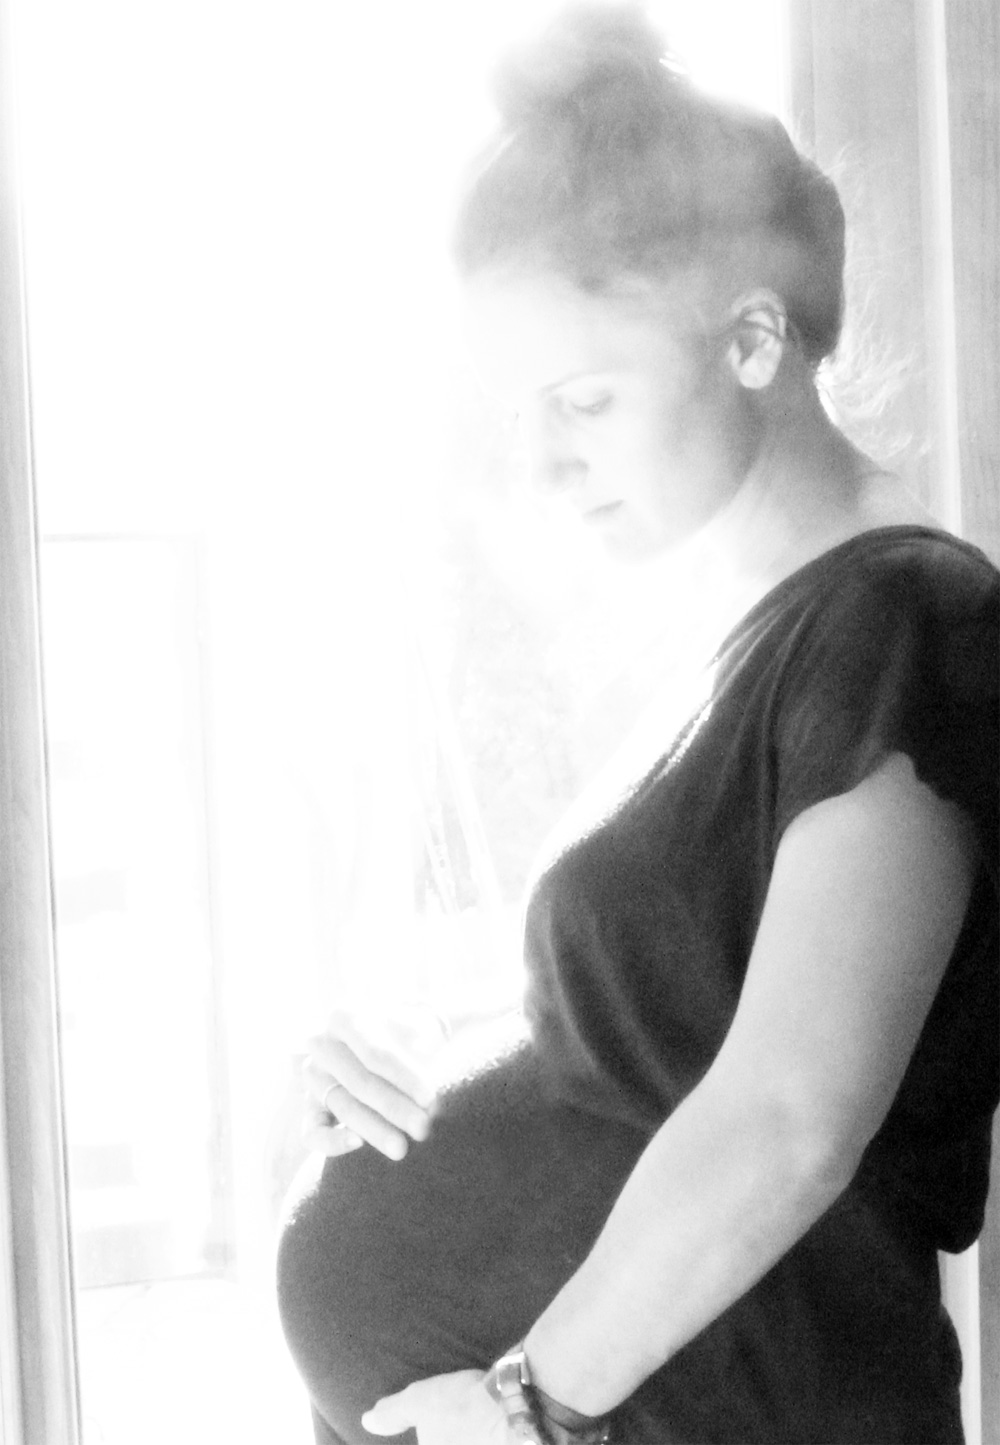
As far as applying wallpaper yourself, I’ll admit that I initially collected a couple of quotes from professionals out there (by using Craigslist and HomeAdvisor) for the accent wall. We have very textured walls, I’ve got a big ole’ belly and I was nervous that I’d bite off more than I could chew attempting it on my own (and potentially ruining a couple of hundred dollars worth of wallpaper). But when the quotes came back and all were in the $300 range (with one guy at $150), I decided to roll up the sleeves and give it a go myself. We’ve DIYed our entire house, surely this is possible too.
And guess what! It definitely was. Absolutely manageable and I’d do it again in a heartbeat.

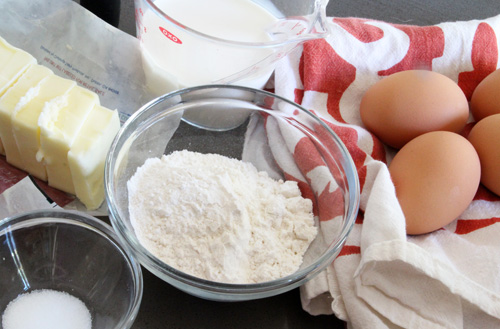
Materials included a level, ruler, painter’s tape, sponge, wallpaper smoother, new utility knife (sharp blades are key) and the wallpaper itself. I ended up not relying so much on the painter’s tape and ruler, but the others I’d consider key installation components. We had the level and tape on hand, I bought a fresh sponge, set of smoothers and utility knife all for under $10 at Lowes.
Here’s where I’ll preface that this didn’t work out well the first time around! We made a crucial install mistake which you’ll see very shortly… but for the purpose of laying out our instructions with clear pictures, let’s start from the beginning (mistake and all).
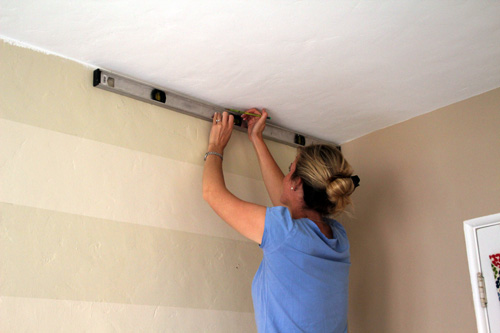
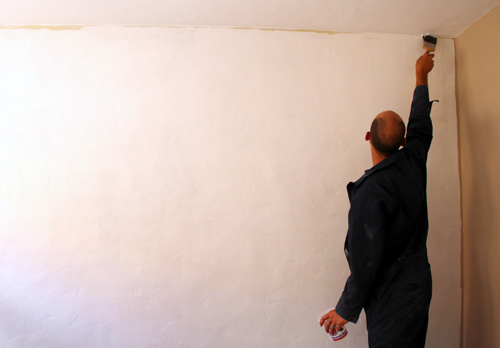
My first partner in crime for this project was my good friend Trish who volunteered to come and help me hang the paper one Sunday afternoon. We began by using the level to make a straight line across the entire will. This old house is full of uneven walls (hand built and having had a chance to ‘settle’ over 80 years will do that…) so I couldn’t follow just the ceiling or I’d end up with a slightly descending or ascending wallpaper pattern when finished. Side note: If you’re lining your wallpaper panels up against the ceiling or flush with pre existing molding, you may have no choice on the line you’re working with.
I’m adding molding to the ceiling when I’m done with this project so I have a little give on how closely that wallpaper lines up (about 3 1/2″ give, which is really helpful :)).
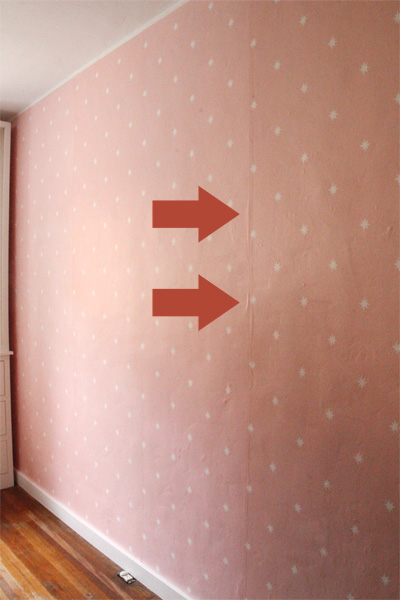
Then we began installing the panels one at a time from the right side of the room… and this is where it all went wrong!!
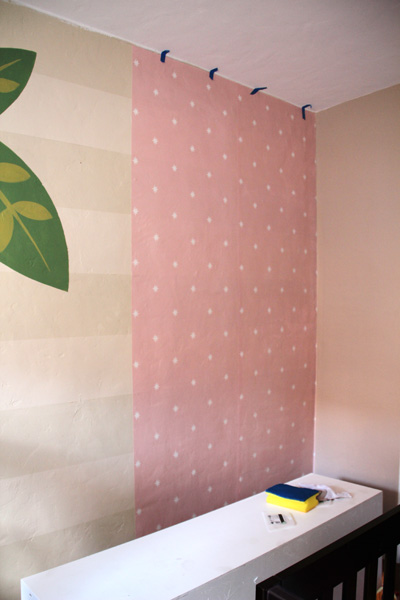
After two panels had been installed (more on that soon), we stepped back to examine our work and quickly saw that the wallpaper was somewhat transparent! Even after it started to dry you could clearly see the wall stripes which was NOT an obvious giveaway in the samples that we’d been experimenting with. Womp. Womp.
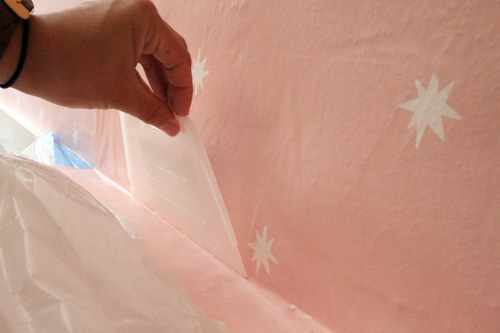
So we tore it down.
Kev primed the wall the next day and I ordered two more rolls of wallpaper. Thankfully the kind guys at Spoonflower took pity on my mistake and sent out replacement rolls free. I’d like to see the primer step added to their directions (which are brilliant other than that) just for seriously thick heads like mine.
The rolls arrived and I hopped right on it. This time I started at the opposite end and put up two rolls of wallpaper by myself, that’s how easy it was.
Let’s jump back into the how-to now.
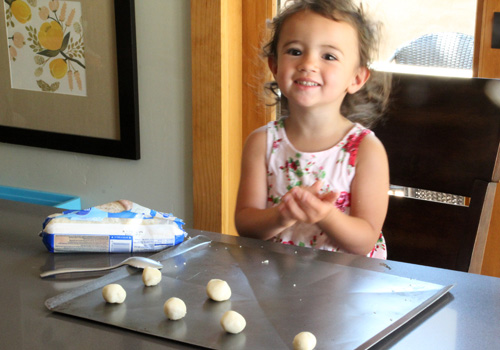
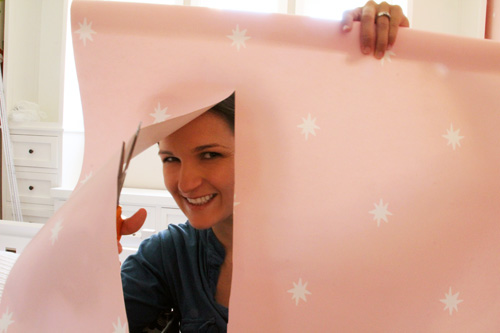
My little brother was over one evening for dinner and I snagged him to help me with the last two rolls and so I could take a few pictures of the process.
First step? Unroll your wallpaper panel (which comes design facing out) and reroll it so that the design is facing in. If you don’t have a wallpaper tub, your bathtub works as a great alternative.
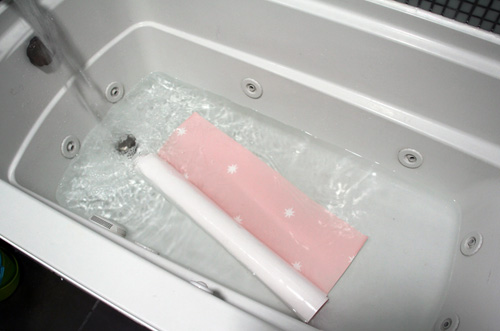
Spoonflower offers pre-pasted wallpaper which is just awesome. No rolling on paste, no dipping in paste, no prepping your walls with paste primer… just reverse roll your wallpaper panel, submerge in room temperature water for 15 seconds to activate the adhesive (make sure all surfaces are adequately wet, so you’ll be doing a little unrolling here) and ‘book’ your paper as you pull it out.
Here’s a nifty technique all paper-hangers should know. ‘Booking’ your wallpaper brings you from an 8′ section of panel to a more manageable, folded ‘book’ panel of about half the size. Here’s a terrible drawing reenactment, but hopefully it helps:
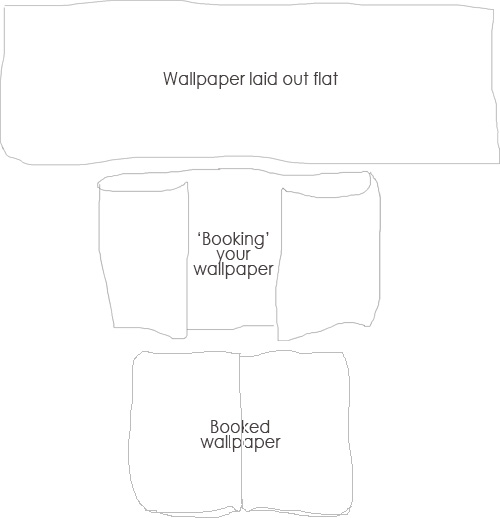
The design should be on the outside.
I booked the wallpaper panels right there in the tub and then brought the roll out to the nursery (did I mention covering your floors in towels? I learned that about 1 panel in as we began to drip water everywhere).
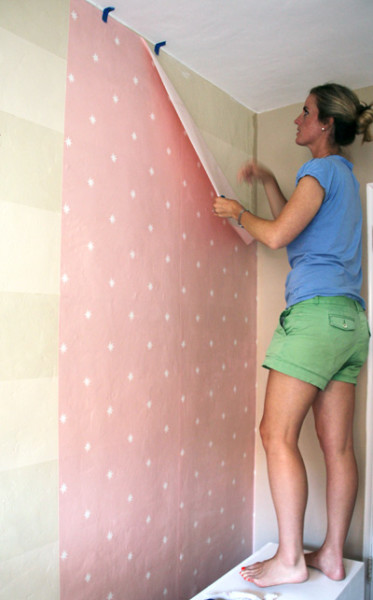
Then you gently loosen one end of the booking (if you have a ‘top’ to your panel you’ll loosen that end) and line up along your level pencil line. See how we’re crawling away form the ceiling at this point? It’s a good thing we’re installing molding over the top next because even though my wallpaper pattern is perfectly straight, there is a very obvious dip at the top.
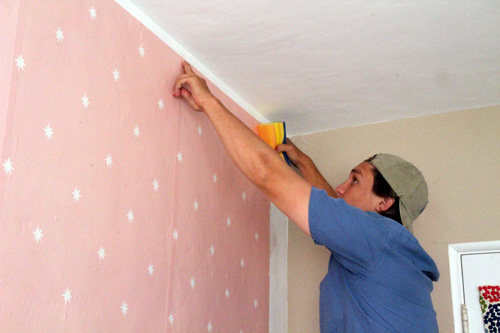
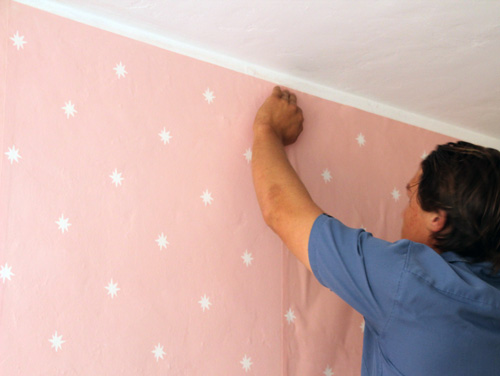
Spoonflower also overlays about 3/4″ of the design on each roll, which means the sides will not butt up against each other but will overlap by that amount. It makes it easy to line up your design, but a little frustrating to see the seams when you’re done.
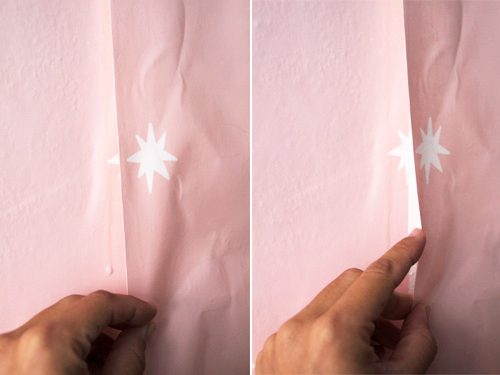
Next step for us was smoothing out all of those bubbles from the top down and inside out. By inside, I mean that we pushed the bubbles out to the outter, unpaneled edge.
Andy started at the top, I worked on the lower half.
This wallpaper is so forgiving! If you have to pull it up and reapply because of a loose bubble there’s no issue with paste, adhesion or drying out. I loved working with it (minus those seams, don’t like the seams).
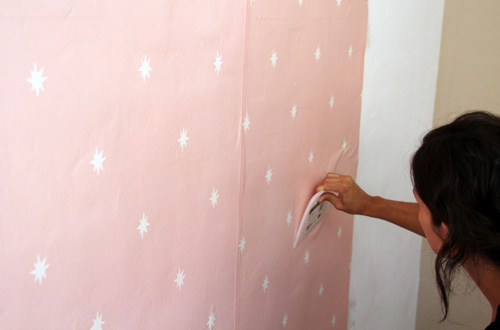
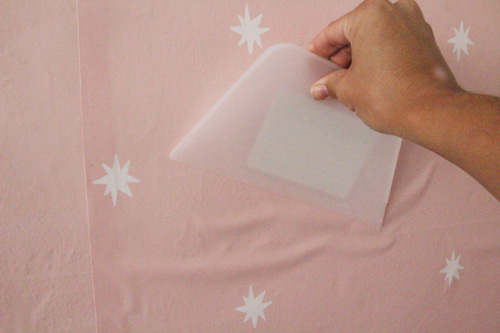
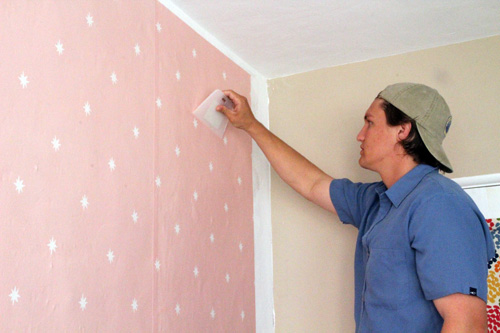
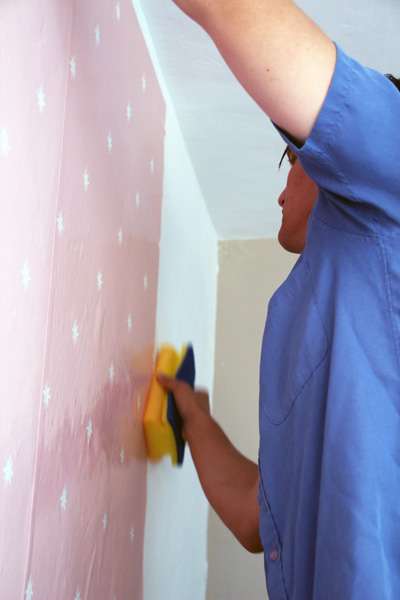
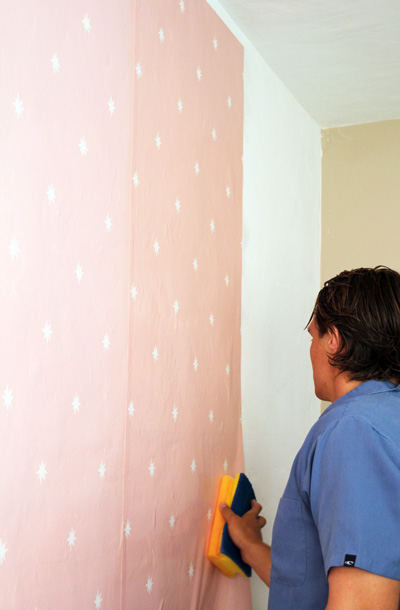
We went back and forth between the smoother and the sponge. The sponge was probably the most practical and used tool because, while it didn’t apply as much pressure as the smoother, you could wipe, wipe, wipe and the littler bubbles (and textures in our wall) slowly began to disappear.
Finally we reached the end of the wall!
A miniature slice of panel was added to finish my accent wall off.
Most of the little hiccups that you see below are from the original texture of these Spanish walls (unavoidable dips and lines), but there were two spots that caused me to panic when we had finished up:
Giant bubbles!! Ahhhh! I didn’t panic enough to rip out panels of wallpaper, and it’s a good thing because by the time the wall dried they were gone. Just like that.
Those other bumps and flaws are the texturized plaster that’s beneath the paper… nothing to be done about those.
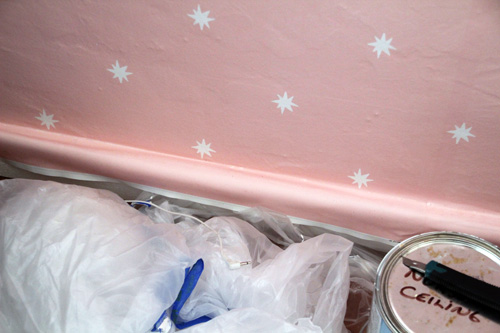
The bottom of the paper panels did butt up against molding, so I used my smoother to make a crease at the very edge:
Which looked like this when dry:
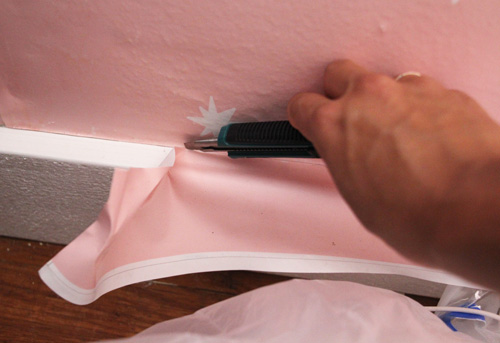
And my utility knife (with a sharp, fresh blade) to cut clean:
And there you have it! A wallpapered wall. We are working on installing top molding now! It looks great! Can’t wait to share the ‘after’ photo with you.
PS More nursery/big girl room transformation posts here.