Out here in Cali one major natural disaster that keeps us on our toes are earthquakes. I lived very near to a fault line growing up and while they may only strike every 10-15 years (and that’s a decently ground shaking one) it’s something to prepare for in every home. I can say from experience that they’re a scary and that you don’t want to be standing under a tall piece of furniture when the ground starts a movin’. Just look at that sweet little toddler bed just below that towering bookshelf! Likewise for the crib on the other side of the room.
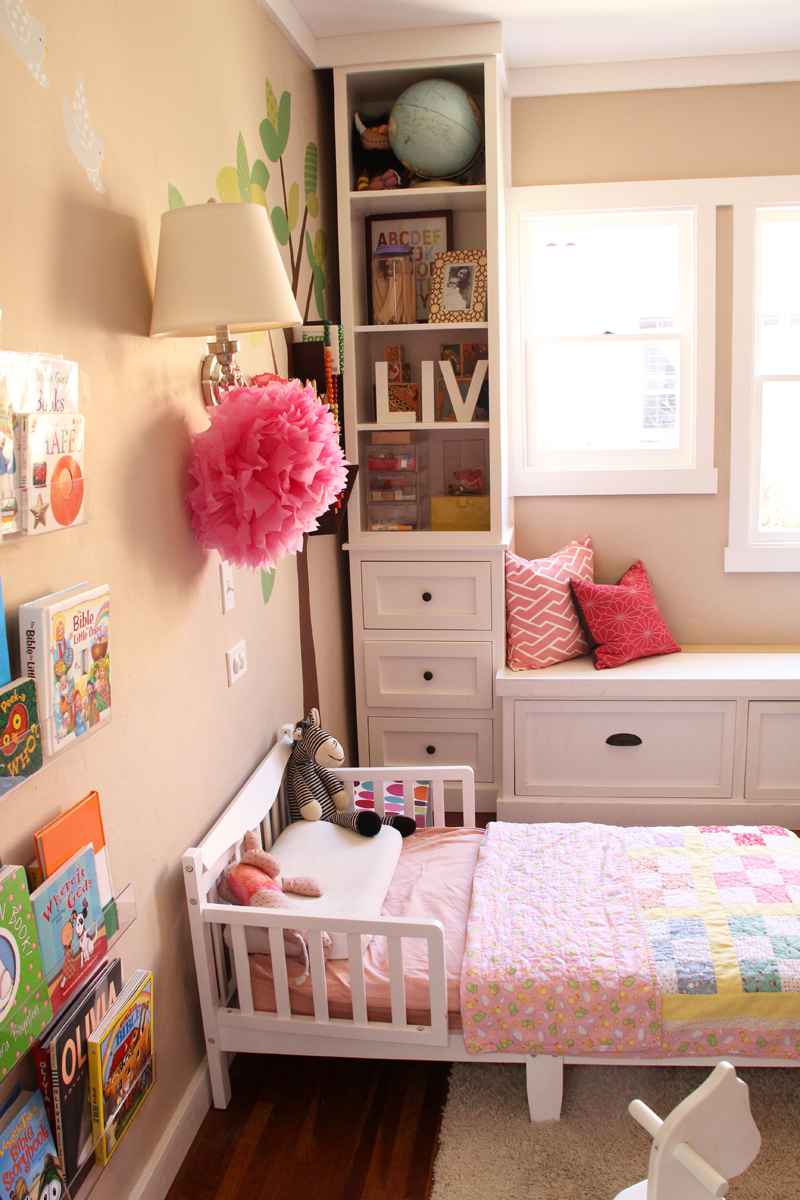
I pulled Liv’s little bed to the middle of the room each night before she went to bed and before we put in our earthquake security update just to be sure. Now that we’ve made a few minor updates that have helped to earthquake-proof (or child-proof if our girls turn into rock climbers), we’ve also been able to finish up the moulding details to make these bookshelves and the window seat look truly built in.
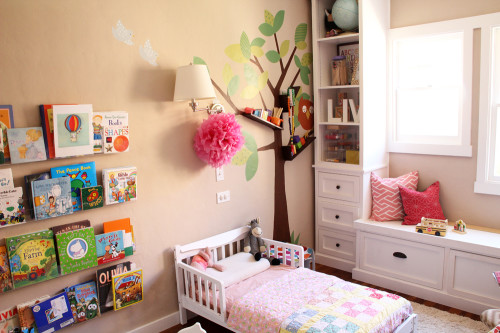
Here’s the before. And if you’re starting from the beginning here’s an update on build, painting and caulking/hardware to get us where we are today with these cabinets.
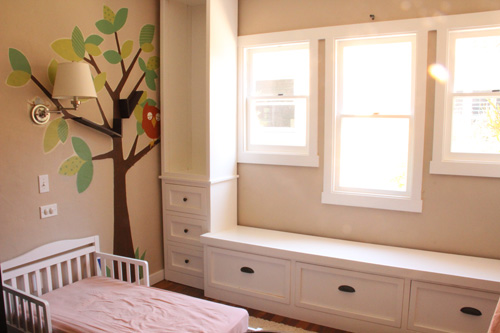
Looking at the ‘after’ shots now, these guys look so unfinished. That top and side moulding really helps to seal everything up so cleanly.
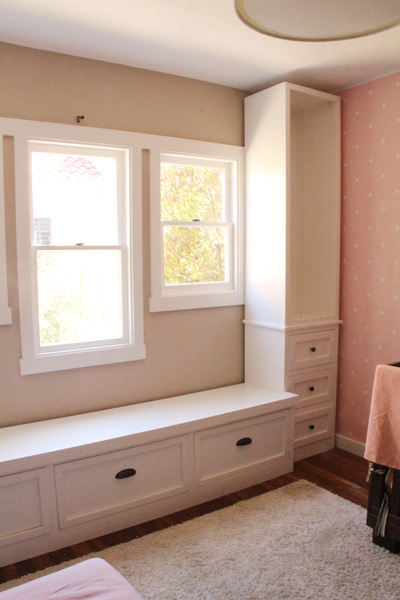
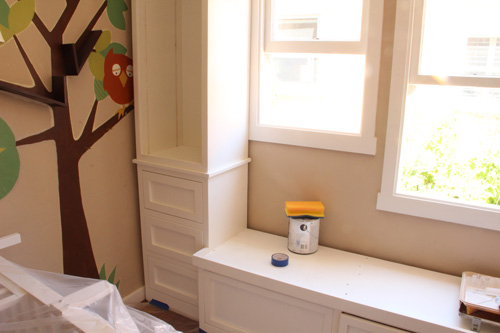
Here’s the area that we focused on to earthquake-proof these bookshelves so that they were securely attached to the wall.
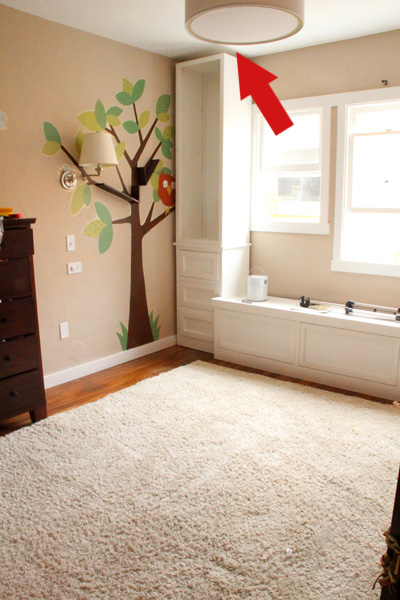
Our awesome neighbor who initially built the built-in window seat and bookshelves for this wall constructed a square wooden box to wedge in between the shelf and ceiling.
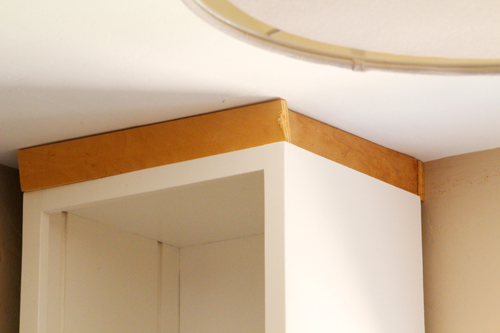
Then he secured that box to the bookshelf as well as the wall with heavy bolts. Now you couldn’t make these guys tumble if you ran a bulldozer into them. Well, maybe a bulldozer.
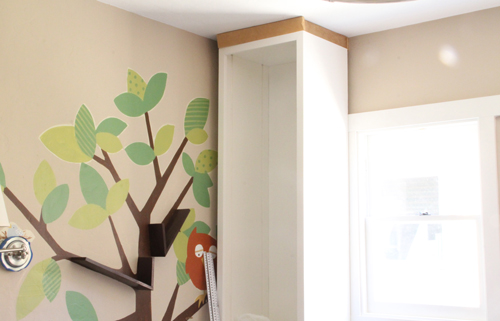
The next step was lining the bookshelves, walls and even where the cabinet met the window frame with thin trim. He chose a quarter round where the bookcase meets the window and a concave moulding where the bookcase meets the wall. How clean and sleek does that look!
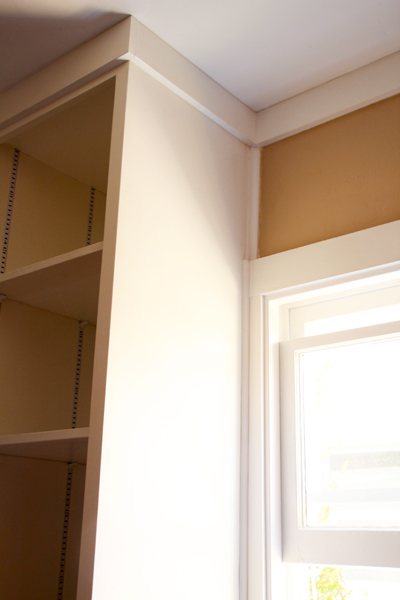
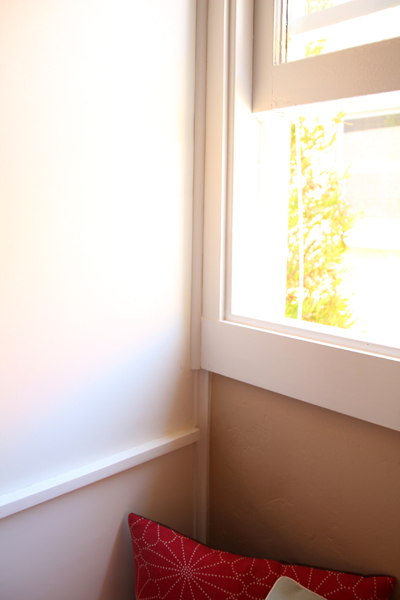
Now it’s time to pull the room together with toys, books and other fun decorating elements. Next up are the windows!

Love the moulding detailing along the ceiling, it really helps to finish off the room.
And we finished painting around the tree! The owl is still a little odd but I’m hoping to tie him into the space more.
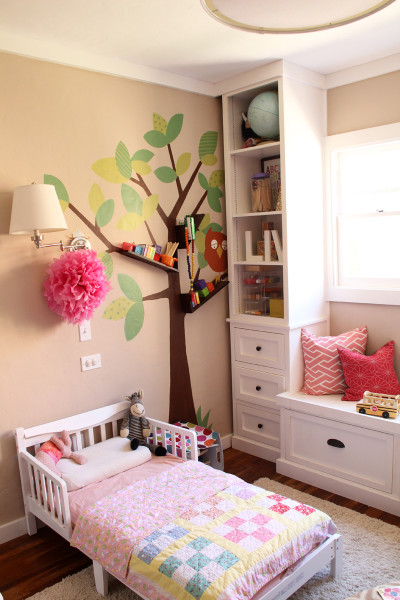
PS More girls’ room/nursery updates can be found right here.


