You know what’s a big job? Refurbishing 80-year-old windows.


So we used our dollars wisely and hired it out. Oddly enough there are like three guys in all of San Diego that do the dirty (and highly skilled) work of refurbishing single-pane, double-hung, weight-and-pulley sash windows. That’s not so many.
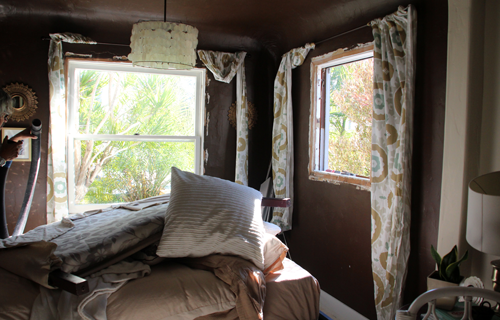
In hindsight I probably should have covered more of the furniture and bedding. Or at least moved the pillow? It actually didn’t get terribly dusty because there wasn’t a whole lot of knocking into walls or drumming up of plaster dust. Trim was removed, windows were disassembled, repaired, epoxied, caulked, painted and repositioned.
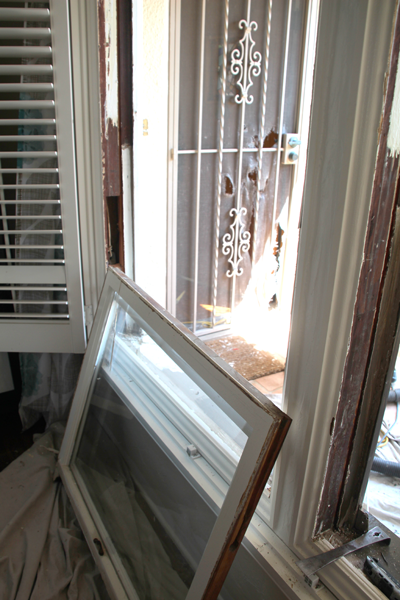
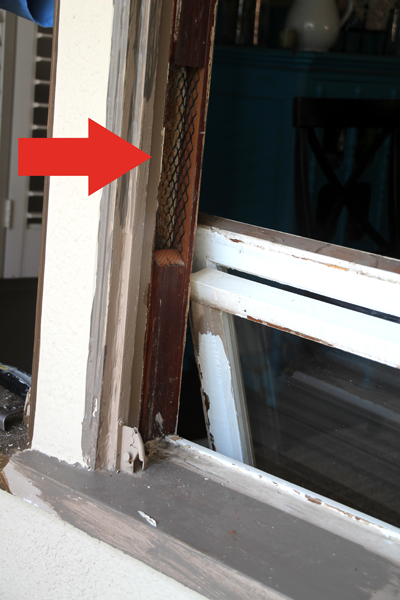
The trick with a weight and pulley system is that each sash – or pane of the window – must be perfectly calibrated so that the window easily rises or lowers against the pulleys in the wall. It’s the work of a craftsman replacing those pulleys and redistributing those weights (there are literally ‘pockets’ in the wall along side each window that the heavy weights move up and down through). Many of the ropes were broken or not functioning properly, some windows you could open from the bottom but none from the top.
Here’s where you access the weight system in the wall:
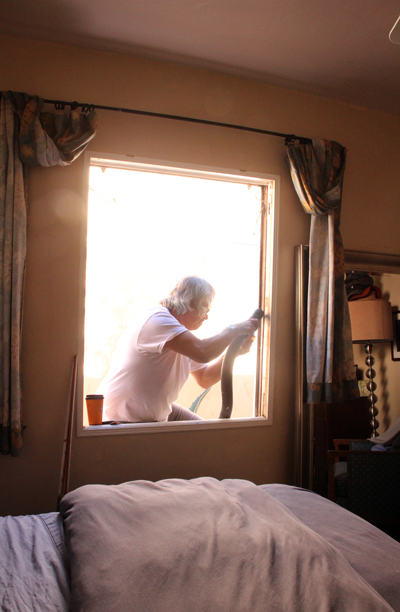
This was a long project… it took a few months because we had worked out with our repair guy that he could work on the windows whenever he had time between projects, and that definitely helped with the overall cost. (Here is Eddie below vacuuming out who-knows-what that was living in the empty wall pocket for years and years).
We still have one bedroom and one soon-to-be master bath window to go but we probably won’t touch those until the big bathroom remodel is over.
The windows were painted shut, old, dingy and very dirty at the start of this project. Before we were set on refurbishing, I actually considered replacing the windows altogether and spoke to many different companies about building wooden windows for different rooms. Refurbishing is pricey, but building and installing brand new year-appropriate wooden windows (you just can’t throw up vinyl in these guys, unfortunately) proved to be about three-four times as much. Especially because windows back then were built to such unique sizes! No standards that I can see. Side note: because the house was built during the Great Depression, I’ve heard that it wasn’t uncommon for builders and developers to use whatever materials were easily available. Random window left over from one project down the street? Sure, we’ll incorporate it into this house here. Doesn’t mean that materials were poor in these old houses (quite the opposite), but rumor has it everyone was quite resourceful.
I’m so, so happy we went with refurbishing in the long run. It was most economical, but really the weight and pulley systems are just very cool to keep around :).
So… in one post I share with you the shortest before and after time span for 10 windows ever!
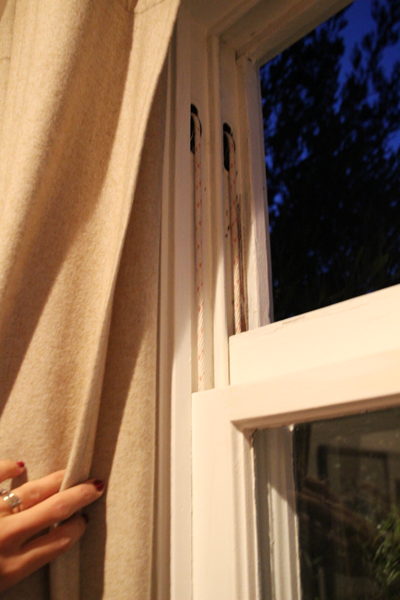
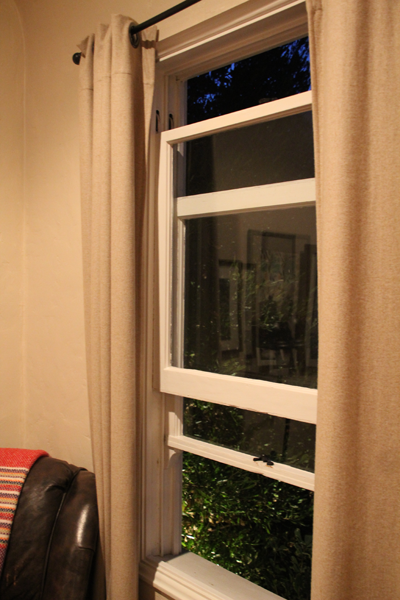
Here are the no longer painted shut, fully working ‘after’ wooden windows:
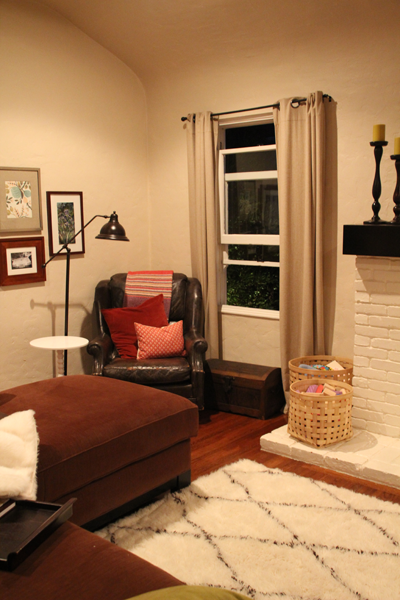
Tada! I know, not too impressive if you’re not here looking at them in person and comparing the old and new side by side. But man it’s the best thing ever!! New windows feel like a new house! Just kidding – but improving the bones of this structure is sometimes what makes remodeling an old house so satisfying.
I’m taking these shots at night because you can hardly see the detail of the open top and bottom (being double sash the top actually opens to improve circulation in a room – especially useful back when AC was but a dream in the wind a long time ago) when it’s light and sunny outside:
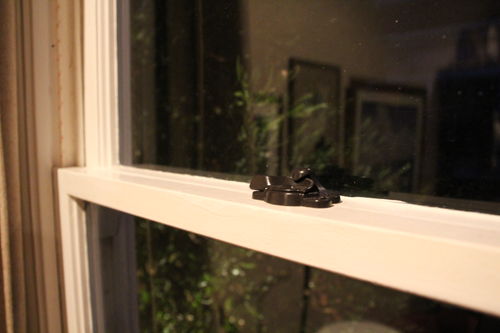
While we were at it I added shiny new sash locks to each window as well.
We had to re mill a few of the trim pieces (I traded website design work with that particular company for the pricey custom trim since our home’s original is long out of production) and went with a different version altogether in the nursery (better shots to come). The office received one of those aforementioned brand new windows but that was only because the previous owners had installed an odd metal one somewhere along the line. All in all it was totally worth the time, effort and money.
We also added a new door in the kitchen! That guy is almost done, too.