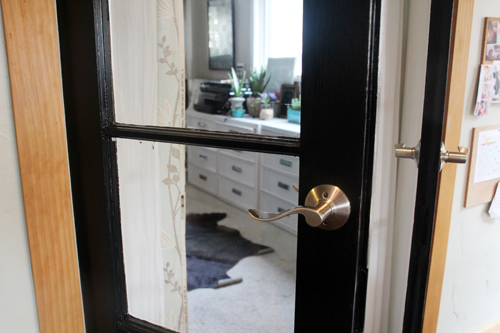
The black french doors that lead from the kitchen into the office are finished.
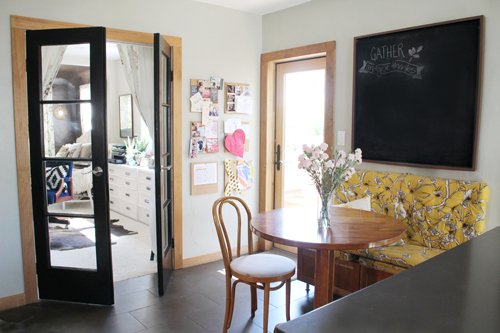
I am so thrilled with the result!
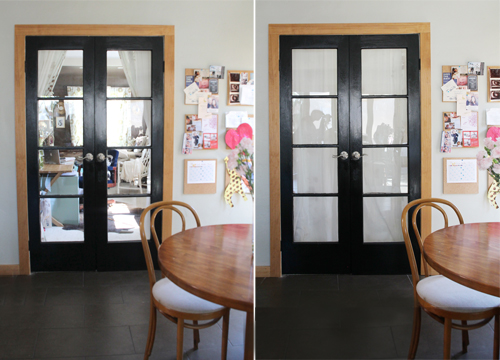
We actually salvaged these doors from the garbage of a historic home renovation here in San Diego, and built the wall separating our kitchen and office with these exact doors in mind. Prior to black today, here’s where they’ve stayed for the past three or so years:
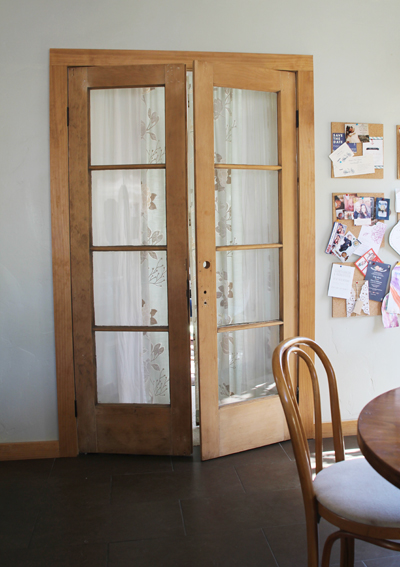
And now:
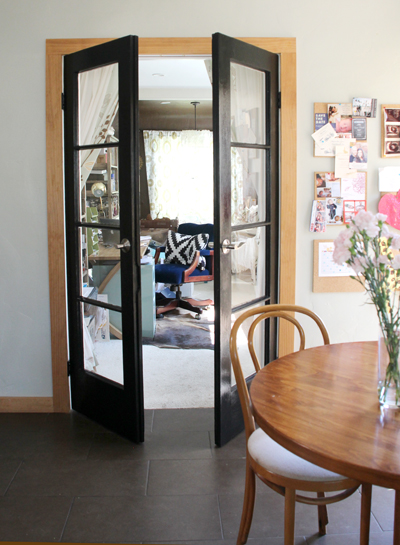
Glossy, black, functioning, and so pretty. The new hardware means that the doors now actually close, and I can officially close myself off from the rest of the house while working in my office, and that guests can now enjoy a little privacy when using our guest room for the evening. (More about that cork board command center to the right of the doors here).
Before this past weekend, these doors (with their lack of hardware) didn’t ever stay shut. Now they can be closed and the inside curtains can be dropped – now guests can actually change and sleep and chat in their room without fear that a dog or child or really anyone will accidentally walk on through.
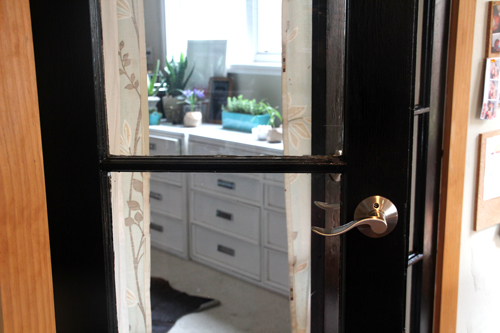
I chose a polished nickel hardware because, while we have oil rubbed bronze throughout the rest of the kitchen space, these handles would really ‘pop’ against the glossy black. The shape is still in line with the door handle shape that are on the other doors.
And as far as the color choice for black? Ahhhh so much deliberating went into that one (sigh). The ultimate decision came down to what other colors were present in the space – and what I would love to see on such a big scale in this room that we loved so much.
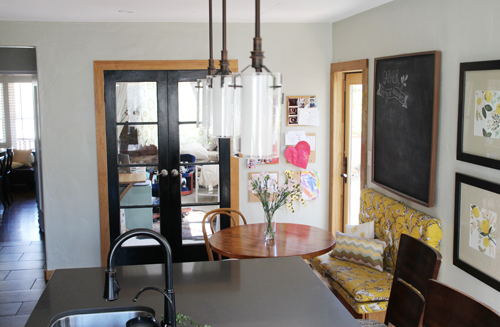
Black happens to show up everywhere!
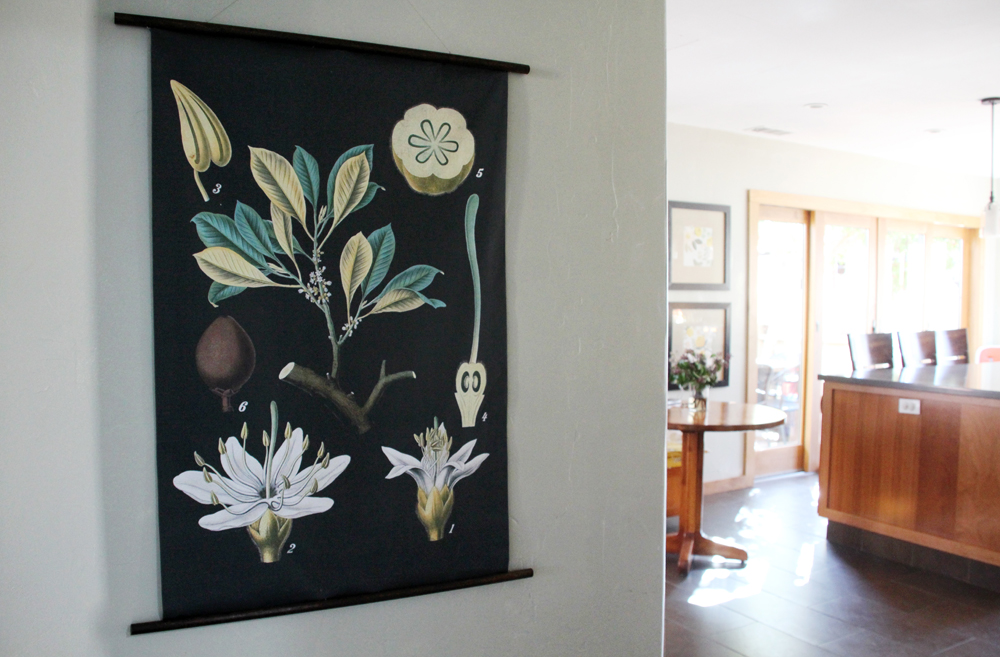

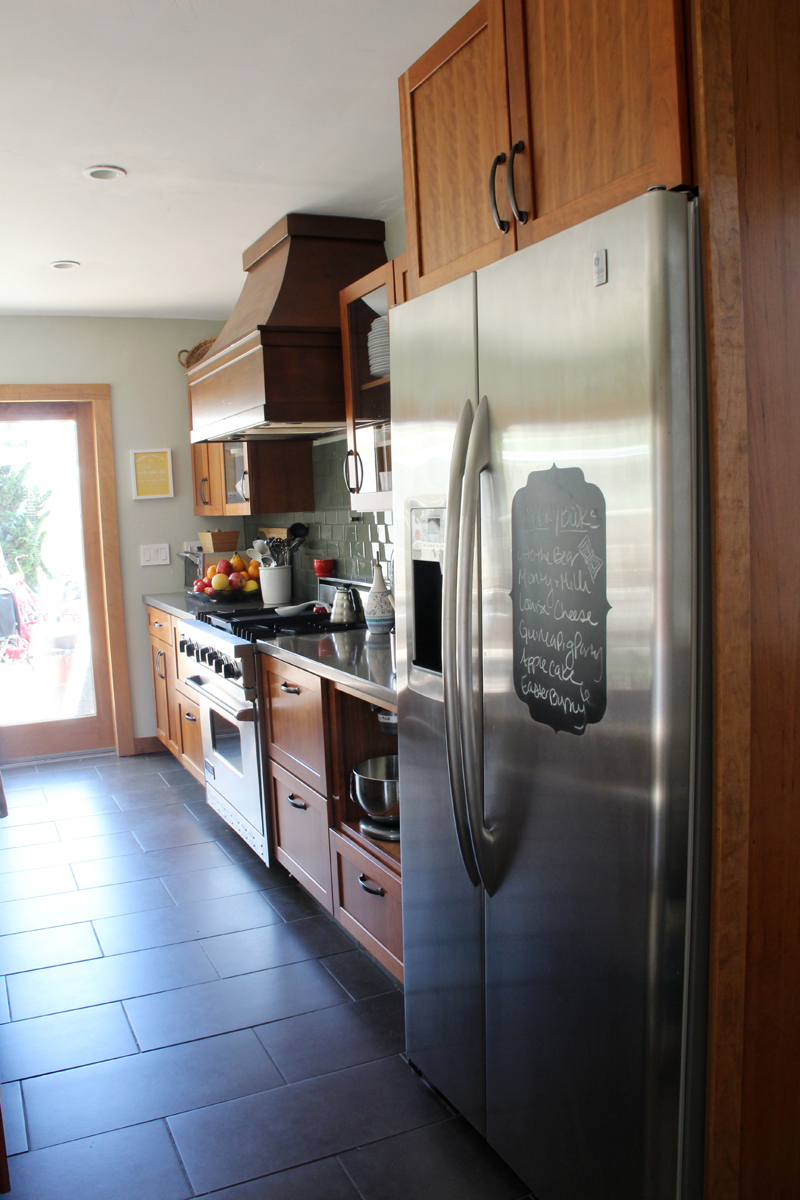
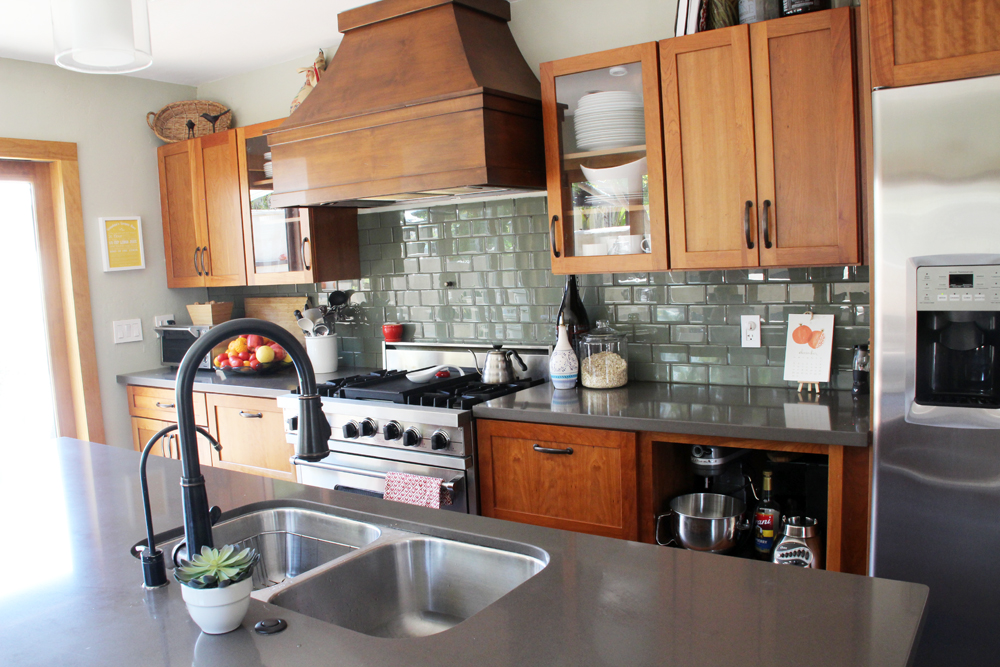
Artwork, chalkboards, hardware, picture frames, stove, you name it… black is definitely a dominant accent color in this space. I tried out bright colors (inspired by some awesome Pinterest finds like this one), but when applied to a sample of wood and held up against the doors, it just felt like too much of that color – be it kelly green, cranberry or a burnt orange – in the room.
Black was not a spur of the moment decision at all, but instead a calculated, this-has-to-be-right-the-first-time sort of decision that took months of mulling. Seriously :). I’ll confess now that Kevin is wary of the final product, but I’m hoping that with time it warms up on him.
Why couldn’t we keep the original wood tone of the doors? We love the look of raw wood (so goes the rest of our kitchen), and it was both of our intentions when we salvaged these doors to keep them completely natural. As mentioned above, we really did design an entire wall around these doors – here they are being framed out during the construction phase:
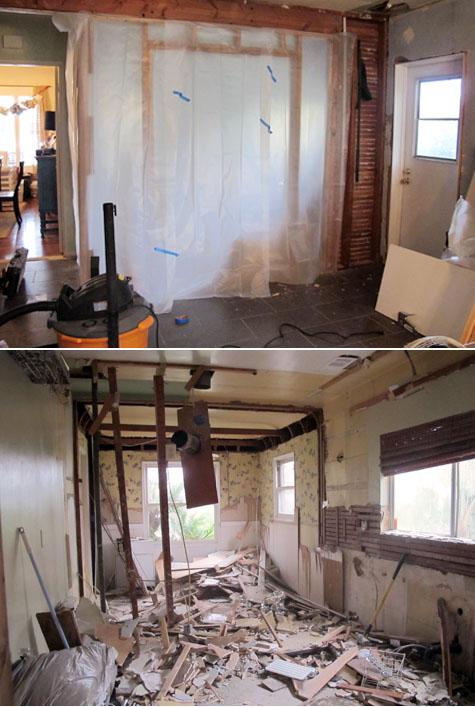
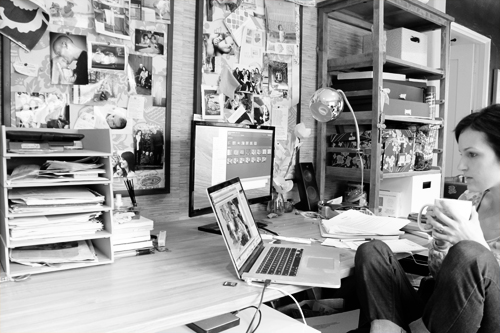
That office has come a long way… though some days it still looks like this.
The doors actually started out as a hunter green on one side and espresso brown on the other, here’s how they looked back then with closed walls:
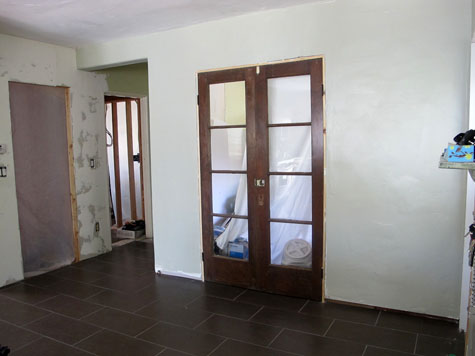
When they had been completely sanded down (and one of the window glass panes repaired), we hung them in place – and they’ve been in this form for a good three years now. They weren’t stained, there was no hardware installed yet, it was always one of those projects that we intended to tackle ‘when we got to it’.

Being a full time, work-from-home mom though, it was tough to sequester myself off from the rest of the house (especially when the girls were home with a sitter) to hold conference calls and keep a professional work environment. I was able to do it fairly well, but it was not without its really troublesome moments.
This past year I made it my mission to come up with a solution.
My original plan was to find a latch system for the very old doors and then to stain them so that they matched the existing wood molding. I took these photos with my iPhone and brought them with me to many a small, specialty hardware store, architectural salvage shop, and to professional window & door reproduction facilities in San Diego (plus a fair amount of internet research because I was sure that someone else out there had run into my same latch dilemma).
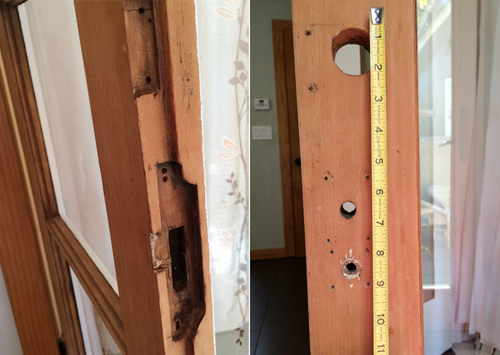
But everyone that I spoke with said that this type of latch was incredibly old and that it would be near impossible to find. If I did find it, it would look very old as there aren’t new models made, and that it would be an exterior door latch (which I thought might look odd in an interior setting). The door is an unusual width, it’s disjointed and the holes span 9″ – even a modern door handle would not fit the door without severe patch work, and patch work meant that the repairs would be incredibly visible underneath a near clear stain.
Speaking of visible repairs, these doors had a ton prior to us inheriting them.
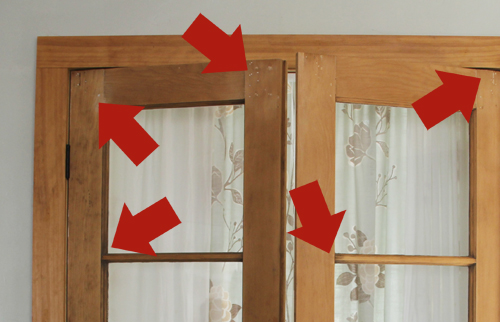
And the natural wood of the door and the natural wood of the molding didn’t quite match.
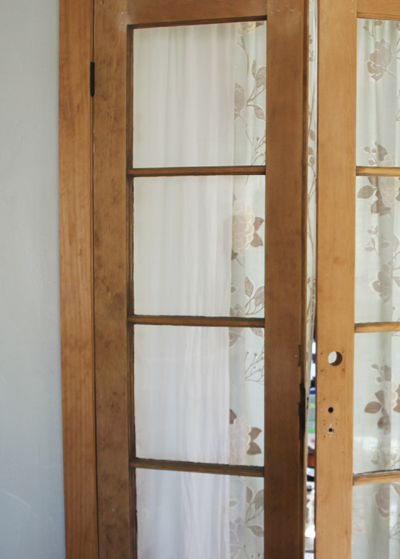
And regardless of how much time was put into sanding, it was never going to be perfect.
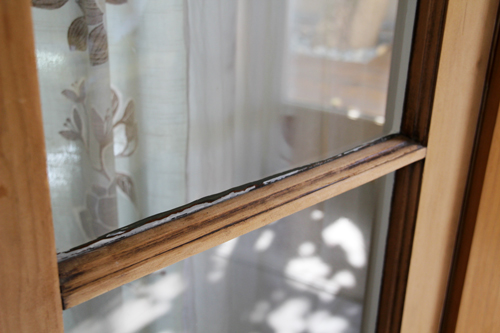
The original intention was to keep these doors as close to original as possible, but the ‘salvaged’ look (we thought of it as artsy for a while) and the lack of hardware was not working – and after three years of living with it and one year of trying to find a solution that went along with plan A, it was time to come up with plan B.
And plan B was to paint.
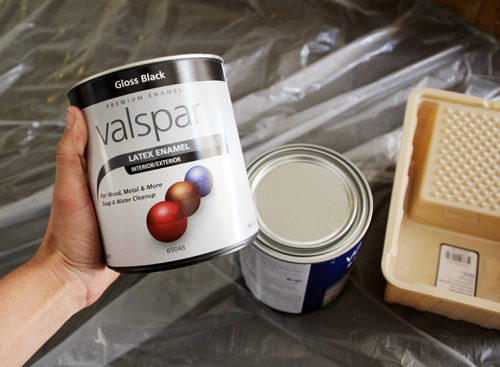
To me, there were two ways to solve this problem. The first was to pull these doors out and purchase custom wood doors that matched our kitchen and the molding perfectly. The second was to save and honor the history of these salvaged doors by including them in our home and by painting the patch spots and latch holes away. I wanted to make the imperfections disappear and to turn them into perfectly functional doors for our home, and so I gave option 2 a go first.

More on the actual process coming soon! What do you think?
PS Yesterday I shared my inspiration board for these doors – if you’re looking for more glossy black, check it out.

