A Little of This & That… Renovating, Decorating, DIY Projects & Family

Week 2 of the New Kitchen: Time for New Walls!

Week two of building-a-kitchen-from-scratch is coming to a close… this week we made progress on the electrical work, reframing of main wall, addition of sheetrock and installation of a new whole-house fan – and it looks great!

See ‘before’ den pictures and a break down of week one here.

I’m so proud of Kevin – it has been his week! He’s on fire. As an architecture student that loves to get his hands dirty, this kitchen has been his baby from the start. With the exception of the electrical work he’s completed 99% of the project on his own (don’t worry, he has experience working on all of the above) and his buddies have been more than helpful.

Let’s take a look:
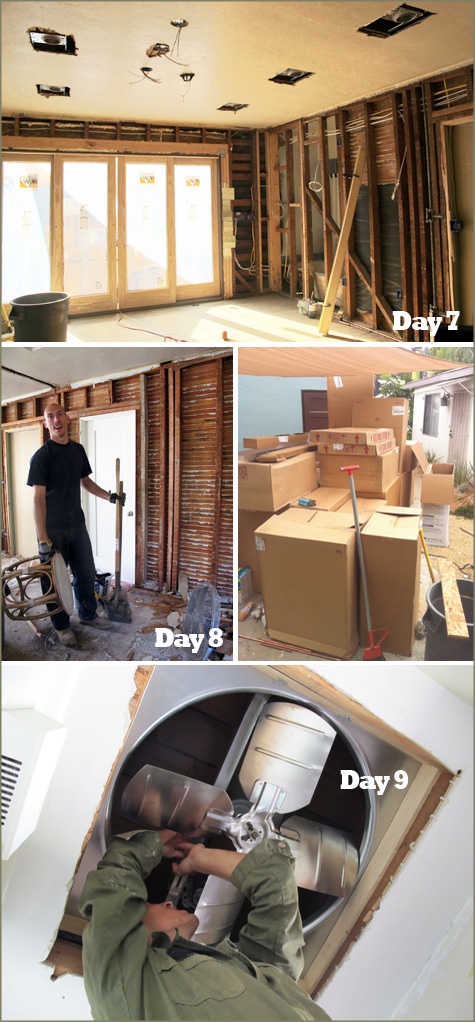
Day 7, 8 & 9: Install electrical wiring for kitchen outlets and appliances, put can lights and pendant lighting up and install switches. Clear out old framing material (see those thin wood strips lining the walls? Our home has original lithe and plaster walls – some of which badly needs replacing).

Install whole-house attic fan (we live in a temperate climate that calls for AC only a few weeks out of the year. This new fan circulates air in the attic and can cool the entire house down in minutes – plus it saves major dinero since we’re not running the air conditioning all summer long). Our cabinets have arrived too! There they are in that middle picture, all stacked and ready for install.

Day 10, 11 & 12: Install insulation (believe it or not none of the house is insulated, it’s too old. This will be the first room!). Put sheetrock up along walls, and finally up on the ceiling.
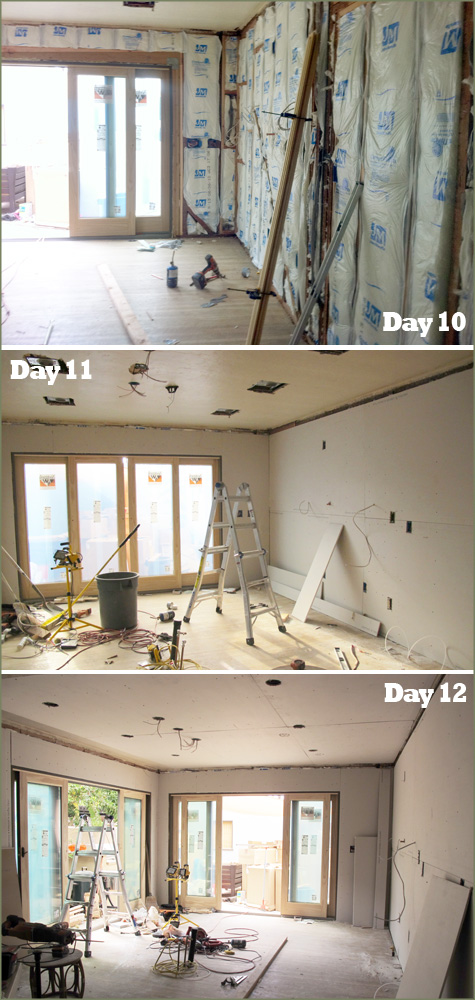
12 days down and we are on time and on budget to complete the new kitchen by October 1.

Next up: have tile delivered, order selected counter tops (Hanstone quartz counter tops in Tiffany Grey) and pick out backsplash for behind the counters.

We’re taking the weekend off from construction and heading out to Arizona for a baby shower with Kevin’s family – Happy Thursday!

Chocolate Dipped Strawberry Lollipops

A girlfriend of mine recently threw an adorable 1st birthday party for her little girl. I debated for a while over what dessert I could help contribute… the end of summer called for something fresh & delicious, and my schedule for the day called for something easy & quick (I made the birthday girl’s first chocolate cake that morning – so my time crunch was tight!).

Chocolate dipped strawberries would be amazing – but where to find those beautiful big strawberries with the full stems (often the brand used for dipping) last minute? After digging through my cake decorating  box and coming across a bag of white lollipop sticks, I found the perfect solution.

********************************************************************************************

Chocolate Dipped Strawberry Pops

z
Ingredients: strawberries, lollipop sticks (from your local craft store), foam for cooling, chocolate chips, 1 tb. butter per 12 oz bag of chocolate chips & rainbow nonpareils (round sprinkles)

1. Poke each lollipop stick through the stem end of your strawberries. When your entire batch is ready, pop them into the freezer to keep the sticks from loosening (an hour or so should do it).

2. Warm your chocolate chips and butter over a double broiler until melted (stirring constantly). Prepare your sprinkles by pouring into a small bowl (shallow enough for dipping).

3. Dip chilled strawberry lollipops into chocolate and immediately into sprinkles. Poke right side up into foam to harden. Refrigerate until ready to serve!

I’m working on DIY artwork for the bedroom now… it includes an old dresser mirror, cork and a vintage map. It’s a neat project! Stay tuned.

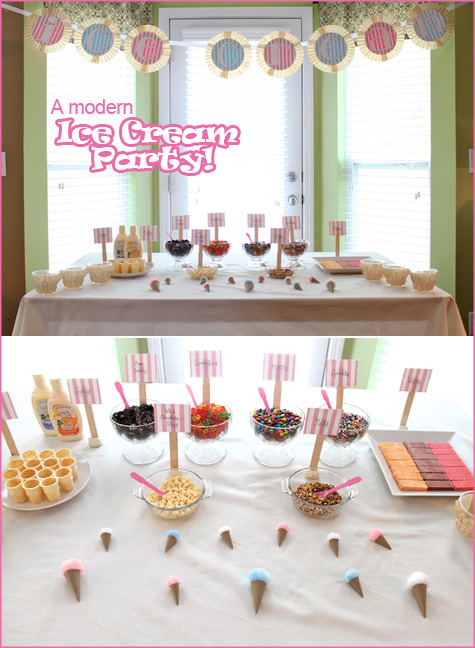
Homemade Ice Cream & Build-Your-Own Sundaes

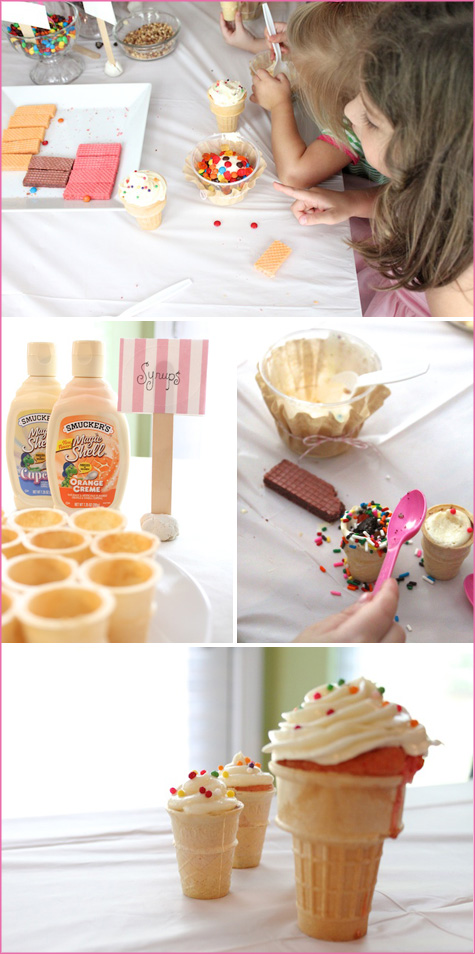
This party is adorable! When Tiffany sent over the pictures of her daughter’s recent birthday, I was so excited to share all of the handmade details.

First – I love the theme of an ‘Ice Cream Party’, to date my all-time favorite dessert is good old fashioned cookies ‘n cream (is that the pregnancy talking?), but second – the simple and sweet designs are pure homemade and perfect for a celebration of any sort.

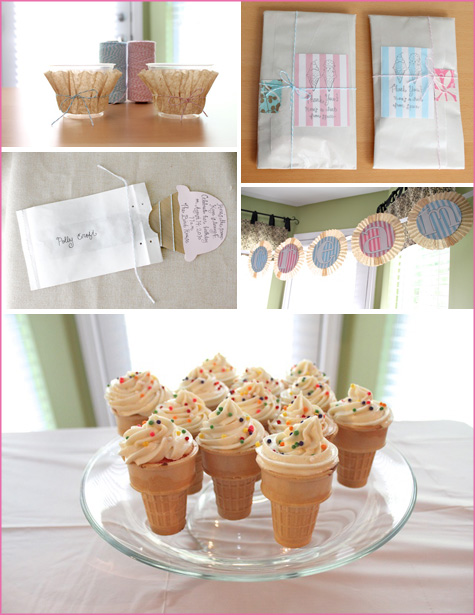
From the very amazing ice cream banner {check out a close up after the jump}, to the basic and delicious homemade ice cream recipe {you won’t believe the simple ingredients} to a break down of children’s party hosting tips {must-do’s for the craziness of a kid’s party} Tiffany shares great advice and pics from the party over at Simply Modern Mom.

More details include: a very clever handmade pinata, astronaut ice cream favors in a homemade package, ‘Here’s the Scoop’ invites and custom calligraphy, and of course DIY goodie bags to take all of those pinata treats home.

More photos after the jump! (Including a close up of that adorable ice cream cone pinata and banner.) Continue reading

Related Posts Plugin for WordPress, Blogger...