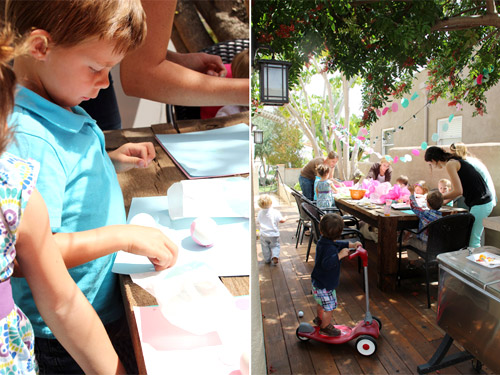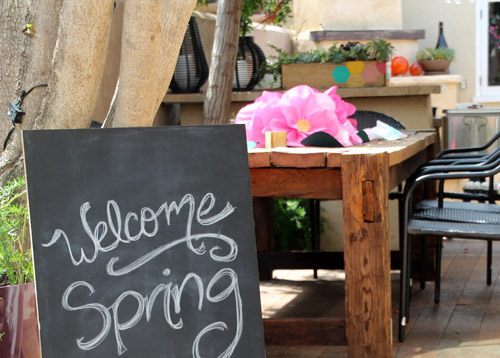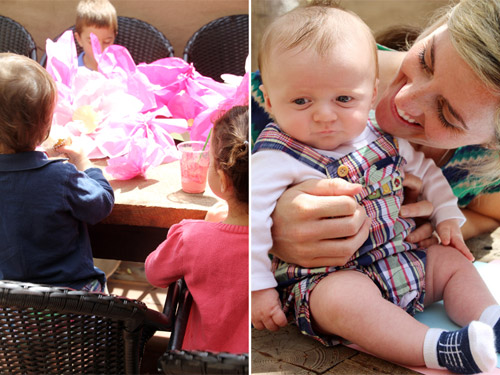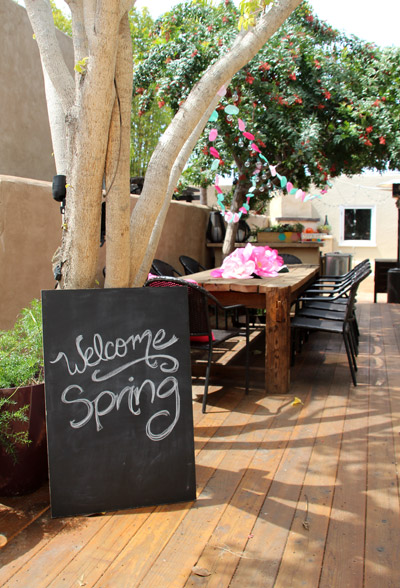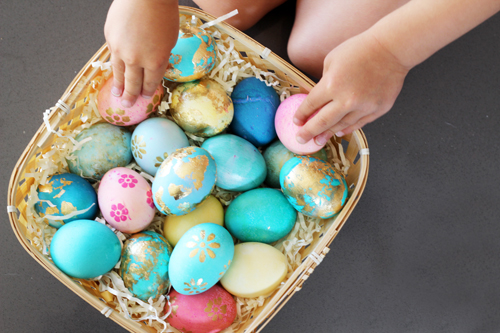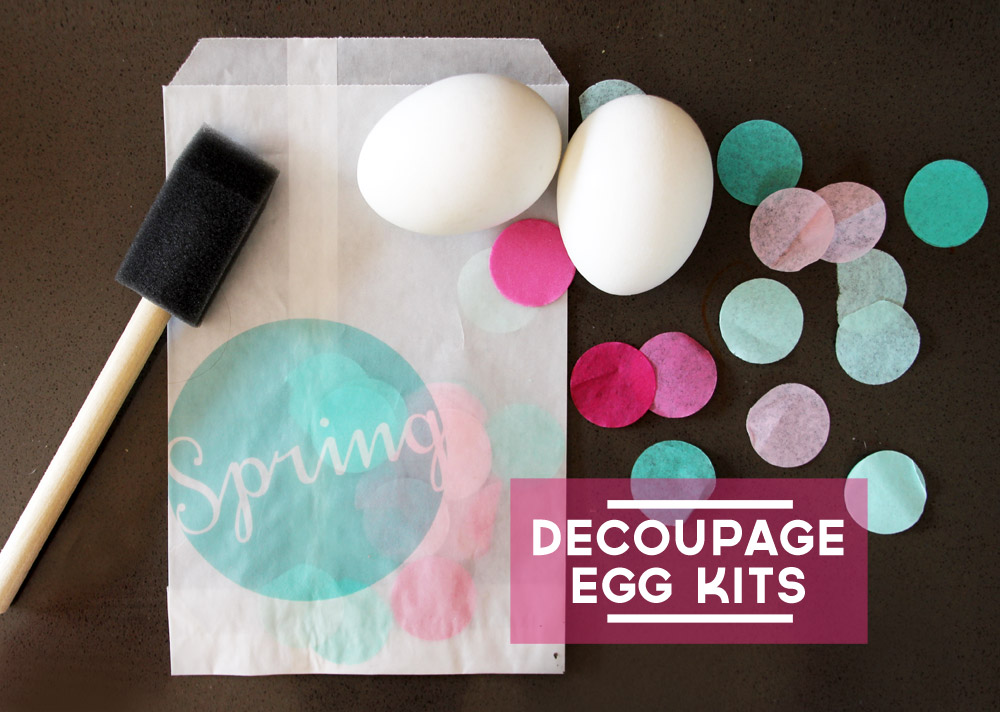
Instead of dying Easter eggs this year we tackled a technique that I’ve been meaning to try for a while. With seven of Liv’s little friends over, we threw a Spring Party and tried out decoupaging.
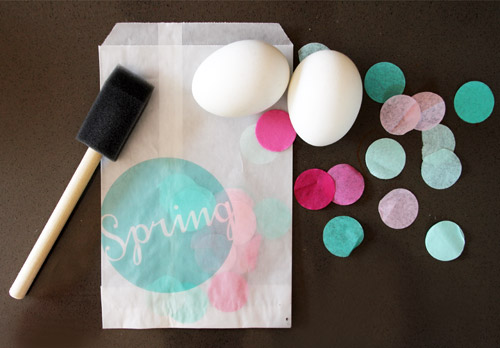
Glassine bag kits were an easy way to contain this fun little Easter egg decorating craft for the kids.
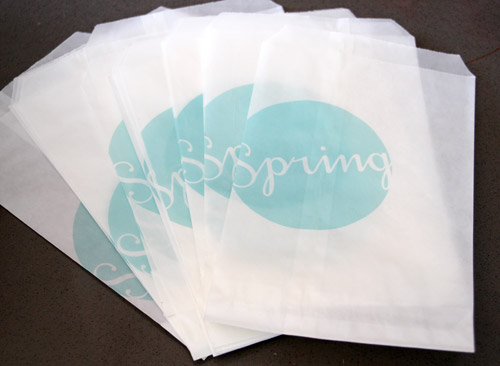
These little kits made clean up a breeze as well (and something that kids can participate in), since everyone simply swept leftover bits and pieces from the finished project back into their bag.
I chose glassine (sort of similar to wax paper bags) because they’re easy to print on with a home computer. I love that they can be personalized for an event! I found mine here.
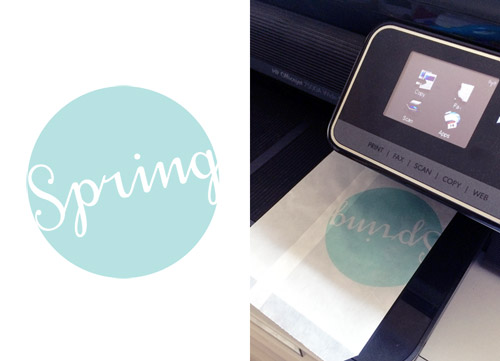
Simply place the bag right side down in your printer and print just as if you were printing on regular printer paper. I chose to off center mine for a creative look. You can download my round ‘Spring’ badge here, it will look best on a white bag.
Then off to fill the bags!
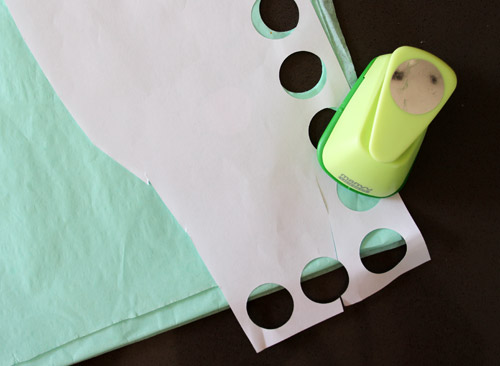
Supplies for very simple decoupaging include tissue paper shapes, a glue and water mixture, brushes and eggs. To cut out tissue paper circles, I used a craft punch with a layer of printer paper (construction would work well too) over the top. Tissue paper is just too thin on its own and will result in frayed edges and a jammed craft punch.
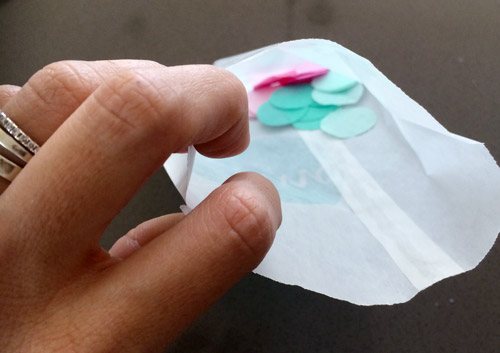
We added two hard boiled eggs and a spongy brush to each bag as well.
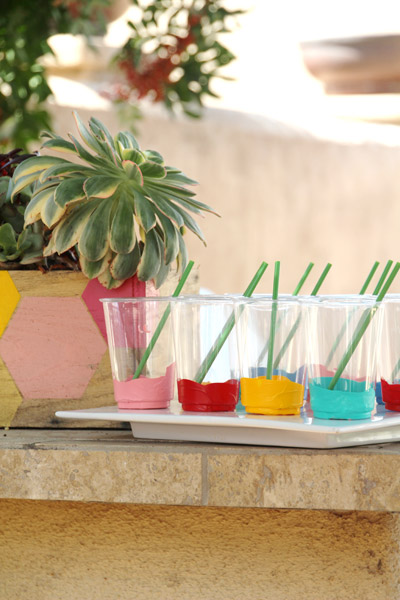
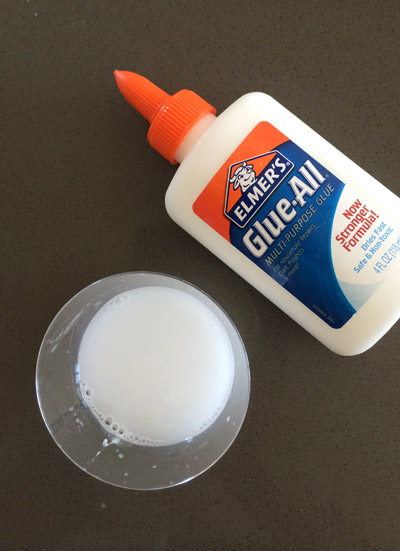
Every 2-3 kids shared a water and glue mixture. I used craft glue and a ratio of roughly 1 part glue to 4 parts water.
Then with kit in tow, the kids set off to create!
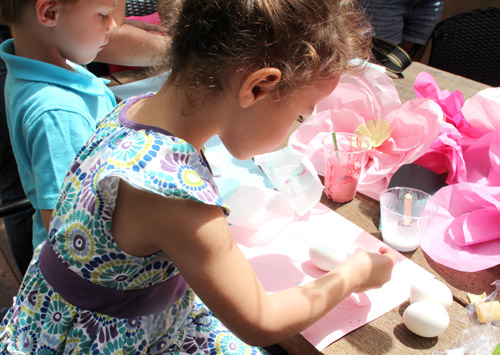
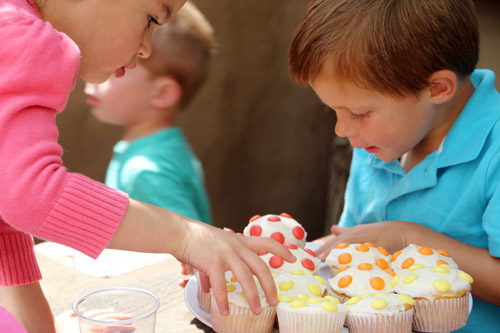
The group of 8 kids were between the ages of 1 and 4, so I was impressed with the finished results ;). If you’re decoupaging with a more serious bunch, you might consider using blown out eggs and finishing with a spray lacquer or varnish to help preserve.
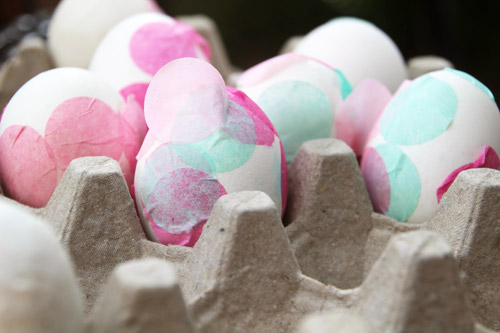
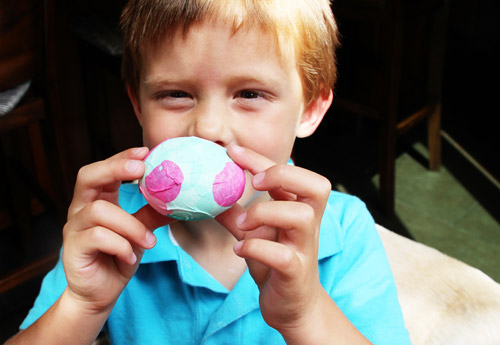
This was an easy project with easy cleanup, perfect for a group of preschoolers!
PS count down to Easter! The full party is chronicled over here with more Easter ideas to share here.
