This past weekend was busy busy! Anxious to catch up on some much-needed nursery time, we dove head first into the room and began ripping out everything that needed replacing (read more about that and see the before pictures here). Out went the built-in cabinets, out went the light fixtures and off with the old, cracked window moldings.
While the inspiration board for the nursery isn’t quite finished yet… we knew that we wanted a bright and airy backdrop for the entire room and decided that the walls would be painted a light light neutral.

Hopefully these paint swatches don’t show up as too pink or too yellow on your computer screen – we were down to five neutrals when we decided that with the type of light that comes through our North-facing windows, the above off-white-with-a-tinge-of-tan should do the trick (for reference, we chose Believable Buff at 50% by Sherwin Williams). It was one huge lesson in never judging a paint by it’s swatch in the fluorescent lights of a hardware store, I probably drove back and forth ten times!
To keep the walls from becoming to bland, we thought it would be fun to add one striped accent wall along the most prominent stretch of the room:
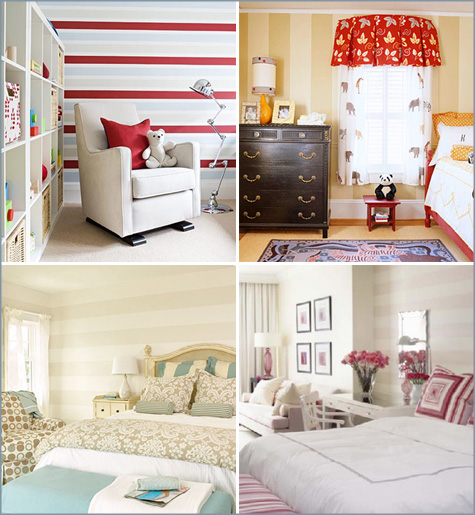
Inspiration: Samantha Pynn, BHG, DecorPad and below, The Lettered Cottage
Keeping it soft and subtle was key here – we were working in the world of whites & tans and this is a close example to what I had in mind:
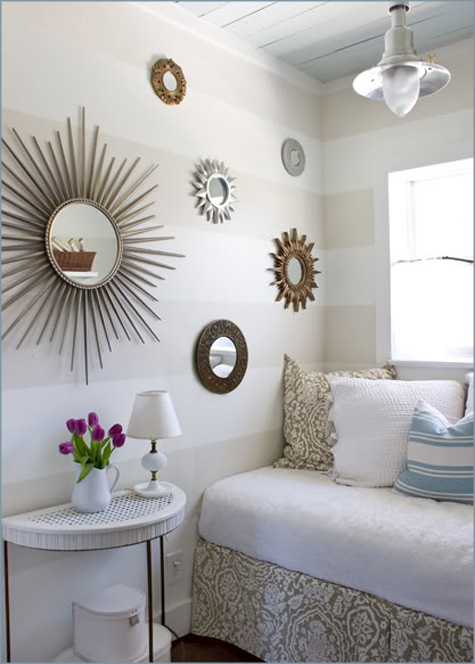
And so the room received a full covering in Believable Buff at 50%, and the stripes were filled in with Believable Buff at 35% (odd, I know, but I kept playing with the right blend at the Home Depot counter and I’m sure the paint man was going crazy).
Too keep the fumes from baby and me, Kevin was a sport about painting the entire room. Then he let my Mom and I stripe out the one wall once the room had been well ventilated, then he painted again.
I used tutorials from Centsational Girl and Young House Love (great suggestions!) to help guide the project, but ultimately walked away with a few tips and tricks – as well as lessons learned – of my own.
*********************************************************************************************
{DIY: Striping Walls}
a
Materials:
*A gallon of paint to cover the room (or two quarts if you’re tackling just one wall)
*A quart of paint in the contrasting color (one quart per striped wall is a good estimate)
*Level
*Painting tape (we used Frog Tape)
*Ruler/measuring tape/L-square ruler
*Pencil
*2 people (very helpful!)
1. Paint the entire wall your base color: for us this was the slightly darker of the two shades (since the rest of the room was also the darker color). Let dry for several days to avoid pulling up paint when you attempt to remove the tape in the last step.
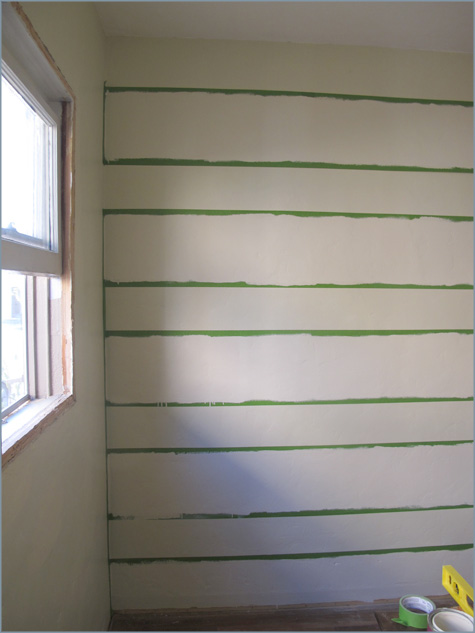
2. Take time to pencil your lines: Measure your wall from ceiling to floor and divide the entire wall by the number of stripes you’d like to paint. Ours was 100″ high, so we broke the wall into ten 10″ stripes. While many of the tutorials I read suggested using a measuring tape to mark out your lines in various positions on the wall, I found that ultimately a level and an L-square ruler worked best for our old house. Because the walls and ceilings weren’t perfectly level/straight to begin with, we initially measured out the wall in 10″ increments and then used our level to connect the dots across the wall with a pencil (without the level, our lines began to look like they were sloping upwards).
2. Tape: Tape off your pencil lines by taping along the top of one line and then the bottom of the next (so that you ultimately end up with full 10″ stripes in each alternating color). We had heard great things about Frog Tape and gave it a shot, we definitely liked the results.
5. Seal the tape edges: This is a critical step and will save you much heartache! Seal the edge of the tape that marks off the new stripe color by painting it with a quick application of the current or base wall color (purchase a sample size of your current wall color if you didn’t start from step 1). Now, when a bit of paint bleeds through the tape, it will be the current wall color and not your the color of your new stripes – which would leave a jagged line.
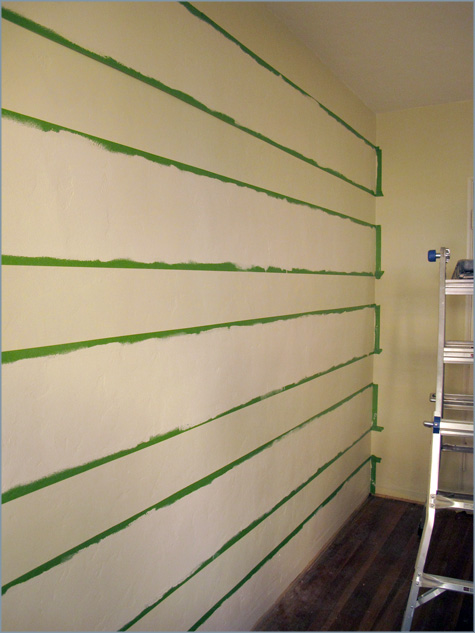
6. Fill in your stripes: Apply two coats of the second stripe paint color between the wider tape lines.
7. Peel off tape: Next crucial step! Remove the tape shortly after applying the second coat so that the paint is still decently wet. If you wait until the paint is dry, the tape is more likely to pull up the below layers of paint and cause peeling and rough lines.
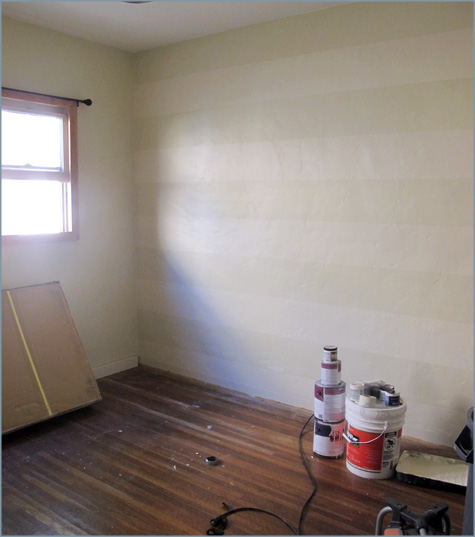
Perfect back drop for baby’s room – I love how the stripes are soft and neutral, it’s a nice accent but not overwhelming. Now on to the windows, light fixtures, floors and inspiration board!
