A Little of This & That… Renovating, Decorating, DIY Projects & Family

Living Room Love: Progress on the New Mantel

A while back I had mentioned a little side project that I was really excited about – I had plans to build a new mantel!

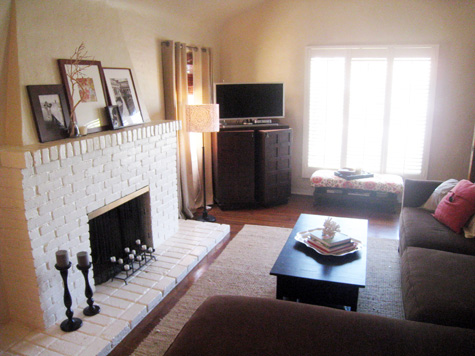
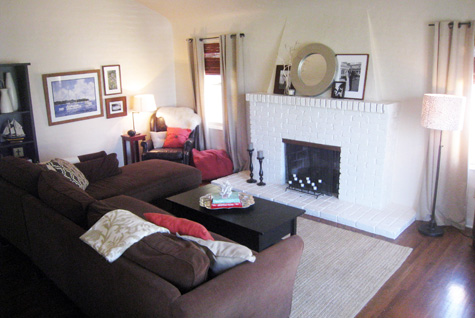
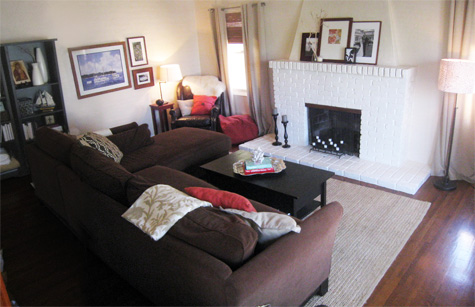
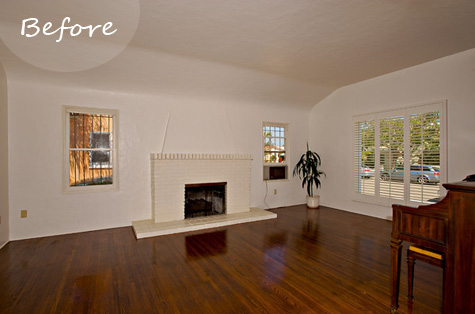
Our living room has original 1930s architectural features such as an arched ceiling and doorway, but the painted brick fireplace is out of place (it might even hide the original fireplace?). We have plans to give it a full makeover at some point, but for today a new wooden mantel will hopefully do the trick in updating it a bit (see more before photos here).
When I shared my idea of boxing in the top of the brick with my carpenter friend (thanks, Dave!) he thought that the idea would work well and gave me tips on how to build the box. I then took my measurements and headed down to Dixieline, a local home improvement/lumber yard.

I worked out my plans with the head mill man and began brainstorming ideas on what types of glue, vices, clamps, etc. I would need when it dawned on me that I ought to ask for a quote. Maybe the milling department (with their plethora of tools) would be able to build my mantel for a reasonable price.

The quote? $60. That included cutting all angles (and to build a box with no seams, there are a ton) and mitering of all of the edges. I would stain the mantel myself but I was 100% okay with that. Done and done.

We chose douglas fir for its durability and look (douglas fir was used in many of the homes built before 1950) so that the new mantel might even perhaps look original when all is said and done (aka bricks are covered).

Dixieline wanted a full week to finish the project… and I waited with excited anticipation.

But then this happened.

Boo.

Somewhere along the lines communication messages were crossed and while we had agreed that submitted measurements would be for the inside of the mantel box, they were instead made to fit the outside dimensions. Aka the box was about an inch to short.

I explained the mistake to Dixieline and they happily agreed to build another. It would just take a bit more time. Sooooo I’ll hopefully be back with a happy ending to this story sometime soon!

More living room posts: updating a fireplace mantel part 1, bookshelf styling tips, decorating in layers: stage 1, inspiration boards, picking the perfect couch, custom lampshade, coffee table-to-ottoman, and the ‘before’ photos.

Living Room Love: A New Mantel?

When we first moved into our home we fell in love with the large living room space and the beautiful arched ceilings.

We were also thrilled to finally have a fireplace! A fireplace of our very own.

High on our priority list was tearing down the white brick to reveal (hopefully) the original Spanish-style fireplace within. Well… two and a half years later that big fireplace reveal has moved quite a ways down the list.

The mantel decor has seen a few changes over the past two years, but here’s a look at in-progress photos from 2010:

Remember the big mirror or photo collage debate? Here’s a shot of the mirror option.

So while the fireplace is now low on the re-do totem pole, I’d still love to give it a quick, attractive update before it gets its big makeover somewhere down the line.

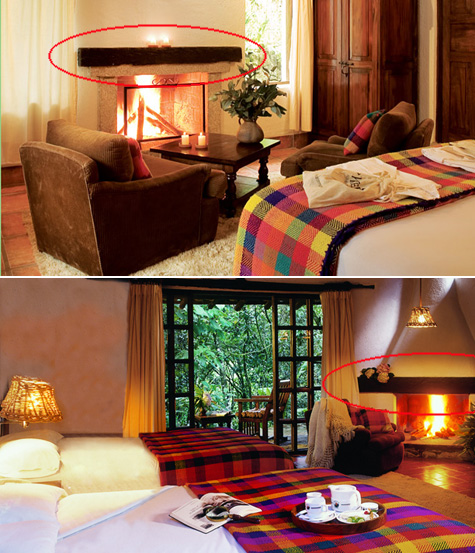
My initial thought was a simple, sleek beam that would grace the top of the fireplace and sit like one large block right on the existing brick mantel. Something like these photos:

It might even function like a hollow wooden box that sits on the top row of bricks with all of the edges mitered to create a seamless look. Easy, right? A little staining and a new mantel? We’ll see. I’m off to share my idea with a carpenter friend to see what the options (and cost) might be.

More living room posts: bookshelf styling tips, decorating in layers: stage 1, inspiration boards, picking the perfect couch, custom lampshade, coffee table-to-ottoman, and the ‘before’ photos.
Finally, I’m headed to New Orleans this weekend! Any suggestions?

DIY Entertaining Idea: Paper Flowers

Here’s a fun little tip for all of that left over wrapping paper you might have lying around.

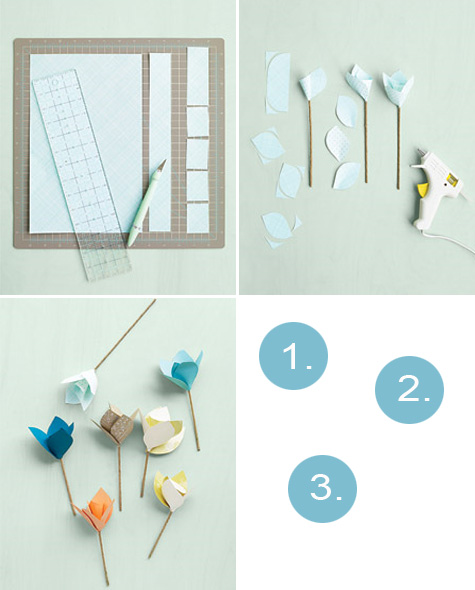
Paper Flowers 1

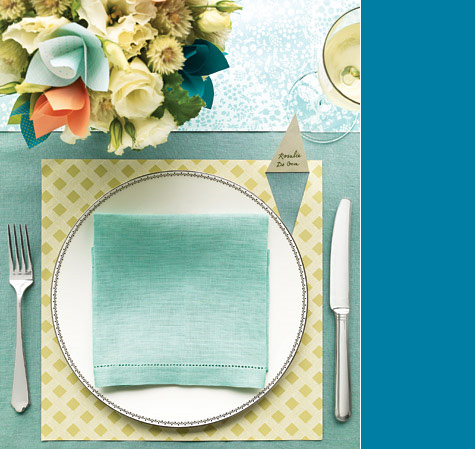
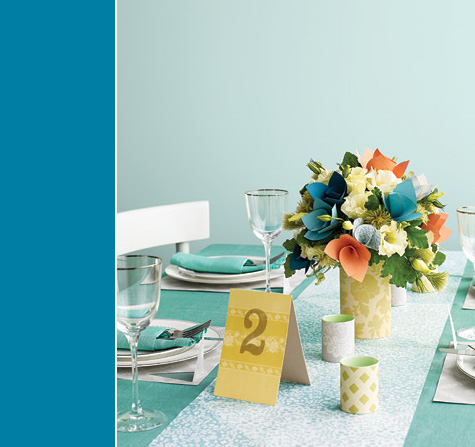
I’m a huge fan of using a roll as an impromptu table runner or cut up as individual place mats (it helps incorporate beautiful patterns and colors – plus you can toss it when you’re done), but I love the idea of using this simple Martha Stewart tutorial to create small flowers for either a bouquet or even as individual stems wrapped around your silverware or wine glass.

Paper Flowers 3

Here’s the full DIY instructions.

Paper flowers 2

Beautiful, right? Perfect for a shower, birthday or even a wedding. I love how simple and classic it looks!

Related Posts Plugin for WordPress, Blogger...