A Little of This & That… Renovating, Decorating, DIY Projects & Family

Building a Bathroom: Demo Time!

We’re turning three adjoining closets in the center of our house into a full bathroom – and we’ve broken ground! We’re building this bathroom from scratch, so the first thing on the list was to bring those walls down.

Here’s a look at the largest of the three closets. You can see the hallway that continues on to the living room on the right and Liv’s bedroom to the left. Behind me is our current bathroom. We have a new hallway now next to the new kitchen, so this hallway will add additional square footage to the new bath.
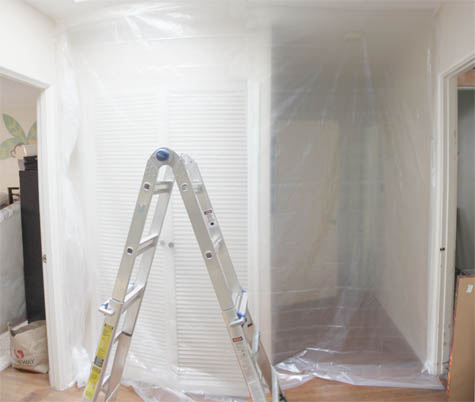
Guest Bathroom Demo Remodel, DIY, Lowe's

Remember when we received the best email ever? It’s so exciting to be on the move.

After a few hours of work the walls to the closet were down. Here’s a hazy peek through the plastic:
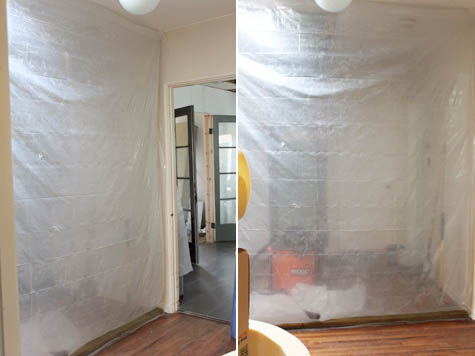
The worst part of tearing down three closets is losing three prime storage spaces. Our in-progress office is now filling up with brooms and mops and baskets of towels and coats… and everything else you keep in hallway closets :).

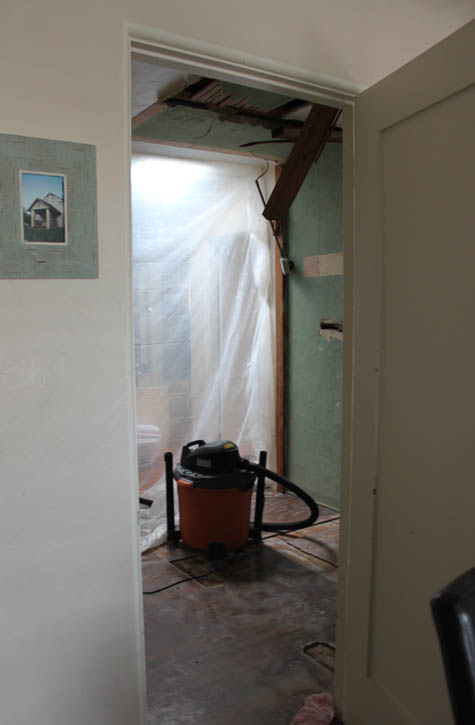
And a better look from the other side of the new bath (looking in from the dining room):
A few things to keep in mind when demoing:

*Dust is a drag – staple gun plastic sheets (painter’s plastic) as make-shift walls when working, a spare 2×4 works excellently as a weight where the sheet meets the floor. Always wear protective eye/mouth gear and be extra cautious when working in an older home – asbestos, old/rotted wood and termites are real issues.
*Be sure to turn your breaker box off before you begin. If you’re removing old electrical work, don’t forget to properly cap off all wires.
*Salvage where you can – you might not need those old cabinets, doors and windows but Habitat for Humanity or a local charity might benefit from the donation.
*Have a truck bed empty and ready to fill. Moving your recently demoed pieces directly from the room into the bed saves time and your muscles from lifting and rearranging too many piles. As soon as the bed is full make your dump run. Trust me – you won’t be motivated to do it the next day.

An in-the-moment shot:
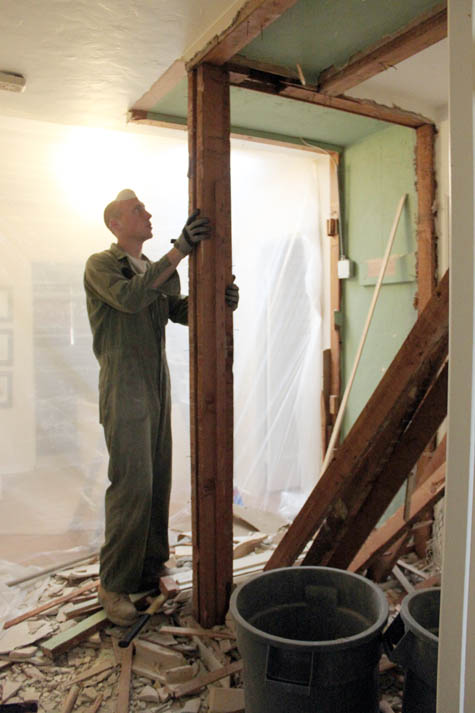
You can see the old closet outlines on the ceiling. I’d love to know what decade the walls were that mint green color, we’ve uncovered it in nearly every room!

Just to give a better idea of placement within the house, there’s the office on the right, the kitchen is behind me and that hallway there leads to Liv’s room and the master bedroom. You see what I mean how the broom closet has relocated to the office? Bummer.
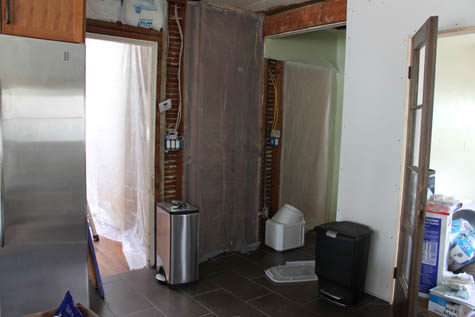
Be back soon with more updates!

Project Nursery: A Cozy Place to Rock

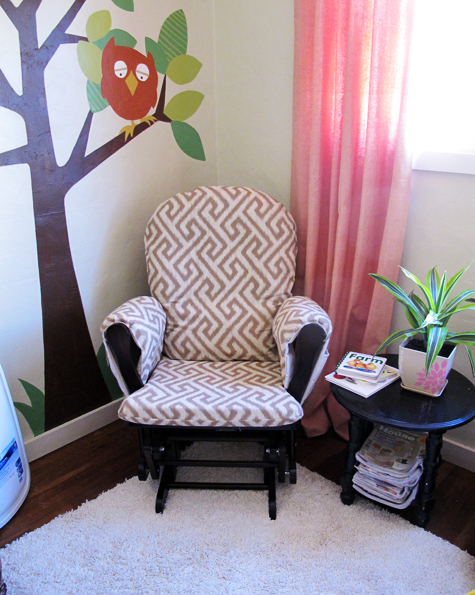
Check out this before & after, I’m so thrilled with the results!

Before:

After:

I’ll be recovering the footstool shortly in the same Thibaut print which I so L-O-V-E. I’d cover every chair in my house with it if I could.

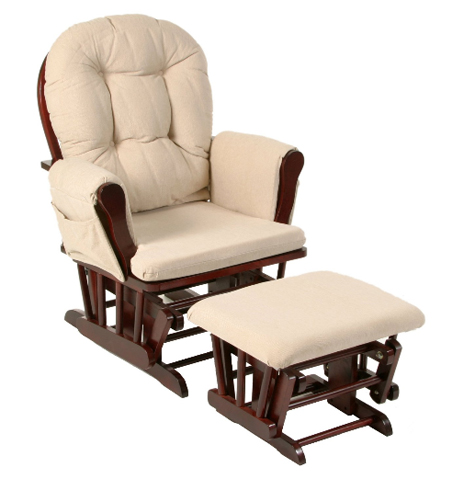
My dad purchased our Stork Craft Hoop Glider as a gift for the nursery back when we found out we were expecting. I loved the comfort of the glider but wanted to add a slip cover for two reasons, a. I wanted a washable option just in case spit up, etc stained the cushions and b. it was a great opportunity to add a modern pattern to the room.

Instead of tackling the project myself (beginning sewing novice over here…) I took the cushions to my local alterations/dry cleaning company (a hidden gem for upholstery work) and had the chair cushions covered for just $15 per piece. I had an actual upholstery company quote me just over $300 to do the same job.

I’m just getting the cushions back now because of my ordering error on the fabric. Lesson learned: always take into account shrinkage due to washing fabric before you determine how much you need! The 54″ width of the fabric shrunk to 48″ and I ended up needing twice as much in length to account for the missing width.

But the glider is in full use in the nursery now and it looks great! I couldn’t be happier!

More Project Nursery posts: sewing the curtains part 1, part 2, part3, nursery fabric board, curtain fabric selection, rocking horse find, new pendant light, vintage wall art addition, changing table makeover, nursery wall striping tutorial, painted animal project, the initial inspiration board and the before picture posts.

San Diego Magazine: A Picnic in the Park

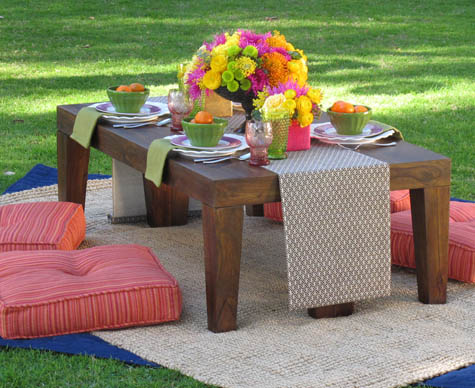
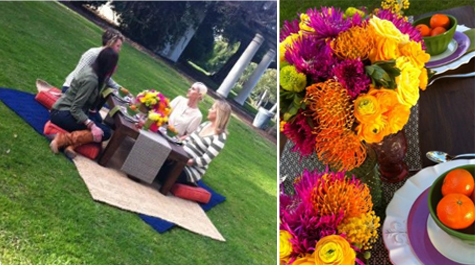
For April’s issue of San Diego Magazine, we took our monthly Treads article outdoors to feature a bohemian-style picnic beneath the giant Monterey oaks.

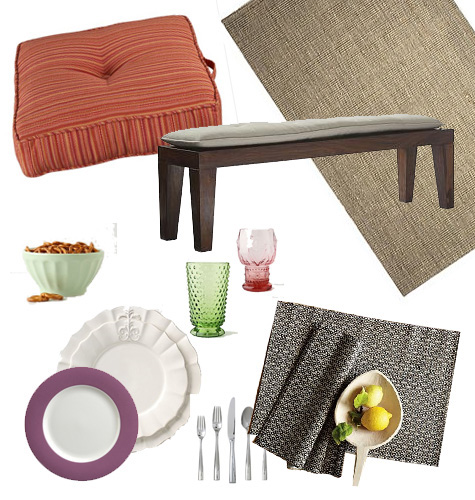
I had a wonderful time styling this shoot! It involved quite a bit of running back and forth between Crate & Barrel, Anthropologie, Target and West Elm, but choosing the bright, vivid color palette and the products to be featured was plenty of fun.

You can check out the full online issue of San Diego Magazine here.

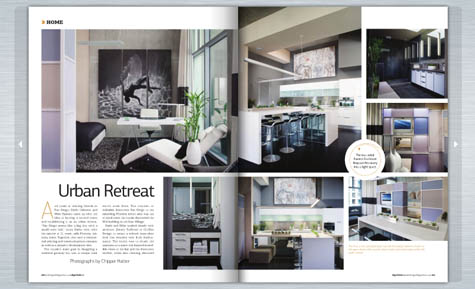
In addition to the spring picnic spread, I wrote about an ultra modern loft in downtown San Diego that boasts all of the latest eco updates and modern touches:

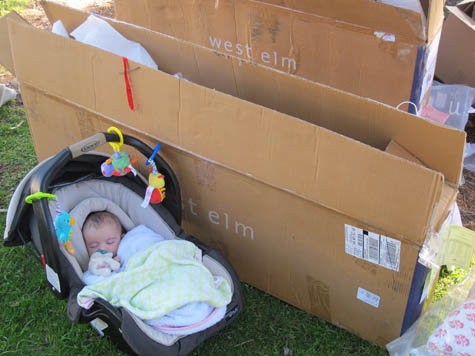
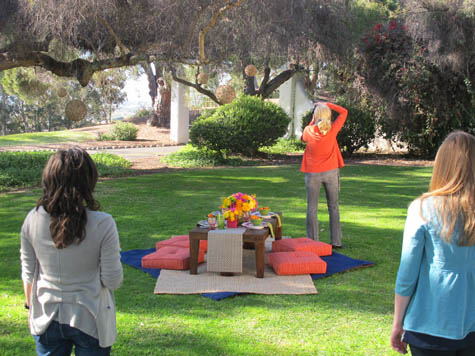
More behind-the-scenes from the photoshoot:

The four local design bloggers featured in the shoot included: Heather of La Feem, Kelley of Mrs. Lillien, Julia of San Diego Songbird and Alexis of Fern & Feather.

Photography by Terry Rippee.

Florals by Organic Elements.

Read more about the featured bloggers as well as their entertaining tips in a short interview here.

It was a beautiful day and the perfect setting for an afternoon of lounging on lazy floor cushions besides a low table (made of two West Elm benches) and a lunch of clementines :).

The beautiful glassware from Anthropologie had to have been my favorite – I might have to pick up a set of the above pink Helianthus goblets!

My May feature is nearly finished, I’m just now wrapping up a Trends article on the perfect outdoor entertaining space. More to come…

Related Posts Plugin for WordPress, Blogger...