We’ve made major progress on our closets-turned-new-bathroom project, with choosing and installing the bathtub as the biggest item crossed off of the list recently.
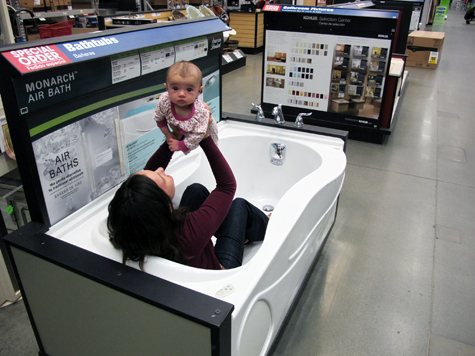
We haven’t had a working bathtub in at least a year (maybe two? I’ve lost count of the days…), so as you can imagine, I was skipping down the plumbing aisles imagining what it would be like to soak in any one of the beautiful baths hanging from the shelves. And to upgrade Liv’s bath time from the kitchen sink (or showering with Mom or Dad) to an actual bathtub? Exciting.

Olivia: What is this magical place? This must be bath-land, the land that Mommy dreams about.
Liv’s quite the little shopper, and she’s easily impressed:

There’s plenty of criteria to consider when you’re shopping for the perfect tub. If you find yourself in the plumbing aisle anytime soon, consider the following:
- Style: This is an easy one, but there are two main styles of tubs – free-standing and wall-mounted. The design aesthetic of the overall bathroom can easily be affected by your choice, let alone installation. While our goal is to create a modern bath with plenty of vintage-esq accents (to help tie the bathroom into the rest of the 1930’s home), we decided that a free-standing clawfoot bath would take up too much room in our small ~75 square feet of space and opted for a wall-mounted version instead. Clawfooted tubs come with the traditional claw, with a pedestal mount or with ball feet.
- Size & Features: If you’re replacing an older tub in a current bathroom, you’ll be limited on the size and plumbing of your new bathtub. The location of the drain, for example, is already set. The average bath tub is about 60″ wide, 30″ deep and 14-16″ high – though this can range on what year your home was built and what style of tub was installed. If you are building from scratch, take into consideration which wall will be plumbed and how the layout of the bathroom will affect your tub placement. Then choose a bathtub that fits the appropriate space, lines up with the drain lines and is skirted on the correct outside edge.
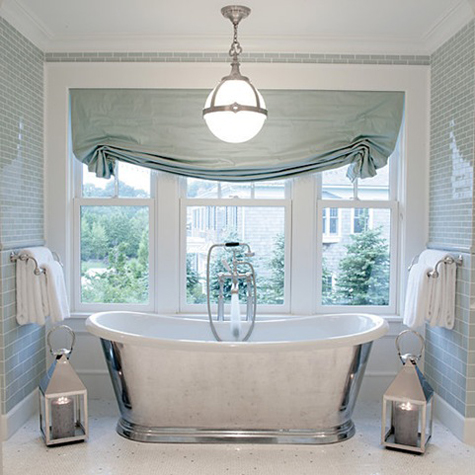
A free-standing tub is stunning but requires plenty of space.
- Cost: A final limitation can be cost. While free-standing tubs are beautiful, they can often run in the $1,000 plus range (even from a salvage shop). Wall-mounted tubs are much more cost-effective and you can expect to spend somewhere around $250 for a basic version up to $800 for a whirlpool-style tub.
- Cool fact: Roman tubs are deeper than your standard wall-mounted variety, and Japanese tubs are even deeper than Roman tubs.
- Final notes: Be sure the tub allows for a shower installation and double check that your current water heater can support a new bathtub (especially a really large one!). If you’re installing a bath tub into a brand new space, make sure the floor area can support the new weight.
We opted for a recessed bathtub (three sides will be wall-mounted while the fourth side, or “apron”, is exposed – the most common style of tub) with a custom tiled shower (as opposed to a wall-kit, or a plastic lined shower). We found the perfect Kohler option right off of the Lowe’s shelf. It’s small enough to fit comfortably in a 5 foot nook in the wall, but still offers relaxation features such as a row of jets for the best spa-like experience (without being out-of-this-world pricey or jacuzzi-like).
Here’s a peek though the dining room door:
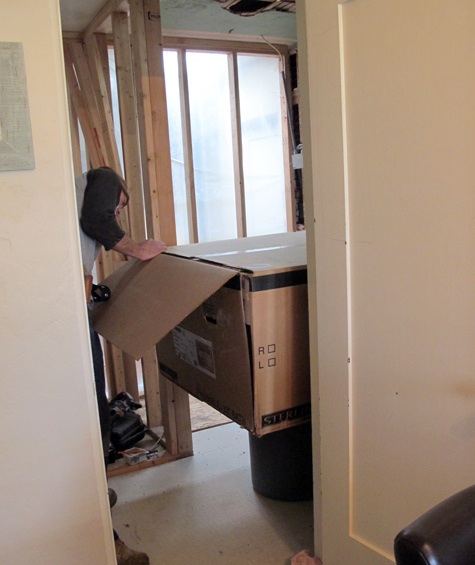
At this point the walls were framed (see all of the demo and before closet shots here) and the space for the new tub was ready to be filled. That’s a layer of hardibacker there on the floor, evening out the different styles and sizes of the closet floors.
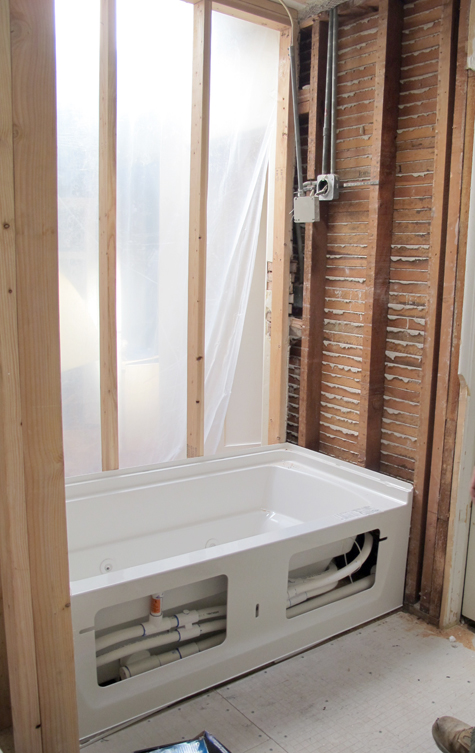
The skirt (or apron) is open for plumbing purposes.
Once the tub is in place (the framed walls firmly hold the 60″ bathtub) a roll of tar paper is applied to the walls to add an additional water-resistant layer.
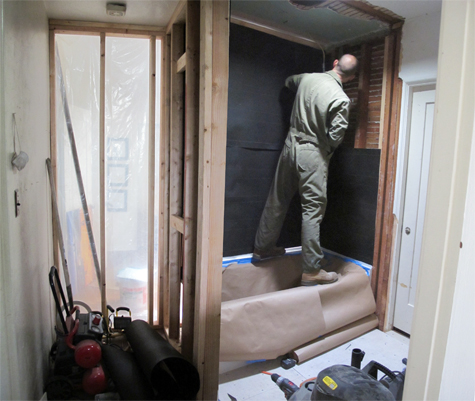
That’s a future closet space over to the left and the rest of the walls remain to be lined and filled in with dry wall.
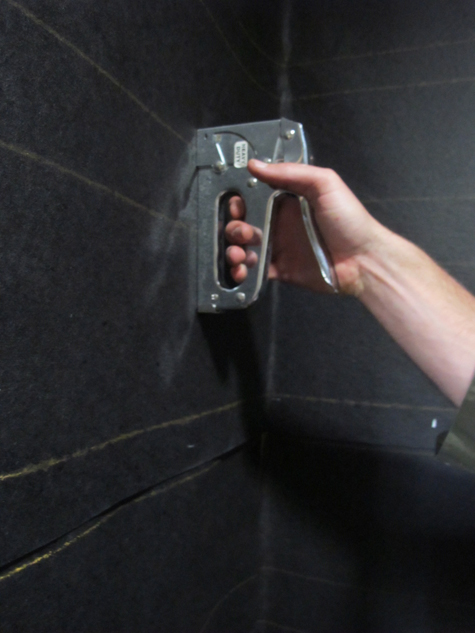
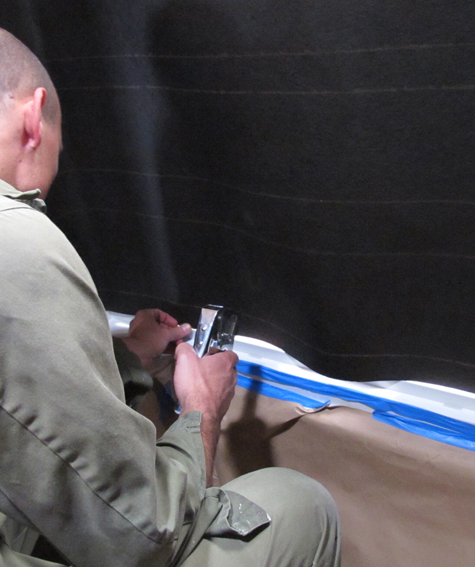
A staple gun is the easiest application for adhering the tar paper to the studs, though a hammer and tack nails would do just as well. Attach tar paper directly to wood frames and don’t be afraid to use as many staples as necessary to keep the paper taut. Corners should be pressed in manually so that they are especially tight.
The edge of the tar paper should meet the edge of the tub and not overlap it.
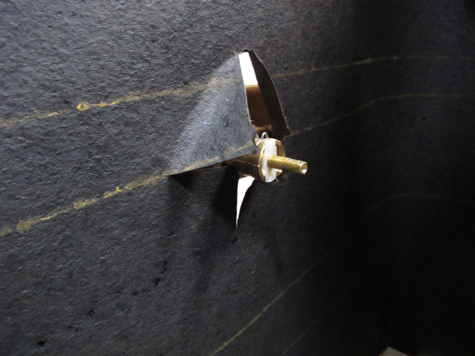
Use a utility knife to identify any spaces for future fixtures, these holes won’t be visible at the end but will help you stay organized and aware of the space of the entire project.
We haven’t covered plumbing here because it’s so very specific to each home. Consult a plumber or head out to the land of Google to find out more details on converting a current bath or building one from scratch. A detailed project, indeed!
In other news, Liv is three months old! I’ll be back shortly with a round-up of our favorite baby products for the first three months and an update on the mantel and nursery projects.
