A Little of This & That… Renovating, Decorating, DIY Projects & Family

Project Nursery: Handmade Bedding, Finished!

Liv’s brand new bedding is ready to share! We put it all together this week and just in time to transition to naps in the crib.

Olivia can roll over now, woohoo! and napping in odd places – like our bed, on her play mat, etc – will no longer work. Of course no bumpers while sleeping, but for the pictures (and when she’s older) here’s the entire handmade set:

Crib Bedding, DIY Nursery Decor, Decoration, Pink, Coral, Girl's Room

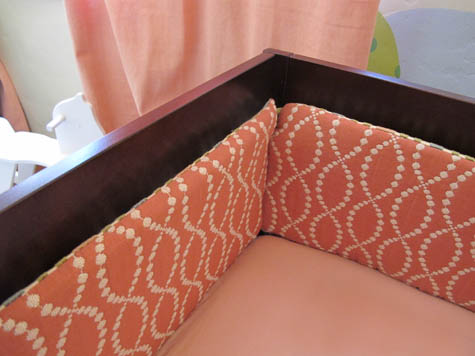
Liv’s great aunt Laurie sewed the bumpers from this adorable pattern (minus the ribbon trim and piping) with this nursery fabric that ties in with the color palette of the room. The reverse side of the bumpers is this modern trellis print.

Diy bumpers, Nursery, Handmade, Sew

It took me a few tries but this crib sheet ended up matching the rest of the coral accents perfectly!

Crib sheet, bumpers, skirt, diy, handmade

Directions for a super simple crib skirt (more like crib paneling) that will easily shorten when we drop the height of the crib tomorrow. I whipped up this guy in about an hour.

More Project Nursery posts: basket liners part 2, basket liners part 1, the great glider makeover, sewing the curtains part 1, part 2, part 3, nursery fabric board, curtain fabric selection, rocking horse find, new pendant light, new sconce lighting, vintage wall art addition, changing table makeover, nursery wall striping tutorial, painted animal project, the initial inspiration board and the before picture posts.

Building a Bathroom: Tiling with Recycled Glass

It’s about time for a bathroom update. Our bathroom-from-scratch doesn’t feel like it’s moving along quickly, but I have to remind myself that it’s well underway and in a state of in-progress projects (like the most recent day of tiling!).

Here’s a little in-progress update and a tiling overview of the new shower nook. I love the color of the tile! so zen:

The newly framed out guest bath looked like this just a few weeks ago:
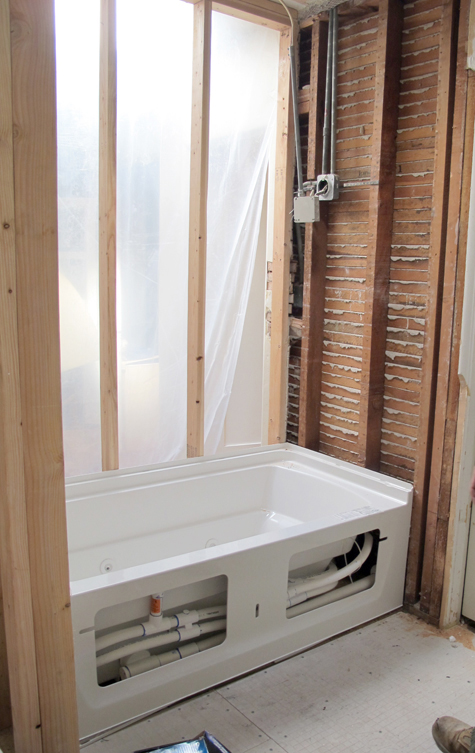
Then the tar paper (a barrier for moisture intrusion) was stapled into place:
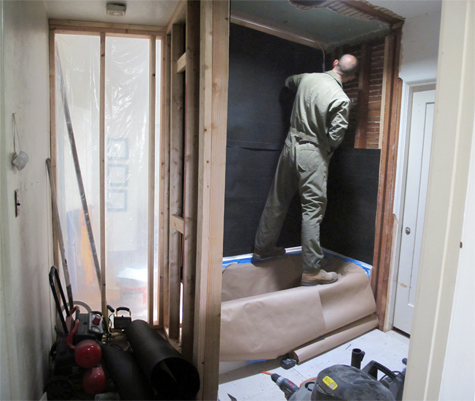
A final layer of drywall was added (I wish I had a better picture) before the shower walls were ready.

We chose Elida Ceramica recycled glass tile in Moonlight for a variety of reasons – it’s beautiful! and we love to encourage and support sustainable home remodeling (did you know that despite recycling, more than 70% of our glass ends up in landfills?). It looks unassuming on the shelf, but up in our bath it’s stunning and we’re really happy with it.

As for cost? As you can see below the going rate for our choice is $4.44 (on sale from $4.98) for a 12×12 sheet of tile. This notably is on the cheap end of tile, let along recycled tile! Your average glass tile sheet per square foot will run you about $15 and I’ve noticed that recycled and regular is pretty comparable on that front. We love the look and feel of the tile and in our opinion quality definitely wasn’t compromised for such a fantastic price. Enough tile for our shower nook would average $180 + tax for the Elida Ceramica recycled glass tile in Moonlight (Lowe’s actually offers four different color choices in this price range), to tile it at the average cost of glass tile could easily cost you $600 plus.
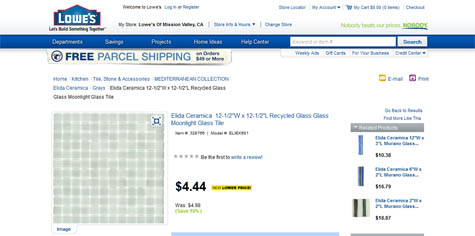
lowe's recycled glass tile

Recycled glass is formed by melting down industrial and everyday glass waste in boilers that are heated to over 2000 degrees. The molten glass is then formed into various sizes and styles of tile for the bathroom, kitchen, outoors, etc. Some of the benefits of recycled glass include: it’s incredibly durable (most often scratch, stain and heat resistant), it uses less fossil fuels (reshaping glass takes less time and energy than making glass from scratch), it’s easy to clean, it’s resistant to chemicals and stains, it does’nt allow certain types of bacteria to grow, it reflects light and brightens up areas, it creates a use for the overabundance of post-industrial glass, and finally it helps to reduce waste in landfills.

********************************************************************************************

Tiling Glass 1×1 Tiles

n
Materials: glass tile, thinset mortar, tiling trowel, bucket for mixing thinset, several sponges, non sanded grout (double check your tile instructions – usually located on the back of the tile sheet), bucket for mixing grout, dry soft cloth

A few points to keep in mind when tiling with small glass tiles:

  • While dry setting (or laying out your tile pattern before adding thinset) is not easy to do when you’re applying the tile to the wall, it’s a good idea to layout your design on paper and to measure to make sure you take into account any necessary tile cuts.
  • Cuts can be made with a tile saw or glass snippers (if the tiles are tiny).
  • Mix your thinset to the consistency of creamy mashed potatoes – let sit 8ish minutes and then mix once more before using. A cage-type or paddle-type mixer attached to your drill in a 5 gallon bucket is the best way to achieve this.
  • Use the straight side of a tiling trowel to first ‘skim coat’ a section of wall with thinset, then use the grated side to spread the thinset out (this order is important).
  • If your tile comes on sheets of mesh and with a sticky back side (like ours), peel off the paper and apply directly to thinset. If your tile does not have a sticky back side, ‘butter’ the back of the tile sheet with a swipe of thinset and then apply to the wall.

  • Be careful to not overbuild your thinset on the wall, this can cause a wavy, uneven final product (plus it increases the possibility that the thinset might shrink when it dries).
  • Carefully press the glass tile into the wall.
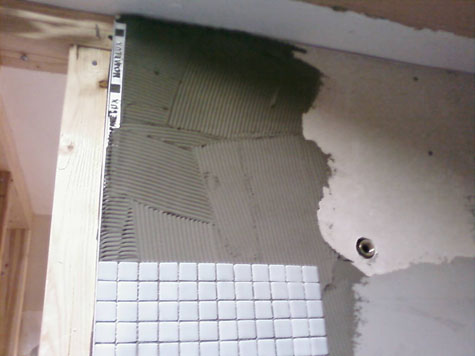
  • Repeat and repeat a few times more until your wall is complete.

  • Grout should be mixed to the consistency of a milkshake. Apply a glop to the top of the dry tile and spread with a sponge. Press into all spaces and don’t worry about getting the tile dirty!
  • Lightly wash the tile with a wet sponge removing larger chunks and streaks of grout.
  • Wait 48 hours and wipe the glass tile down again with a soft cloth, removing all excess grout.
  • Seal the tile

We haven’t reached the grouting/sealing portion of the project yet but the overall installation process has been great. Usually small 1×1″ tiles are tricky to work with, but the mesh backing and thinner tiles (thinner than ceramic) have made it really easy.
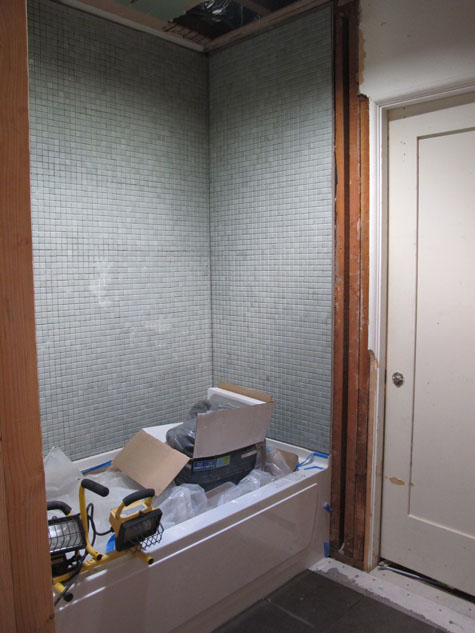
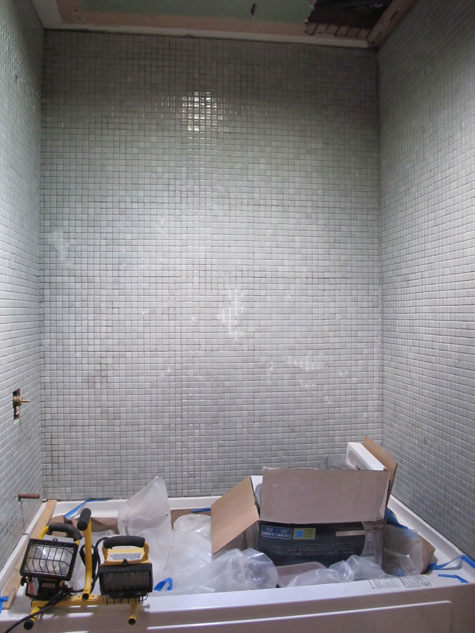
Now onto the floors – the new bath is coming along!

More building a bath from scratch posts: rub-a-dub-dub choosing and installing a tub, demo time, initial inspiration and where it all started – a Lowe’s collaboration.
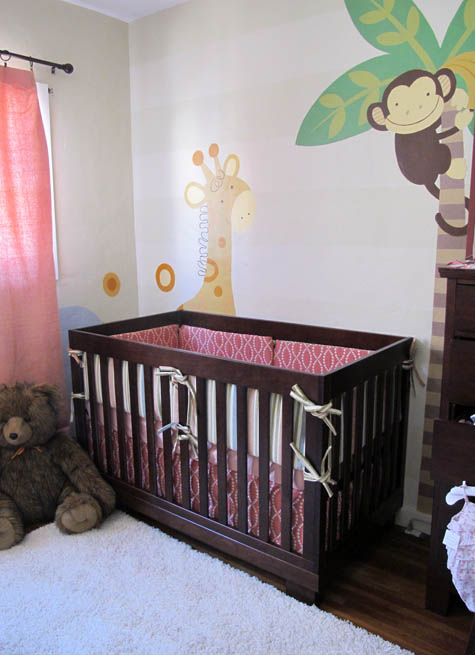
Project Nursery: A Much Needed Lighting Update

What happens when your family comes into town for Easter? Little projects that have been shelved for months get a bit of attention.

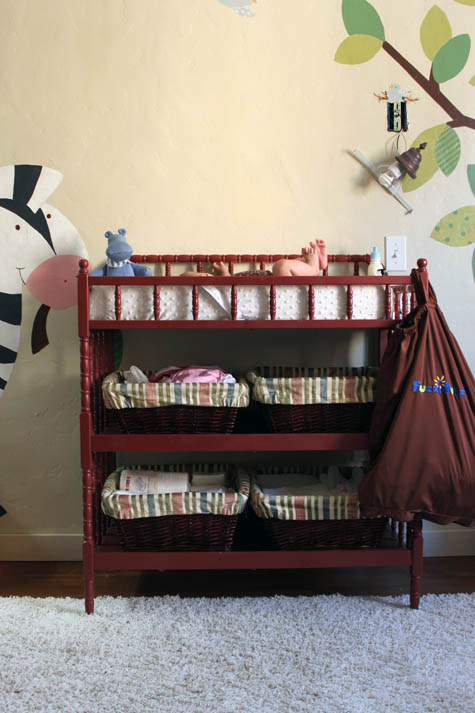
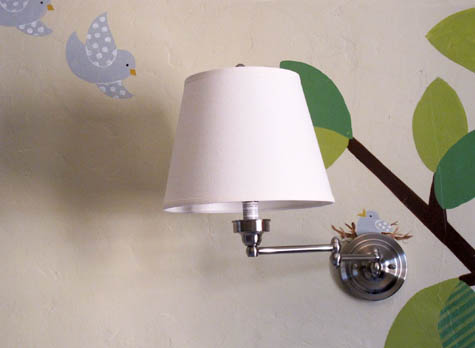
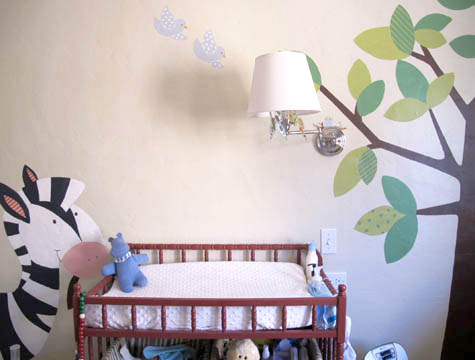
We’ve finally installed a much needed lighting update over the changing table! If I could move the entire sconce down and a bit to the left I would… but given the previous state of the light I’m loving the improvement!

My parents visited us for the weekend and decided to help tackle a few projects around the house, changing out the light fixture was at the top of my list.

Wall Sconce, Nursery, DIY

I’ll apologize right now for the horrible lighting in the room (especially at different parts of the day, like above).

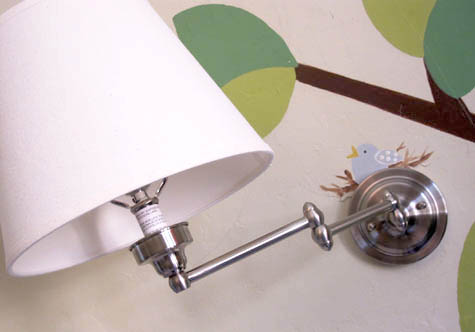
But yay for a new light! And the new sconce sits so perfectly below the little nest that Aunt Karen & Momma Eileen painted. The little birdie is Liv, and Kevin and I are the poppa and the momma flying down to the nest. So sweet.

Wall Sconce, Nursery, DIY

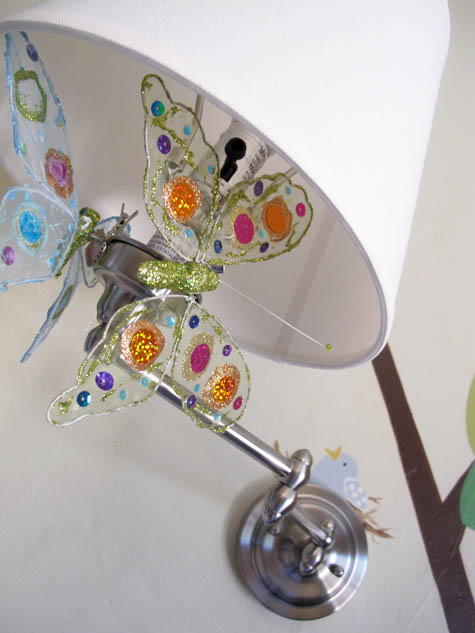
The added butterflies (from a baby shower gift) are a neat little detail and will tie into the new mobile project. Now when Liv is on the changing table she stares up at the bright, shimmery colors.

Wall Sconce, Nursery, DIY, Butterflies

So the hunt for the new light began a while back but I couldn’t settle on the look that I was going for. You might remember the makeover we did on the pendant in the center of the room and it brought such a wonderful, modern update to the space.

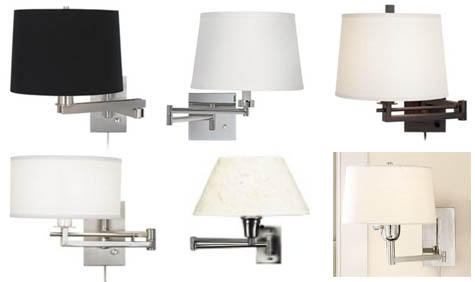
But… all of the modern sconce options were a little too modern.

Wall Sconce, Nursery, DIY

Lamps Plus George Kovacs

I love these vintage industrial-style lights, perhaps to nicely balance out the modern pendant in the center of the room? But they might be better suited for the new office.

Wall Sconce, Nursery, DIY

Lamps Plus

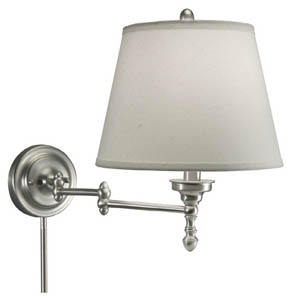
We decided that we liked the style of the swing arm sconce. We can easily move the light over the changing table or the reading area with the glider, and little toys (like the butterflies) or a mobile can hang from the arm to entertain Liv.

Why the randomly placed sconce was installed in the first place makes us curious (here’s before pics of the room). Actually, the previous owner has found this blog, Hi Patt! and there’s probably a great reason behind it, like perhaps a desk or bed used to sit below it, or perhaps it was even installed many owners ago. But by happenstance the changing table fits nicely beneath it’s current placement, so we’ve found a good use for it.

Modern Swing Arm Sconce

Lamps Plus, Target, Pottery Barn

I was on the search for a sturdy, low priced version and had finally resigned to pay $100 plus when I scooped up this version for $40 from Lowes!

Wall Sconce, Swing Arm, Lowes

We modified it to hard wire straight into the existing electrical box and I left off some of the more ornate bulb decor (is that what you’d call them?) for a cleaner look.

Wall Sconce New DIY

So one big item crossed off of the nursery list. Just a few more to go!

More Project Nursery posts: basket liners part 2, basket liners part 1, the great glider makeover, sewing the curtains part 1, part 2, part 3, nursery fabric board, curtain fabric selection, rocking horse find, new pendant light, vintage wall art addition, changing table makeover, nursery wall striping tutorial, painted animal project, the initial inspiration board and the before picture posts.

Related Posts Plugin for WordPress, Blogger...