A Little of This & That… Renovating, Decorating, DIY Projects & Family

Project Nursery: Finished!

They say rooms evolve and that they take patience… but I didn’t believe it ;). When I was seven months pregnant we began Project Nursery and I expected to finish just shortly after Liv’s arrival (we didn’t know if she was a girl or boy so I figured we’d save the more gender-specific accenting until after). Seven months later and I’m on board with the theory – Liv will be five months old tomorrow! Wow how time flies.

But yippee! It’s done! So so happy with how the nursery has turned out and how it has evolved with time.

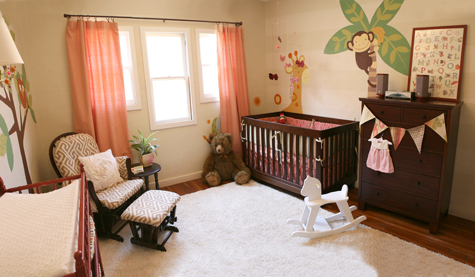
Here’s a wide angle look at the room as you enter from the doorway. Jennifer from Papaya Sky snapped these pictures for me, and as usual they’re amazing .
Modern, Contemporary, DIY, Makeover Nursery, Do It Yourself

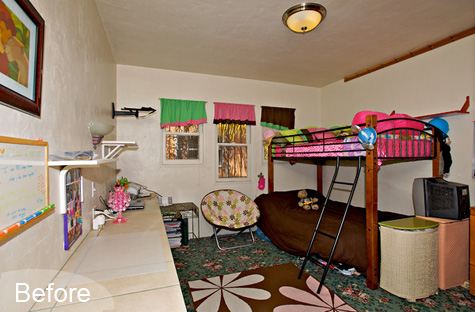
A quick refresher on the before-we-moved-in (the owners took the furniture with them and pulled up the carpet before they left):
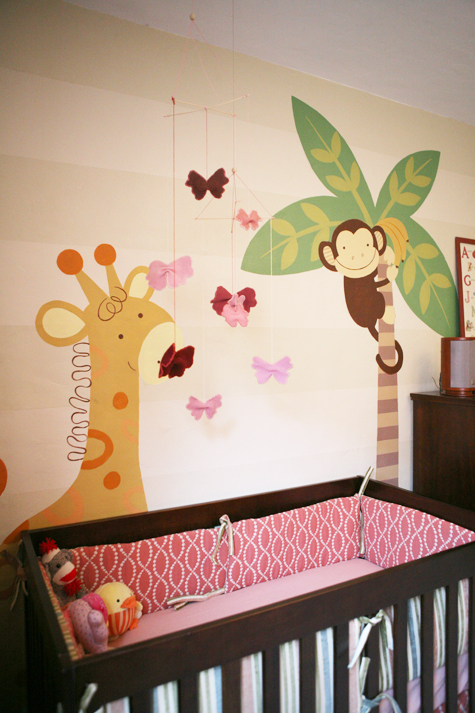
Here are a few different angles of the room, I love the beautiful painted tree and animals by Kevin’s Aunt and Mom. Other favorite projects include the nursery glider updated with a modern print and the made over changing table:
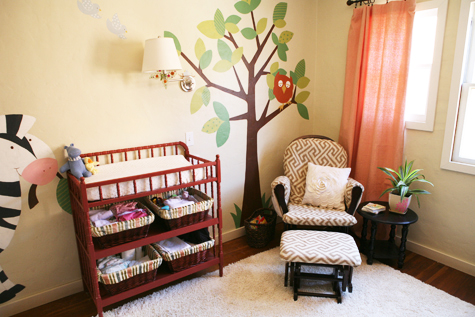
The new pendant light is one of my favorite additions!

I used fabric from Thibaut to decorate nearly the entire room. Projects that I couldn’t do on my own family with much craftier skills helped with, such as these adorable bumpers. I created a super simple DIY crib skirt out of the same fabric.
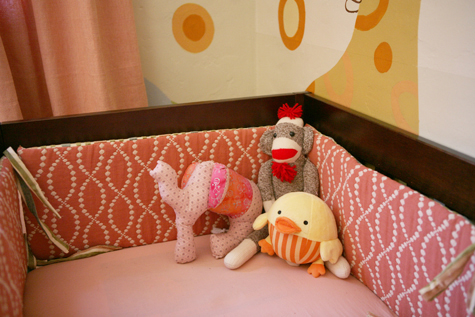
A few more detailed close ups:
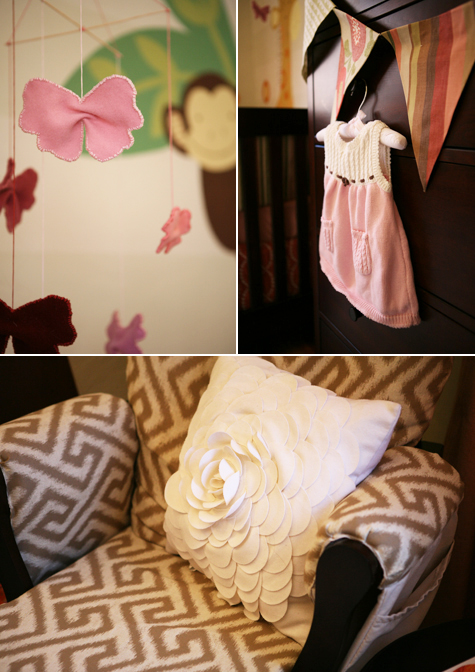
Liv’s handmade felt mobile that I spent many a car trip on:
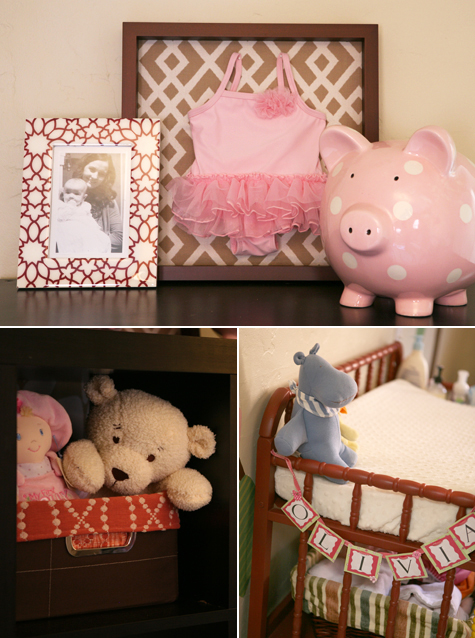
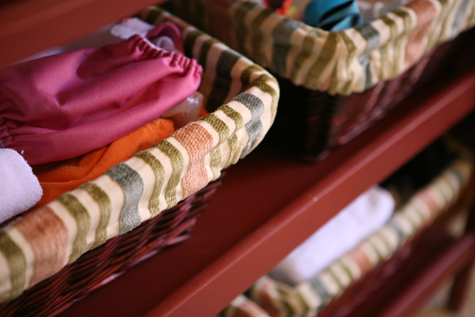
On the opposite wall, the bookcase with its new fabric backing, handmade basket liners and framed clothing art:

Our dog, Bodie enjoys the room almost as much as Liv – I’ll find him napping on the carpet or sitting besides the crib while she’s sleeping.
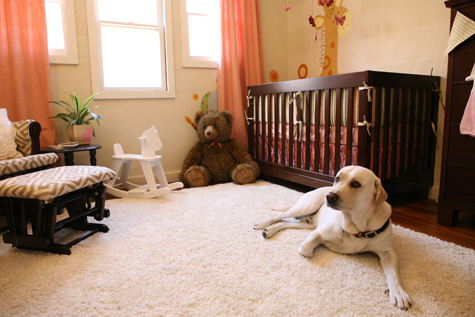
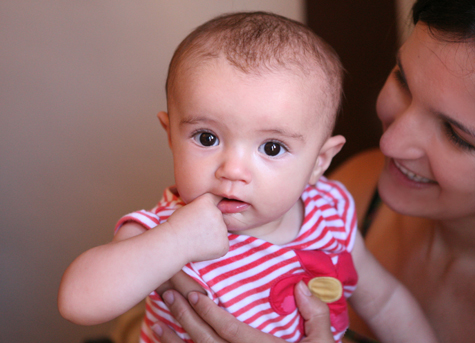
I think Liv really loves it too :).
And to think the room all started with this inspiration board last November!

Plenty has changed over the course of seven months but I think the general theme and feel is roughly the same.

So much time, hard work and love has gone into this room – it’s so special to both of us!

Modern, Contemporary, DIY, Makeover Nursery, Do It Yourself

Here’s a breakdown of every project from the nursery:

No Sew Fabric Pennant
B
aby clothing art
Handmade butterfly mobile
DIY crib skirt

Basket liners part 1
,
part 2
The glider makeover
Recovering an ottoman
Sewing the curtains part 1, part 2, part 3

Curtain fabric selection
Nursery fabric board
Rocking horse find
New pendant light
New sconce lighting

Vintage wall art addition

Changing table makeover

Nursery wall striping tutorial

Painted animal project

The initial
inspiration board breakdown
The
before pictures

********************************************************************************

Thanks to everyone who shared their favorite baby products for the New Mama giveaway! I learned about everything from new books, iphone apps, high chairs, the Sophie giraffe and baby food websites – and couldn’t agree more with moms who love the Moby, Babywise book, swings, bouncers, Baby Gap socks, muslin blankets and the miracle blanket!

Don’t forget to enter for over $350 worth of Mom goodies (makes for great shower gifts, too!).

On to the guest bathroom and new office next!

*New Mama* Giveaway!

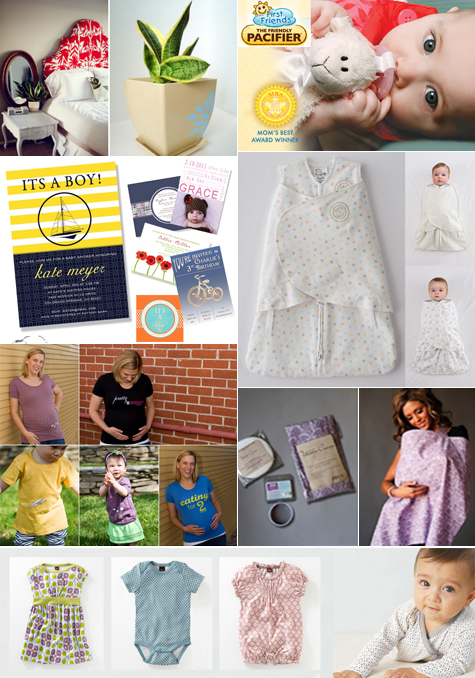
I’m so excited for today’s giveaway! This one is for all you mamas, aunts, Godmothers, grandmothers, friends of mamas and even summer-baby-shower-goers (you’d be set for the season) — it’s a round-up of fun and favorite infant & maternity products, and it’s officially the first New Mama Giveaway!

And it’s the biggest giveaway ever hosted over here! This New Mama basket is valued at over $350 and is FULL of mother and baby fun.

Ready for the line up?

**************************************

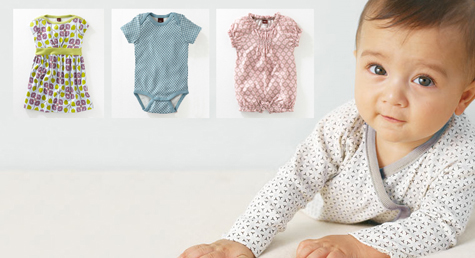
$100 gift card to Tea Collection: Quite possibly the most adorable line up of infant and children’s clothing out there. I’m head over heels for their geometric rompers and boatneck baby dresses! Sizes range from newborn to preteen and you’ll love the selection.

New Mommy Giveaway - Tea Collection

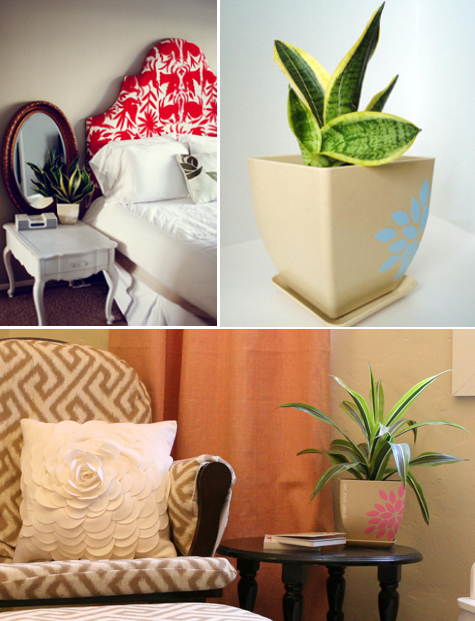
Green Your Air Baby Fortis Air Purifying Plant: These plants play double duty by filtering harmful chemicals from your nursery space while bringing nature indoors (in a modern style, no less). We have our own Viridis in Liv’s nursery (how cute are the customizable/decomposable pots?).

New Mama Giveaway - Green Your Air.

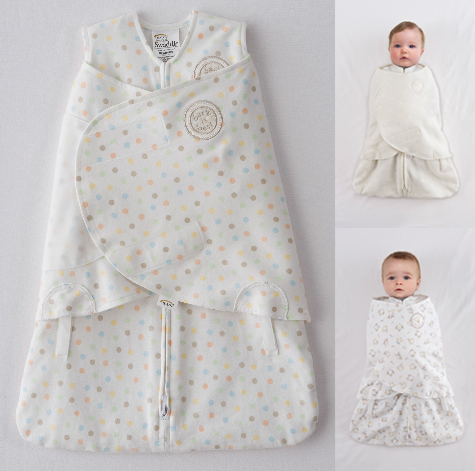
HALO SleepSack Swaddle: Your choice of a 100% organic cotton sleep sack that functions as the perfect wearable blanket + cozy swaddle. Liv sleeps in hers EVERY night and the minute it goes on she falls quickly to sleep. Plus, I don’t have to worry about her waking herself with startled arms and she stays warm even on cool nights. Happiest Baby on the Block, anyone?

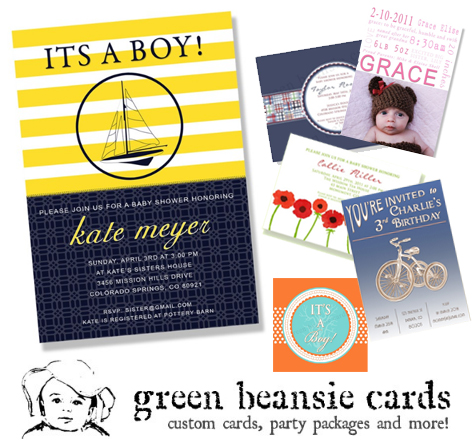
$50 Gift Card to Green Beansie Cards: Choose from an adorable line up of baby shower invites, birth announcements or birthday cards! Green Beansie also designs colorful party kits (cupcake toppers, stickers, labels, etc.) that you can print at home. How great is this Kate Spade-inspired announcement? and this nautical-themed card, too.

New Mamas Giveaway - Green Beansie

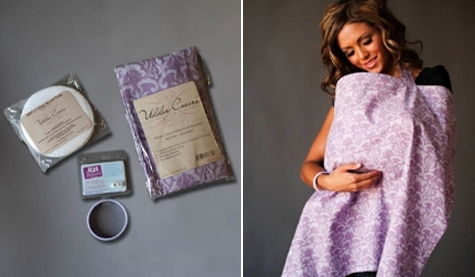
Udder Cover Gift Set: This is my carry-around-town solution for nursing on the go. The Udder Cover slips over your head and easily hides babe while out and about, the boning along the top of the cover allows for mom to peak in. The 3 piece kit includes a Maria print nursing cover, Lilac Milk Bands™ nursing bracelet and 2 pairs of Udder Covers™ 5 ply washable breast pads. Makes the perfect baby shower present, too! Every mom needs one.

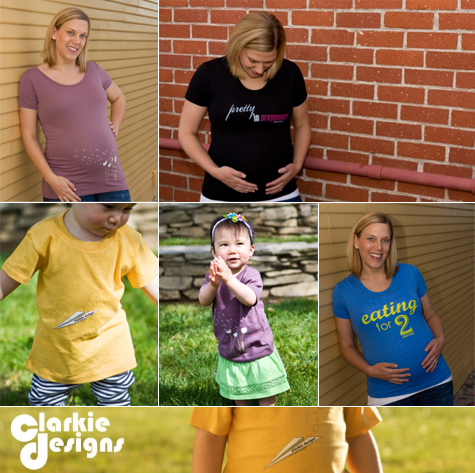
Clarkie Designs Maternity or Baby Tee: Made of a super soft organic cotton these comfy tees are ideal while sporting a growing belly. Designed to fit pregnant and non-pregnant women alike, these tees are screen printed with a non-toxic ink and most have a matching baby version as well! Choose between a tee for you or the little one. This one is my favorite.

New Mama Giveaway - Clarkie Designs

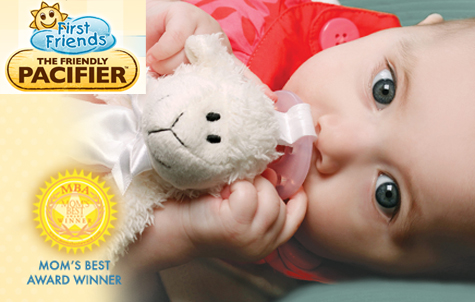
First Friend: I’ve sung its praises before, but this little guy is the BEST for getting a newborn to self-soothe, especially in those perilous moments when you’re driving and can’t reach a fallen binkie, or at 3am when the pacifier has dropped from little one’s mouth. The stuffy helps babies to keep the pacifier in their mouth themselves and offers a soft soothing snuggy for comfort. You’ll love this!

New Mommy Giveaway - My First Friend

Thank you to all of the sponsors who are in on offering this fantastic giveaway to one lucky reader!

******************************************************************************************

Giveaway: One of each of the above! The entire giveaway package is valued at over $350. Please note, you must have a US shipping address to enter this giveaway.

To Enter: Leave a comment with your favorite baby product (we shared ours for the first three months here) – it could be a secret solution you’ve discovered, or a favorite well-known baby item. Don’t worry if you’re not a mom, this could be a toy/product that you loved as a kid :).

For Additional Entries: Become a Facebook fan of any of the giveaway sponsors (including Pepper Design Blog) and leave a separate comment for each additional entry!

*Tea Collection
*Green Your Air
*Halo SleepSack
*Green Beansie Cards
*Clarkie Designs
*First Friend

Giveaway ends Friday, June 10 at midnight PST, winner will be chosen randomly and announced the following Monday. Good luck!

*****************************************************************************************

New Mama Giveaway - Collage

Project Nursery: A *New* Ottoman for the Glider

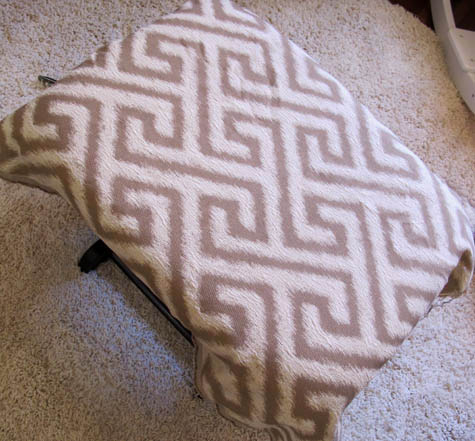
So this might be a little old hat for some of you DIYers out there, but just in case you’re a little reserved on taking the plunge into basic upholstering (and you have a barstool or kitchen chair that’s nagging at you), here’s a recent project that we finished for the nursery that involves just that.

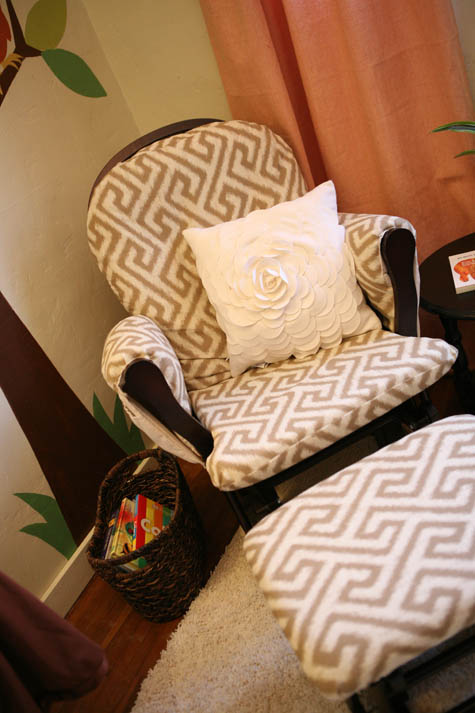
Our everyday average (but super comfy) glider received a makeover a few months ago, but the ottoman was slow to follow. It’s finally a matching pair!

*****************************************************************************************

Basic Upholstery 101

a
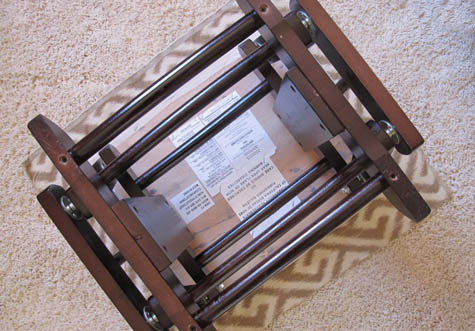
Materials: Staple gun, fabric, scissors, batting or foam (this is optional depending on the current condition of your cushion – I didn’t need extra batting/foam for this project but you could add quilt batting over the top of your foam for a little extra comfiness, or replace the foam altogether. You’ll repeat step 1 with the batting first if you choose to add.)

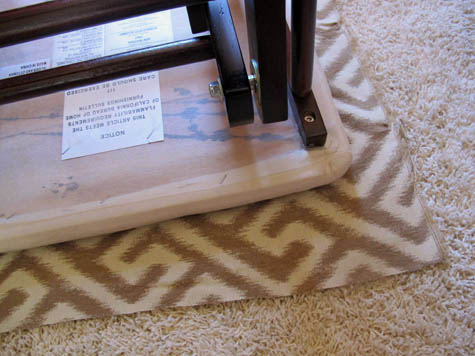
{1.} When measuring and cutting out your fabric for your new cushion, be sure to account for the outside edge of the ottoman, stool, chair, etc that you’re reupholstering. The top of my ottoman is only 20″x12″, but when I add the sides and extra hem space I’m cutting my fabric to 30″x22″ to allow for 5″ extra on each side (2″ for the lip of the ottoman and 3″ for the underside where I’ll use the staple gun).

If your fabric involves a pattern, make sure that the pattern is aligned with your edges so that you don’t end up with a crooked design.

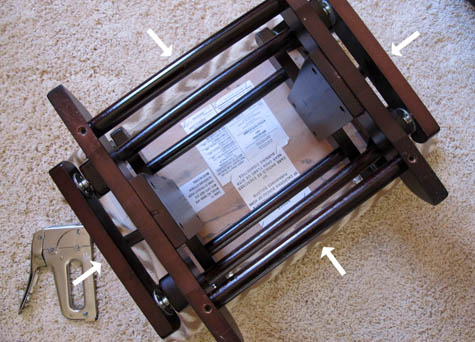
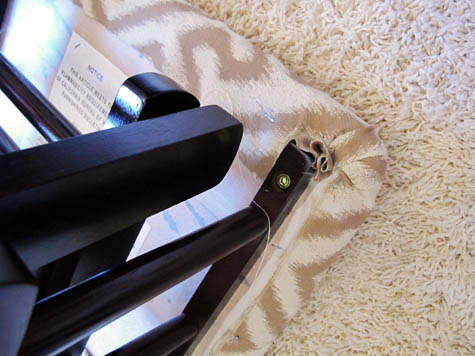
{2.} Begin stapling at the center of each edge, pulling taut (but not too tight to avoid puckering) as you go. Now you should have a staple in the center on each of the horizontal and vertical edges. Flip ottoman over and examine the final look. If you’ve made any errors, now is the time to pull those simple four staples up (or just one edge) and start over.

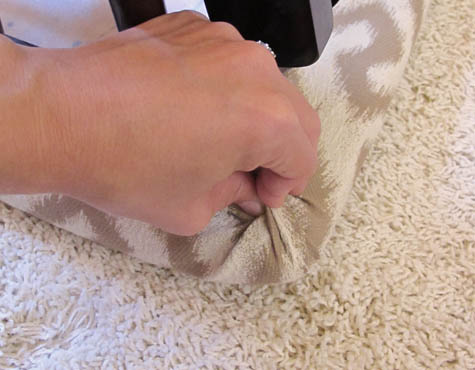
{3.} There are two basic ways to achieve clean corners: the first is a fold (similar to wrapping a package) and the second is a gather. For a gathered look, I recommend stapling in two parts. First, gather your fabric on the right side of the corner and staple gather in the center. Next, gather the left side and staple again (this second staple should slightly overlap the first right-side gather so that the corner looks like one large gather). Flip ottoman over and observe your corner. If it looks good to you, finish the next three.

The second gather is folded slightly over the first to create a clean corner that’s not going anywhere:

{4.} Now we want to fill in staples between the corners and center staple on each edge. You really want to make sure that your fabric is secure all the way around and always check for puckering before applying the next staple.

{5.} Your ottoman should be looking good! The last step is cutting any excess fabric from the edges.

Yay for a matching ottoman! For the other half of this project (updating a standard nursery glider), check out this link.

More Project Nursery posts: baby clothing art, handmade butterfly mobile, diy crib skirt, basket liners part 2, basket liners part 1, the great glider makeover, sewing the curtains part 1, part 2, part 3, nursery fabric board, curtain fabric selection, rocking horse find, new pendant light, new sconce lighting, vintage wall art addition, changing table makeover, nursery wall striping tutorial, painted animal project, the initial inspiration board and the before picture posts.

Related Posts Plugin for WordPress, Blogger...