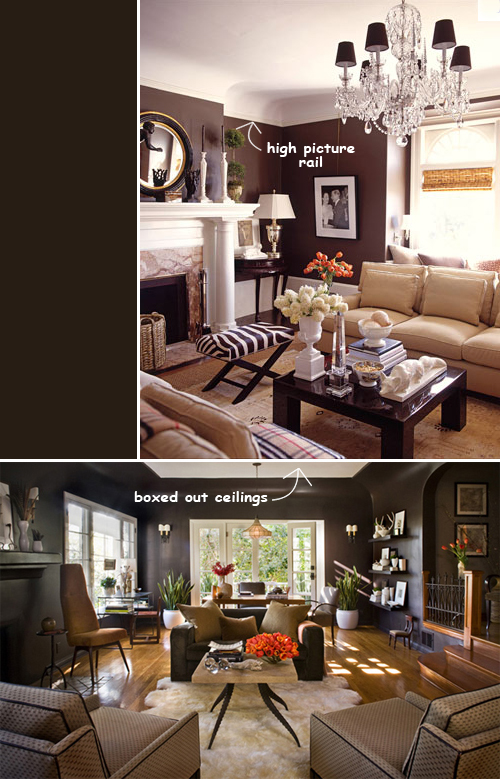
I’ve always loved the classic, textured look of grasscloth wallpaper. When planning out the office I was inspired by these images to possibly give it a shot in the space:
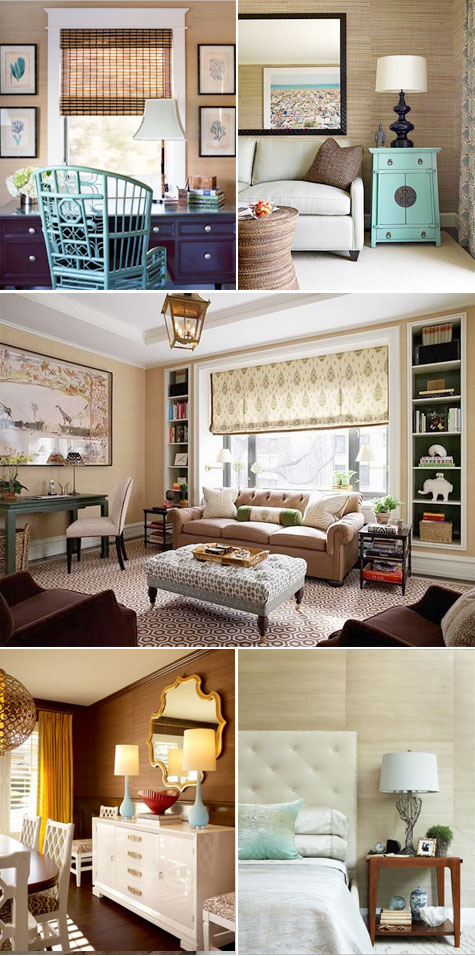
Cue my ‘ooohs’ and ‘ahhhhs’.
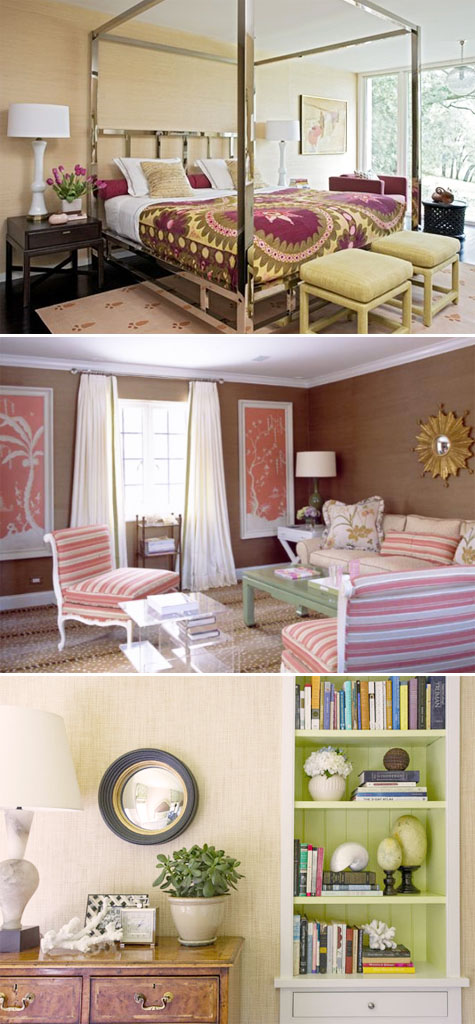
With all of this great inspiration it’s definitely worth a shot, right? I placed a sample order with Thibaut for several promising swatches and settled on Hakka Grass in Khaki (note – if you search ‘grasscloth’ on the fabric website the results come up blank, but they have plenty of choices so try ‘grass’ instead).
It arrived in the mail and I was beyond excited. The wallpaper is comprised of small reeds and fibers in a variety of natural colors, all of which are woven tightly together to create that perfect grasscloth look.
Sooo… at no less than 2am the other night we hung grasscloth on one wall of our office. Why the late time? (or early??) I was so excited to install the wallpaper that I happily agreed to Kevin’s suggestion that we ‘knock it out’ post-painting (which we finished up at… 2am) before the carpet installer came that same morning.
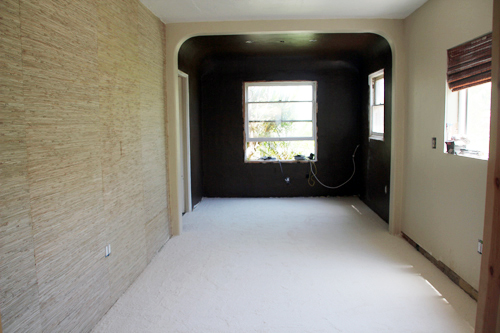
Given the ridiculous time of day, these next photos might be a bit dark… but the grasscloth is up!
Grasscloth Walls
c
Materials: two people (very helpful!), grasscloth wallpaper, textured wallpaper paste (the thick, sturdy stuff is definitely worth the extra few dollar splurge), paint roller and tray, utility knife, staple gun, baking mitts, level and pencil
1. We discovered (the hard way) that the very first step in applying grasscloth is ensuring a level working surface. This might mean that that first panel of paper is hung at a bit of an angle (if there’s anything we’ve found over the years it’s that not all walls are level). If you attempt to hang straight from floor to ceiling without leveling, you might step back several panels in to see the textured pattern angle down or up. So first things first: lay your level vertically against the wall and mark the straight line with a pencil. Go ahead and take a moment to remove all wall switch and outlet covers as well.
2. Using your paint roller (we used both a hand held roller and a roller with an extended wall arm), apply a coat of paste to the wall from top to bottom (as you get used to the process of applying the paper, you can add a coat to the back of the grasscloth as well).
3. Using the penciled line as your guide (and not the corner of your room), hold the top of your first grasscloth panel up against the wall. You’ll notice right away that the panel that touches the ceiling, corner and floor will be unlevel, that’s okay – we’re working by the penciled level line and not the natural wall.
4. Staple the top of the panel at the point there the panel meets the ceiling and smooth, smooth, smooth. I’ve heard a large brush works well for this but I covered my hands in baking mitts (to protect them from the reeds in the grasscloth) and smoothed the heck out of those panels over and over and over again to prevent bubbles. Apply more paste at the edges when necessary with a small paint brush. Feel free to throw in a few more staples along the edges as well – but keep those staples horizontal and not vertical so that you don’t put holes into the paper that you can’t hide.
If you find that applying the paste to the wall before you hang the paper is resulting in a dry wall, try stapling the top of the panel to wall (as mentioned above) and have one person hold the panel high while the other reapplies paste underneath. Then slowly lowered the stapled grasscloth and continue to smooth.
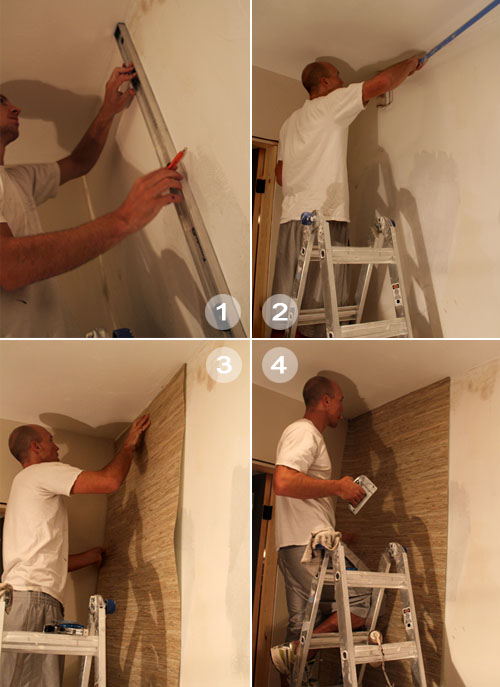
5. Trim excess grasscloth at the edges with a sharp utility knife (those textured reeds are thick so the sharper the knife, the cleaner the cut). Now’s a great time to trim paper for electrical outlets and wall switches as well.
Note: We worked straight off of the roll and didn’t find it necessary to cut wall-sized panels from the roll first. If you do, be sure to add extra inches to account for trimming those unleveled edges.
6. Repeat! We needed four full panels and a small narrow strip at the end. The beauty of grasscloth is that there is no pattern to match as you hang the next panel. Seams are okay and come with grasscloth territory so don’t worry about seeing them here and there. Plus, when you have your artwork and furniture added to the room there will be too many distractions to focus on rather than any lined wall seams. (If you’re extra nervous about seams, cut your full wall panels first and line up the most closely colored panels with each other).
7. Wait a full day for the wallpaper paste to dry, then carefully remove each staple with a staple remover or flat head screwdriver. An alternate to removing the staples (especially if you’re nervous about how well the paper will hang) is to take a bit of tan paint and with a thin brush paint right over the horizontal staples so that the blend in with the grasscloth – I promise, if your grasscloth is thick and textured with real reeds like ours, NO one will know the difference!
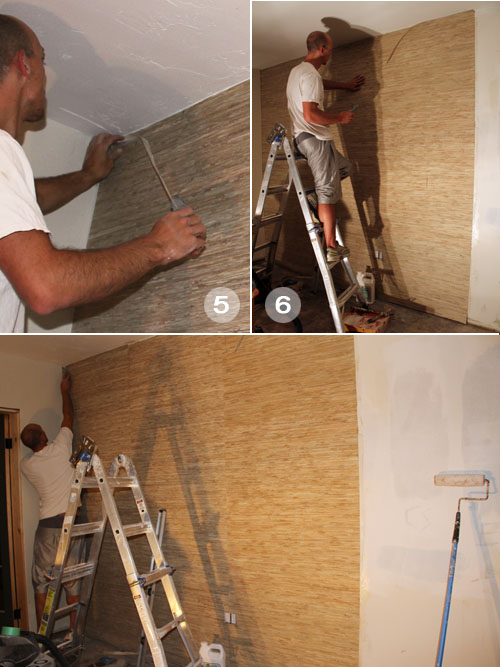
We finished up the project in about 2 ½ hours including prep and clean-up. Having two people to hang, smooth and cut the wallpaper for the entire wall is extemely helpful in such a hands on project.
I was so happy to wake up to a freshly wallpapered room the next morning! I was also a bit nervous that working at 3am might cause a few mishaps that we were unaware of, and I did spot several bubbles that made me nervous enough to consider pulling a panel down to reapply – but amazingly those bubbles dried themselves out by midafternoon and the wall was flat as a pancake.

Love the new wall! The room is much in need of new molding (painted a bright white), a new window there on the right and a bit of window refurbishing in the guest ‘nook’ – but it’s well on its way.
What do you think of grasscloth? And for that matter, do you ever finish projects at odd times of the day?
For more Office Makeover posts, check out: painting the office nook, finding carpet for the office, chocolate brown wall ideas, plastering progress, inspiration for a diy desk, back in action!, desking hunting for under $300, bookcases under $300, inspirational rooms, room layout options, demo part 1 & demo part 2.


