Hope you had a wonderful and relaxing Christmas! We’re trying to still keep it low key around here as we soak in as much holiday as possible before the New Year. This is always one of the best weeks.
I wanted to share with you one of the handmade gifts that I put together this Christmas. Oh I had high hopes of sharing this project with everyone before Christmas! but… you know how that goes. There I was on the 23rd of December after everyone had gone to bed and I’m finishing up spray painting stencils by backyard patio lights at my in-laws. Haha! Motivated to create a truly handmade present for family this Christmas, I had started this project several weeks earlier but as luck would have it I finished just in the nick of time.
Simply Spray contacted me back in November about a product review regarding their fabric spray paint. Immediately the wheels started turning with creative present ideas for family and friends this holiday season. My initial idea was to track down basic white flour sack towels and several wintery stencils to design some fun kitchen gear for our Grandmas, moms and aunts.
After much searching, I stumbled upon inexpensive white flour sack towels at Rite-Aid (I think they were about $1 a piece), and several sets of patterned cloth napkins and solid-colored oven mits at Target. For the record, I also scooped up a couple of white and tan table runners from Ikea but I haven’t finished those yet (sigh).
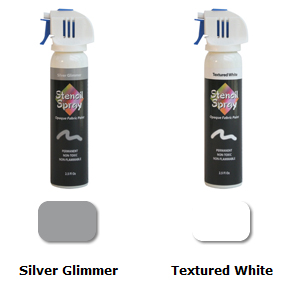
Simply Spray sent me several different types of fabric paint to try out. They carry an upholstery spray (think spraying an entire chair or even couch), a fabric spray (for use with a stencil, soft to the touch, soaks into the fabric) and stencil paint (more of a silkscreen effect staying on top of the fabric). For these projects I used the stencil spray in gold glimmer, silver glimmer and textured white.
Creating a stencil was a bit more challenging. I first took advantage of Kevin’s seriously honed x-acto knife skills (from years of architectural modeling) and printed snowflake designs on thick white paper.
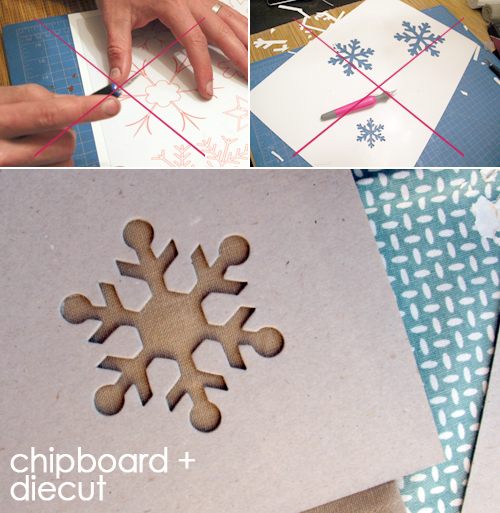
But the process was time consuming (poor Kev) and the stencils lasted for just one use. Where oh where could I find the outline of a snowflake to use as a stencil? That’s when I thought of a cricut machine and ended up at a scrapbooking shop where I learned that you can use chipboard (super sturdy) in a diecut machine! Perfect. For about $.30 a pop I made 10 ish snowflake stencils out of chipboard.
*****************************************************************************************
Stenciling with Fabric Paint
s
Materials: cloth napkins/tea towels, chipboard stencil, spray adhesive, Simply Spray Stencil Paint, cardboard (or hard surface to lay out fabric on), newspaper to keep your space clean! plastic gloves to keep your fingers clean :) – optional
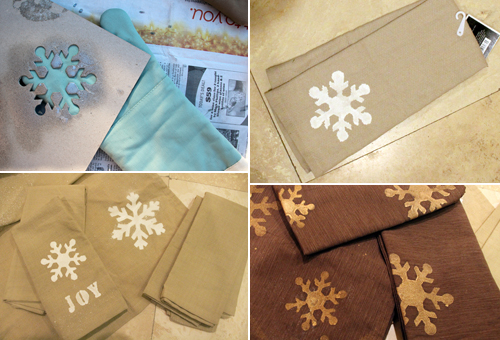
To stencil the snowflakes onto my cloth napkins and tea towels, I first gave the back of the stencil a quick douse of spray adhesive to keep my stencil in place on my fabric and to help prevent bleeding. (Note – it’s best to do this holding the stencil up rather than spraying at a surface such as this countertop – but for picture purposes here’s the example)
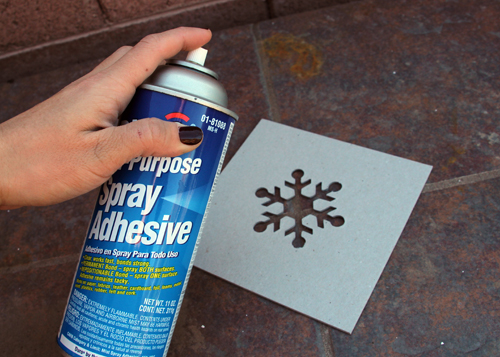
Apply your sticky stencil to your fabric and follow the instructions on the stencil spray can for application (basically, shake shake shake). Before you spray your actual napkins, towels, etc be sure to test the spray out on scrap cloth. A few lessons learned from scrap cloth: the cans drip and they can cause giant droplets on your fabric and the spray is not always even. It’s easy to compensate for once you play around a bit.
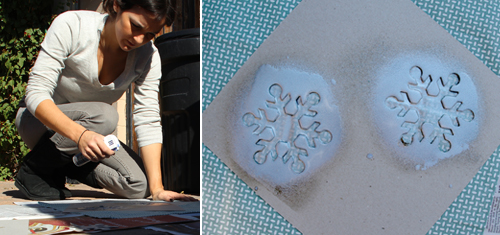
A quick email to Simply Spray resulted in the suggestion of starting and ending the spray ‘off’ of the fabric (such as in a paper towel), this helped a ton. A couple of other tips from me would include: 1. the white textured spray has quite the ‘spray’ that will end up all over your fabric regardless of your aim – use chipboard to cover the entire piece except for the stencil area to prevent any sort of splatter (not an issue with the gold or silver glimmer spray), 2. the gold and silver glimmer spray tended to bleed quite a bit – I found it best to get about 6-8″ above fabric and quickly swoosh over stencil area with a light flow (the bleed doesn’t go away, the watermark look will dry and stay), 3. I needed roughly two cans to finish six cloth napkins and three tea towels which I didn’t anticipate, so I did end up making a Michaels run half way through the project.
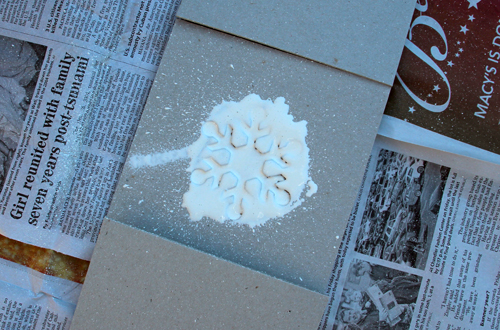
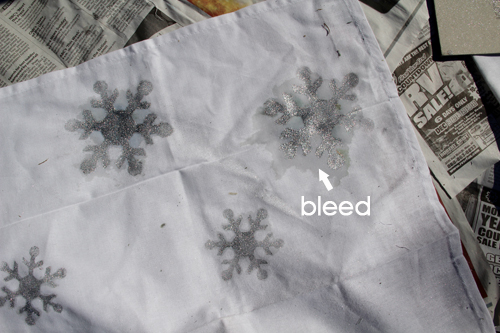
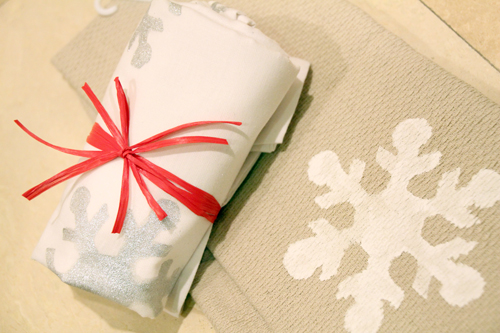
Let dry in the sun for several hours to cure, then wrap up and gift!
*****************************************************************************************
I played around with different materials, including a terry dish towel, dark brown napkins and even several oven mitts. I attempted a bit of lettering but the white bled through around the edges.
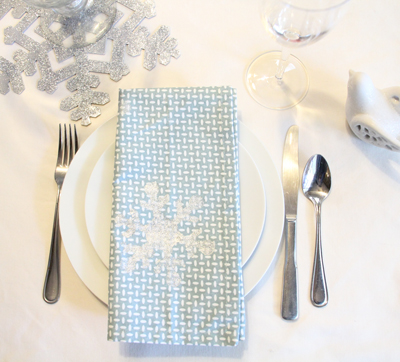
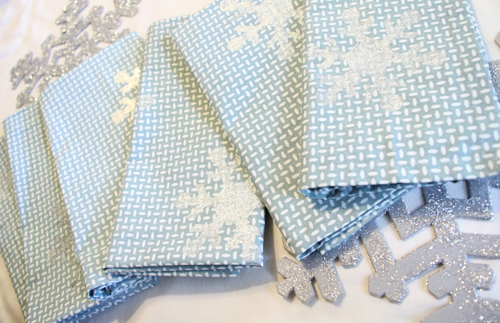
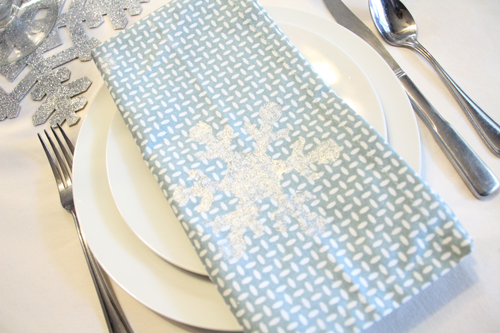
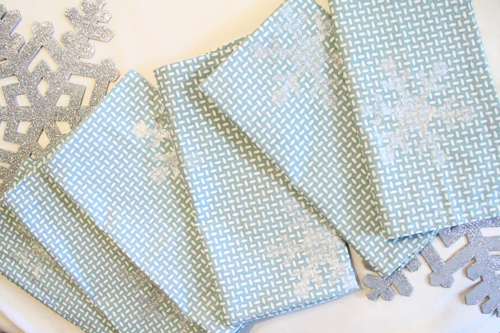
In the end, the projects that I ended up gifting and loving the most were the white flour sack tea towels and the light blue patterned napkins I found at Target that I covered in a few subtle silvery snowflakes.
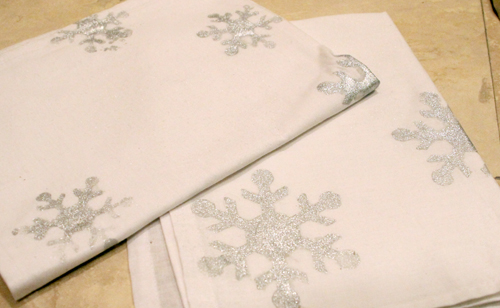
The tea towels each received three or so small snowflakes and two large in one corner so that about 1/3 of the towel was covered with a random pattern.
The napkins were painted with three ish snowflakes in one corner in a random pattern. Having some snowflakes just half on the napkin helped to create a random and pretty look.
It was a fun project! Simply Spray is revolutionary in that it’s the one and only aerosol fabric spray paint brand (I’ve heard the spray bottle versions are super messy) and it’s really fun to work with. Be prepared to mess up on a few of your fabrics (I bought eight cloth napkins to create six) and make sure to set up a station covered in newspaper for painting and drying. I think my mom, mom-in-law, aunt and cousin dug their new towels, napkins and mitts. :)

