A Little of This & That… Renovating, Decorating, DIY Projects & Family

Bedtime Stories Baby Shower Part 2: Fabric & Ribbon Bunting

Back with a few more details from the Bedtime Stories baby shower that I shared last week. I’m all about handmade decorations so two of the little projects I worked on leading up to the shower included a set of fabric flags and a little ‘ribbon strand’ to hang onesies from (which was our shower craft project).

So I’m still not exactly sure what the major difference is between fabric bunting, pennants and flags are… but I’m pretty sure they’re all basically describing this:
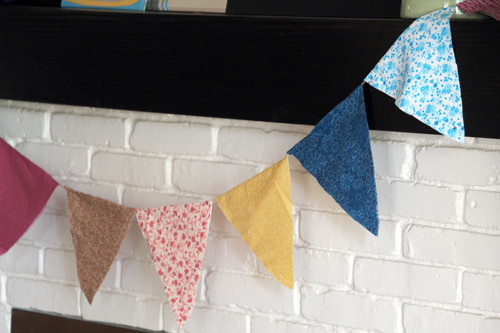
We’ll call them flags today :-).

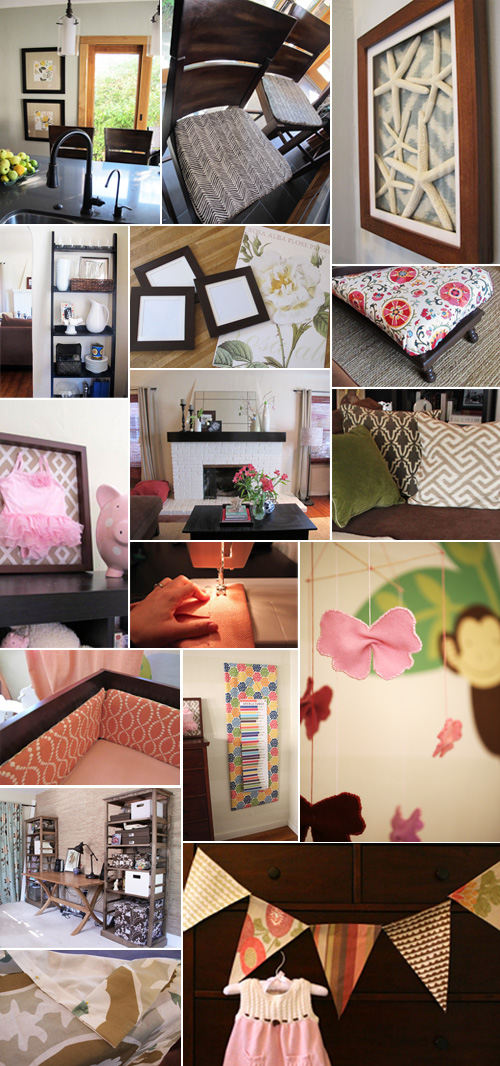
I made a no-sew version for Liv’s nursery out of left over fabric remnants from her room decor a while back and had used a fusible iron-on hem tape to put it all together.
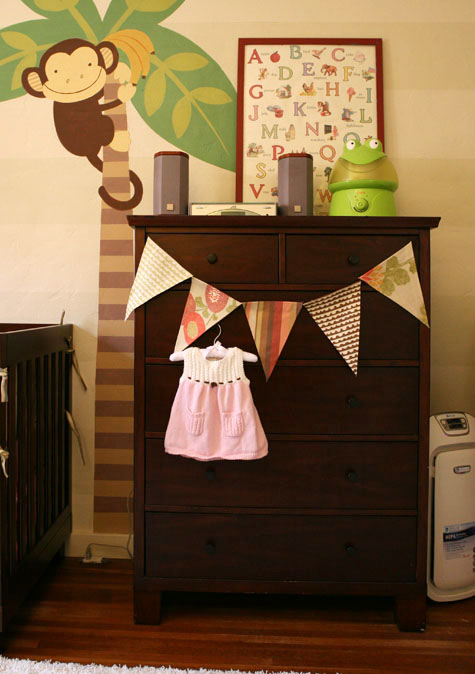
But I was pretty sure there was an even easier no-sew way to make a really large set of flags for this party.
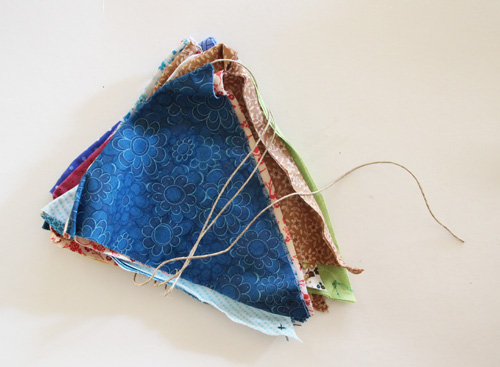
What ended up making the bunting so super simple was the basic stitch at the bottom of each to create the individual flags. No sewing machine, not even an iron!

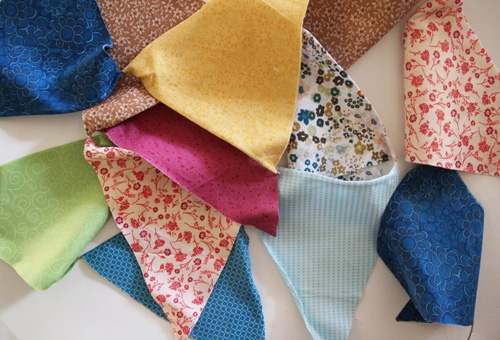
I opted for a light weight quilting cotton from Joanns and raided the quilting squares remnant boxes that they usually have throughout their store. Each quilting square made roughly three flags (which started as diamonds… more on that soon) and I probably had somewhere around 40 when all were cut.
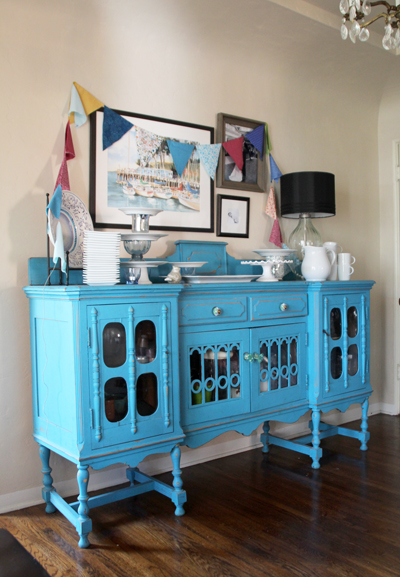
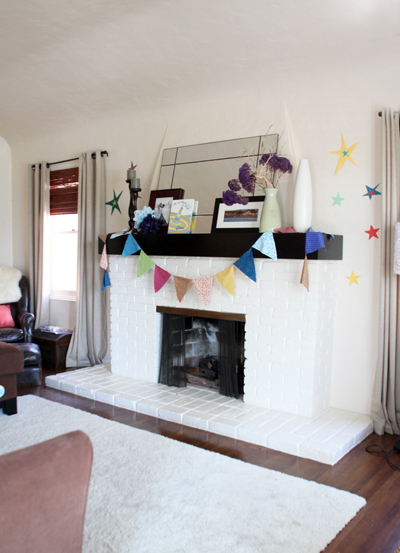
I split the 40ish flags between two long lengths of thin twine to make two different strands. I know I’ll use these for lots and lots of different types of parties (they’re just really fun to throw up and around whether they’re indoors or out) so I kept the colors soft and gender neutral.

One set was strung over our buffet in the dining room (above) and one was added to the fireplace mantle.
But back to putting these together…

***************************************************************

Super Simple Fabric Party Flags
a

Materials: fabric remnants, scissors, needle & thread, twine (or ribbon or string), white glue (such as Elmer’s)

We first cut up the fabric remnants into large diamonds and folded the diamonds in half over the long length of twine.
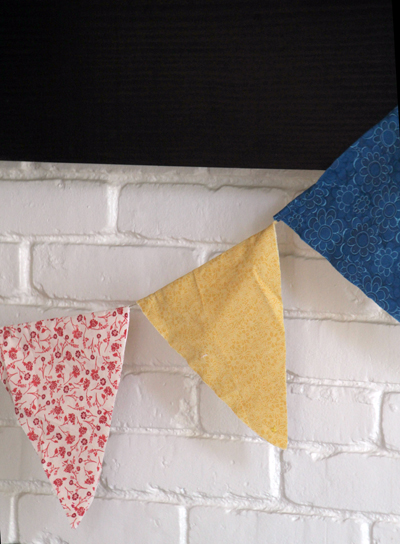

To keep the sandwiched diamonds in place, we added a simple X stitch at the bottom corner of the triangle with a needle and thread.
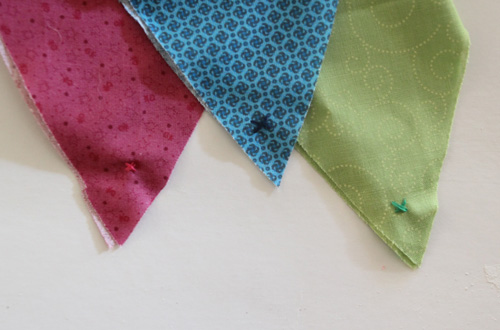
I found thin twine at Joann’s and thought that it gave the flags a nice little shabby chic look. You could use ribbon though (like I did for the sturdier bunting for Liv’s nursery) or really any kind of string you have lying around.

When the flags were strung up we noticed that they started to slide back on top of each other, so as a last minute solution a little dot of Elmers glue was placed on each end of the flag where the fabric meets the twine. Held the flags in place like a charm!

My awesome group of lady friends came over one night to help me assemble all 40 flags which made the process quick and easy, and Liv’s babysitter saved the day when she helped me add dots of glue to the edges of each flag after we realized (last minute) that the flags tended to slide back on top of each other without the adhesive. I was plum out of time and it was super helpful (yay for naptimes).
a
Ribbon Flags
mMat

Materials: ribbon of varying widths and colors, fabric strips, twine, baby clothes pins (found at craft stores), onesies or other fun items to showcase

The second bunting-ish project was a ribbon strand that held various lengths of folded over and loosely knotted ribbon, fabric strips and finished onesies from the group craft project (more on that to come – such an easy and fun shower activity!).
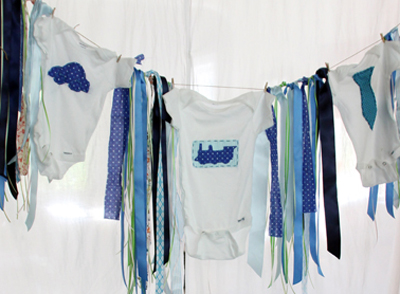
This one was so easy to assemble and while I don’t have the best pictures of it, the project is a fun addition as a backdrop to any shower or birthday. I’ve seen these strands strung up behind dessert tables before (without onesies) to add a little color – beautiful! The only bummer is that it requires SO much ribbon. My little strand here was four or five ribbon spools from Joann’s and I’m glad I planned on mixing in the onesies because that’s what really filled the gaps.

The bonus is that the ribbon can be used again and again for all sorts of projects, or even as bunting for a future event.

***************************************************************

For the Bedtime Stories Part 1 post, jump out to this link. Hope to post one more segment soon with details about the iron-on/embroidery onesie craft project (and how easy they were to make as a group!) and my easy-to-assemble solution (without destroying your plates) for tiered food stands.

The New Year is Here! Time for Some Resolutions

2012 is here! And the whirlwind of 2011 has officially come to a close. I’m not a huge fan of the idea of New Year’s resolutions (sounds so daunting!) but we do have some goals this year for our home and our family.

First up is the house. As you know, we purchased our little Spanish bungalow in 2008 and have literally lived in open demolition and construction somewhere indoors from day one. To see a line up of what rooms we tackled in 2011, check out this post. We don’t have plans to stop but we do plan on taking some of the demo outdoors which will be kind of a nice break.

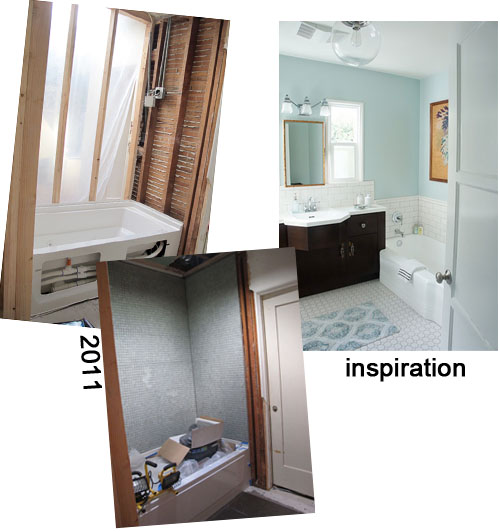
But before we head outdoors, the bathroom is back!

We ripped three closets and a hallway open in April of 2011 in hopes of throwing together a perfect little full bath in the middle of the house (we eventually have plans to turn the current full bathroom into the master bath so the addition of a new one was necessary). More on this soon, but it took a lot longer than anticipated. Inspiration image found here.

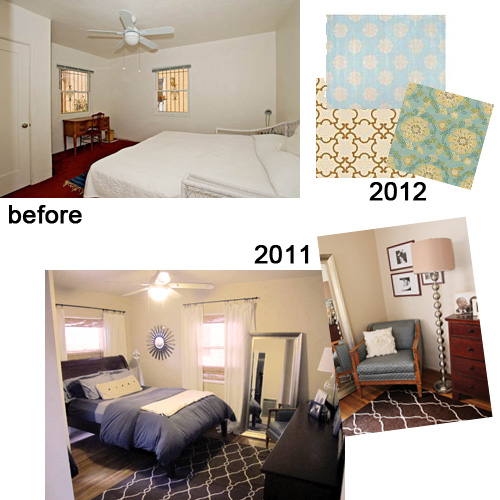
Next, I plan to give our master bedroom a serious makeover.

Before we moved it in was hard to picture where it would end up… and after living in it for a couple of years with our furniture and a few decorative details I finally have the start of my plan in mind. The dhurrie rug is a dog hair attractor and the white curtains (while nice and flowy) are not grounding the space really well. No big demo in here but a healthy dose of pattern should update the space.

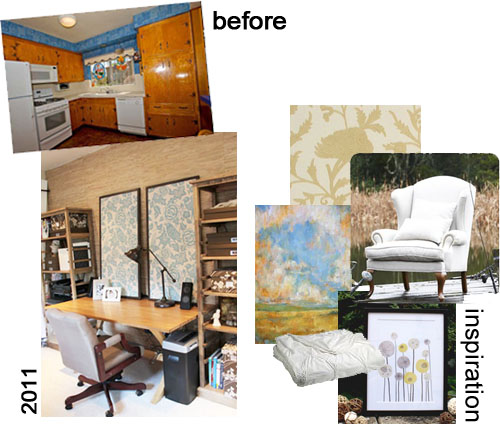
Our office will still be working its way to the finish line with a few outstanding projects: a big, comfy wingback chair find and makeover, duvet and bedding for the guest bed, new office chair upholstery, neat artwork finds and quite a bit of organization.

Yep, the before was the original kitchen! So the room has come quite a ways, but the finishing touches are always important.

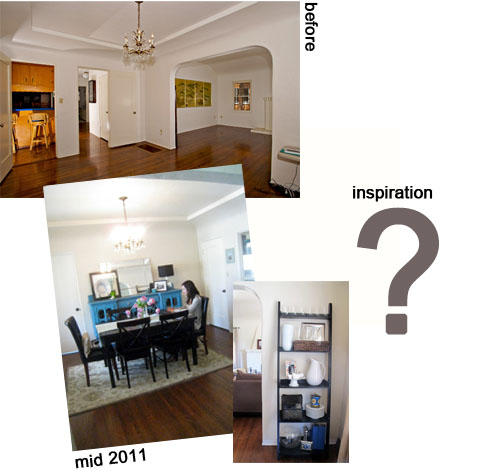
Then there’s the dining room. This room is in need of a new lighting solution, a larger rug, better curtains, new artwork and some serious patching after the bathroom is complete.

The ‘before’ pic is just before we moved in and taken from an angle in the far corner of the room. You can see into the hallway and what it looked like before the new bathroom-in-progress took over! The current state of the room is livable and homey but a design direction is needed. As for the inspiration? The ideaboard is wide open.

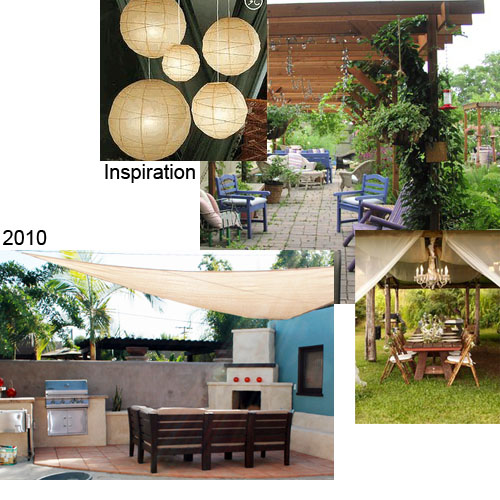
When we take it outdoors we’ll completely overhaul our side yard with the goal of creating an outdoor dining spot to compliment the outdoor kitchen we built from scratch in 2010.

The plans are that the new side yard will get a deck, a big arbor (maybe some neat hanging lanterns or moravian lights?), a rustic farmhouse table and right now I’m picturing some cool mismatched chairs. We’ll repaint the blue wall in the current outdoor fireplace area, add quite a bit of greenery (crawling figs, maybe a diy outdoor fountain) and a few kid-friendly details like a sand pit or grassy patch.

If we have time, we plan to work on the breakfast nook and bar area of the new kitchen. But I don’t want to get too far ahead of ourselves… after all we have to do all of the above on a super tight budget and in full on do-it-yourself style.

That ought to get us off to a good start.

When it comes to our family lifestyle, we have a couple of goals in mind:

1. Time management. Because our schedules are so unusual (with Kev being a full time student and me working from home (which means I don’t ever ‘leave the office’) we tend to let work pour into play and sometimes even vice versa. I think I’m more guilty of trying-to-get-too-much-done and I’m hoping to really incorporate a few simplifying and decluttering solutions.

2. Be healthy. Kevin hopes to take our Going Green to a new level by trying to purchase as much as possible from local farmers via CSA and farmer’s markets. His goal is to rarely visit the supermarket. I hope that means that I’m not the default for that plan…

3. Do something crazy. We know that we’ll be expanding our family soon if we hope for Liv to have a sibling close in age (and it takes 9 months to cook those little additions) so we want to do something fun and crazy in 2012. It might involve some cool traveling on a budget.

I don’t expect this next year to slow down much with what we’ve decided to try and tackle in the ways of our home remodeling project, my job and the expansion of my creative marketing business (I work full time as a marketing director for a motion control company and I’m launching a couple of ventures on the side – it’s going to be fun!), Kevin’s 4th year of school and Liv’s ever growing and developing ways, but that’s the way we like it! but as you can see from our family goal, I hope to manage it and corral it all in with some serious organization overhaul.

I’m exhausted just thinking about it all…

What are your plans for the New Year?

A Toast to 2011! And a Year in Review…

Wow this year has flown by! Before we usher in the new year (2012!?) here’s a quick look back at some of my favorite projects from 2011.

Rooms tackled in the house…

Crafts and more diy fun …

And our biggest project to date!

We wish you all a Happy New Years!! So long 2011 – you were good to us!

Related Posts Plugin for WordPress, Blogger...