The bathroom has made so much progress over the last few days! We’ve gone from a framed out room to drywalled, plastered and even tiled walls.
It all started with the addition of a layer of drywall and hardibacker (for under the tile portion of the wall – making it extra waterproof) and a sealing off of all corners with corner tape (makes the meeting of two walls or ceiling and wall seamless). Then up and over that drywall layer went two thin coats of plaster that Kevin added to give the walls that traditional Spanish feel (just like the rest of the walls in the house).
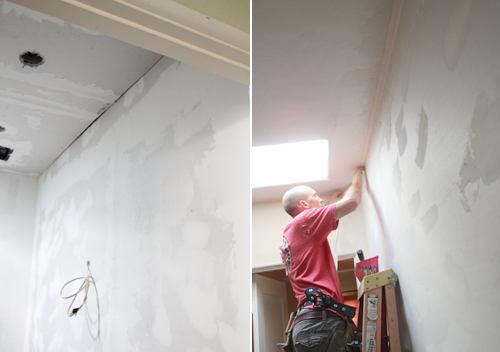
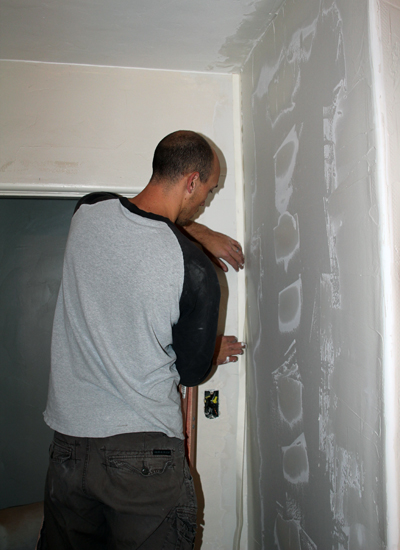
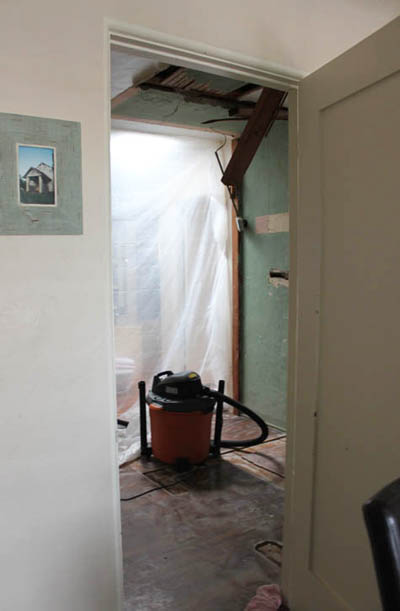
And just to back track a little in case those shots of newly plastered walls are coming out of nowhere for you, this is the outline of the door we had to cover up (part of the old hallway) that led into the dining room, and why we had to basically begin from scratch on all walls:

Here’s a look at that same door coming into the new bath from the dining room:
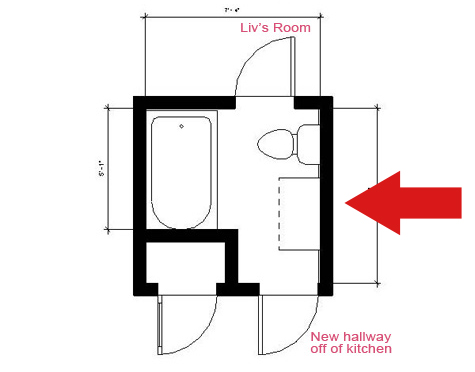
And here’s the layout for an even better visual, the arrow marks the old door that led into this space:
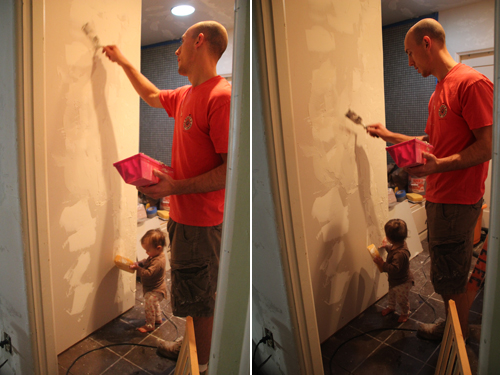
Amidst all of the wall sealing up project, I walked into the room to witness this:
A close up:
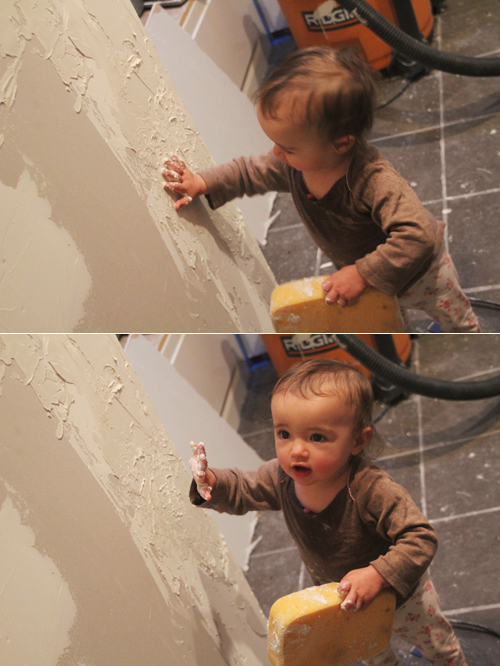
Ah yes, just what every mom wants to see. Daddies sometimes have the best ideas. I guess Liv was helping – that’s always a good thing.
She is actually quite the helper. Kevin watches Liv in the mornings (before her babysitter comes over for a few hours) while I work in the office and I’m beginning to think that he might be taking advantage his side kick…
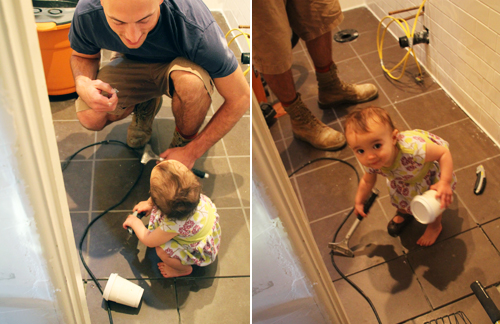
PS that is an empty coffee cup in her hand – we don’t also amp her up on caffeine :) but boy does she insist on carrying a cup around when mommy has one too.
We have a baby gate that separates her from the bathroom when he’s doing little jobs that she can watch, and she always wants to help so badly!
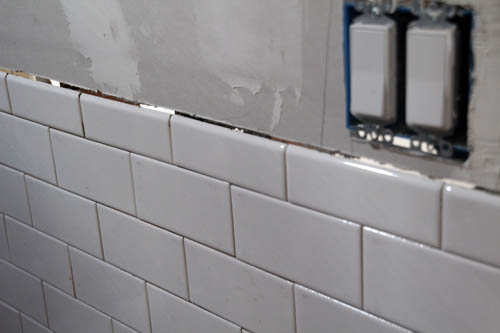
Back to tiling. We chose to add a subway tile chair rail to the bathroom as a little nod to the history of the space. Subway tile is characteristic of older baths and it’s one good example of a classic look that has stood the test of time.
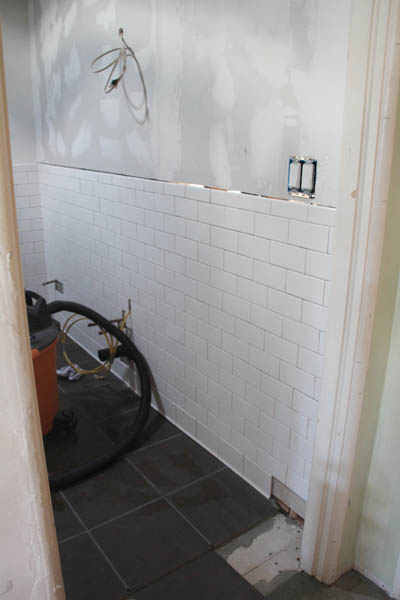
Here’s the in-progress version:
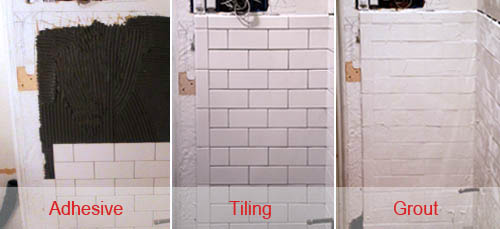
Kevin used a trowel to add a thin layer of adhesive to the wall (something around the consistency of thick pancake batter is what you’re looking for), set the tile and after letting dry overnight, grouted it with a rubber grout float.
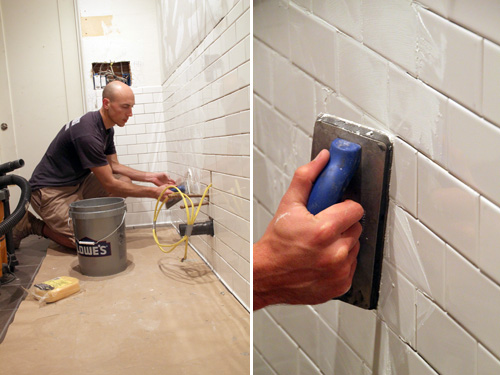
We set the tiles verrrry close together and used the smallest spacers for this project (as everyone knows white grout can be tough to keep clean and this helped to keep the grout to a minimum ).

Rather than adding a colorful border (always pretty and definitely a nice option) we opted for a solid white subway tile chair rail since the recycled 1″ tiles we used in the shower nook didn’t come in any other size. The top of the tile is a simple bullnozed set of subway tiles.
Here’s a quick reminder of the inspiration image we’re holding on to. Love that subway tile!
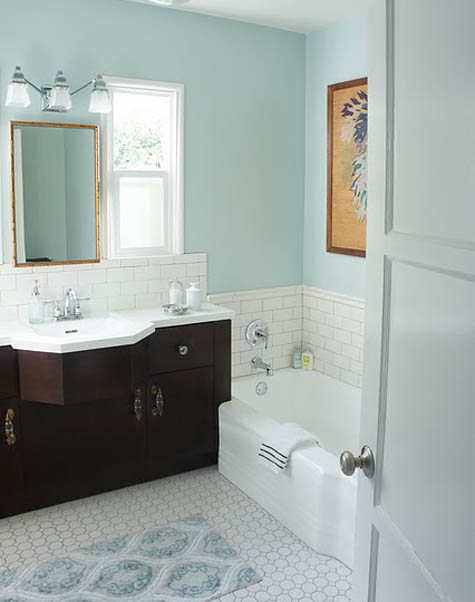
And here’s another really unique way to install subway tile:
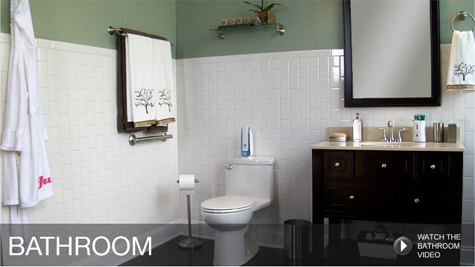
On the vertical! How cool is that?
Next up is picking out a vanity, toilet and then finally painting! It’s all coming together.
More building a bathroom posts: floor tiles and toe warmers, a quick catch-up on our work on the bathroom in 2011, tiling with recycled glass, choosing and installing a bathtub, demo time!, a peak at the layout, initial inspiration, partnering with Lowe’s
We partnered with Lowe’s on our bathroom remodel and received some product at no cost and some product at a discount. The ideas and stories shared in this post are entirely our own.
