A Little of This & That… Renovating, Decorating, DIY Projects & Family

Building a Bathroom: Vanity Wars

Sounds like the title of the latest reality show, right? Well we’re having a serious show down over here between several vanities that are vying for their spot in the new bathroom (at least in my head that’s how I’m imagining the fight is working out).
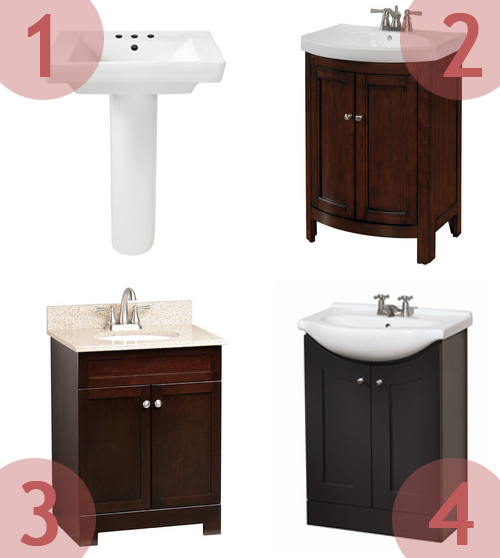
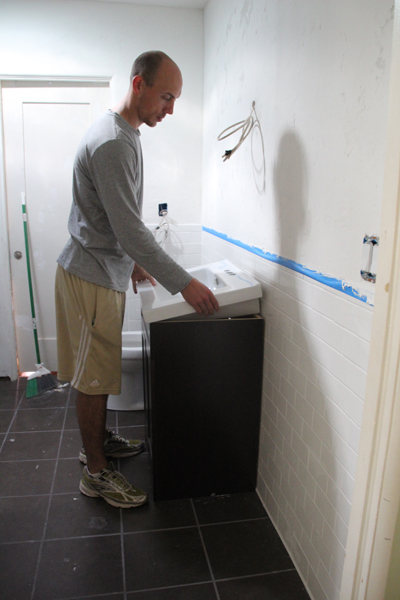
We bounced back and forth between a cabinet-style vanity and a pedestal sink and actually tried all four of these various models in the bathroom itself. Nothing speaks louder than a really outstanding visual!

The bummer with the pedestal (my initial favorite) right off of the bat was that because you entered into the bathroom looking at the side of the sink, the exposed plumbing was going to be more obvious than usual (such a bummer – if we had originally plumbed it with that intention it may have worked out). But alas, on to options with storage (woohoo!).  Standing in corners 2, 3 and 4 are the 25″ ish (the ideal size for the space – we learned the hard way by hauling in a 36″er) and are as follows: 2. Moravia by allen + roth, 3. Java Broadway by Estate, 4. Magick Woods by Eurostone Shaker.

Any of these vanities would have been perfect, but the perfectionist in me had a little vision in mind as to what I had hoped the ideal vanity would be: a more modern rectangular shape, a ceramic white vanity top and a little bit of storage below.

The Moravia by allen + roth had more of a potbelly feel with a rounded front and more ornate doors.
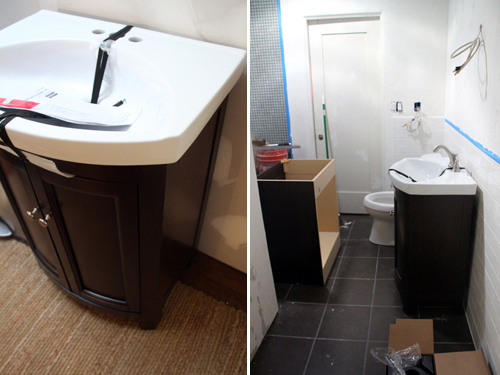
It was a little on the fancier side though it did have wood paneling sides and that was a nice touch, especially since you see the side first. The only thumbs down? The white of the top of the vanity was different white from the subway tiles and Kohler toilet. Pretty noticeable (I guess maybe especially to us since we’re up to our ears in details right now :)).

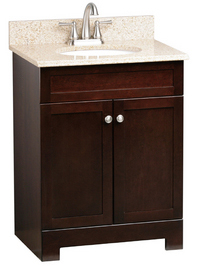
The Java Broadway by Estate was the ideal shape with classic shaker-style doors. Proportion-wise it was a fit as well with a depth of about 19″ and a 25″ width. The only bummer? It has a tan top. It’s had to see in this picture, but the vanity top is on the warmer side with creamy tans and browns. We considered the top with the current blueish/green color palette for a few minutes but quickly decided that it contrasted too much with the cool tone of the tile in the shower and on the floor.
The Magick Woods by Eurostone Shaker was the most economical solution and shared similar shaker-style doors to my above favorite. The stain is significantly darker in person, more of an espresso vs coffee, and the ceramic bowl almost looks like a pedestal with a built-in cabinet. The major bummer was that it’s a short 12″ in depth and after seeing the above options it felt like it was swallowed up in the bathroom. It’s a shame because this guy would have been a great buy.
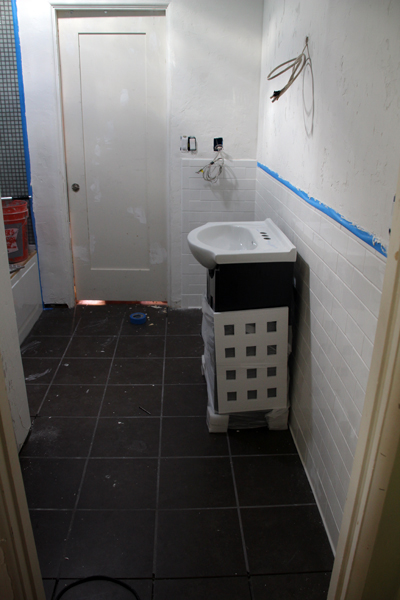
We spun circles around which decision to make -all three of the final vanity choices would have worked out great in the space! But we had to choose one that was most similar to how we imagined the final bath turning out.

The vanity that won out? Java Broadway by Estate! When we learned that it would be just a small expense more for a Kohler vanity top that matched the Kohler toilet we splurged the extra bit and upgraded to the best of both worlds.
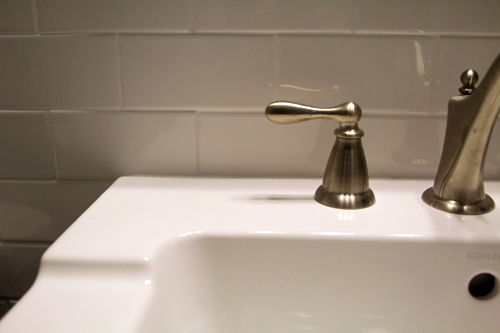
An up close shot with one of our hardware options we’re thinking about…
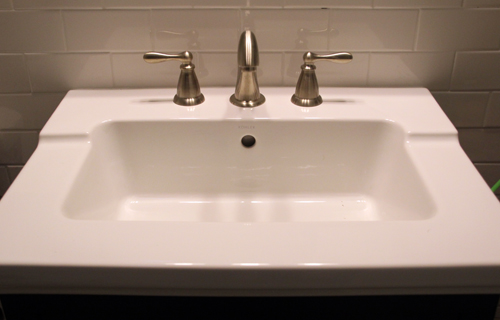
And the matching Kohler option looks really great up against the ceramic tile.
Next upm installing these guys and painting! A new bathroom is on its way…

More building a bathroom posts: subway tile installation,  floor tiles and toe warmers, a quick catch-up on our work on the bathroom in 2011, tiling with recycled glass, choosing and installing a bathtub, demo time!, a peak at the layout, initial inspiration, partnering with Lowe’s

We partnered with Lowe’s on our bathroom remodel and received some product at no cost and some product at a discount. The ideas and stories shared in this post are entirely our own.

Liv’s 1st Birthday: DIY Invites & Envelope Liners

Back with a few more details from Liv’s 1st birthday. When it came to creating little invitations for her party I was a big time procrastinator. Actually, it was during my few days off between Christmas and New Years that it suddenly dawned on me that her birthday was just a few weeks away! and we needed to get something in the mail asap.

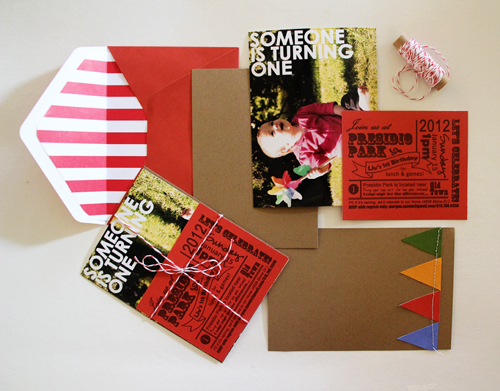
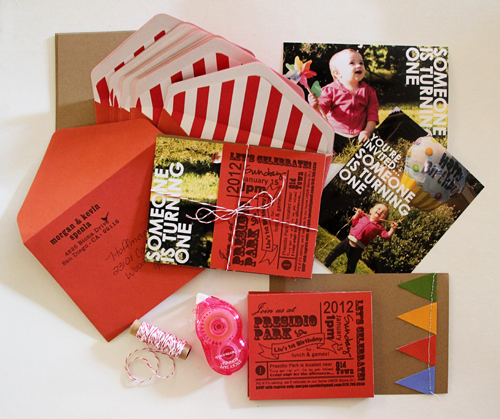
It was fairly simple to throw these guys together quickly. I used Photoshop to add some cute, bold text to two of my favorite photos of Liv (I couldn’t pick between the two! So half of the invitees received one and half the other), but you could use one of the free programs reviewed here to do the same.

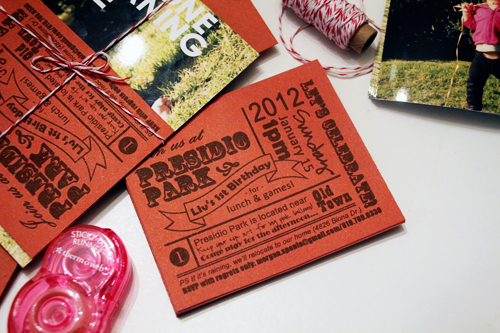
I sandwiched that photo between a smaller red card (bought a set of red envelopes and matching cards at Michaels and printed the party info in fun fonts directly on to the red inserts, then cut them to size) and a piece of brown construction paper.

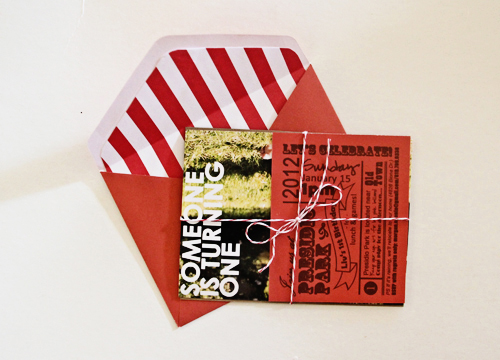
Inspired by this creative girl’s Christmas card and this beautiful invite from Pinterest, I tied up the bundle with Martha Stewart’s striped baking twine (found in the scrapbooking department in a pack of 6).

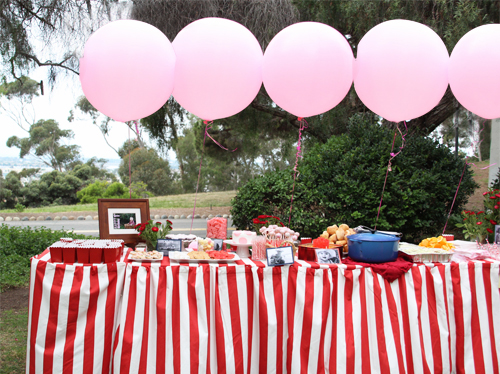
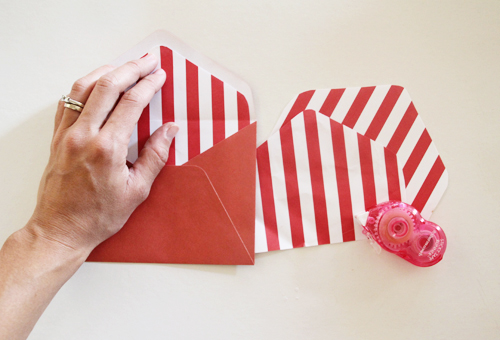
The other half of the fun was creating envelope liners that for me really made the entire invite. I love the peak of red and white striped paper and it tied in perfectly with the rest of the party. It was a little teaser of what was to come!

To make the envelope liners (by the way, they’ve been on the back of my mind since seeing this adorable version), I created a simple template of the inside of the envelope (trace the shape of the envelope on to thicker paper, cut out and then snip off about 1/3″ of an inch from each side) and then cut out about 25 from 12×12 striped scrapbooking sheets of paper from Michaels. I used double sided scrapbooking tape to adhere into place.

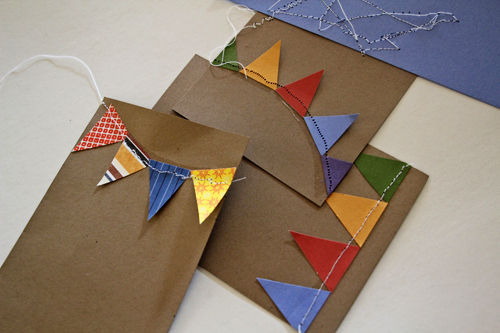
My last addition was a failed attempt. I had originally hoped to sandwich the information card and photo of Liv between a piece of paper bag brown construction paper (that was the specific color I was on the hunt for :)) and a top piece of the same size but with cute, colorful bunting (a la a few images from my Pinterest board on Liv’s party).

Sewing paper is seeeeeeew difficult (see that crazy stitching above?), and after a half hour of testing, tearing, tangling and tormenting I decided to omit the addition.

But I was thrilled with the results of the invites and we got those puppies in the mail just in time to notify friends and family that there was a par-tay coming up!

Total cost was about $.25 per invite and from the time I hit ‘send’ on my online Costco photo order to the time I picked up my pics at our local Costco, all of the supplies at Michaels and assembled the invites, it took just a day or two to get them finished and in the mail.

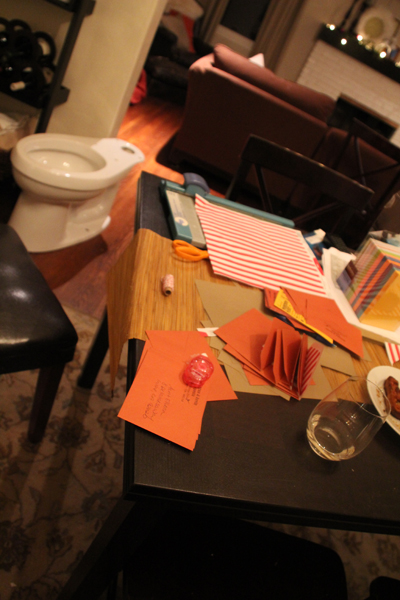
And just for fun, here was my assembly workstation:

Wait, you don’t have a toilet in your living room? Just us?

Unique Valentine’s Day Gift Ideas

Valentine’s Day is just around the corner! While searching recently for some inspiration for that special someone in my life (because in the past I’ve always been a tad late on putting something thoughtful together for this holiday – always), I actually came across quite a few ideas that I loved for the ladies. These gifts remind me of the types of presents I might make for a friend or Mom or Grandma just to say I Love You. Taking inspiration from Mrs. Stewart, I pulled together a few of my favorite themed gifts from her gallery (the one inspiration photo in each collage) and added a few of the resources needed for making that special something for that special someone.

Feel free to forward to your boyfriend/husband/significant other.

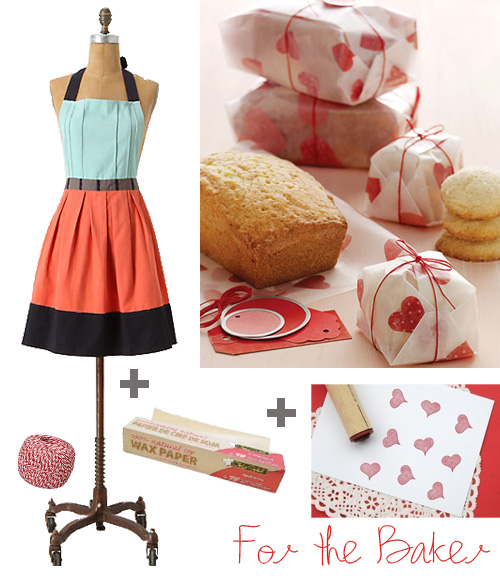
 Stamp parchment or wax paper with a small heart shaped stamp to create your own unique wrapping paper. Tie up a bundle of your favorite homemade lemon cookies or a loaf of zucchini bread with baker’s twine and deliver to your loved one. Feeling like going above and beyond? This apron from Anthroplogie is the perfect addition for another lover of baking.

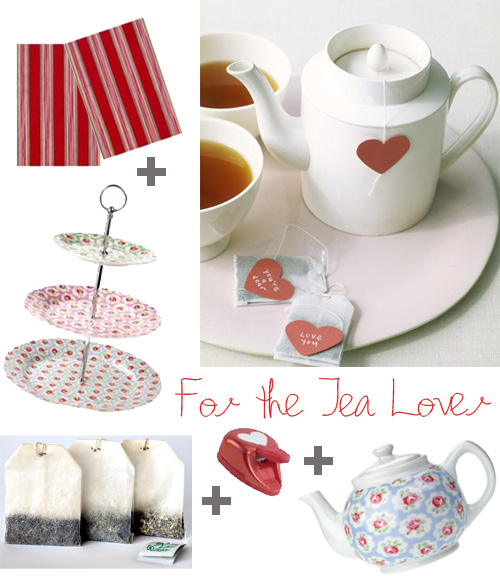
A tea lover will be over the top surprised to receive a custom tea set complete with small heart shaped tea labels for each tea bag. To recreate, invest in a paper cutter like this one, a few sheets of red construction paper and a box of your favorite tea. Cut out small hearts and share a message on each in a white colored pencil, then affix to the tea bag string with a dot of glue. Feel like going above and beyond? Include this beautiful tea pot, these striped tea towels or this adorable cake stand.

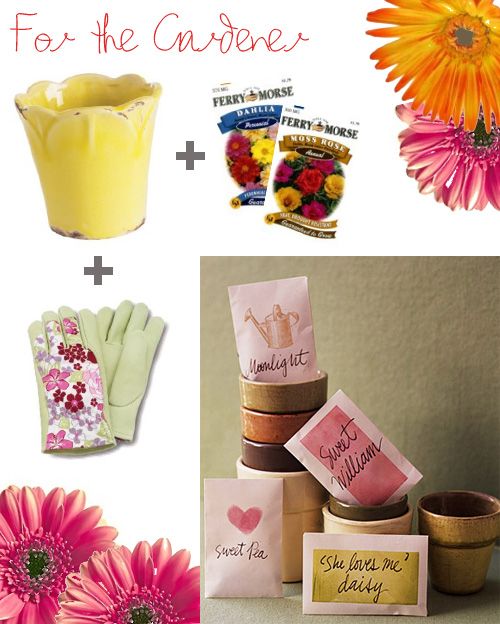
Friends with a green thumb will find custom seed packets especially endearing. Create small envelopes yourself with construction paper and add seeds from pre-purchased bags or affix custom labels to each little seed packet. Add your new seed packets to a beautiful and brightly colored pot and deliver. These gardening gloves add a little something extra.

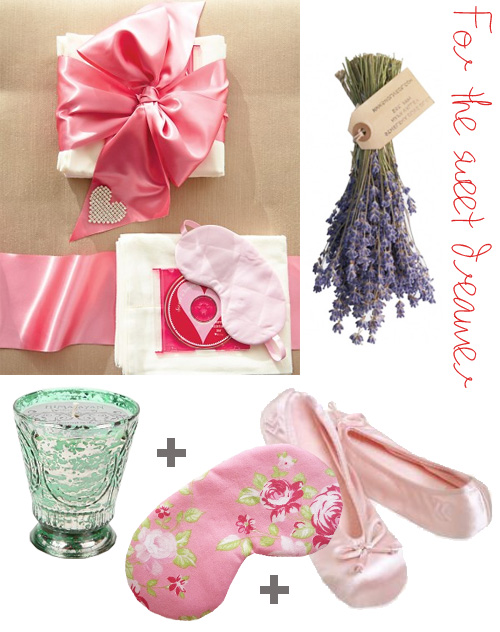
Create a special dream-themed gift for your Valentine by packaging up a luxurious candle with the softest slippers (I own these in black and love them for chilly wood floors around the house). Go above and beyond by including a handmade sleep mask (found this beautiful floral version on Etsy).

Four Valentine’s Day ideas that are customized, special and unique, because there is nothing like opening up a gift that was created just for you. Plus, themed gifts can be really fun to pull together as the giver – the possibilities are endless once you get the creative juices flowing!

Related Posts Plugin for WordPress, Blogger...