Back with a quick example of how easy it is to make envelope pillows (no zippers, no buttons) out of cloth napkins and remnant fabric. I made four new pillows in a couple of hours last Saturday morning and featured them here in my Spring living room update.
The truth is, I’ve had several of these cloth napkins lying around the house for months if not years! They were waiting for the perfect opportunity and new throw pillows fit the bill.

These raspberry red velvet guys are from a yard of fabric from my local discount fabric shop. The store is actually called Discount Fabric and it’s in an old movie theater about a mile from our house – such a treasure so close by! The tan pillow was from a previous project and you can find its invisible zipper tutorial here.
My two new cloth napkin envelope pillows are over here on this side. Kev was seeing Christmas with my green and red mix (even though I tried to insist they were more kelly meets raspberry) and my horizontal floral print pillow helped to bring Spring back in. Next to that guy is a smaller brown trellis pillow made from three Target cloth napkins (still can be found in store, bought these around Thanksgiving). Yes, that raspberry red pillow needs a 20″ insert and not the current 18″– it’s definitely on the to-do list.
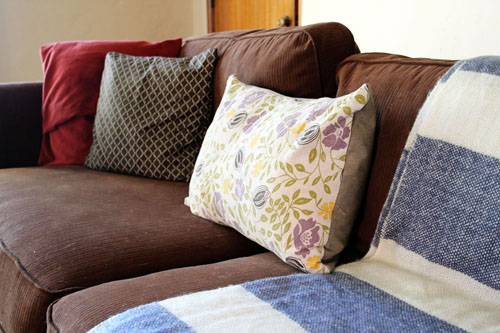
When mixing so many pillows, I try to throw a couple over-sized ones in the mix (wish I had one BIG one), a few medium throw pillows, a horizontal size and maybe a little guy. But with pillows I really think that anything goes–mix patterns, colors and sizes and when you get bored invest in a few more cloth napkins. ;)

But really, cloth napkins are pretty genius as pillow covers. Since napkins already have a hemmed edge and are roughly the size of a throw pillow, they make for an easy solution – especially when there are no zippers involved!
******************************************************************************************
Easy Envelope Pillows
m
Materials: fabric, pillow insert, pins, fabric scissors (a dedicated, super sharp pair is always a plus to have around and will make fabric cutting SEW much easier. hehehe), sewing machine
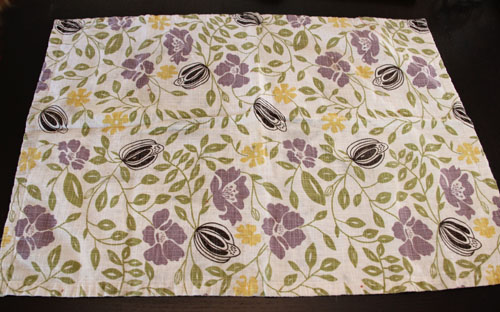
I’ll go through all four pillows, but let’s start with the horizontal botanical print pillow. This is the cloth napkin that I’ve had for years – it’s so pretty but it gets very little use buried in my linen basket! The back of the pillow is just a tan fabric scrap from my remnant box.
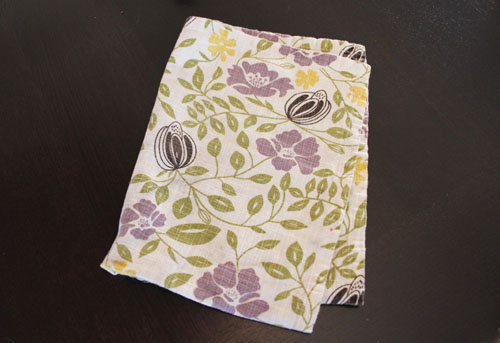
1. I began by laying out the napkin right side up to cut my fabric to size for the backing.
2. Using the cloth napkin as my template (I didn’t alter the size or shape at all), I cut out a panel for the right side of the pillow that was roughy 2/3 the size of the front side of the pillow and folded over the inside edge about 2″. You could seam this edge but if it’s folded over a far enough amount (and the raw edge is buried deep within the pillow) no one will be the wiser. These top pieces should be facing down (we’re pinning and sewing this inside out).
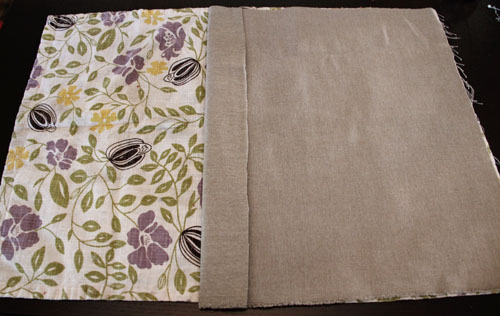
3. A similar panel is cut and folded in for the left side.
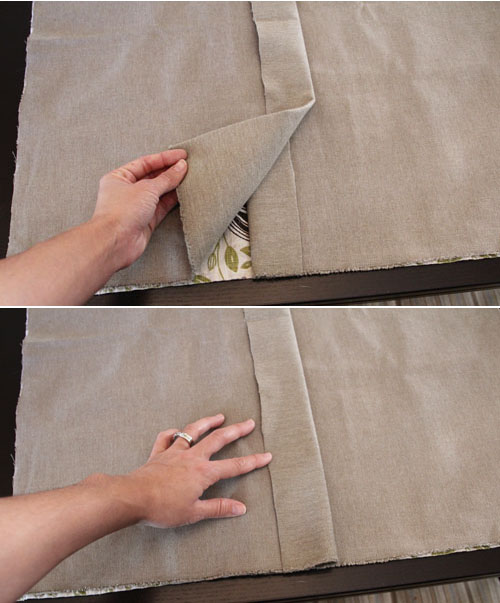
4. Time to pin!
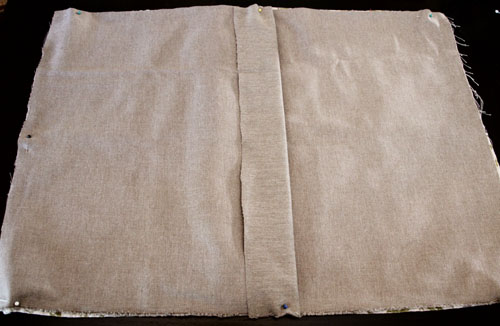
5. and over to the sewing machine we go.
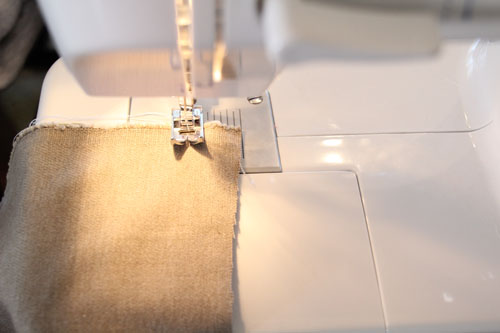
The entire pillow cover gets a simple stitch all of the way around the outer edge
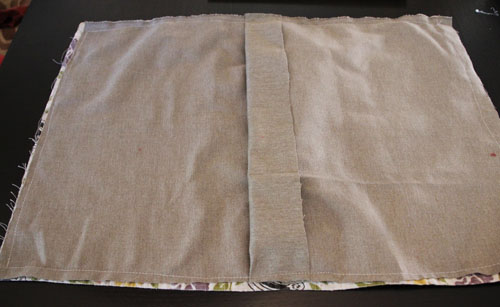
And while even cloth napkins don’t have even edges, I tried to stay as close to this edge as possible. This is especially true if you’re making a pillow cover for a specific size insert size (16″, 18″ or 20″ for example).
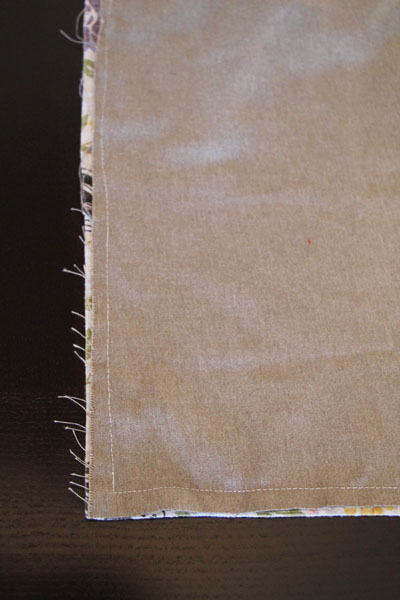
6. Flip your pillow cover outside in to reveal its final shape:
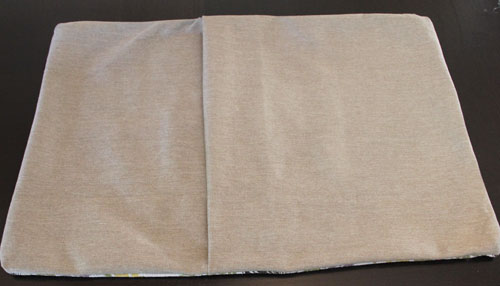
You can see here that hemming each of those folds isn’t really necessary as mentioned above. The raw envelope edges are buried inside the pillow cover.
As mentioned on Monday, I used a standard bed pillow to stuff this guy (it was the perfect length and nearly the right height – but that extra stuffing added the right amount of soft ‘pouf’). When it comes to buying and reusing pillow insets though, I highly recommend West Elm inserts. I’ve tried everything from buying my own fiber fill to upcycling old pillows (great solution if they have great inserts) but in the end I’ve found that the $12 investment in a good insert will be comfortable and cozy on the couch, will hold its form and will stand up to the abuse of constantly switching out covers.
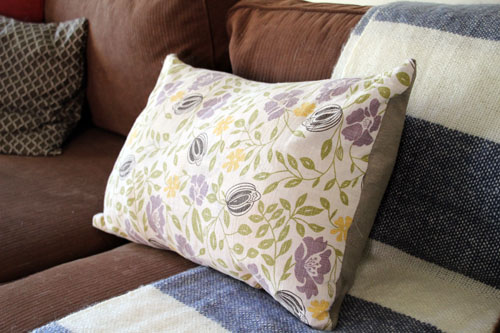
Moving on to the square trellis pillow which is actually even easier since we’re starting with three cloth napkins with hemmed edges.
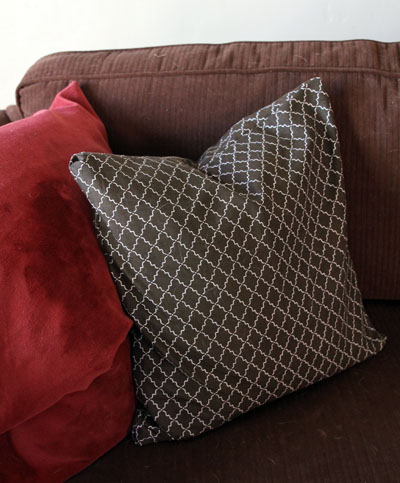
Picked these guys up at Target and actually did a test run by washing the fourth napkin first. It came out significantly faded so I didn’t prewash this batch and I’m secretly just hoping that this pillow won’t see any spills or stains in the near future (or perhaps I’ll just let it sun dry if I must wash…).
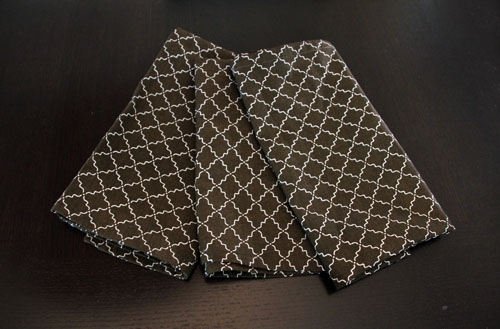
1. Following the same steps above, cut panels for the envelope backing out of two of the napkins (2/3 the size of the actual napkin should do the trick).
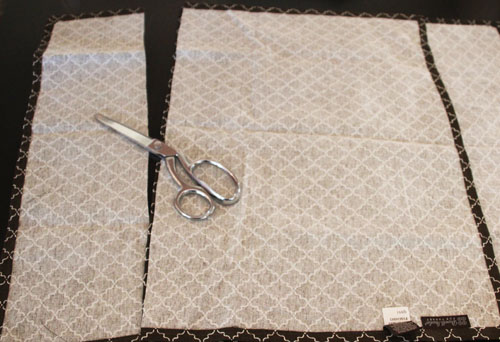
and now the other side…
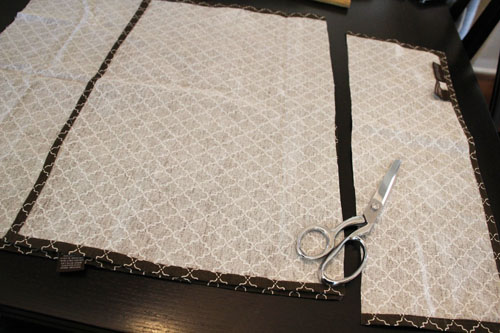
So that I am ultimately left with one whole napkin and two 2/3 napkins that were laid on top of each other and overlapping. Because the edges are already hemmed there’s no folding necessary.
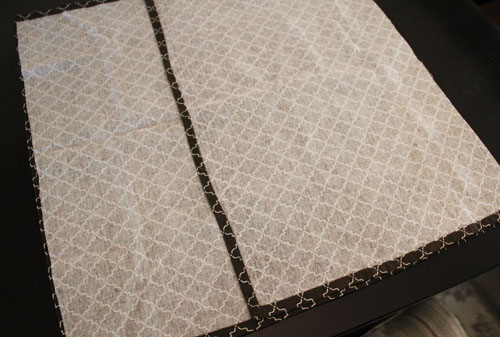
2. Pin and sew around the edges!
Wait… this is not how it’s supposed to look on the other side. Bah! I forgot to start with my top piece facing up and not down! :) Just keeping it real…

I ended up just cutting off my recently sewn edges and made a 16″ pillow instead of 18″ rather than pull out the seam ripper. It actually worked out well since the other pillows were on the larger 18″ side – a little variety is nice!
And here she is again finished:

The last set of remnant pillows I made were from a yard of raspberry colored velvet that I picked up at the fabric store.
1. No need to repeat the above photos, but what essentially made this project even easier is that I was able to cut down on two hems by cutting out one long strip of fabric (my pillow was to be 20″ so my long strip of fabric ended up being 21″ in height (to account for the hem) and ~45″ in length) and then folding in each side to create a 20″ front and an overlapped envelope in the back.
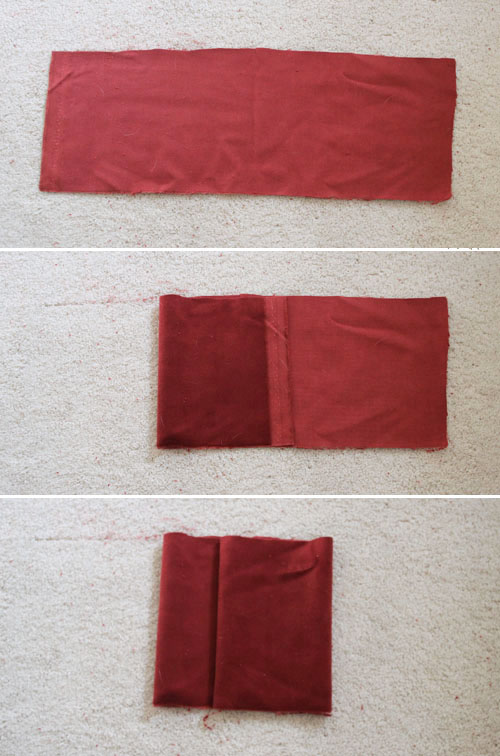
2. A simple stitch along the top and bottom and I had a cover! The above would of course need to be turned inside out before this step.
I didn’t hem the envelope edges because I didn’t want a stitch across the thick velvet (and I didn’t want to change out the thread in my machine!), so I folded each edge and when sewing the top and bottom included the folded over piece in the hem just like the first pillow (so that it was nice and secure).
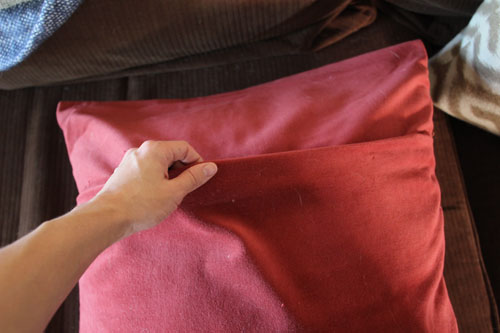
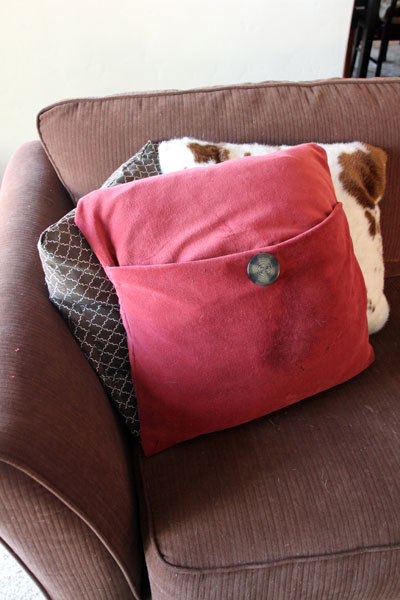
In hindsight, I should have made the envelope pocket even deeper,
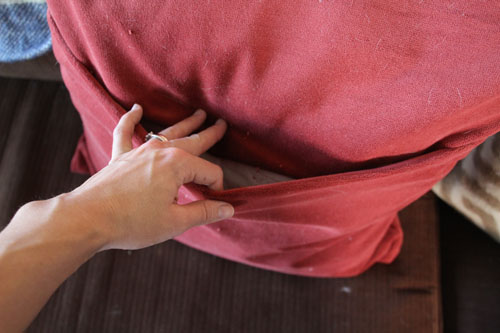
because that raw edge of the envelope overlapping piece began to sneak out of the envelope every so often (see above photo on couch as an example).
3. I added a few basic cross stitches in matching thread to keep the flap in place. I didn’t close the envelope up so that I wouldn’t interfere with stuffing and sliding the insert in and out but just to keep a clean folded edge on that flap. (the cross stitch is barely visible but it’s there!)
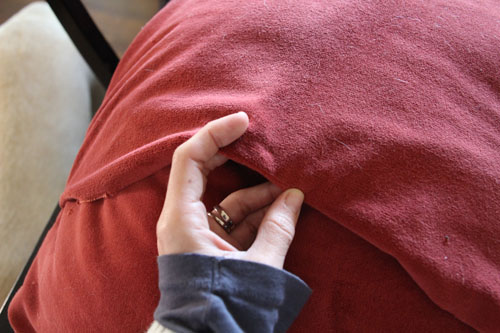
One of the velvet pillows was designed for the front to face outwards and one was designed with the envelope side facing outwards.
4. For the envelope out version, I sewed a big button from one of my previous pillows onto the lower overlapping piece of the envelope and created a slit on the top piece of the overlapping envelope with sharp fabric scissors.
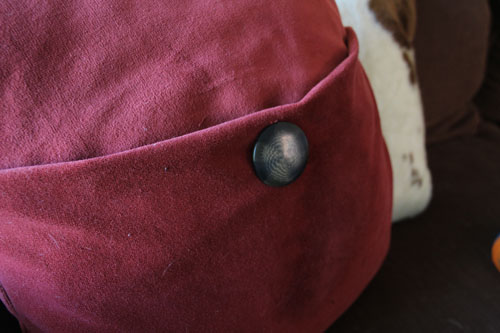
And here she is finished:
There you have it! Four new easy pillow covers for under $20.

The entire project took me a couple of hours of cutting, pinning and sewing machine time but I love the finished pillows and they’re sure to last me at least a few months (in all seriousness).
More living room posts can be found right here.

