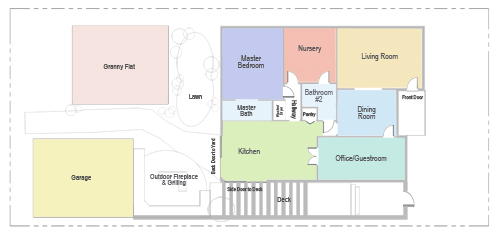
We’ve just finished installing our new vanity, vanity top, faucet and toilet! Our previous set of three closets is really beginning to look like a bathroom now.
To date, we’ve demoed those three adjoining closets, reframed all walls to create one 10×10′ ish room, Kevin used his amazing skills to plumb the entire space, tile was installed, electrician came out to help us with lighting, we’ve painted and we chose a vanity, sink and toilet.
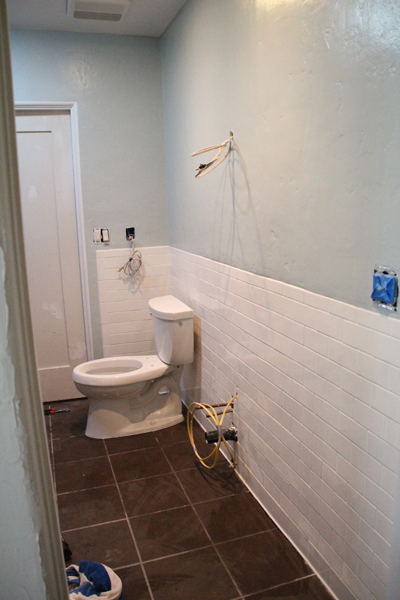
Let’s start with the toilet. I’m excited because it’s been a while since I’ve had an opportunity to post on anything Project Going Green and this first install more than fits the bill.
Did you know that all toilets manufactured today use less than half the water of older models? The average pre-1992 toilet uses 3.5 gallons of water per flush (wow) and today’s low-flow versions use a mere 1.6 gallons. BUT there’s an even better solution. High Efficiency Toilets – or HETs – (which are marked with a WaterSense label by the EPA to vouch for their credibility) drop that number down to 1.1 or 1.28 gpf (gallons-per-flush for those not up on their toilet acronyms). That adds up to a savings of about $90 per toilet per year. Consider that an average toilet lasts upwards of 20 years (that’s nearly $2,000 in savings) and since the program’s inception in 2006, WaterSense has helped consumers save a cumulative 125 billion gallons of water (a finite resource) and over $2 billion in water and energy bills. Now those are some numbers.
Okay, stepping down from my green soapbox now.
Back to the down and dirty. This here is the nifty little space that we used to use to pass tools to one another from the bathroom to the crawl space below. There was never a toilet there before so it was basically just a clean hole in the dry wall.
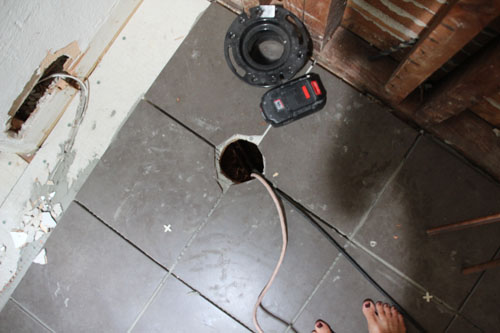
Then along came our Kohler WaterSense toilet from Lowe’s.
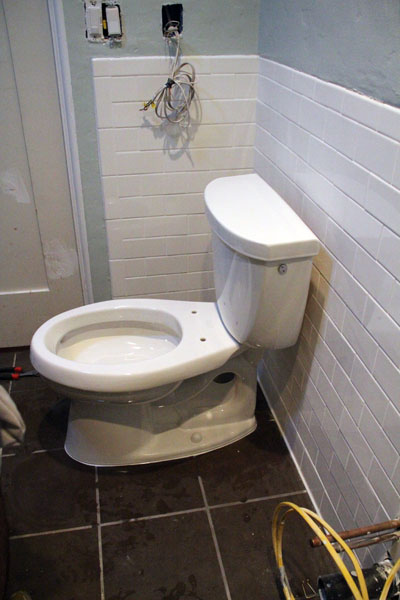
I don’t have any fun pictures of Kevin reworking the plumbing below or above the floor (more about plumbing a new toilet here) but he’s a self-taught master DIYer.
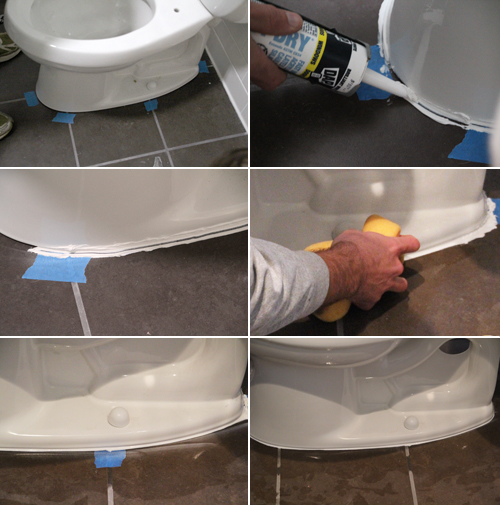
A helpful tip for caulking the base of the toilet is to use painters tape. You can see that the little blue bits above help to keep the caulk from getting caught in the grout (they’re not placed under the toilet but right up against it). When you wipe up the extra caulk and pull up the tape you have a nice even line.

If you are replacing a current toilet these are the pitfalls to watch out for: make sure your new toilet will fit where your old toilet was once installed (measure from behind the toilet to the floor bolts – you don’t want to get stuck with a toilet that is too long and doesn’t line up with the drain when you are in the process of removing your current one), turn off your water supply before you start and don’t forget to plug the drain hole to keep gases from escaping (but don’t let that rag or whatever you’re using fall down the drain). Lot’s of tips can be found right here.
Now onto the vanity. You can read all about this big decision (I agonized over it…) and how we found the perfect vanity and top combo here.
Before any securing, screwing or gluing went underway, we had to get the vanity on level ground.
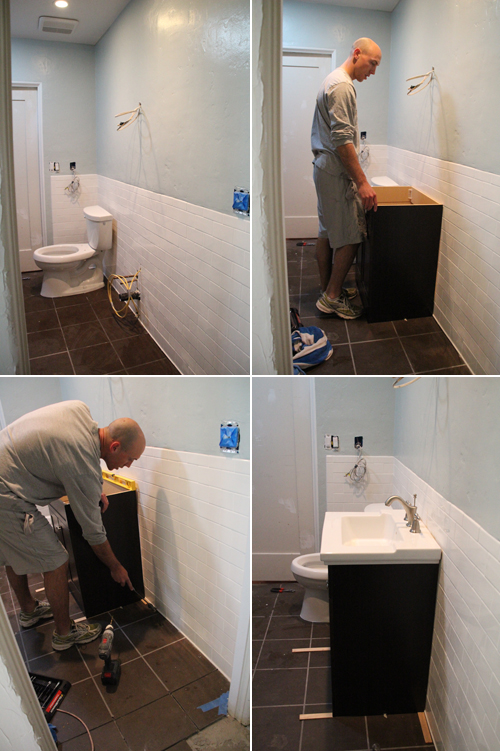
Shims are used to level out the vanity and are almost a guaranteed necessity in a home full of unlevel walls and floors like our 1930’s bungalow.
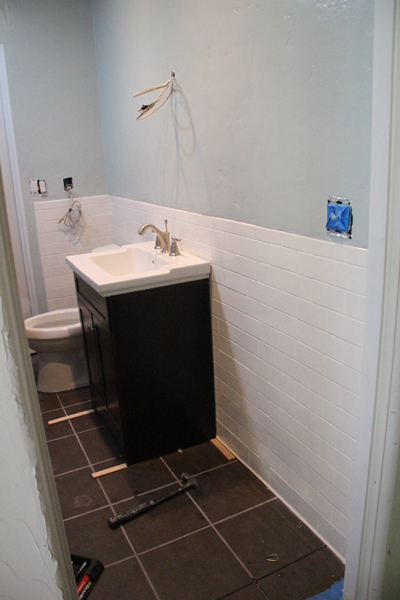
Those guys will stay put during the install and then will be snapped off (half remaining under the vanity) when we’re finished.
The part of the cabinet that actually makes permanent contact with the wall is the back of the vanity – two screws later and she’s stuck.
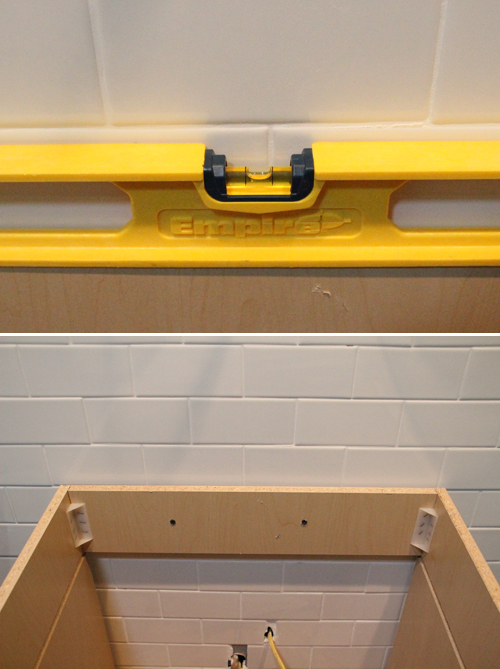
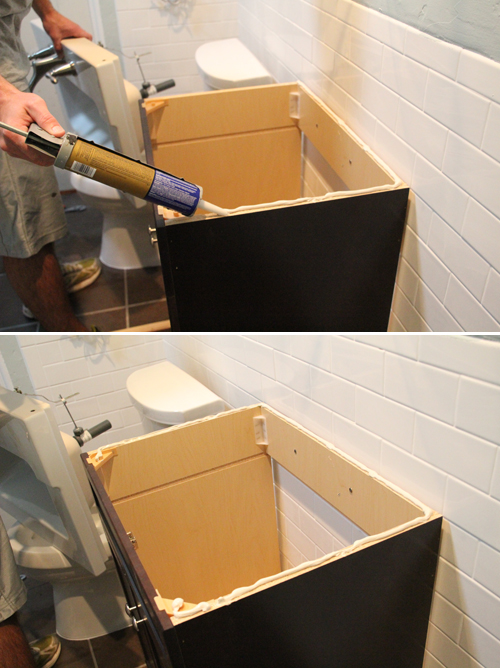
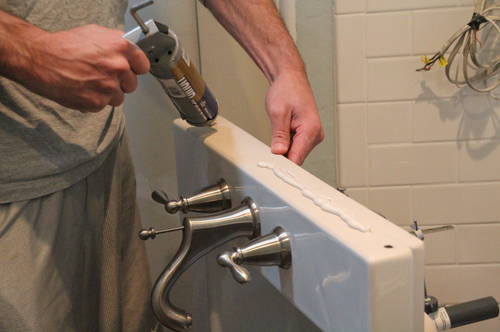
Next is adding the vanity top, complete with a thick line of adhesive (applied with a caulking gun) for an extra secure hold.
That line of adhesive is applied to the top of the entire cabinet (where it will come into contact with the vanity top):
As well as to the back of the top.
Not to worry if it makes a mess, you can wipe up any smooshed out adhesive afterwards.
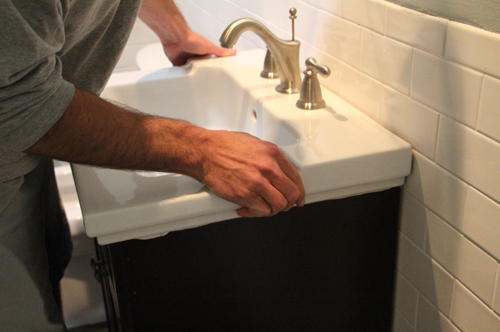
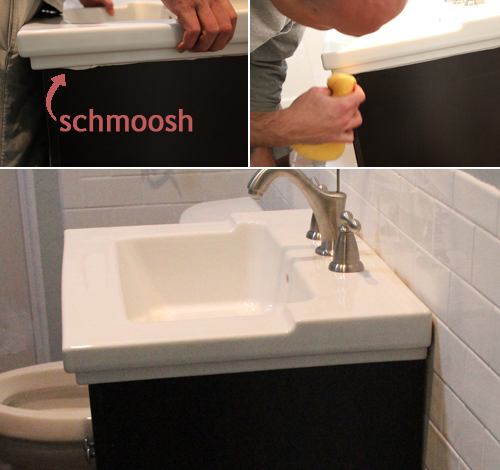
It looks great!
Kevin has also finished installing the new faucet which looks really great with the combination of the dark cabinet, sea salt blue walls, glass shower tile and white subway tile. I initially was leaning towards an oil rubbed bronze faucet for that vintage vibe (since the goal of the new bathroom was to build a modernized space that fit in a 1930’s home):
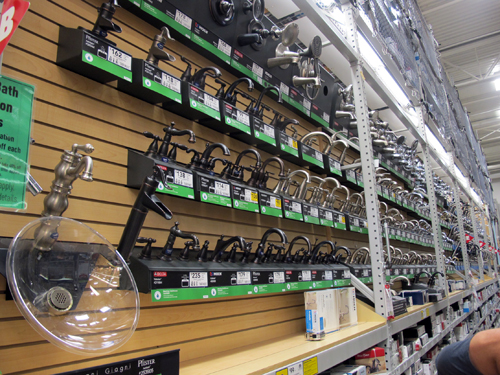
Not sure why it felt more vintage to me but I love our oil rubbed bronze faucet in the kitchen and I thought from the get-go that that would be my choice.
After much wondering I picked up a brushed nickel and an oil rubbed bronze version from Lowe’s…
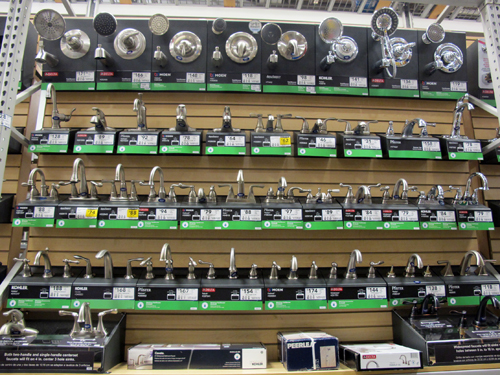
And eventually settled on this Moen Caldwell faucet:
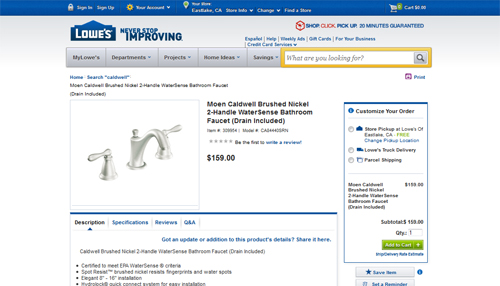
A brushed nickel finished in a slightly vintage shape and feel. Love how it looks with the rest of the bathroom (we have the matching shower head and tub faucet on the other side of the bathroom now, too). The new bathroom is almost here!
More building a bathroom posts: vanity wars, subway tile installation, floor tiles and toe warmers, a quick catch-up on our work on the bathroom in 2011, tiling with recycled glass, choosing and installing a bathtub, demo time!, a peak at the layout, initial inspiration, partnering with Lowe’s
We partnered with Lowe’s on our bathroom remodel and received some product at no cost and some product at a discount. The ideas and stories shared in this post are entirely our own.


