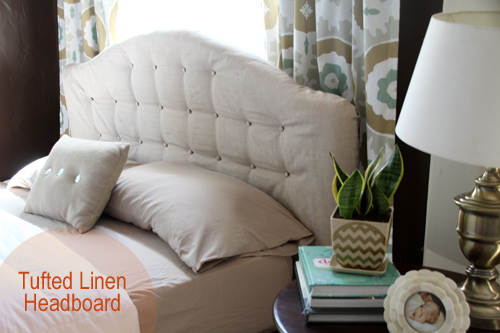
I’ve finally finished the upholstered headboard for the new office/guestroom! I knocked out the project over a couple of hours spread across two nights just this week, and I love how it turned out.
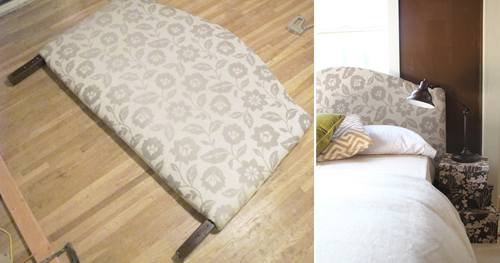
The fabric headboard that I first made a couple of years ago was originally intended for the master bedroom and was covered in a silvery grey fabric that I loved. When we finished the guestroom space in 2011, it sufficed as a stand in while I decided the color palette and feel for that room.
Ultimately new curtains won out and the headboard needed to be recovered to make it all work.
I considered building a new headboard from scratch but since I knew I wouldn’t want to put my current fabric headboard back into the garage (oh precious storage space!), I decided to give it a go in reinventing it by covering the backside in a different fabric.
This way I could always pull my current linen off of the headboard, flip it over and you’d find the original fabric waiting its turn to shine. Minus a few staple holes (which were inevitable to keep the linen side of the board taut) I thought the plan would work out pretty swimmingly.
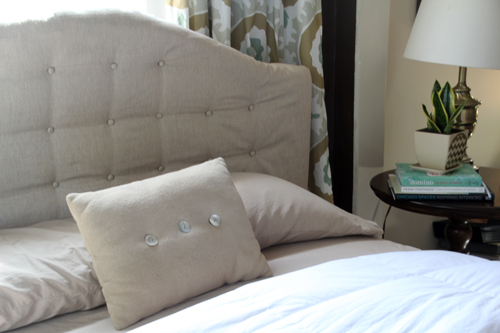
Don’t pay attention to the bedding in these photos – that’s on the to-do list.
If you’re creating a headboard from scratch, start here with the original post that turned this guy (with the help of foam padding, quilt batting and a staple gun) into a fabric headboard.
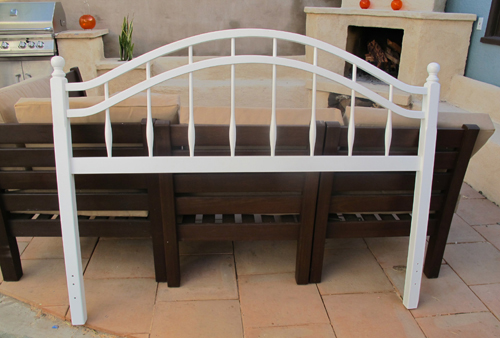
Those wooden slats worked out quite nicely as the base for my tufting and staple gun.
But back to covering the back side of my fabric headboard… The first step was to flip the headboard over and to carefully measure out my new tufting points. I used a solid color on the back of the headboard to avoid wasting $ on that beautiful Luxor fabric on the front side, hence the lighter fabric you’re seeing below (that’s the back of the headboard, not the new linen).
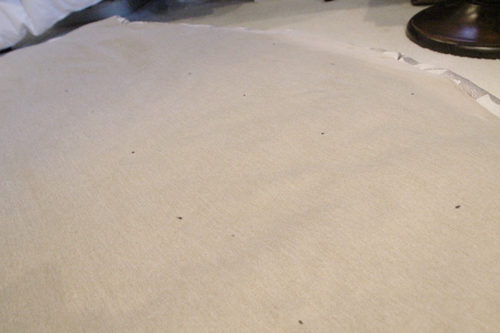
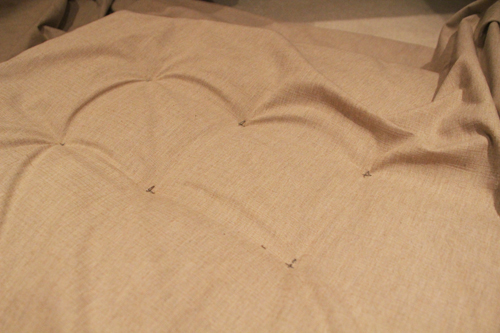
After I had made black marker dots for the new tufts, I pulled the new linen over the back side of the headboard and as I covered up the dots, I stapled on top of the linen to create the tuft.
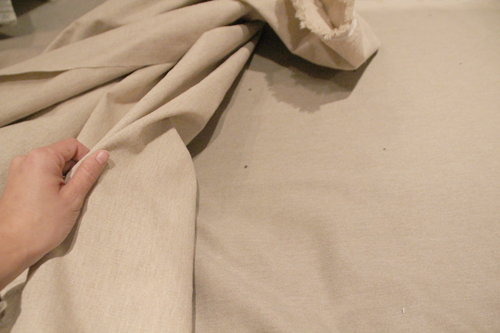
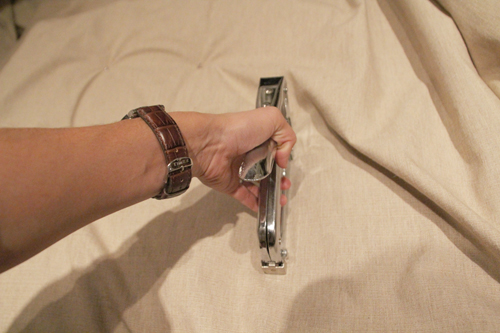
And repeated until the entire headboard was covered. As mentioned above, the staples are going right into the evenly spaced slats of the original headboard frame, but if you were covering a piece of plywood to create a fabric headboard you’d want to double triple check your measurements as you’re stapling to ensure the tufts are in a straight line.
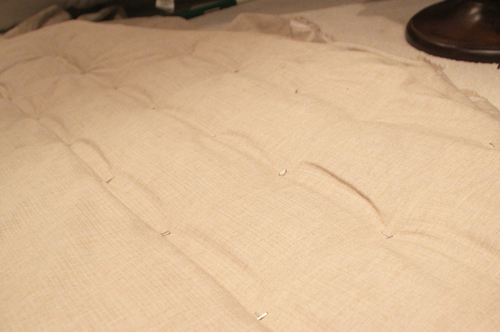
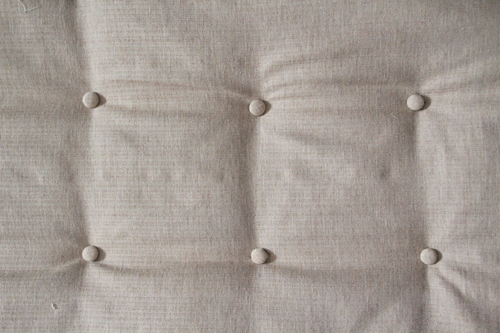
If you take a closer look at those tufts you’ll notice that I’m stapling twice in a cross pattern to really hold the fabric in place.

Another tip worth pointing out is to pull the fabric as taut as possible between staples to really get a creased, tufted look. The natural lines in the linen helped me to stay on track so that tufts were in a row, and following the same point on a patterned piece of fabric would serve the same purpose.
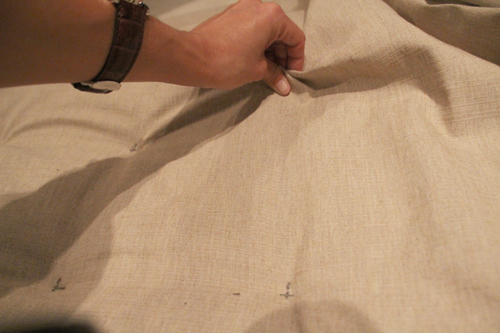
Sorry again about the night time photos! I rarely ever have time to get projects completed when it’s light out these days :).
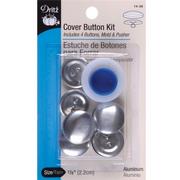
I used a simple 5/8″ button kit to make round fabric buttons out of scrap linen. 20 buttons later and I officially had no use of either thumb.
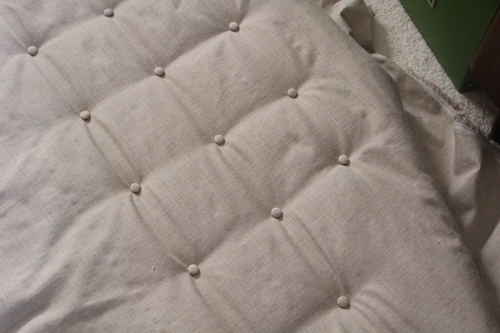
This next step was the easiest part! Inspired by the upholstered headboard created by Cre8tive Designs, I went ahead and just glued those buttons right over the staples. The next morning these guys were as secure as can be, and you really can’t tell that they’re not sewn on unless you pry your nail under one of them.
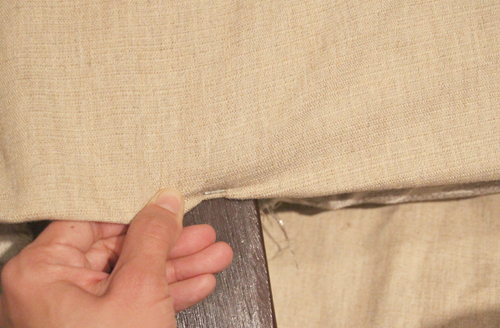
The last step was to secure the edges of the fabric to the entire headboard. To get rid of any slack I first pulled the fabric as taut as possible for smooth, rounded edges – and then stapled a few times along the opposite side (or where my pretty fabric is currently facing out). Again I found the wooden slats of the original frame to drive my staples into.
The fabric around the legs was simply trimmed, folded under and stapled. A bit of slack will allow me to pull fabric down over the existing staple so that it disappears.
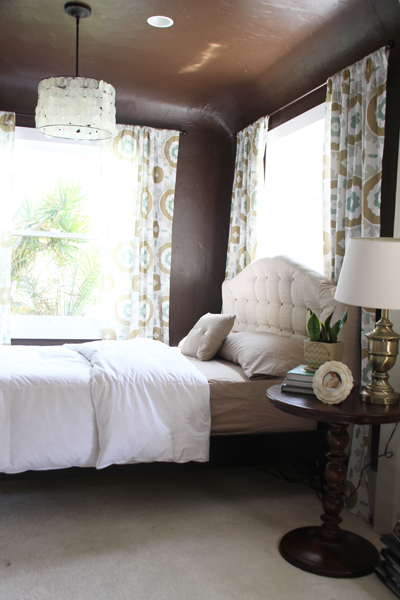
I wedged my new linen headboard between the platform bed and the wall and I was finished!
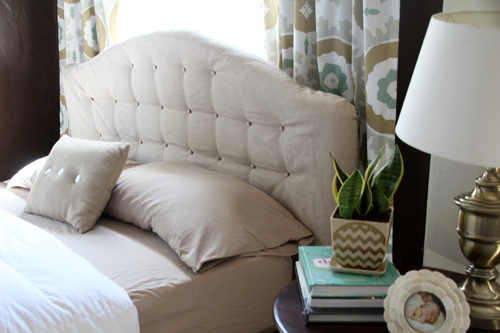
The back of the headboard is my fabric that I’m trying not to destroy, so I didn’t staple the edges as tautly and numerously as I could have to really achieve that smooth, rounded look. But that’s always an option if you’re not trying to be staple shy :).
By the way, I did a little round up of platform beds here before purchasing our West Elm frame below:
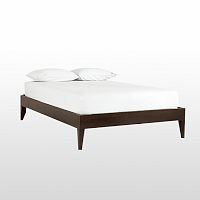
Platform beds are so versatile in that they’re pretty, relatively inexpensive and you can switch out the headboard any time you’d like!
For more Office Makeover posts, check out: our floor plan, color inspiration, a new trellis print rug, stuck in a rut, designing and sewing the curtains, diy fabric bulletin board panels, handmade capiz pendant light, organizing the bookshelves, wall collage part 1, part 2, fabric bulletin board inspiration, (new) inspiration board, new lamps, wallpapering open shelves, finding the perfect credenza, new trim, dining table-to-desk, a new desk & bookshelves, installing remnant carpeting, grasscloth wallpaper, painting the office nook, finding carpet for the office, chocolate brown wall ideas, plastering progress, inspiration for a diy desk, back in action!, desking hunting for under $300, bookcases under $300,inspirational rooms, room layout options, demo part 1 & demo part 2.

